Create your own fun graphic tees with Cricut’s new Patterned Iron-On™. Follow along as I make this cute DIY The Desert is Calling T-Shirt in under 15 minutes.
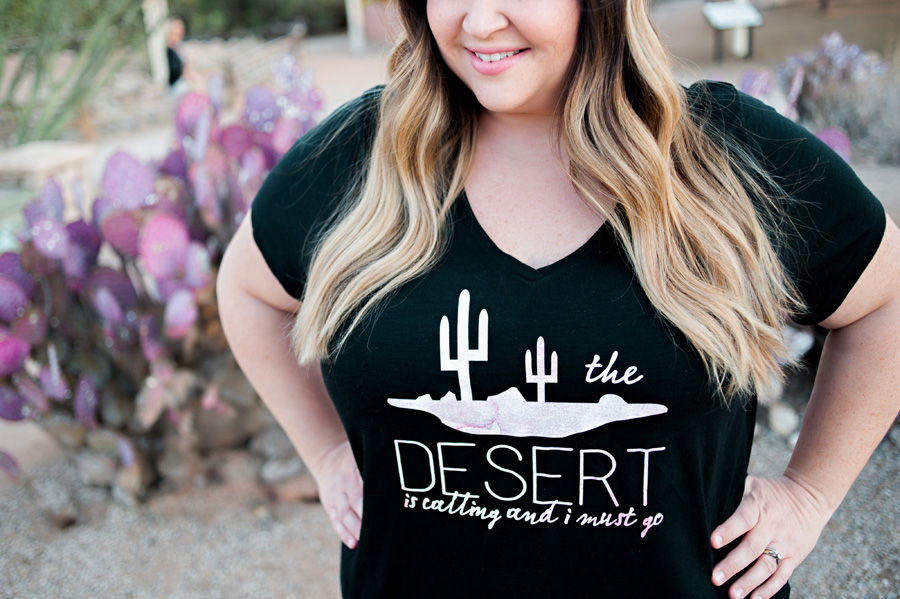 You guys know how much I love a good DIY shirt! It’s so fun to create custom tees, it’s even easier with the help of my favorite crafting tools the Cricut Maker or Cricut Explore Air 2 and my Cricut EasyPress.
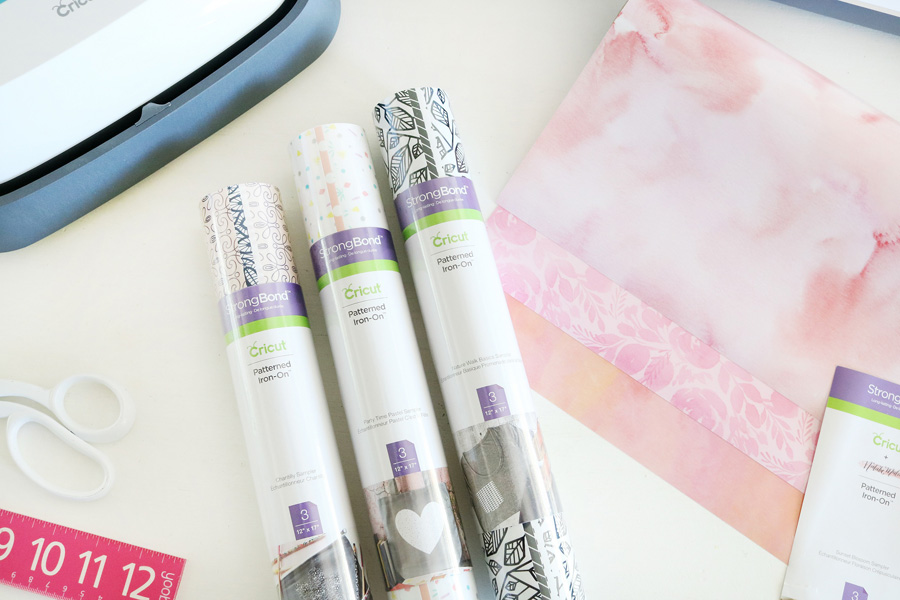
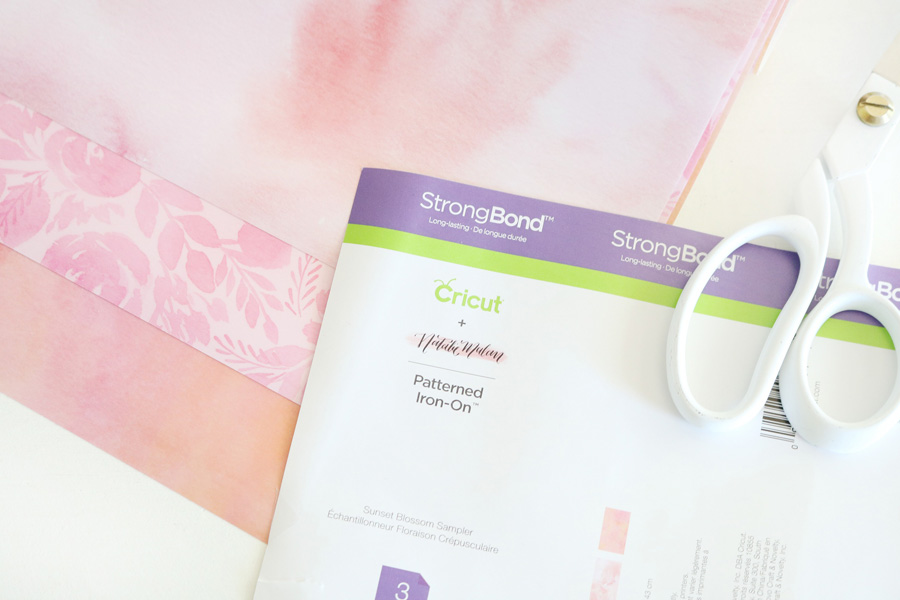
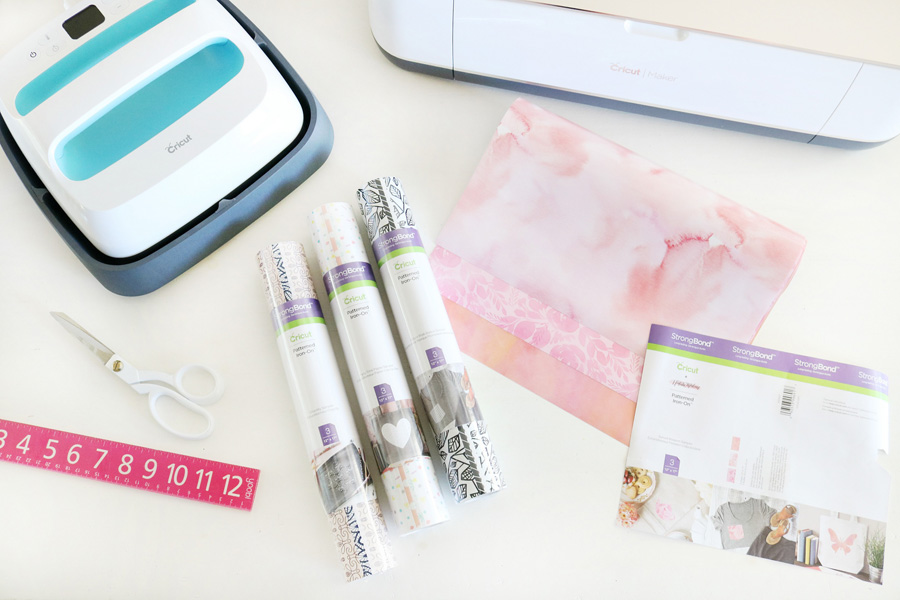 Cricut’s all-new Patterned Iron-On™ is so fun and comes in a ton of patterns and colors. I couldn’t wait to get my hands on it, I had such a hard time choosing which pattern to go with. Ultimately I went with the Natalie Malan® Sunset Blossom Patterned Iron-On™ Sampler for this DIY The Desert is Calling T-Shirt Design.
Patterned Iron-On™ is a game changer for crafters and creators! There are currently 9 sampler packs available on Cricut.com, and they each come with 3 – 12 x 17″ sheets. The new Patterned Iron-On™ is awesome for projects like t-shirts, custom hoodies, custom throw pillows and home decor, and so much more. Since they come in sampler packs you can totally mix and match patterns to make the project reflect your style.
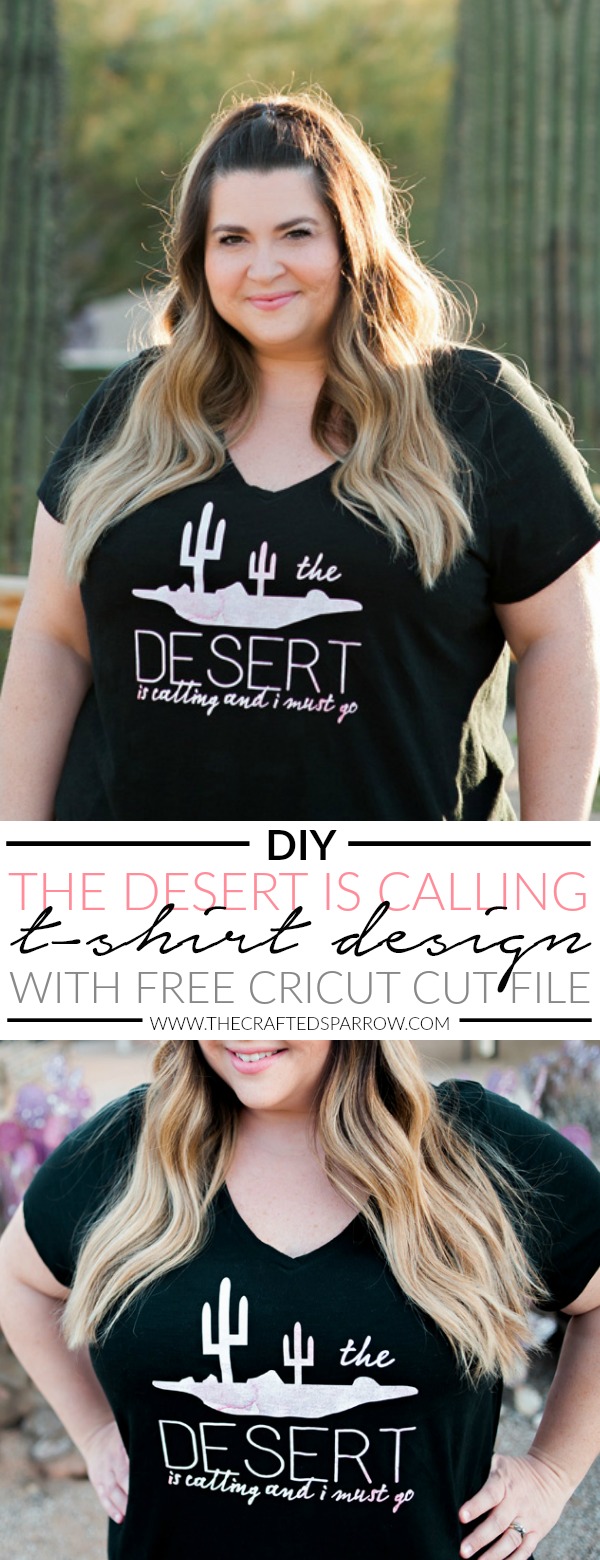 Let’s make this Desert Inspired Graphic T-Shirt
SUPPLIES:
- Cricut Patterned Iron-On™ Vinyl
- Cricut Maker or Cricut Explore Air 2
- Cricut EasyPress™
- Cricut EasyPress Mat™
- Standard Cutting Mat
- Weeding Tool
- T-Shirt of your choice
- The Desert is Calling cut file, found HERE
DIRECTIONS:
The first thing you need to do is open Design Space and then open my Desert T-Shirt Design found HERE.
Be sure to select Customize so you can resize the image to fit your surface, I wear plus size tees so I sized it to about 9.5″ to fit my chest. You can use a ruler to measure your t-shirt of choice and figure out what size you need to cut the design.
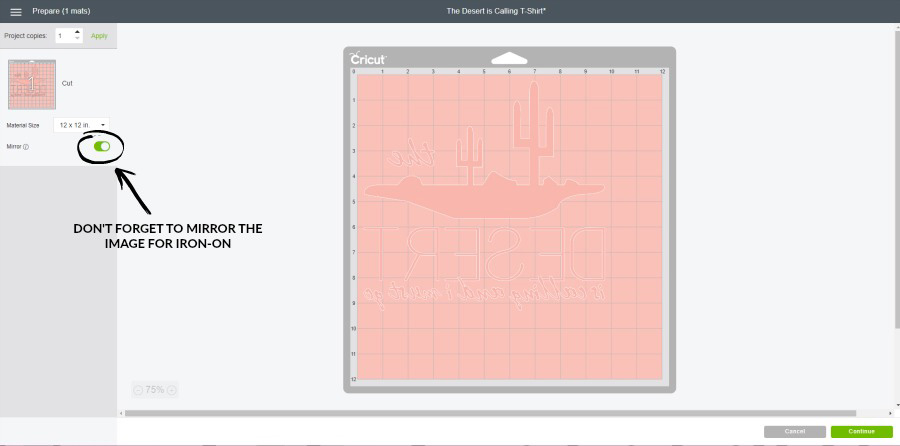
Once you hit MAKE IT in Design Space you want to be sure to mirror the image first before cutting. See this image below? Just click that little toggle button to mirror it. Then hit continue and select your cutting materials. Choose Patterned Iron-On™. Anytime you use Iron-On you must mirror your images.
 Select the machine you’re using – for this project I used the Cricut Maker.
Be sure to lay your Patterned Iron-On™ shiny side down on the cutting mat. The shiny side is actually a protective sheet that you will use when ironing the design.
Load the mat into your machine. Before I hit GO I always check my blade to be sure it’s clean and free of debris and then place it back into the blade housing.
Hit the GO button (which is the C button) and watch it cut.
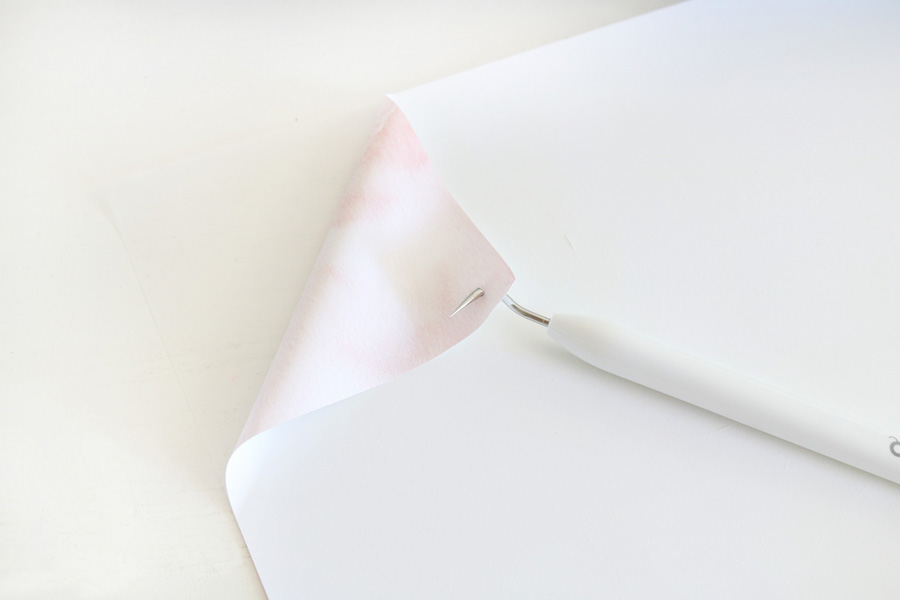
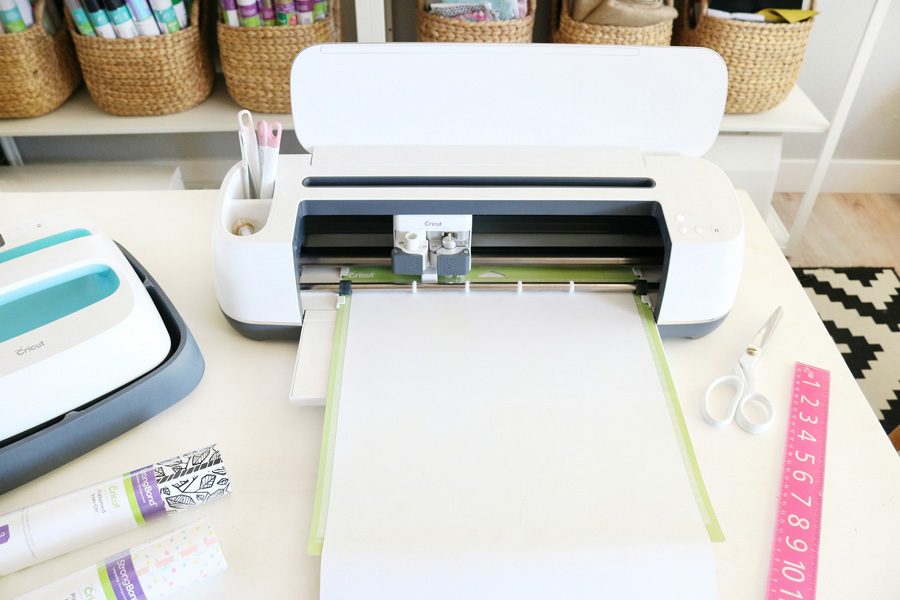 It’s time to weed your design. I’m obsessed with Cricut Weeders, they are seriously the best guys! Let’s also talk about what a dream this Cricut Patterned Iron-On™ was to weed, it was so smooth and peeled away beautifully.
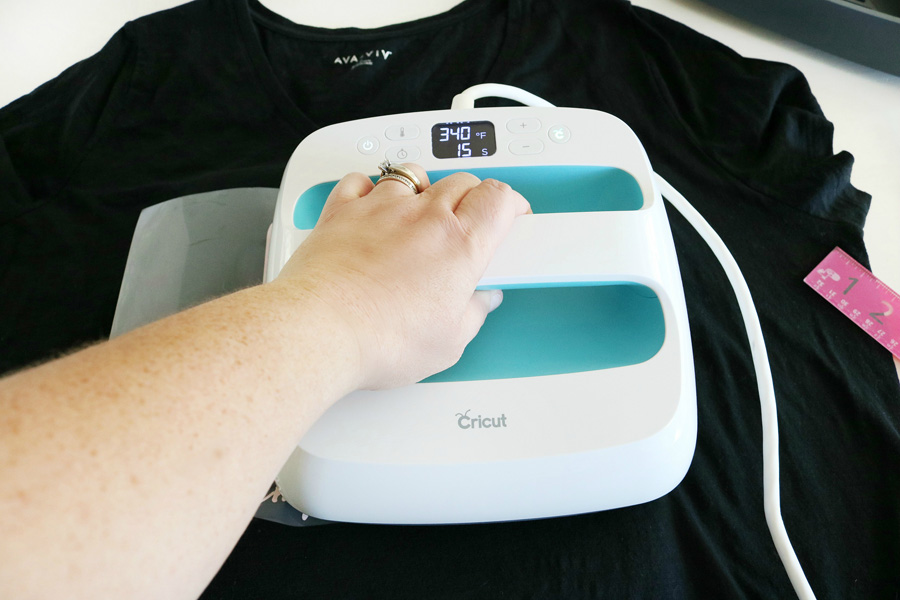
When you’re done weeding the design go ahead and plug in your EasyPress. Since I used a cotton t-shirt I set my EasyPress to 340° with a time setting of 30 seconds.
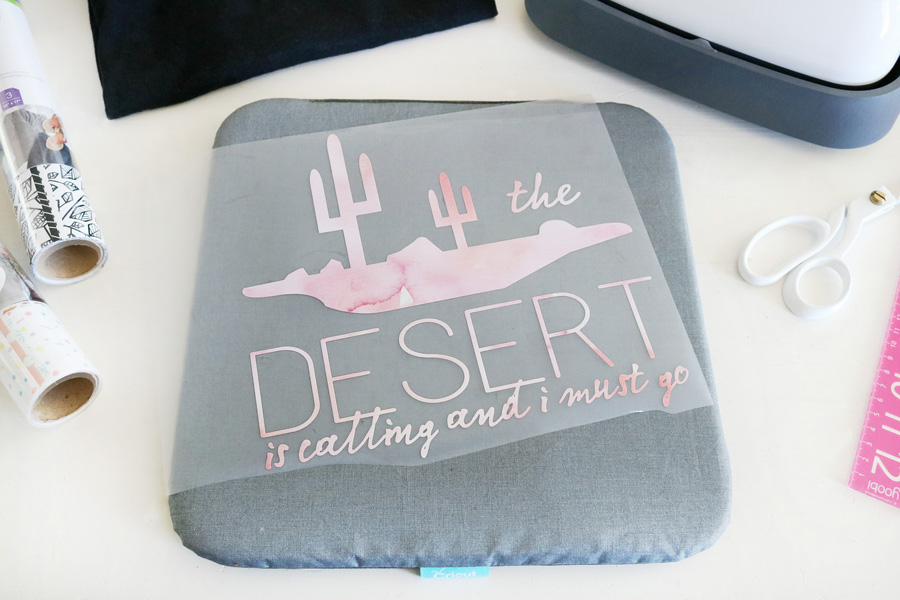
 Time to iron! While my EasyPress was heating up I grabbed my new EasyPress Mat, I’ve been anxiously awaiting this and love it! I placed it directly under the portion of my t-shirt I was going to iron on my design. The mat is designed to properly place heat when ironing to give you the very best results, it also protects the surface you’re working on. If you don’t have the EasyPress Mat be sure to use a thicker towel or even a countertop ironing mat under your project to protect your surface, just be sure to work on a firm and safe surface.
 Time for the EasyPress! I quickly pre-heated the t-shirt I was using where the Iron-On would go with the EasyPress, just apply heat for about 10-15 seconds.
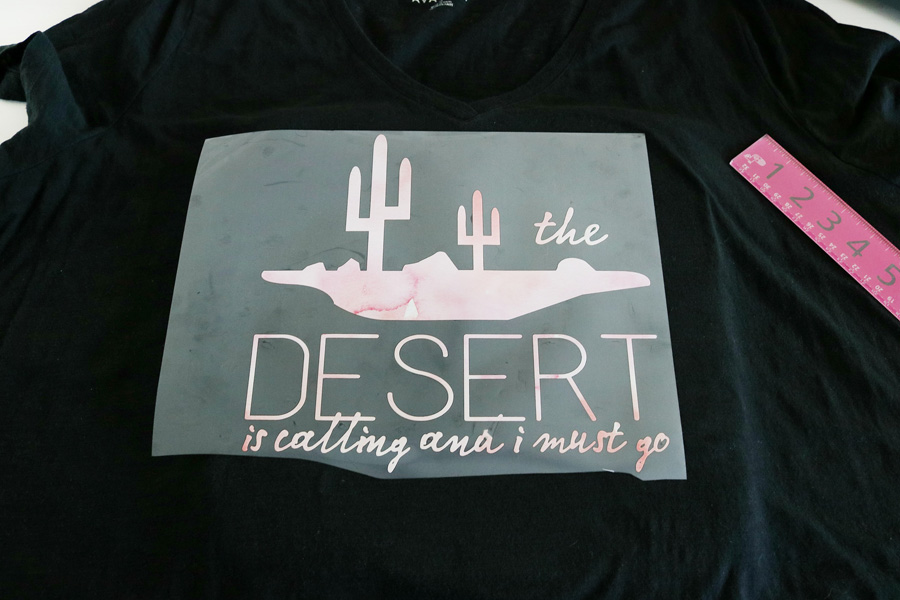
Now center your Iron-On design on your tee, use a ruler to be sure it’s centered properly. Feel free to use other graphic tees you love the placement of their designs as a guide to how far down from the neckline you’d like your design. Also, remember that things might be placed a little differently depending on whether or not it’s a v-neck or crew neck tee.
Place the EasyPress over the Iron-On design, you will have to do it in two sessions. Starting with one half of your design hit the C button and hold the EasyPress in place on the design until the timer goes off. Repeat on the second portion of the design. Then flip your shirt over carefully and apply heat from the back for about 15 seconds. Turn that shirt back over so it’s front side up. Don’t peel that clear sheet off just yet!
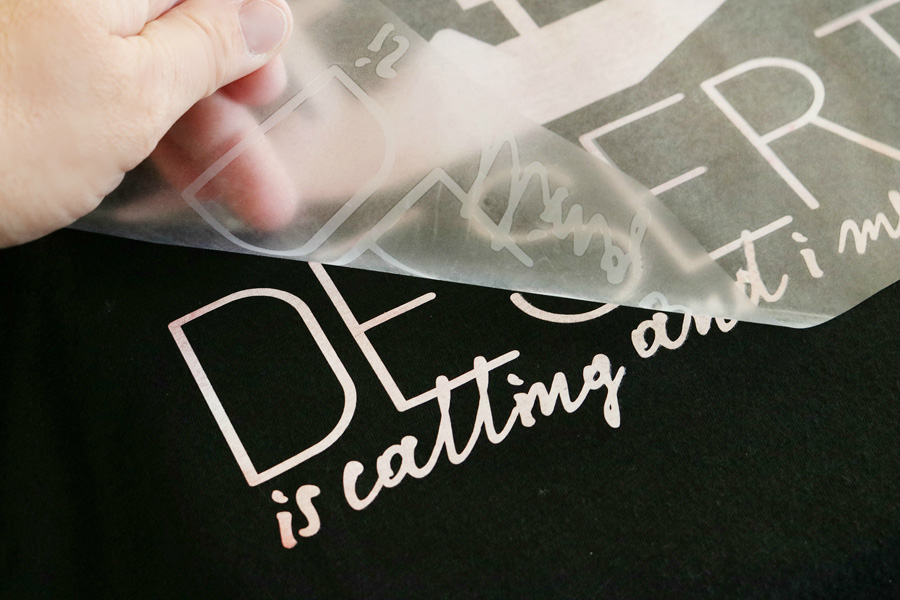
 Let it cool down! Do not remove the clear protective sheet until it’s completely cooled, this is called a Cold Peel. This will ensure that you don’t accidentally pull up part of the Iron-On if it hasn’t completely adhered or cooled down.
Go ahead, if it’s cool peel away carefully. No worries if you notice a little spot that didn’t adhere all the way, simply place the protective clear sheet back over the entire design so all the Iron-On is protected and use the EasyPress again for a few extra seconds. Again, let it cool completely before removing that plastic sheet.
 Want even more ideas for DIY T-Shirts and Cricut projects? Be sure to check these out:
- DIY Disney Mary Poppins Shirt
- Easy 4th of July Shirts
- DIY Geek Inspired Shirt
- Leather Geometric Buffalo Pillow
- DIY Black & White Succulent Sign
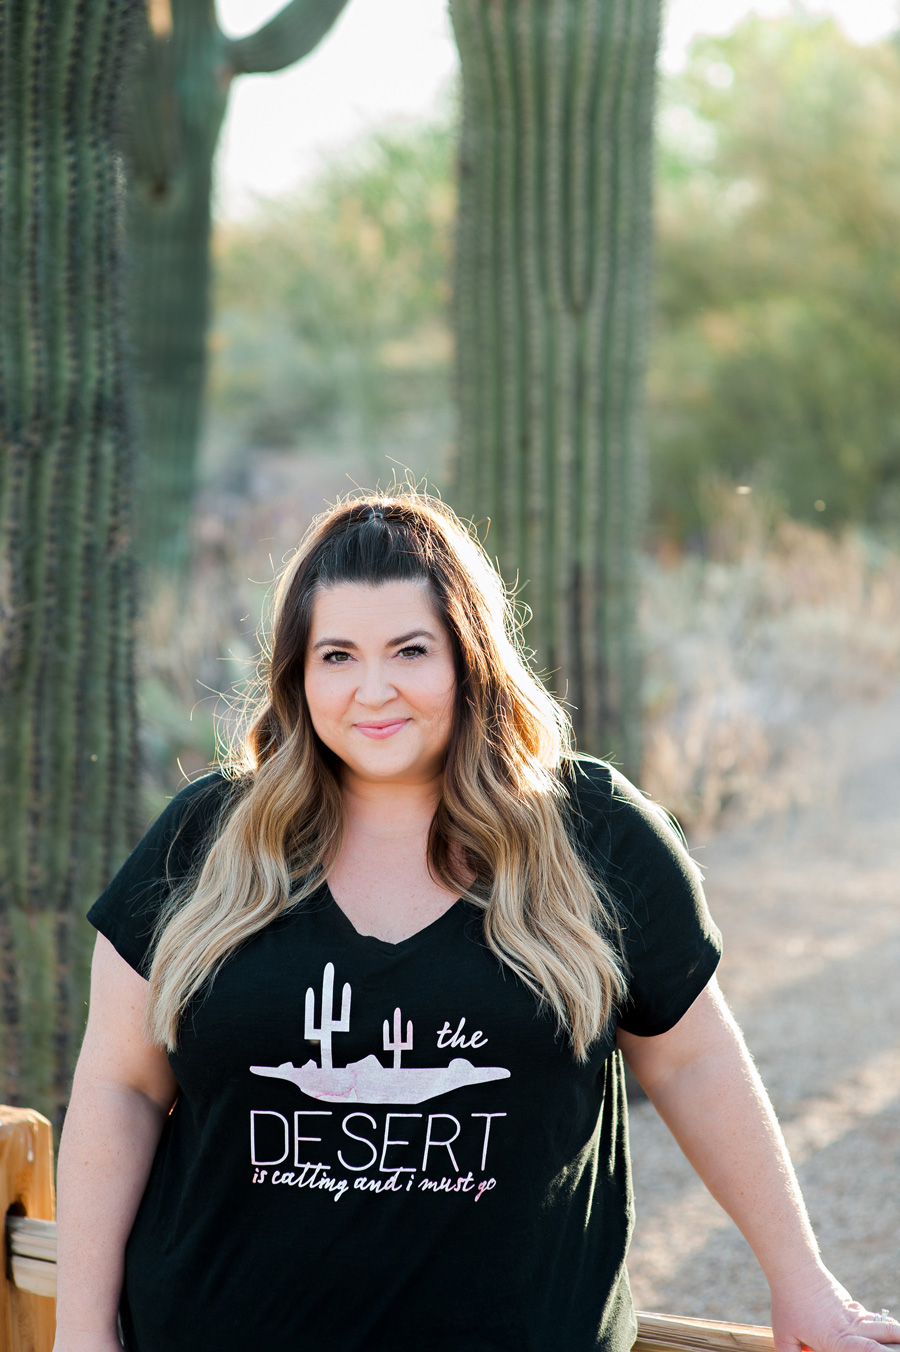
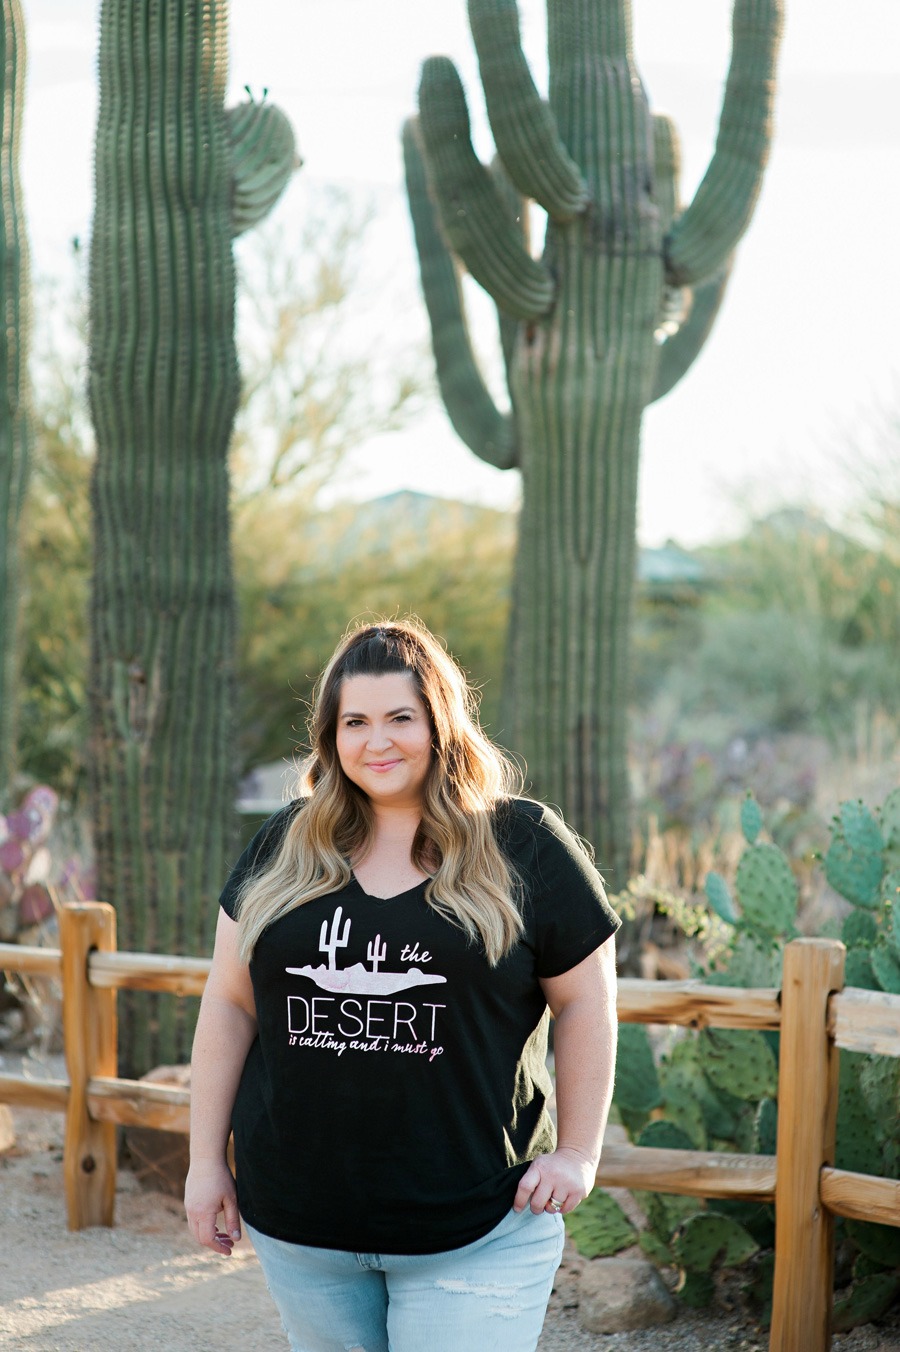
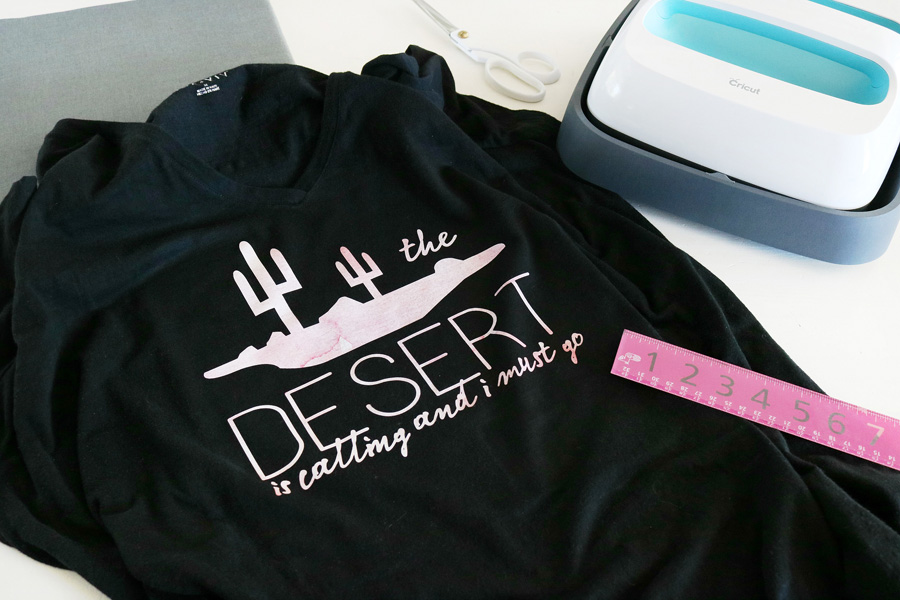 You’re all set. I love that I can have a cute custom tee that’s all my own and reflects my style in under 15 minutes. Using Iron-On makes it so easy and if you’ve never used it before I’m pretty sure you’ll be as obsessed as I am after your first try.
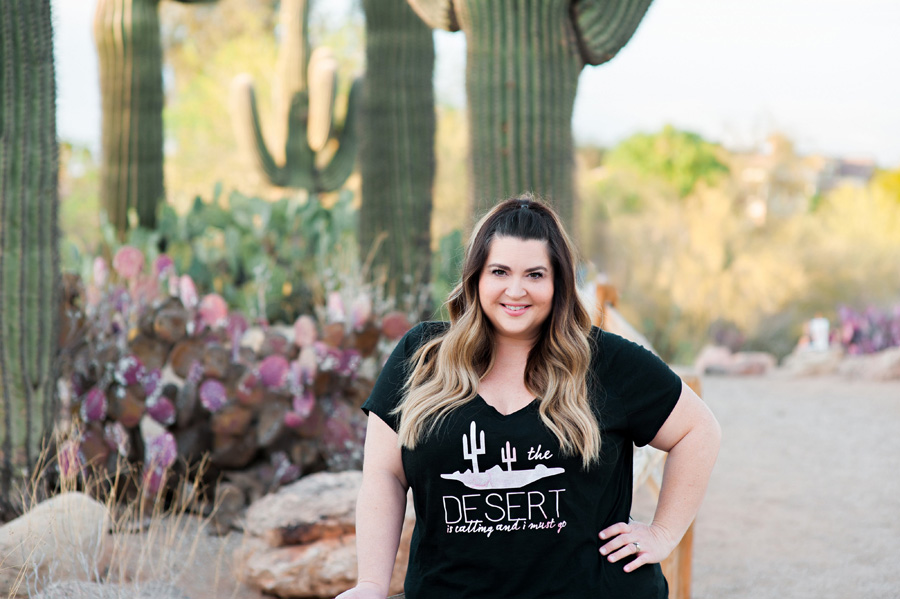 I’m already planning some new t-shirt designs so stay tuned for more tutorials!
This is a sponsored conversation written by me on behalf of Cricut. The opinions and text are all mine.






Leave a Reply