I can’t believe Halloween is just a couple weeks away. Now that the kid’s costumes are out of the way I wanted to make myself something to wear for Halloween. I’m always up for a quick and easy t-shirt idea, so I’m sharing my DIY Trick or Treat Yo Self Easy Halloween T-shirt with you!
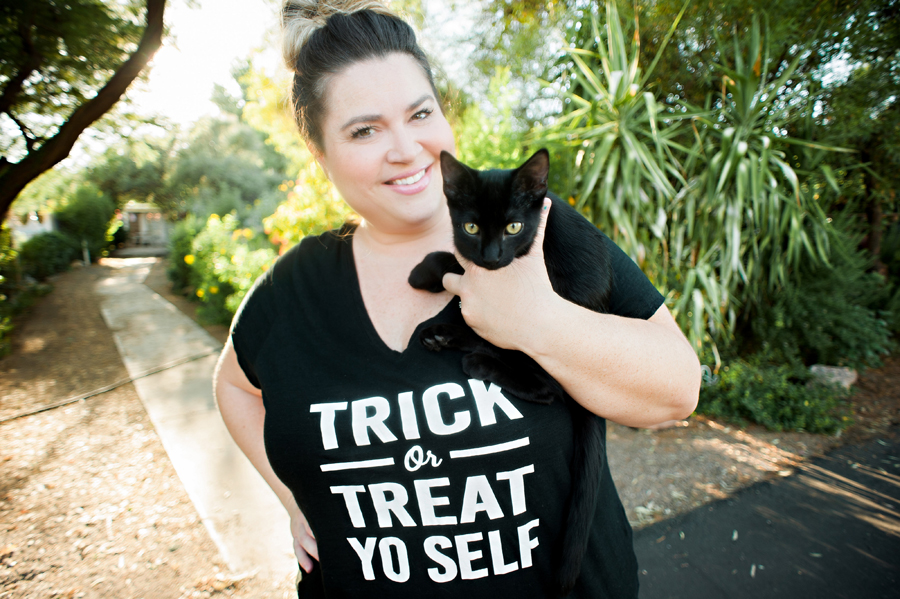 I’m not really the dress up for Halloween kind of person, I never have been. That doesn’t mean I don’t want to wear something cute for the occasion though, and I am always up for a cute graphic tee. Finding cute graphic plus size t-shirts is sometimes a challenge though, so I love a chance to make my own.
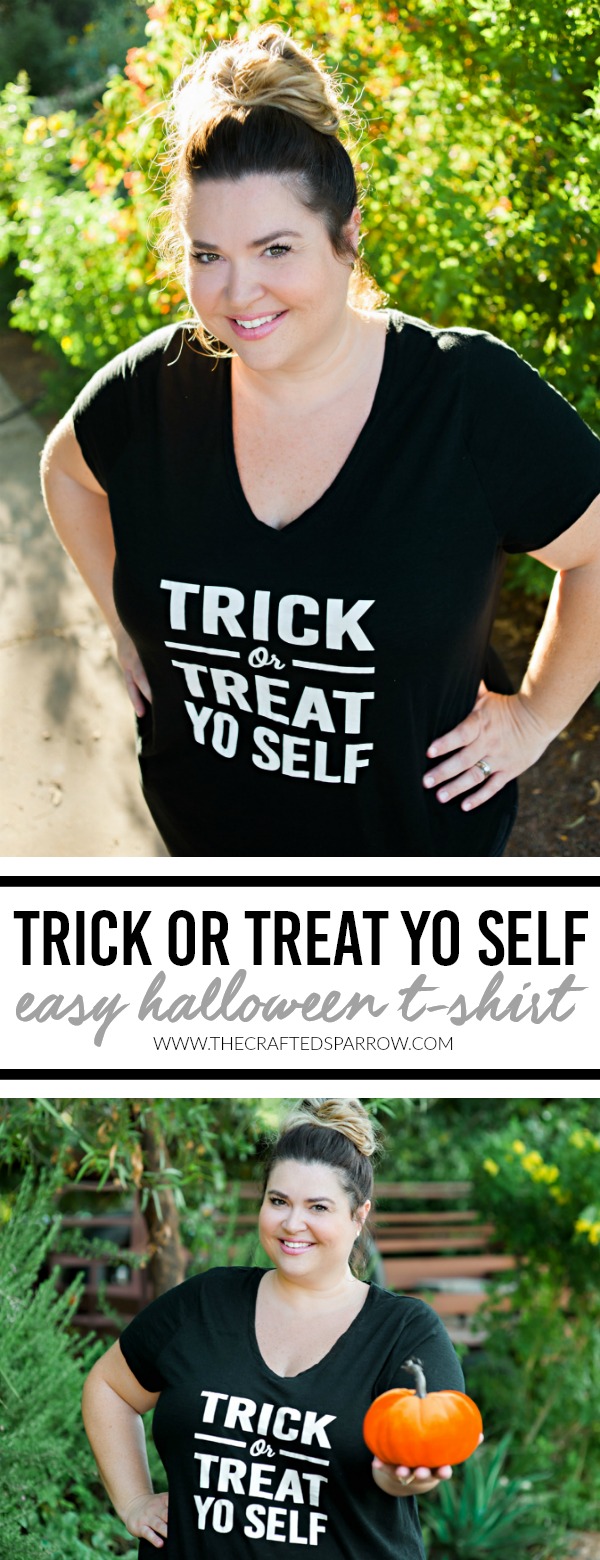 This cute DIY Halloween T-Shirt isn’t just for plus size gals obviously, it’s perfect for everyone! I love how quick and easy this DIY shirt is to make. I was able to whip this DIY Trick or Treat Yo Self Easy Halloween Shirt up in just under 20 minutes with one of my very favorite crafting tools. Let me show you…
Supplies:
- T-Shirt, any color (black is my favorite)
- Cricut Everyday Iron-On
- Cricut Maker or Cricut Explore Air 2
- Cricut EasyPress 2 or Iron
- Cricut EasyPress Mat – 20×16″
- Weeding Tool
- Cut file for this project found HERE
First, you will start by downloading my original printable found by clicking the link above in the supply list. After you have downloaded the file you can open it in your cutting machine software like Design Space. You will then need to turn it into a cuttable image with your program.
- Please Note: These printables and downloads designed by The Crafted Sparrow are for personal use only. Please do not alter the file or image and claim it as your own in any way. This file is not intended for resale, nor are the printed versions of this file!
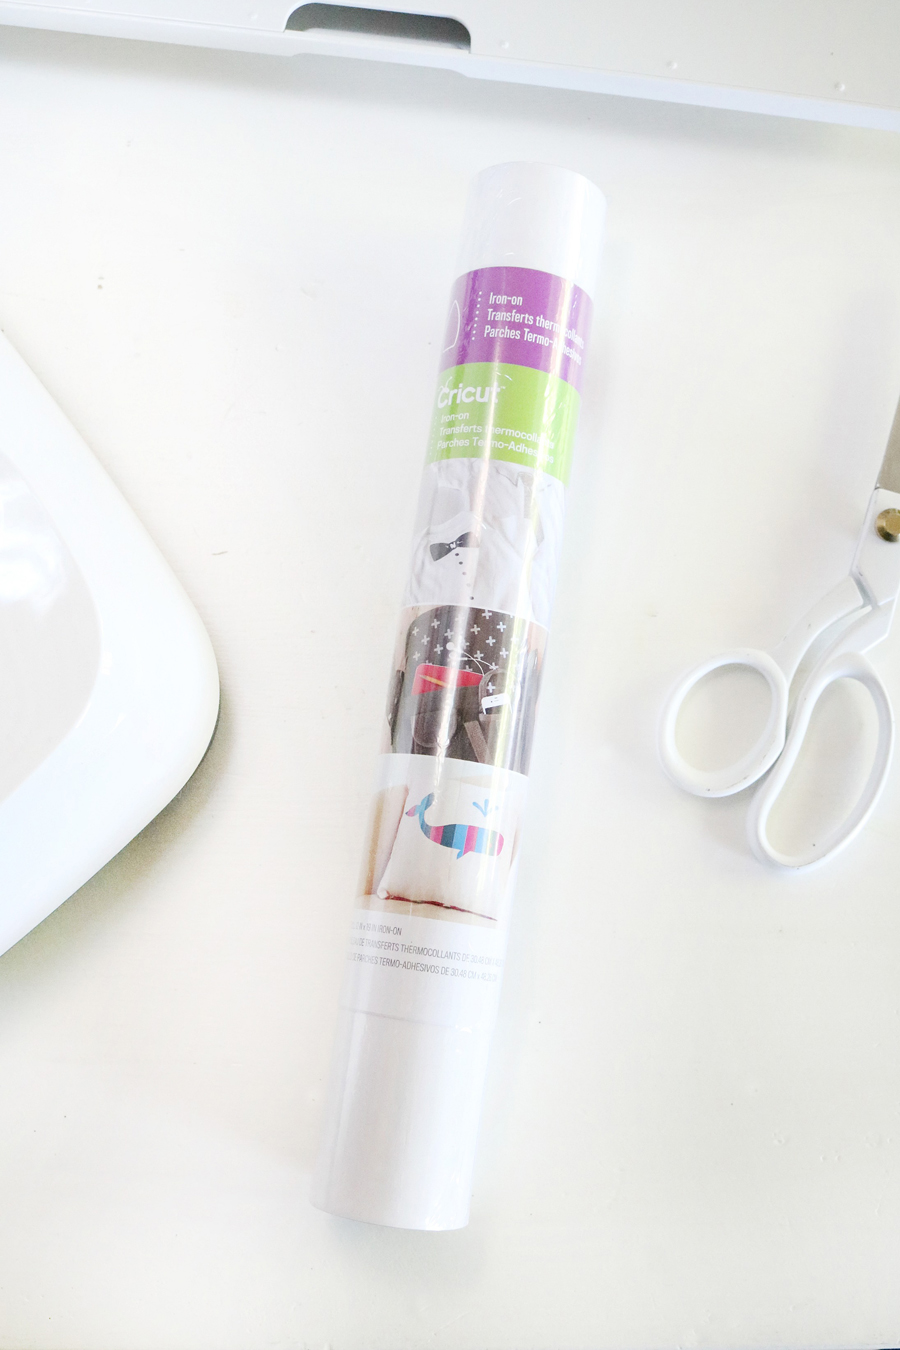 I love using Cricut’s Iron-On Vinyl for my t-shirts, it stays on through lots of washes. I picked my favorite color combo for this t-shirt, black and white of course. I used a t-shirt I had on hand so this project only cost me what the vinyl cost.
Note: If you’re a plus size gal like me I love the Ava & Viv t-shirts or Universal Thread t-shirts from Target.
Once you have your design ready to cut in your cutting software be sure to mirror the image before hitting go since your working with iron-on. Weed your image with your weeding tool. Use a ruler to center your vinyl graphic image on your t-shirt. Make sure your t-shirt is on a hard and firm heat safe surface for ironing. I have my Cricut EasyPress Mat under my shirt on top of a hard table. If you’re using a regular iron be sure your steam setting is turned off and that it’s to the hottest cotton setting. If you’re using an EasyPress like me make sure your settings are set for vinyl on a cotton tee or whatever blend your material is.
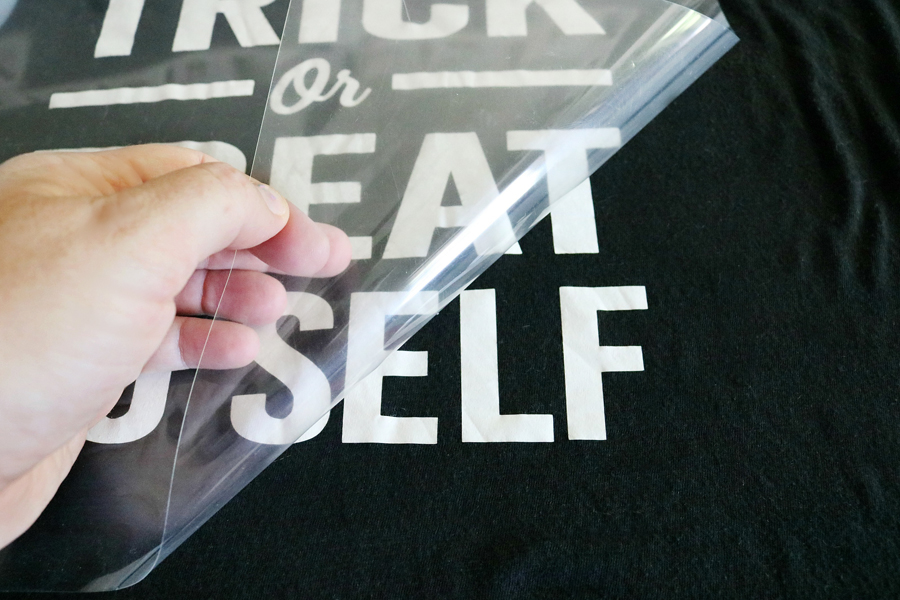
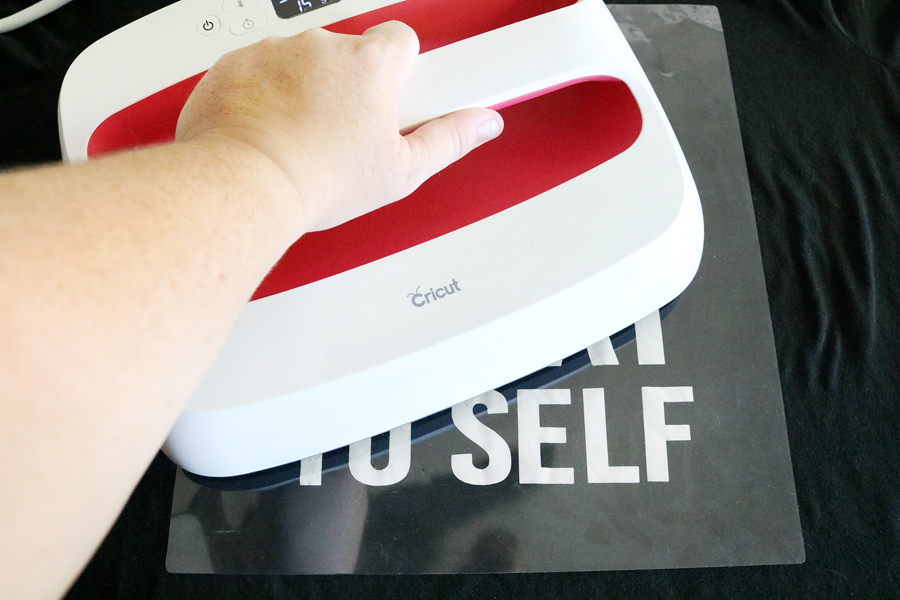 Let your iron-on vinyl cool completely before removing the plastic carrier sheet. This is called a cold peel. Carefully pull it away from the vinyl, if any areas need a little extra heat to adhere better just simply put the carrier sheet back on top and iron over it again. Then let it cool again before removing the sheet.
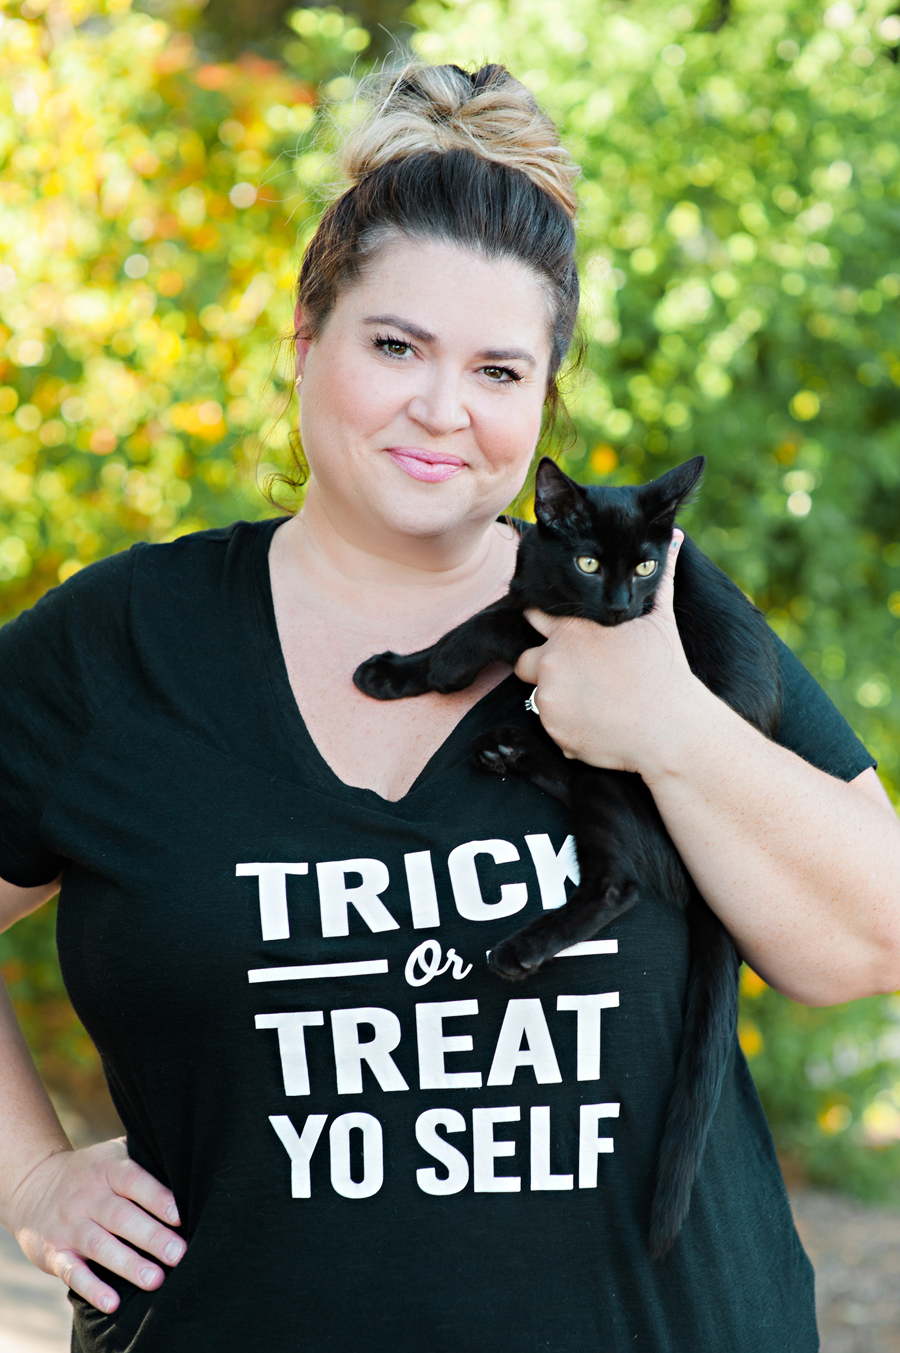
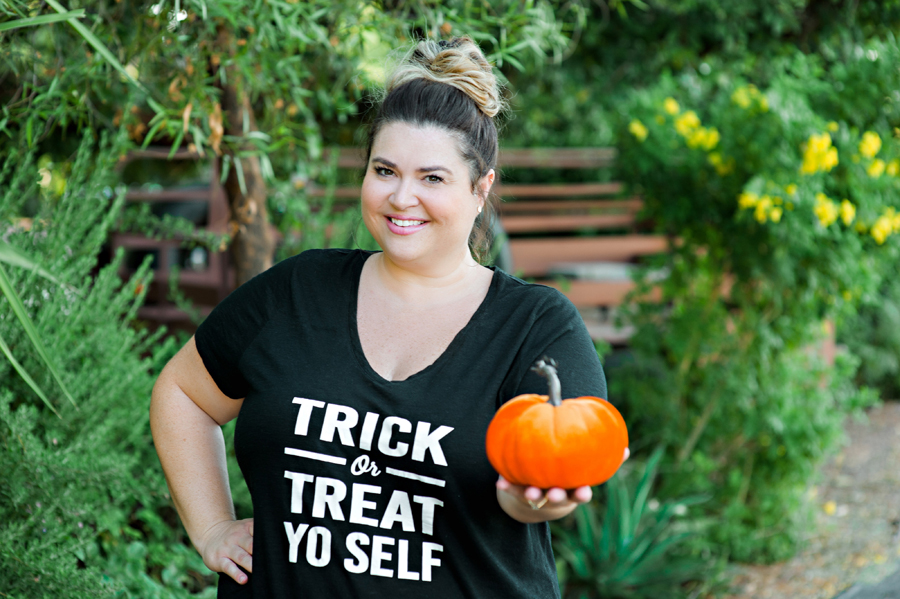
 Once it’s done you have a super cute tee perfect for your Halloween party, trick or treating, or just because you love Halloween.
Wouldn’t you know that as one of my besties Jackie from Everydayness Photography was snapping these pics a sweet little neighborhood black cat was playing right by us and happily joined us in the pics. Give me all the black cats!
 Still looking for even more DIY T-Shirts or DIY Halloween Decor? Be sure to check out these other awesome ideas…
- Trick or Treat Yo Self Halloween Pillow
- Simple Black & White Halloween Mantel Decor
- DIY Black & White Fall Inspired Pillow
- Simple & Modern “Hey There Pumpkin” Fall Printables
- Black & White Simple and Modern Fall Mantel Decor
- DIY The Desert is Calling T-Shirt
- DIY Disney Mary Poppins Inspired T-Shirt




Leave a Reply