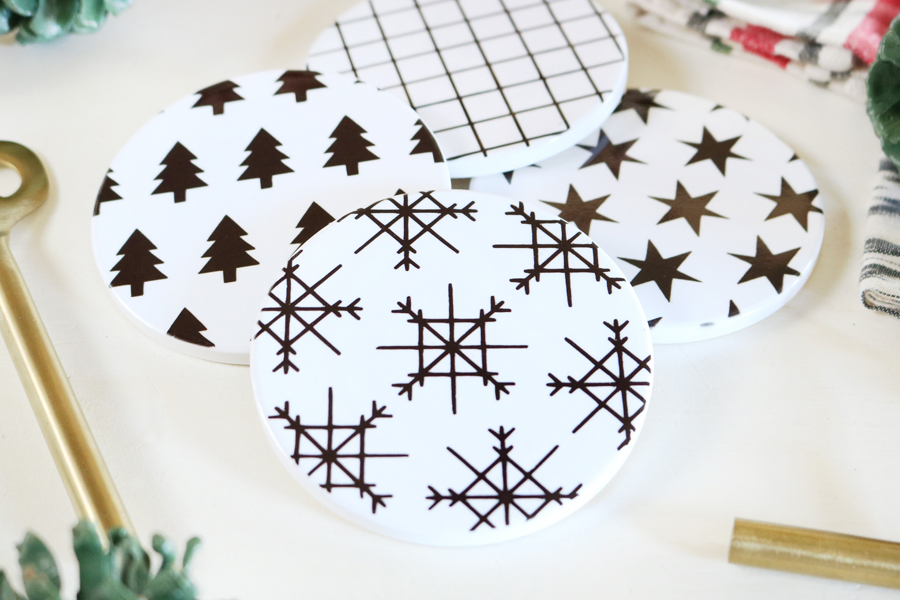
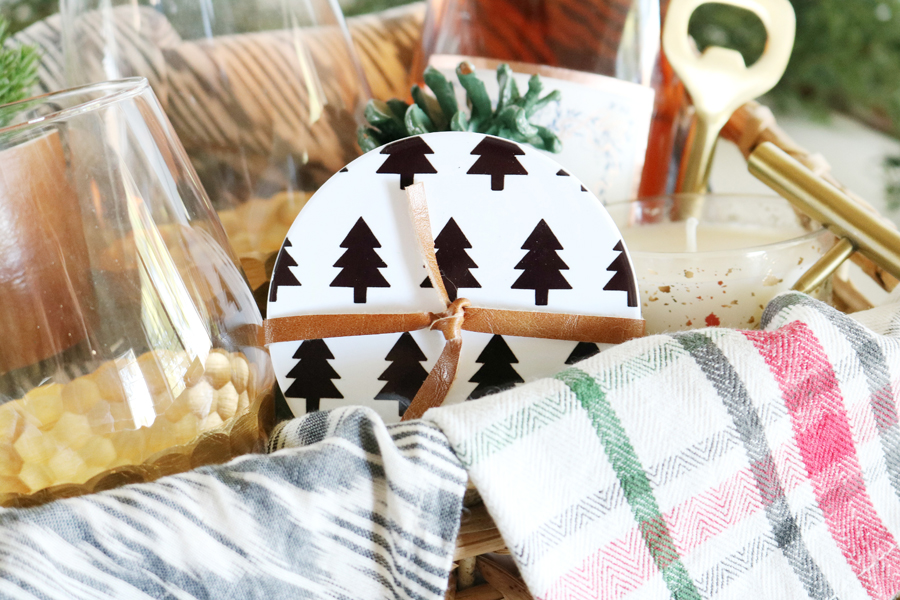
I absolutely love giving gifts, it’s really something that brings me so much joy. Sometimes I will find something great in a store that is the perfect thing for someone, but one of my very favorite things to do is to create personalized gifts that I know they will love to go along with store-bought finds. This year for Christmas I’m making these Black & White Modern Christmas Coasters with my Cricut Explore Air 2 for some girlfriends and pairing them with some of my favorite things.
 DISCLOSURE | This is a sponsored conversation written by me on behalf of Cricut. The opinions and text are all mine. This post may contain affiliate links at no cost to you.
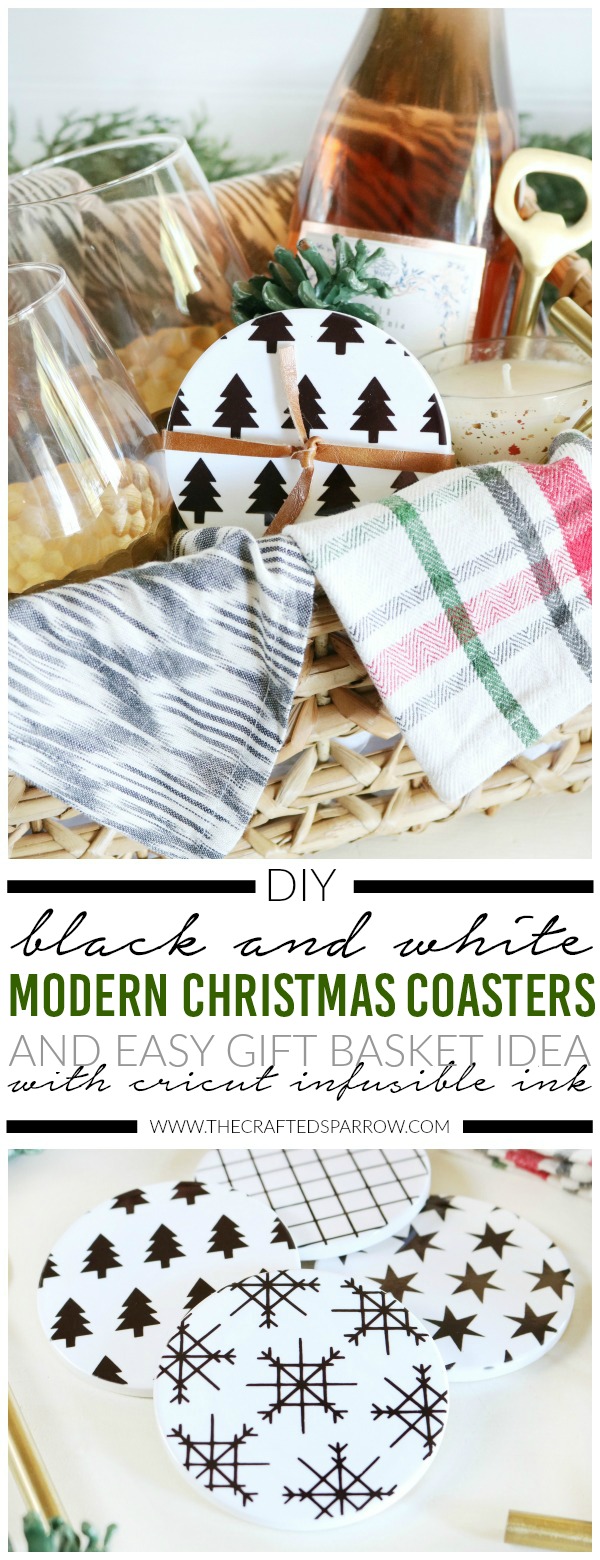 Let’s Get Started! Here’s What You Will Need to Make These DIY Black & White Modern Christmas Coasters.
Supplies:
- Cricut Explore Air 2
- Cricut Standard Grip Mat
- Cricut Infusible Ink, any color of your choice
- Cricut Coaster Blanks
- Cricut EasyPress 2
- Cricut EasyPress Mat
- Cricut Brayer, Optional
- Cricut Heat Resistant Tape
- Weeding Tool, Optional (It’s recommended to use tweezers or your fingers to weed the project) but I do love this Tool Set
- Butcher Paper, This Comes with The Infusible Ink
- Lint Free Cloth
- White Cardstock, No Colored Cardstock!
- Go HERE To Cut The Coaster Designs in Cricut Design Space
Please remember to always have dry hands when working with this product, any moisture can ruin your products.
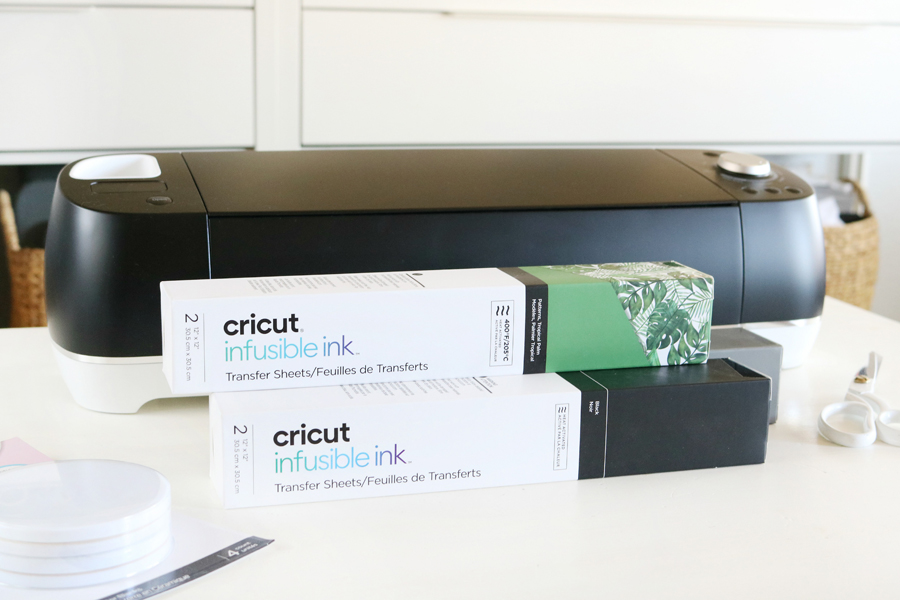 For this project, I used my Cricut Explore Air 2 – which I love to pieces! I use it just as much as my Maker machine, the Explore Air 2 cuts so many materials flawlessly. Anything from vinyl, iron-on, and fabric, to things like leather and chipboard. It can cut and write 2x faster than the previous Explore machine, and with its Bluetooth technology I can cut with my machine anywhere wirelessly as long as I have a power source.
My Explore Air 2 cuts the new Cricut Infusible Ink beautifully, which is what I used for these coasters. If you haven’t used or heard about the new Cricut Infusible Ink let me tell you all about it! The technology of it is really cool. Basically, the transfer sheets are dull and boring…once you remove them from the packaging you might think something is wrong. Trust me, once you apply the proper heat using an EasyPress 2 magic happens, and the ink transfers from the sheet to your material surface. For example, if you’re applying it to a shirt the ink will embed into the fibers of the shirt. Which means it will last as long as the shirt does. When it comes to coasters you’d swear they are store-bought, they look professionally printed with infusible ink. In fact, the first set of coasters I made and showed my hubby he thought I was lying to him and swore I’d bought them and was trying to trick him. He just kept examing them trying to figure it out.
Time to make our coasters!
Let’s get making! Start by opening Cricut Design Space. I designed my coasters and uploaded my own SVG files to my Design Space account, don’t worry though I’ve created an almost identical set of images for you to create your own coasters. You can find them HERE, then either hit “Customize” if you want to cut different colors or “Make It” if you have no changes you want to make.
I’ve got the coaster designs already fit to size for the round ceramic coasters and they are ready to cut. If you want to change the color of the infusible ink this is the time. I have all the designs set to cut on black infusible ink. You can cut any color or pattern you like. Just hit “Make It” when you’re ready to start cutting.
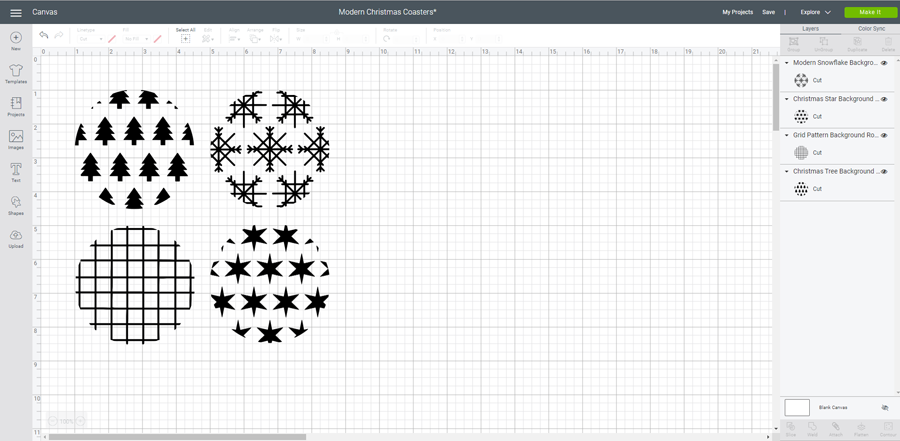 You can see below when I hit “Make It” it arranged all my coaster designs pretty close together on my cutting mat. This is totally fine, but I did end up moving them a little further apart and attaching them so they would stay in place on the cutting mat and cut with a little more room to trim around each design.
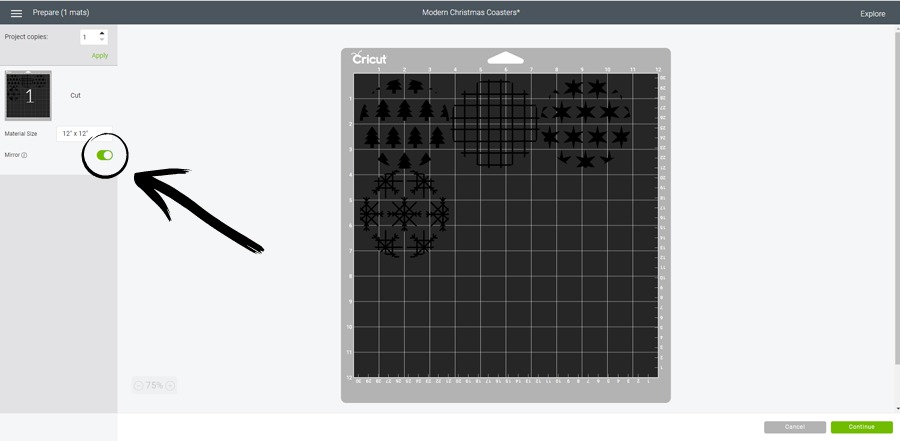
Be sure to “Mirror” your images before you hit the green continue button. The infusible ink works similarly to iron-on in that it needs to be mirrored to transfer correctly.
 When you hit continue it will take you to a screen where you will select the machine you’re using from the drop-down menu. For this project, I used my Explore Air 2 and turned my dial to “Custom” for the materials setting. Then on my computer, I selected Infusible ink for the material. If you’re using your Maker machine you will select your materials from the list.
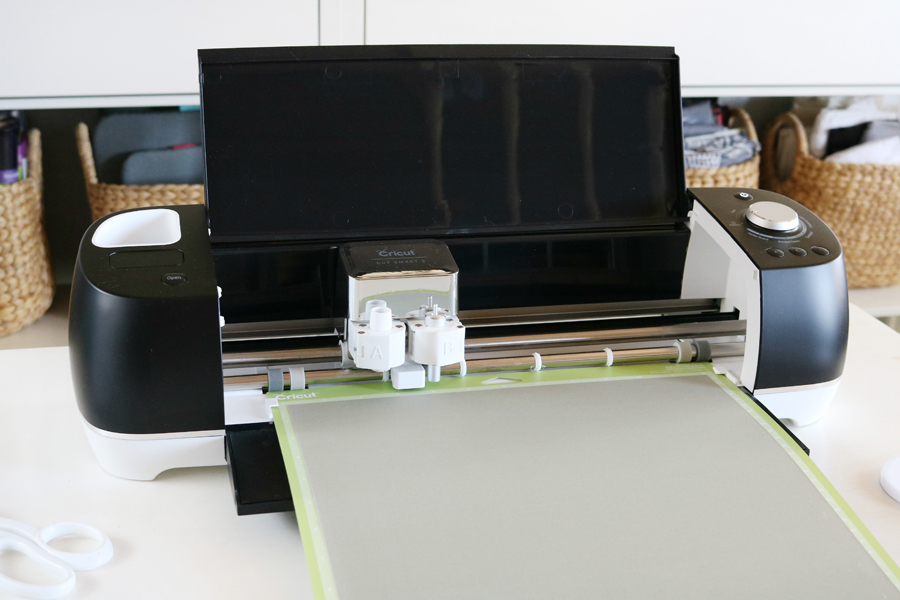 Place your infusible ink sheet shiny side down on the cutting mat. I used my brayer tool to make sure my material was smooth on the mat.
Load your mat and hit “GO” – the flashing C light. Once your designs are cut unload your mat and gently roll the mat away from the material.
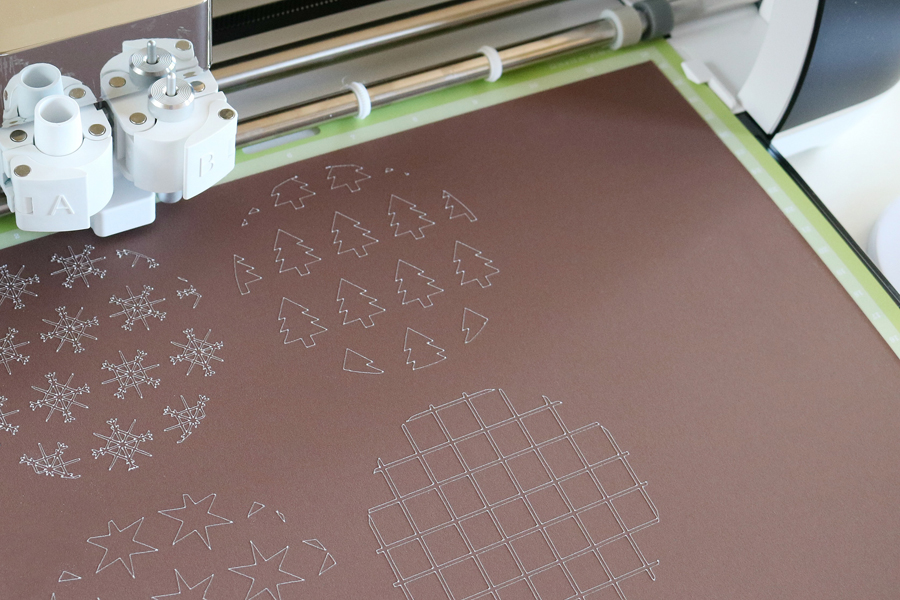 Weed your designs and remove the portion of infusible ink you don’t want on your coaster. It’s best to use your fingers or tweezers for this, but you can use a weeding tool if necessary.
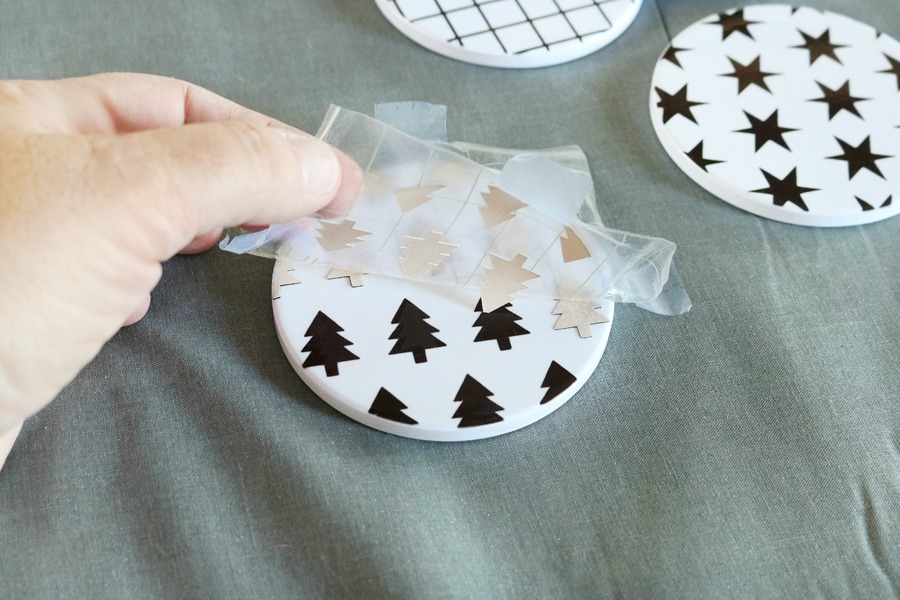
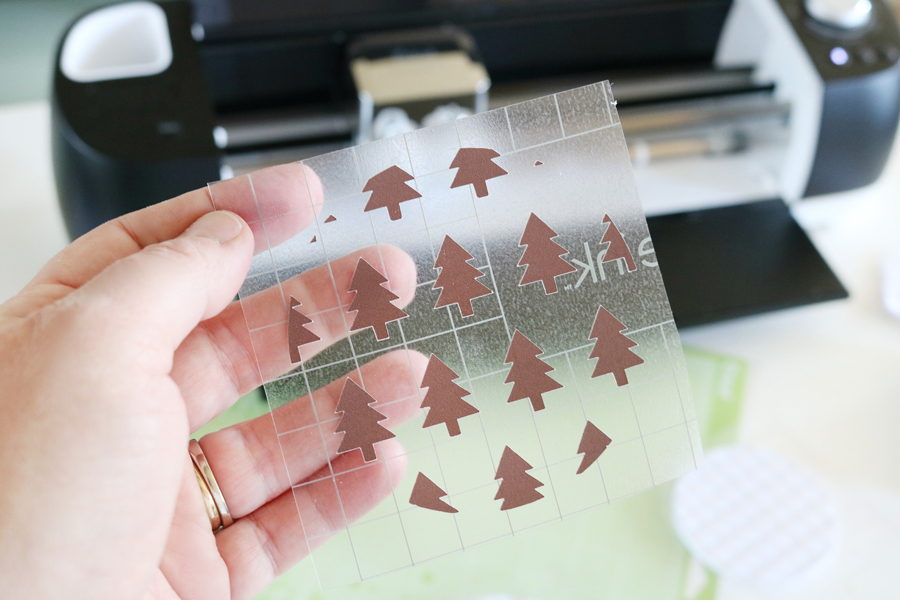 Wipe each coaster with a lint-free cloth to prepare them for the ink transfers. Place your infusible ink design on the shiny side of the ceramic coaster. Use your heat-resistant tape to tape the design in place on each side and secure it to the back of the coaster.
Heat your Cricut EasyPress 2 to 400 degrees F for 240 seconds. You must have an EasyPress 2 to make these coasters.
Place the EasyPress Mat directly on top of a hard surface, and place a piece of white cardstock on top. Next, place your ceramic coasters face down (design side down) on top of the cardstock. Use the parchment paper sheet that came with your infusible ink and place it on top of your coasters. If you have the largest size of EasyPress 2 you can do 4 coasters at once as I did. Gently set your EasyPress 2 on top of the coasters, do not move it around, and do not press down. Simply place it on top and set the timer. When the timer is done remove it by lifting it straight up and off the coasters.
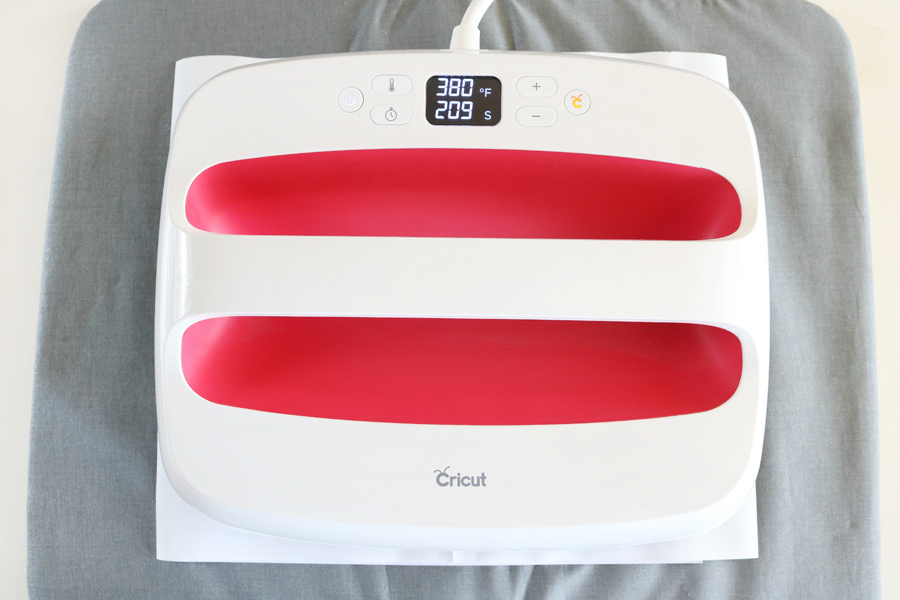 Do NOT, I repeat DO NOT touch the coasters yet. They are extremely hot and need to cool completely. Once they are cooled you can remove the transfer sheet and tape. You will see how all the ink left the transfer sheet when you peel it away.
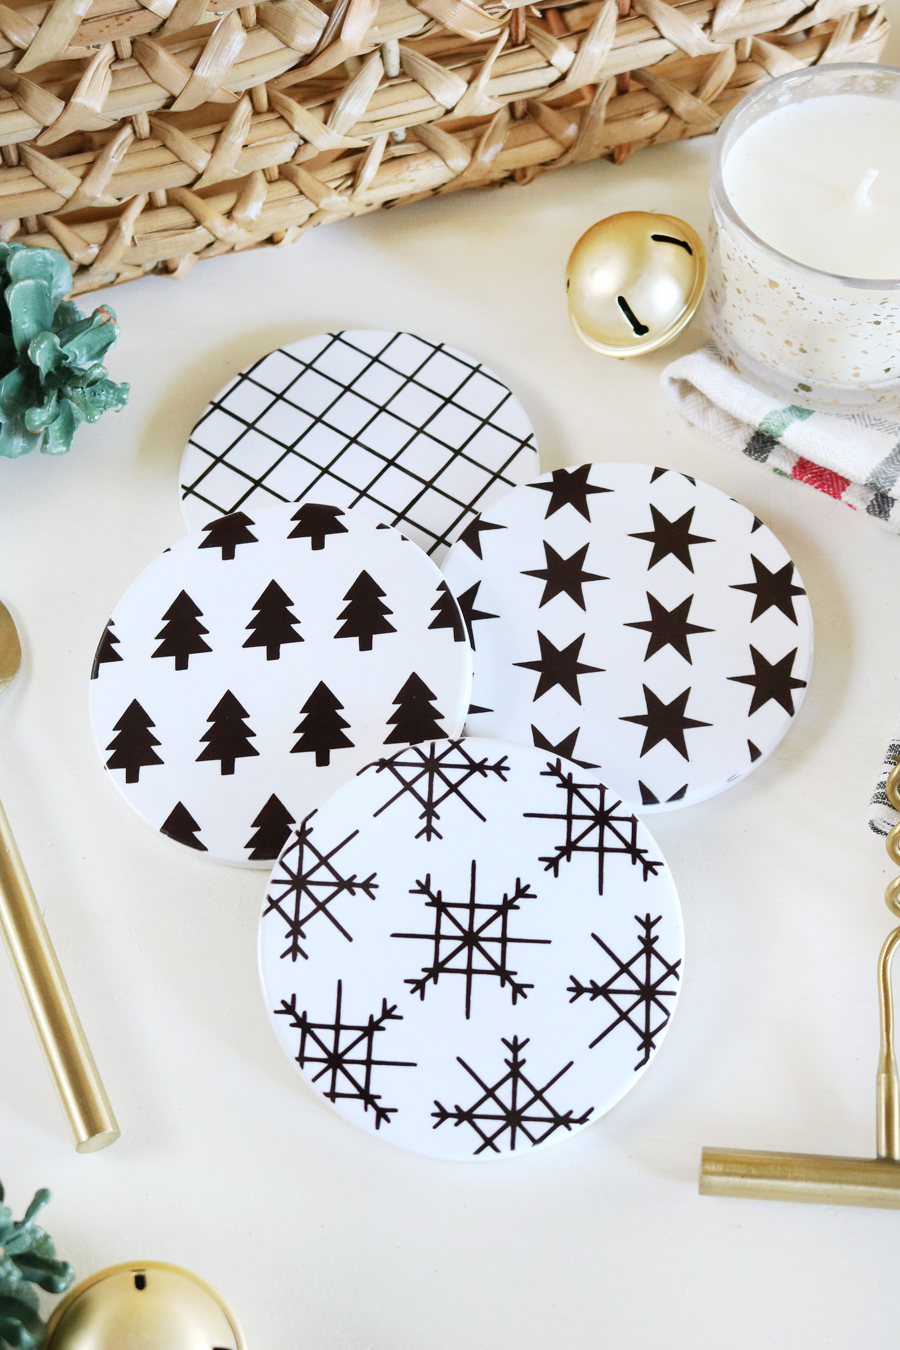
 Love these Black & White Modern Christmas Coasters? Be sure to check out these other black and white Christmas Ideas.
- Black & White Casual Boho Christmas Mantel Decor Ideas
- DIY Boho-Inspired Leather Tassel Christmas Stockings
- Black & White Modern Snowflake Christmas Mantel Decor
- Black & White Modern Snowflake Christmas Tree Decor
- Simple & Modern Christmas Dining Table Ideas
- DIY Fa La La Christmas Pillow
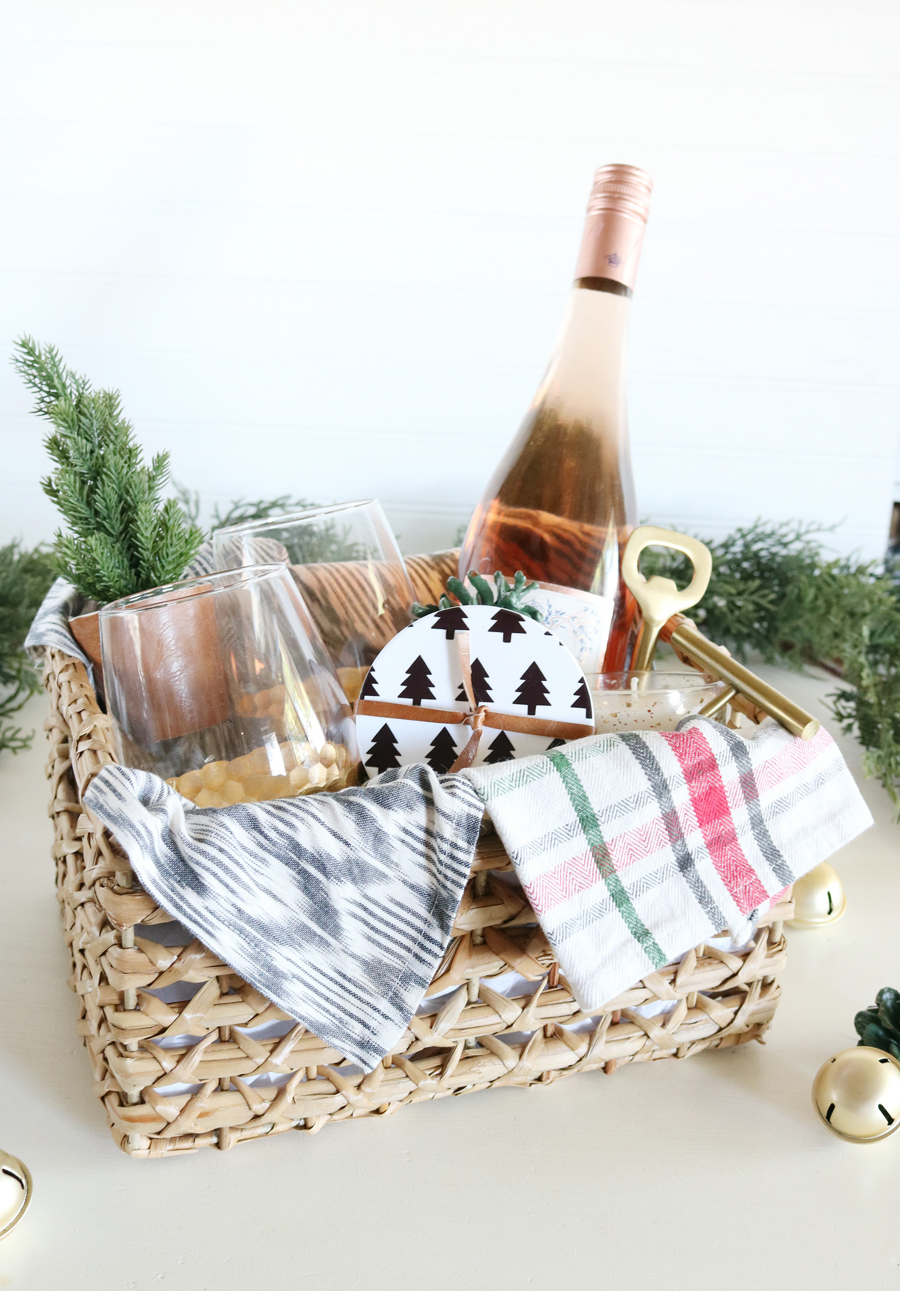
 Use a cute ribbon or tie of some sort to package your Modern Christmas Coasters and they are ready to add to your gift basket.
For this quick gift basket idea here are some of my favorite things you can give with your coasters:
- Cupcake Rosé Wine
- Gold Bottle Opener
- Gold Corkscrew
- Gold Stemless Wine Glasses
- Dishtowel to Layer in Basket
- Candle
- Basket
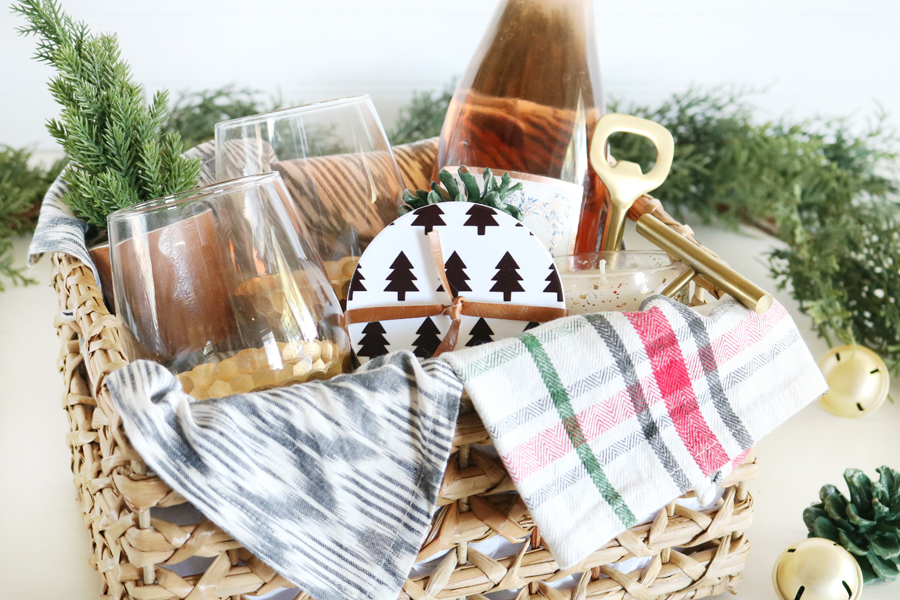 This gift basket idea is all packaged up and ready to give, so cute right?! If wine isn’t your thing just switch it out for sparkling cider, or add a couple of mugs and hot cocoa mix to the basket instead. So many fun things you can do.


Leave a Reply