– Pine board {mine measures 7 x 18″}
– Vinyl stencil
– Acrylic paint
– Sandpaper
– Foam brush
I then covered it with a couple coats of white acrylic paint when the gray was dry. Let your paint dry well so the vinyl stencil doesn’t peel the paint off when you peel the stencil off.
I then just centered my stencil on the painted board, and smoothed everything out. Typically I would paint this with acrylic paint {which I normally do} however this go round I was having issues with my black acrylic paint not drying properly and peeling up with the stencil. So I grabbed a can of flat black spray paint I had on hand and used that to spray the stencil instead, I suggest using acrylics!
Once everything was dry I peeled up my stencil and grabbed a piece of sandpaper and just distressed the sign to give it more of an aged look. The gray from your first coat of paint with show through. You can also go over the letters lightly and give them a worn look.
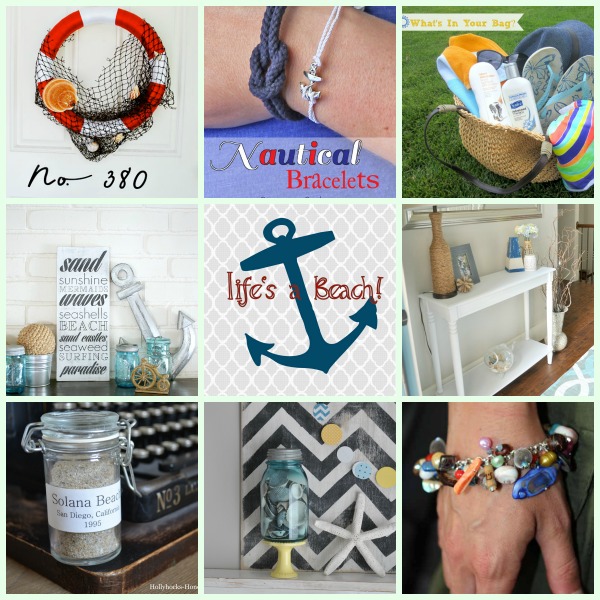
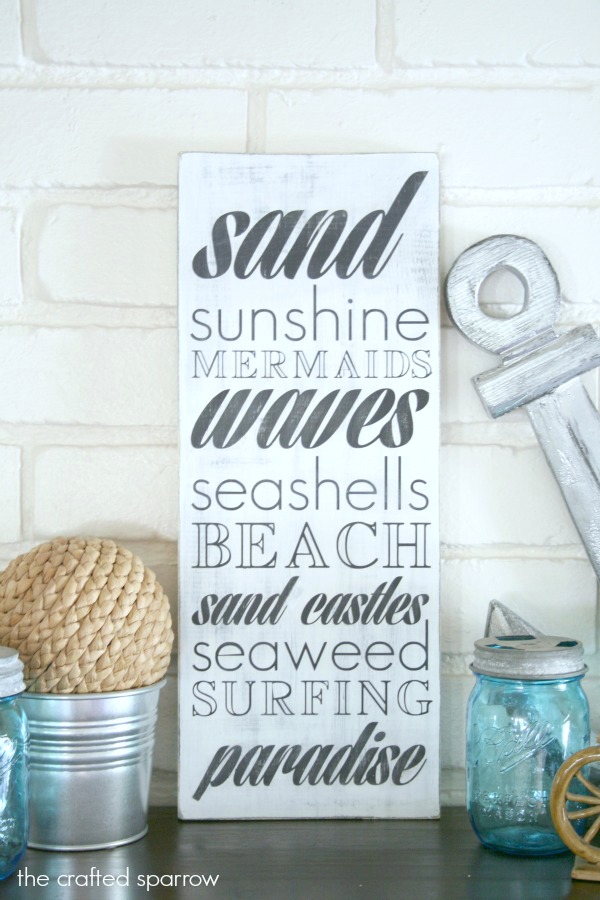 So if you too are wishing and dreaming of being at the beach, but can’t…I hope you will enjoy these other 7 Beach inspired ideas! So pull up a seat, put your feet in a kiddie pool and grab an ice cold drink while you read through all this “beachy” goodness.
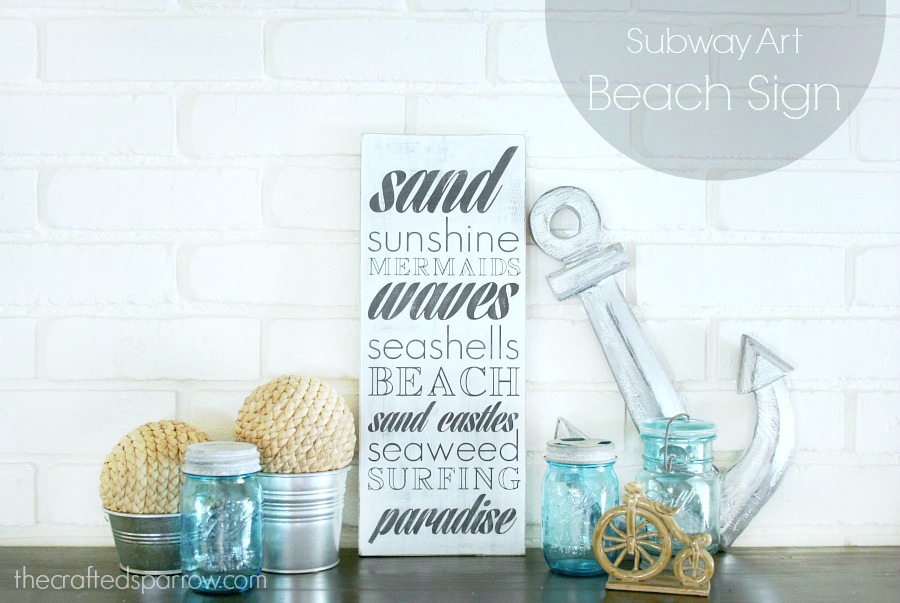
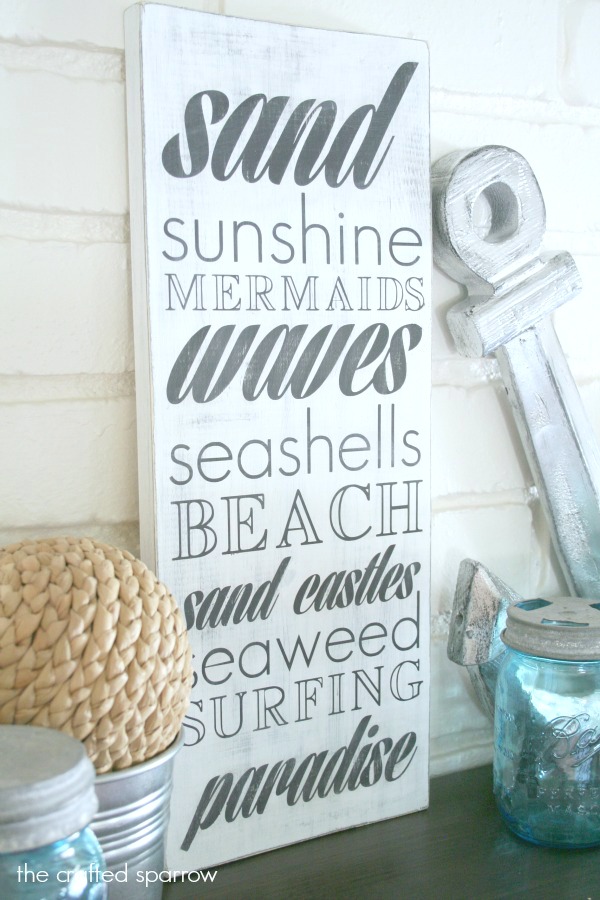


I love how this turned out, it looks great with your decor! I’d love for you to link it up with me this week!
http://www.livingbettertogether.com/2013/07/tgif-link-party-no-4_11.html
Have a great weekend!
Rebecca
this is so ADORABLE and Fun!!! I LOVE all your Blue Mason Jars.. 🙂
xoxo
Super Cute, Rebecca! Love our little fab blogger group. Such fun ideas.
Thanks for explaining how to make a stencil! (sarcasm)
Hi JJ,
Thanks for stopping by. So sorry you didn’t find my tutorial helpful. If you’d taken the time to search my blog more you’d find lots of tutorials for making stencils as I have many sign projects and much more. Have a great day!