If you follow me on Instagram you may have seen me post about this fun activity about a month ago. When I was a kid my Mom always had fun activites planned to keep us busy, this Wax Paper Crayon Art is one that I still remember doing with her – I loved it. So I was so pleased when both of my boys loved it as much as I did.
Supplies:
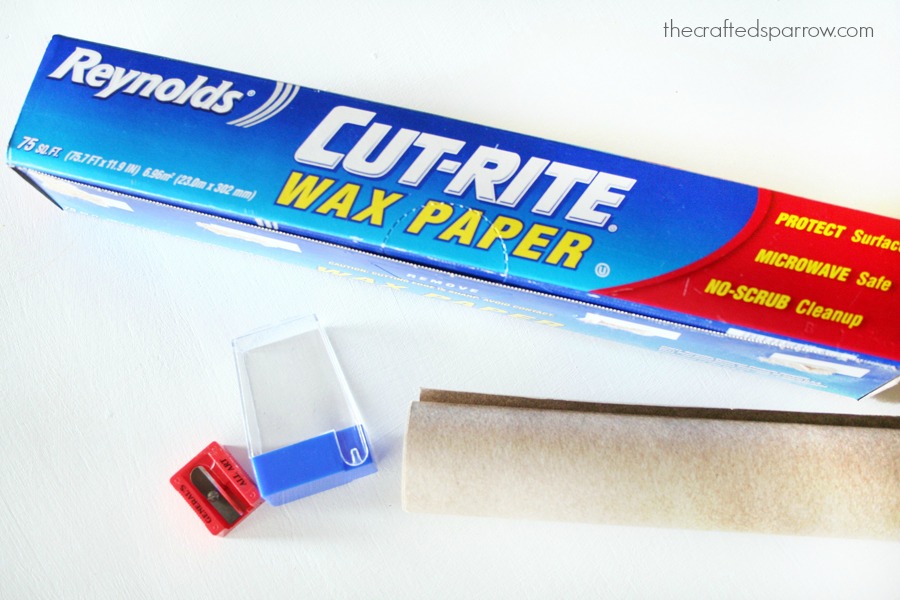
– wax paper
– crayons (Crayola work best for melting, but you can try any brand)
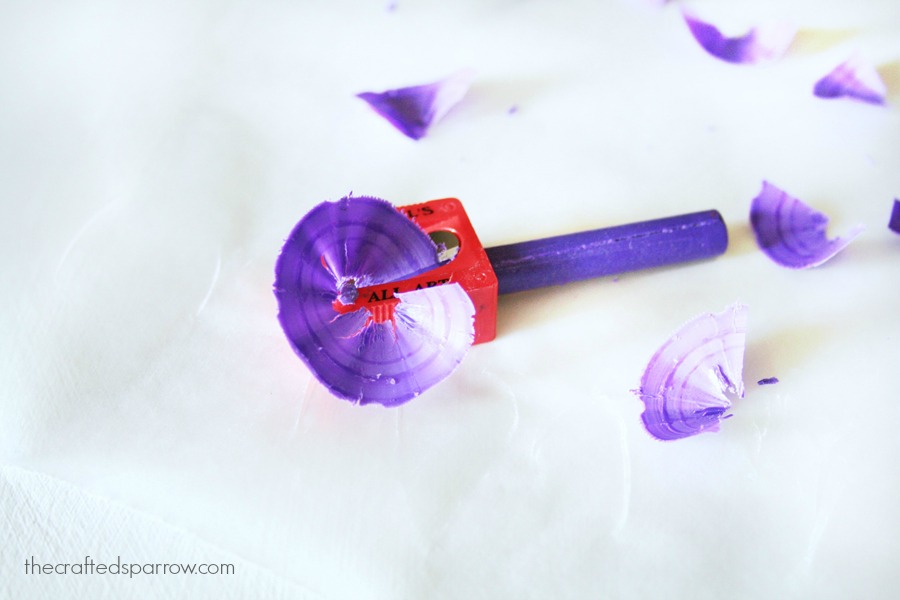
– small handheld pencil sharpeners
– iron & old towel
– brown kraft paper (dollar store) or paper grocery bags
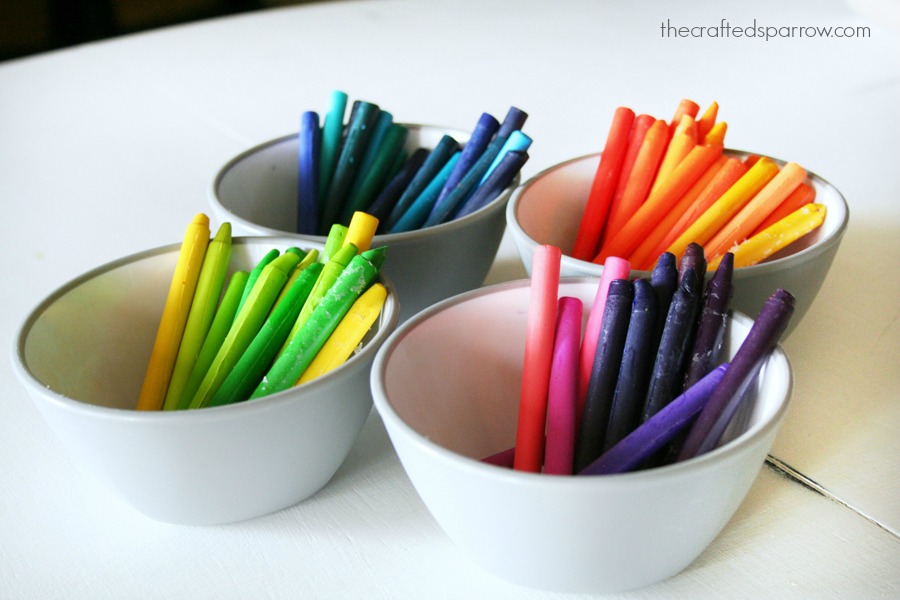
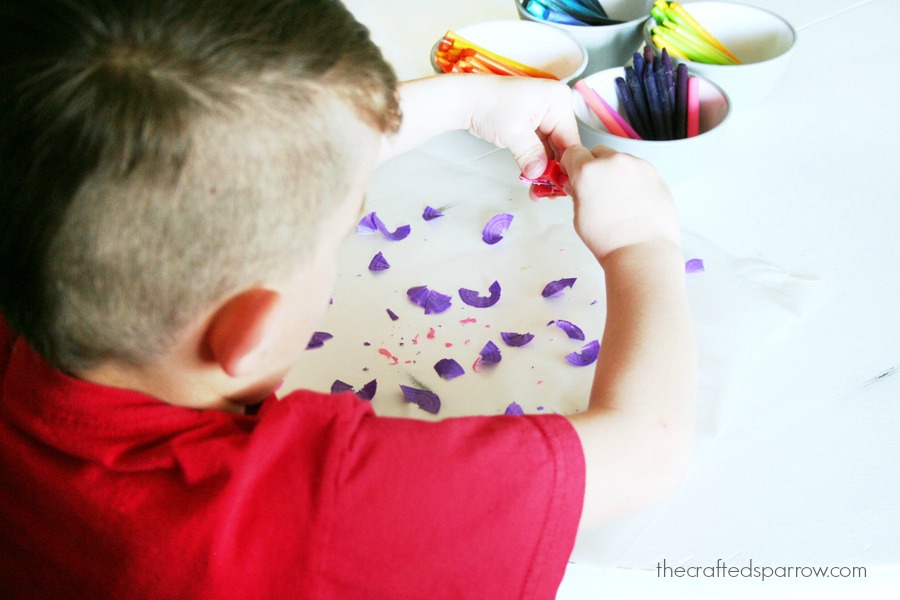
Prep your crayons by removing all wrappers ahead of time. The easiest way to do this is by slicing each wrapper with a razor knife (this is a parents only activity) or xacto knife, then removing the paper. I sorted the crayons in to small bowls or cups by color.
Sorting them isn’t necessary but it certainly made this girl happy.
Give each child a sheet of wax paper 24″ long, fold it in half and crease it. Then open it up and lay it flat on a sheet of brown kraft paper.
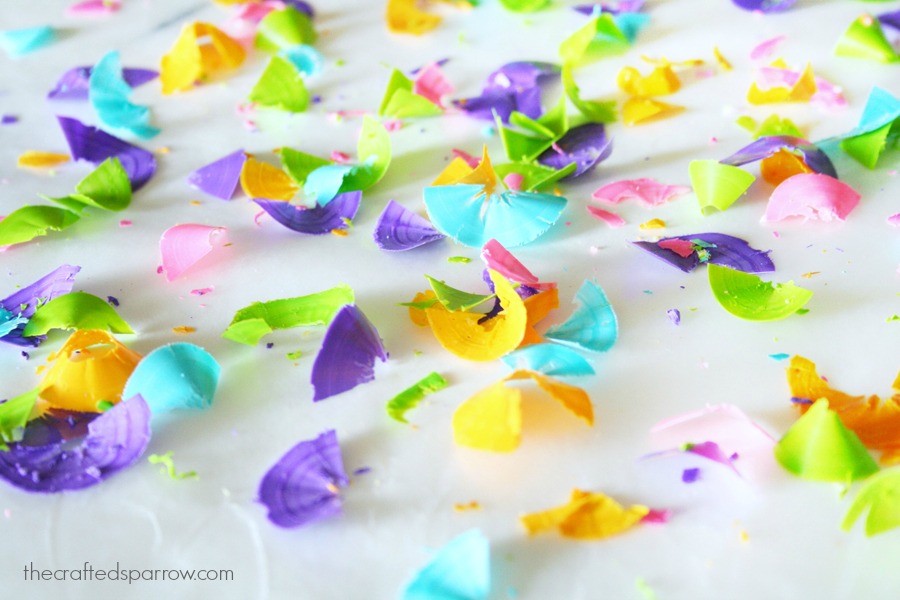
Using the handheld pencil sharpener create crayon shavings on to one half of the wax paper. I recommend keep the color combinations limited to 4-5 max, this keeps it from all turning brown basically. You will need just enough shavings to semi-cover the wax paper, it doesn’t need to be 100% covered.
Once it has enough shavings fold the other side of the wax paper over on top of the shavings. You can fold over all the open edges to contain all the shavings if you’d like. Carefully place the entire thing on a sheet of brown kraft paper on to an old towel you don’t care about, the old towel is to protect your surface from melted wax. Place another piece of brown kraft paper over the top of the wax paper.
Set your iron on a very low setting, the lowest one should be perfect. This next step is for parents or very responsible older children.
Iron lightly over top the brown kraft paper, checking after a few passes to see if your shavings have all melted. If not then go over a couple more times lightly. Set aside and let cool.
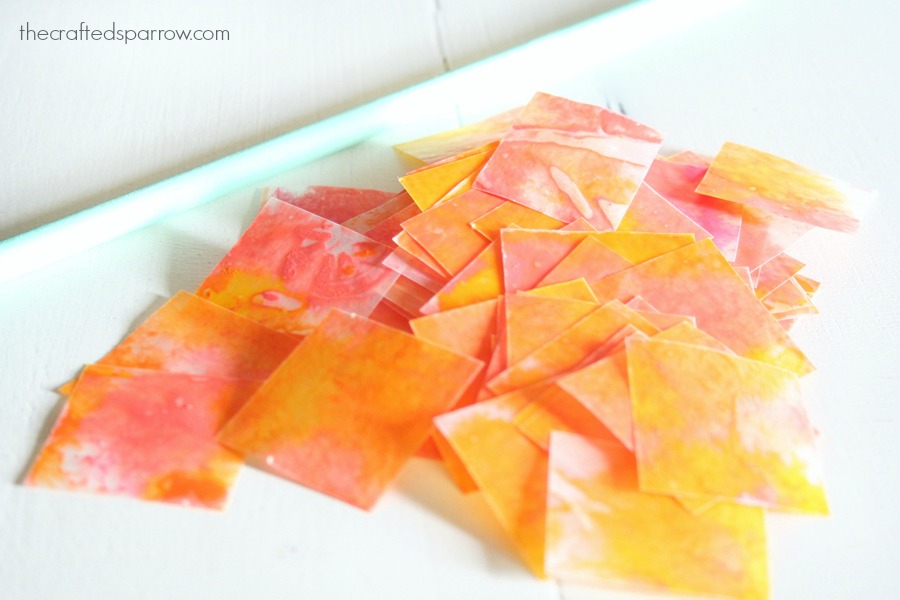
Once all the art is cooled you can do a couple things with it:
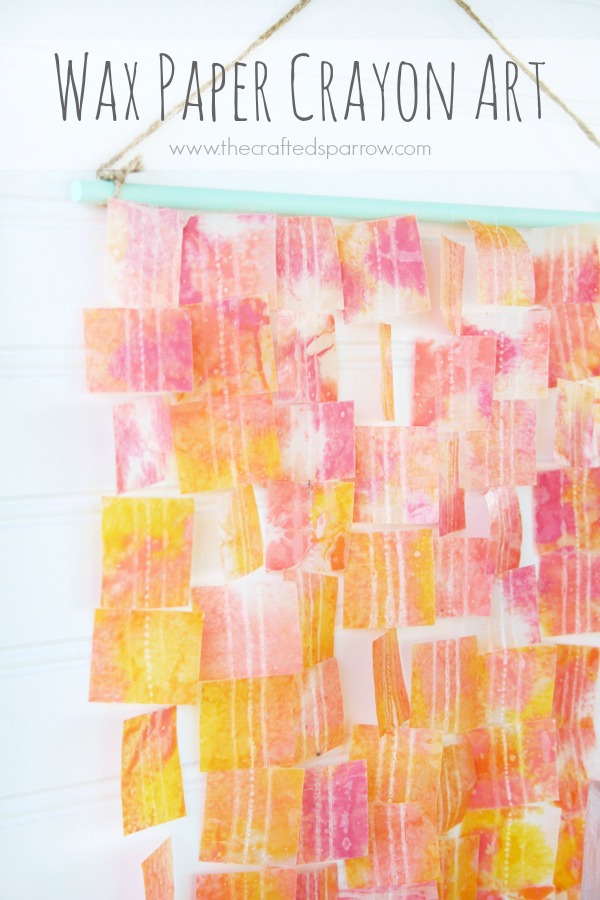
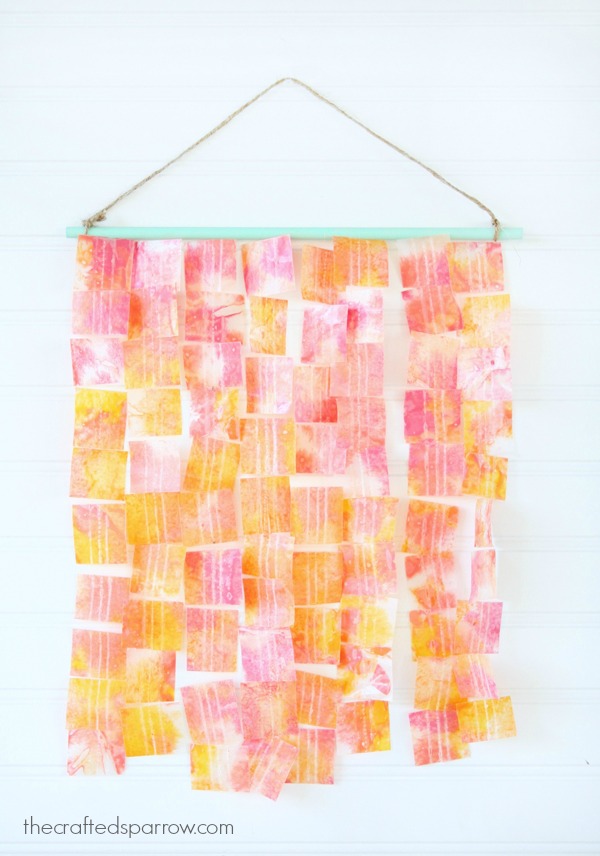
You can cut your stained glass into shapes and string your art for hanging with a needle and thread, or glue on to yarn – bakers twine. I happened to use a sewing machine, which I do not recommend since it was extremely difficult to clean afterwards. (oops!) I hung my strands on a painted a dowel rod and hung with some jute twine.
You could also simply just trim your edges on the wax paper to create clean edges. Create frames out of cardstock or construction paper and frame your artwork. Hang the artwork on a window for a fun stained glass effect. It would be fun to let the kids enjoy each others work like they were doing a museum walk, they can admire the work and compliment each other on color choices and patterns.
I hope you and the kids enjoy this project as much as we did. 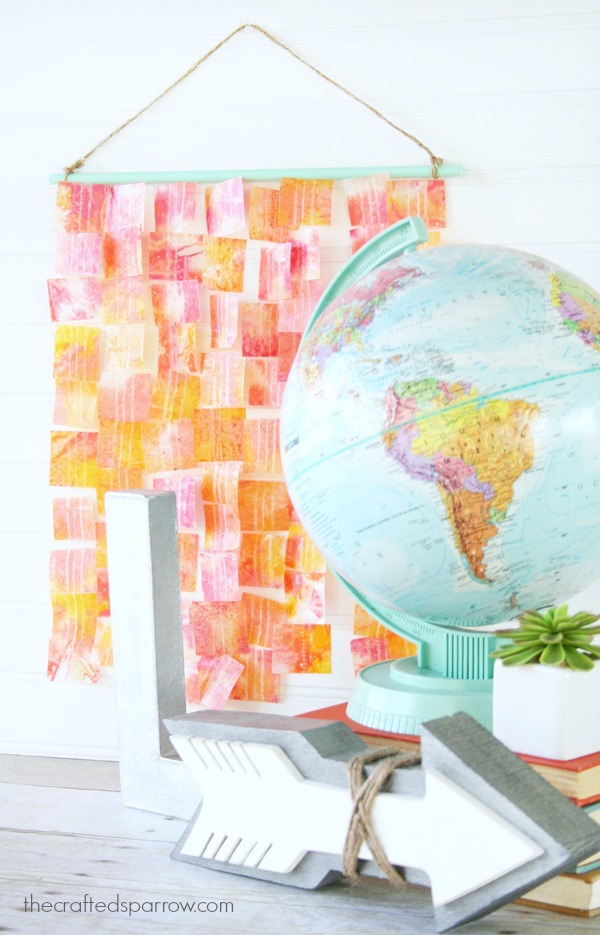
This post was originally published at Design Dazzle on (06/02/14)


What a cool effect! My kids are all teemagery and too old to want to try this but I will definitely pin it for future reference (maybe babysitting little ones sometime) Thanks, and thanks for the sewing machine warning!
Thanks Julie, hope you have an awesome week!
Ooh it came out so pretty! I need green and purple, though. Thanks for sharing. Hello from the Creative Collection Link Party!
Thank you Melissa! Hope you enjoy making this craft! Have a great week.
Adding this art project to our Summer Fun Board. My boys would love this simple, colorful activity! Thanks for the inspiration!
~ Ashley
Thanks Ashley, I hope your boys love it. 🙂