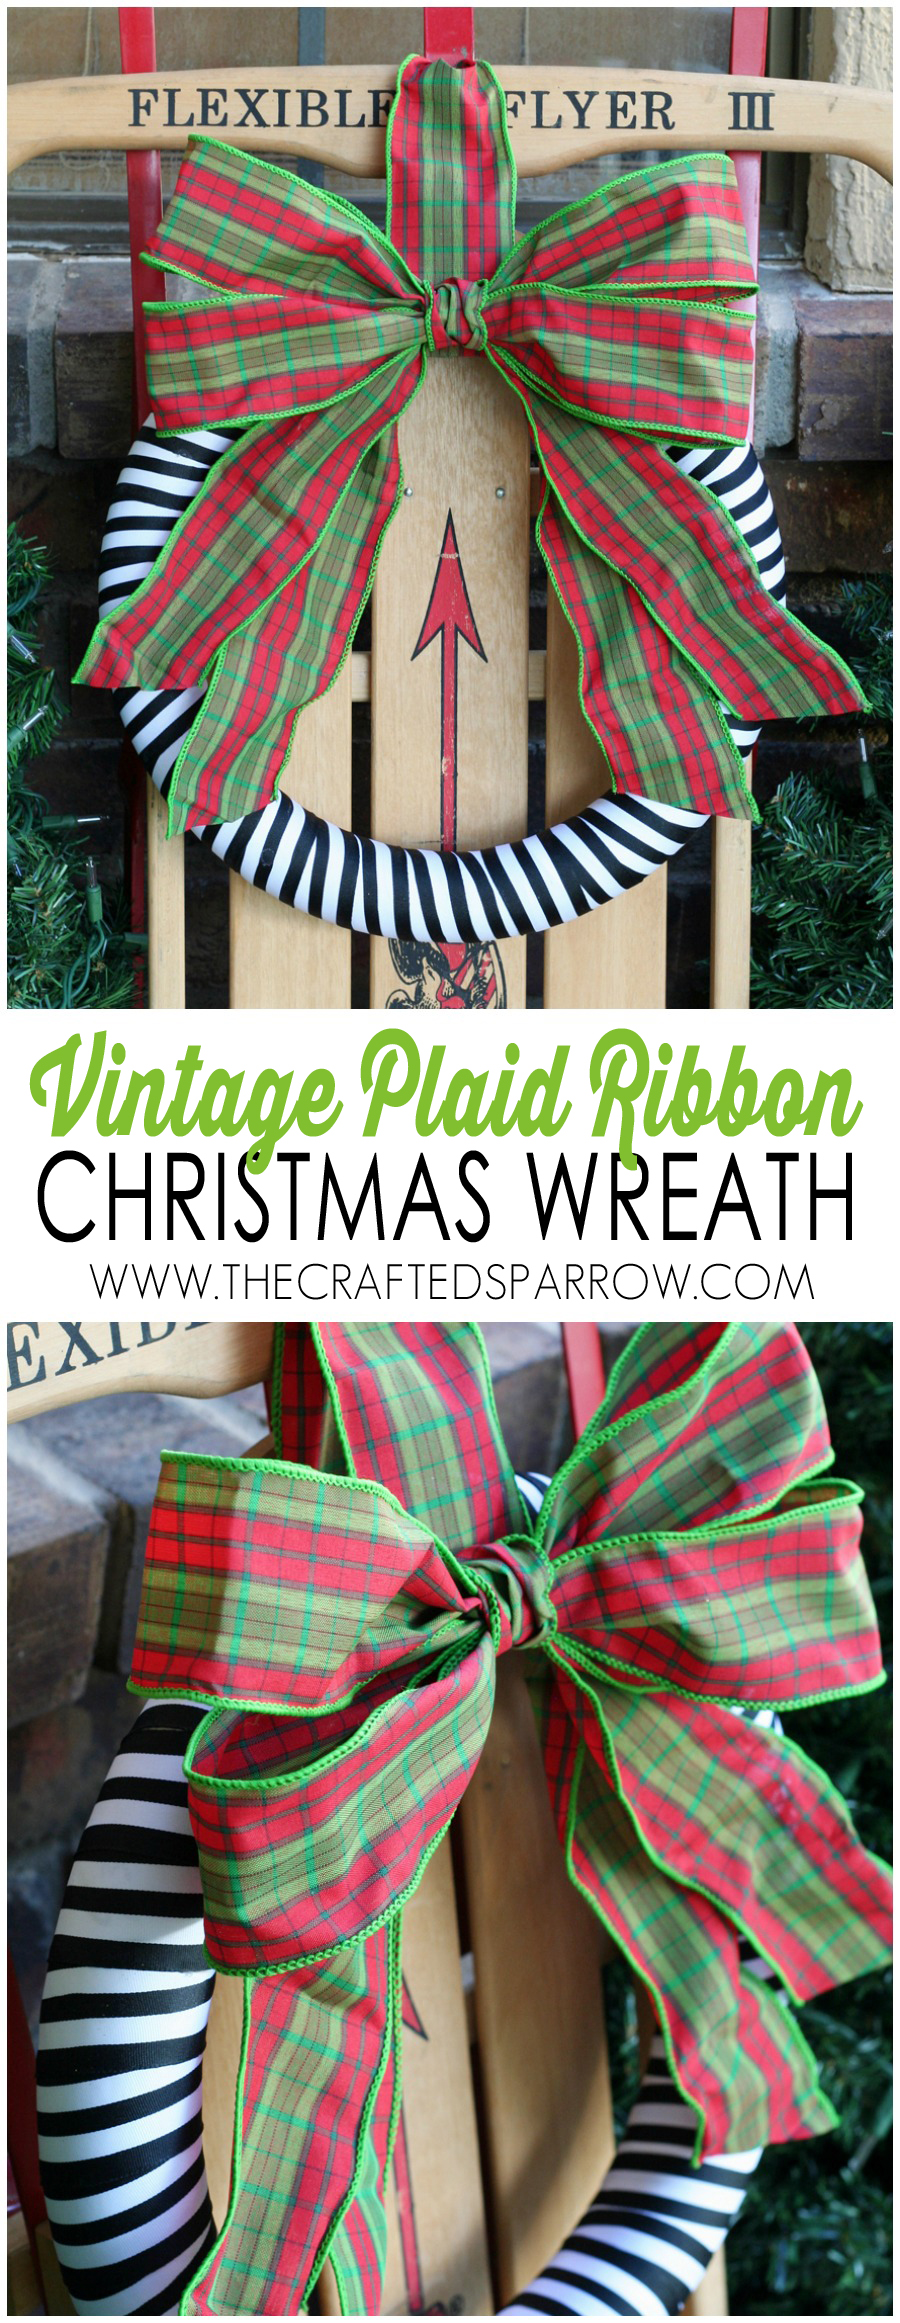
 Today I’m excited to be teaming up with 20 very talented bloggers to bring you the Home for the Holidays Christmas Blog Round Robin. Each blogger will be sharing something fun and festive for Christmas. There will be Crafts, Recipes, Printables, and Decorating Ideas. When you are done checking out my easy Vintage Plaid Ribbon Christmas Wreath below, you will find the next blogger to visit by clicking on the link found at the end of this post. By the end you will see 20 gorgeous Christmas ideas and end up right back here, full circle!
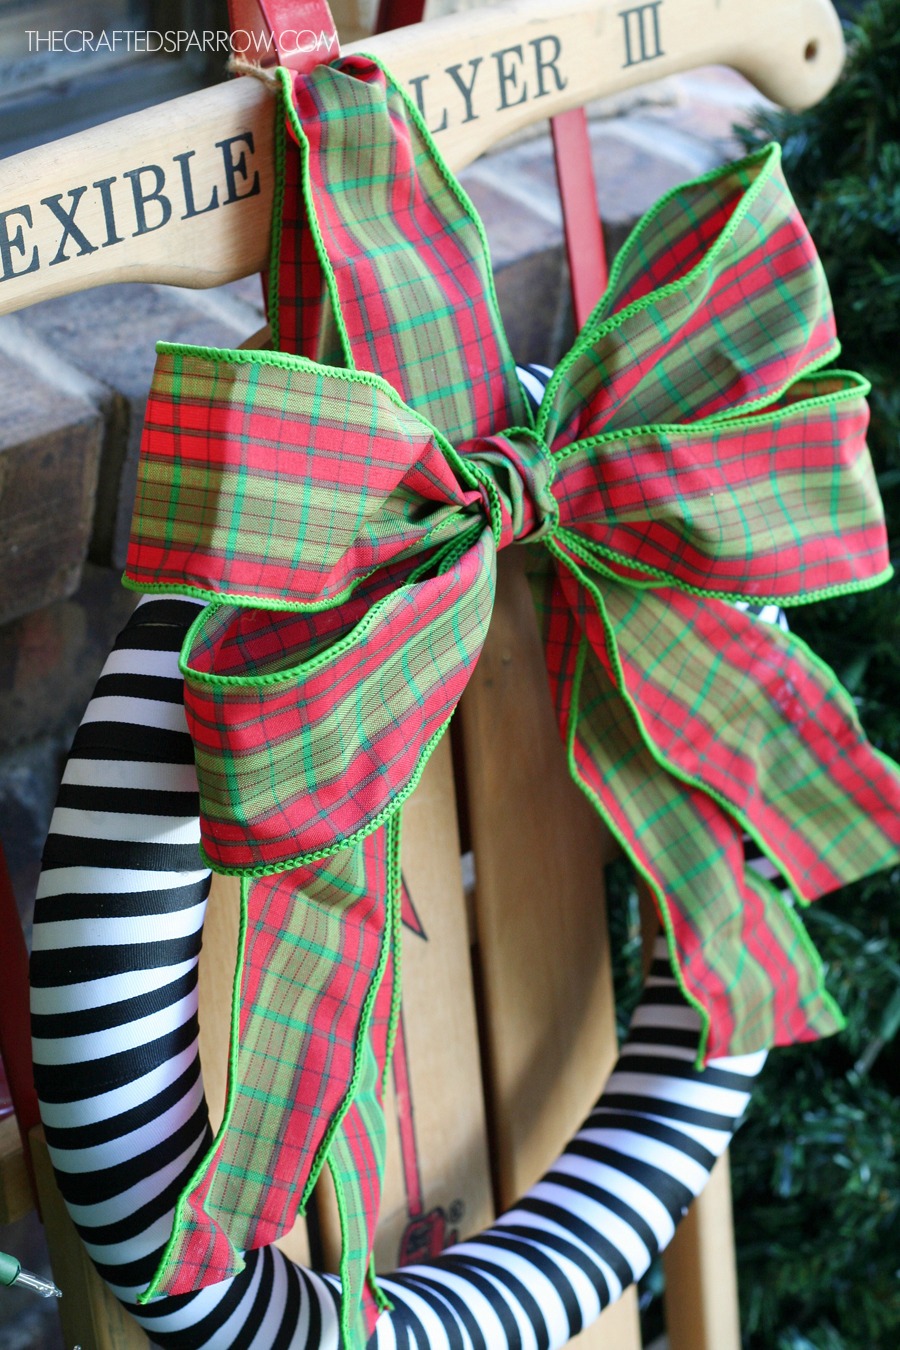
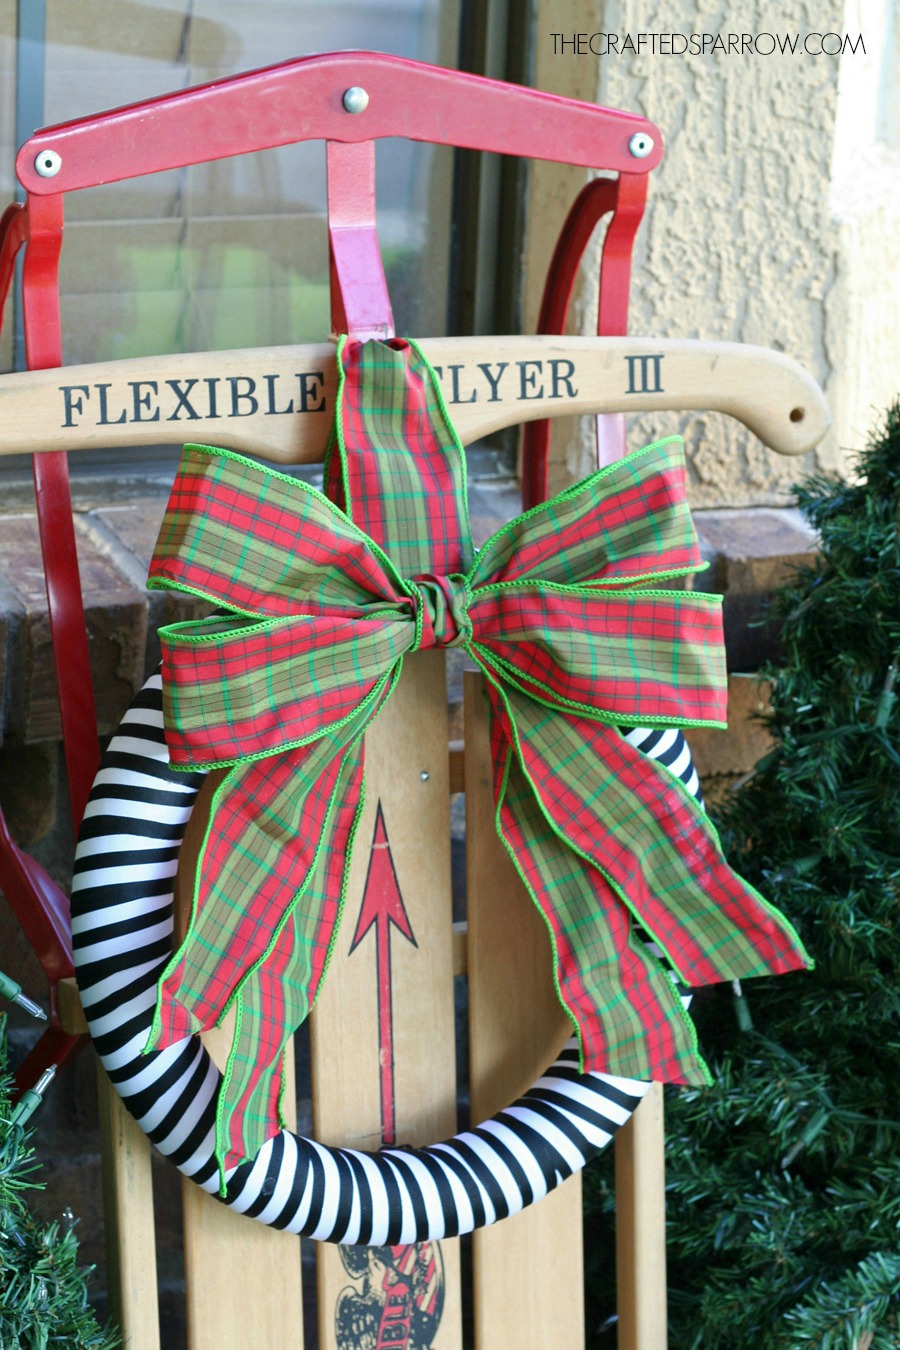
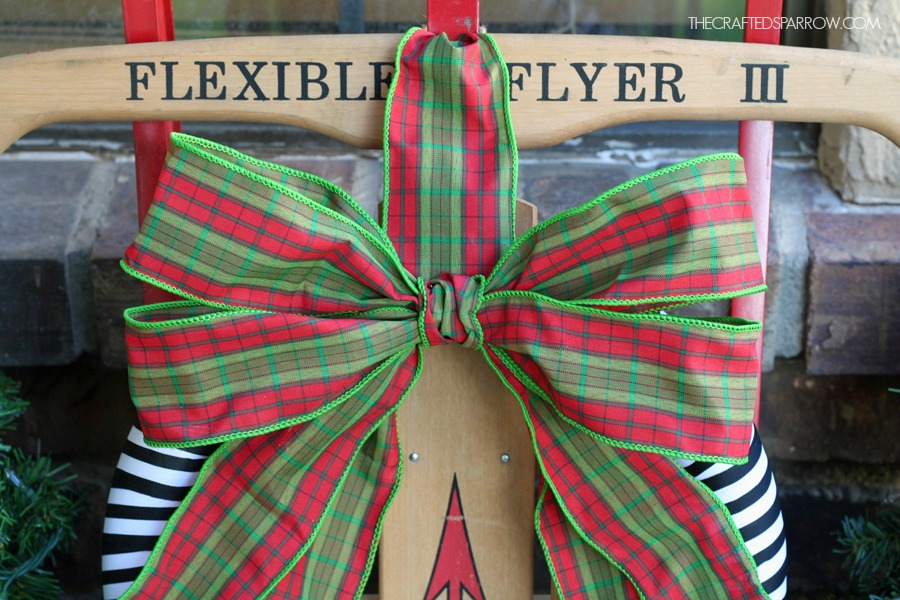
 Most of my Christmas decor that I’ve shared this year has had a vintage flair to it. This wreath is no exception! See that dreamy plaid ribbon? It’s vintage! I’ve had it for years, but I know it’s much older than that. Gosh how I wish someone would make this ribbon and sell it today! It was hard to capture the exact color of the green in this ribbon, but it’s a gorgeous cross between lime green and mossy green. I took a risk and paired it with a bold black and white striped ribbon, and I love how it turned out.
Supplies:
Foam wreath form, 14″
Plaid ribbon, 1 roll
Black & White striped ribbon, found at Michaels – you will need 2 x 4 yd rolls
Small sewing pins
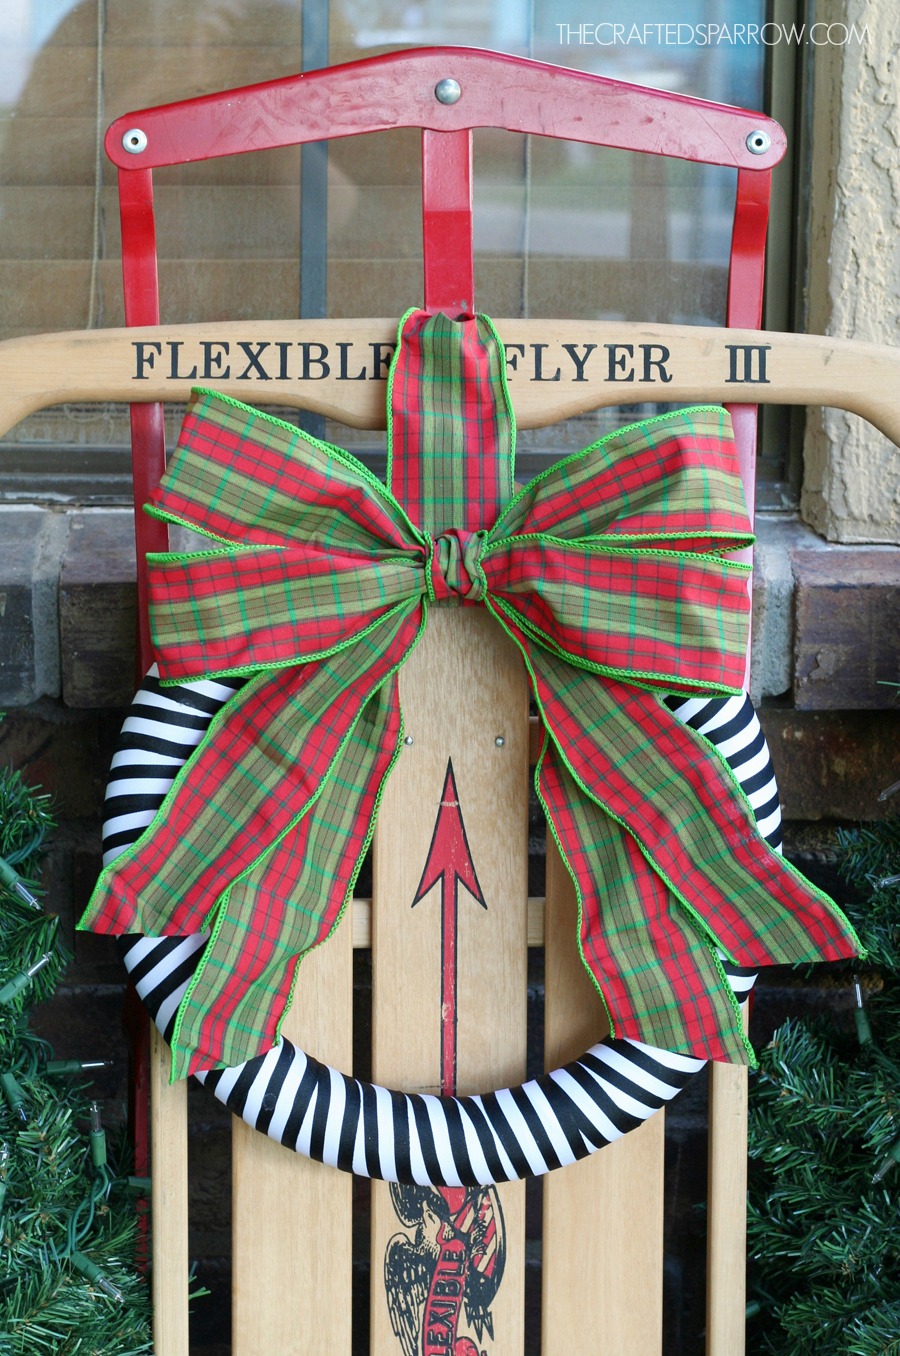 Now I know this wreath is nothing super fancy, or even complicated for that matter! That’s exactly why I love it! It’s such an easy wreath to put together, but it makes me super happy when I look at it. Plus, who doesn’t love an easy wreath idea? Especially if you need something quick for an upcoming party or even for a gift.
Do you recognize the black & white ribbon? I actually recycled the wrapped wreath from my Black & White Halloween Wreath.
So let’s make a wreath!
Step 1
Wrap your wreath form with the black and white ribbon tightly. I use small silver sewing pins to secure my materials to most of my wreath forms. This saves me a ton of money because I can just un-pin everything and re-use the form.
Step 2
Create a double bow with the plaid ribbon. Basically layer the ribbon to create the look of a double bow while pinching the middle, being sure to leave tails on each side. Use a piece of twine or string to secure the middle. Then using a small piece of the plaid ribbon wrap it around the center of the bow and secure with either a pin or hot glue.
Step 3
Create a hanger with another piece of plaid ribbon. Wrap it like a loop around the wreath form and pin in place at the back.
Step 4
Secure bow with small sewing pins, being sure it’s centered over the ribbon hanger. Place a couple pins strategically so they are hidden in the folds of the ribbon center and loops.
Step 5
Trim the tails of the ribbon that hang down on each side. You can dovetail them, or give them a simple angled cut.
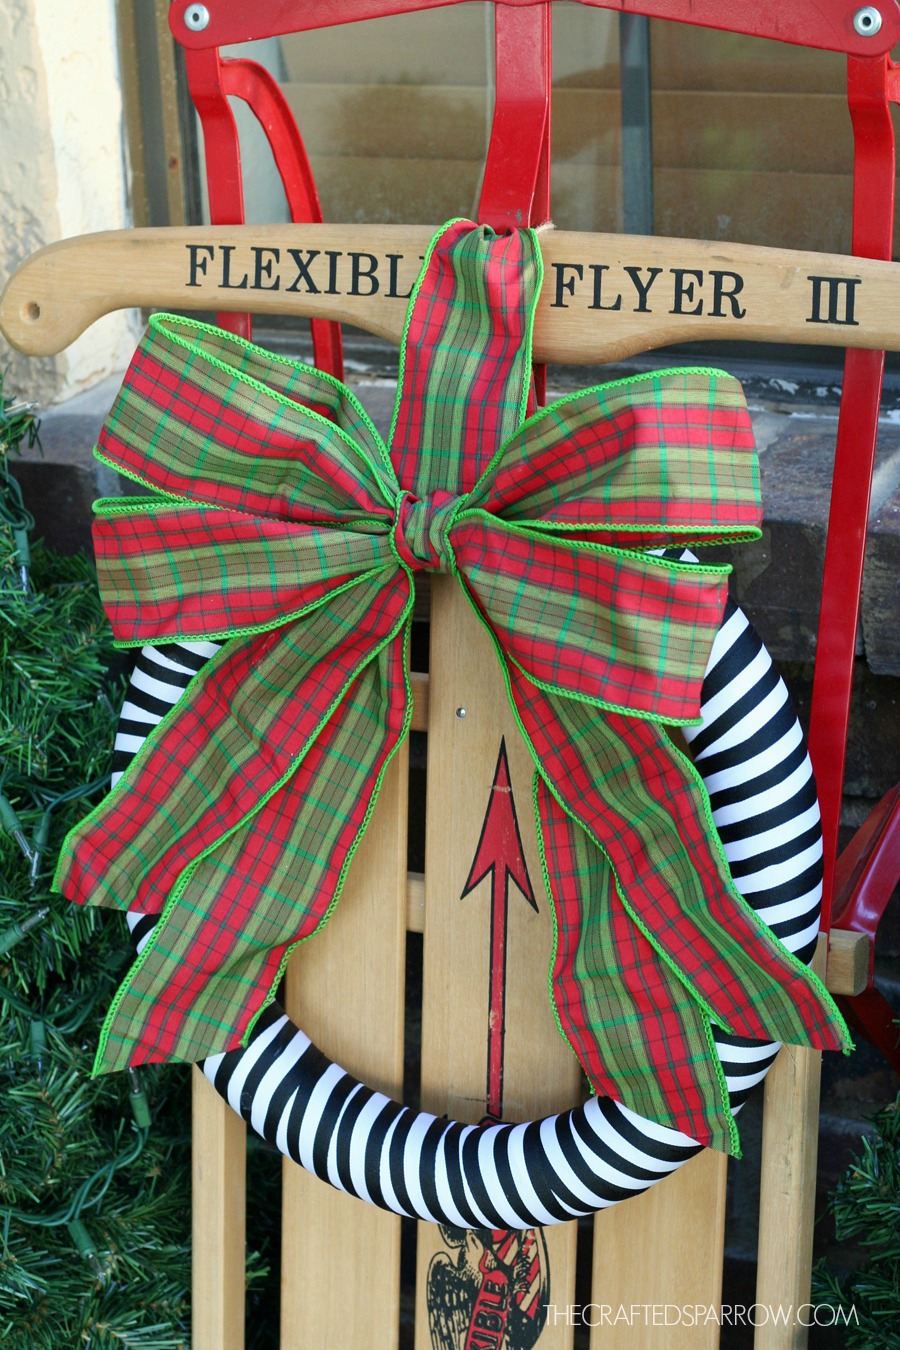 I hung it on my Flexible Flyer sled. That sled only cost me $17 and it was almost new, someday it will be beat up and even better looking! It’s ready to greet our Christmas guests as they come to the door.
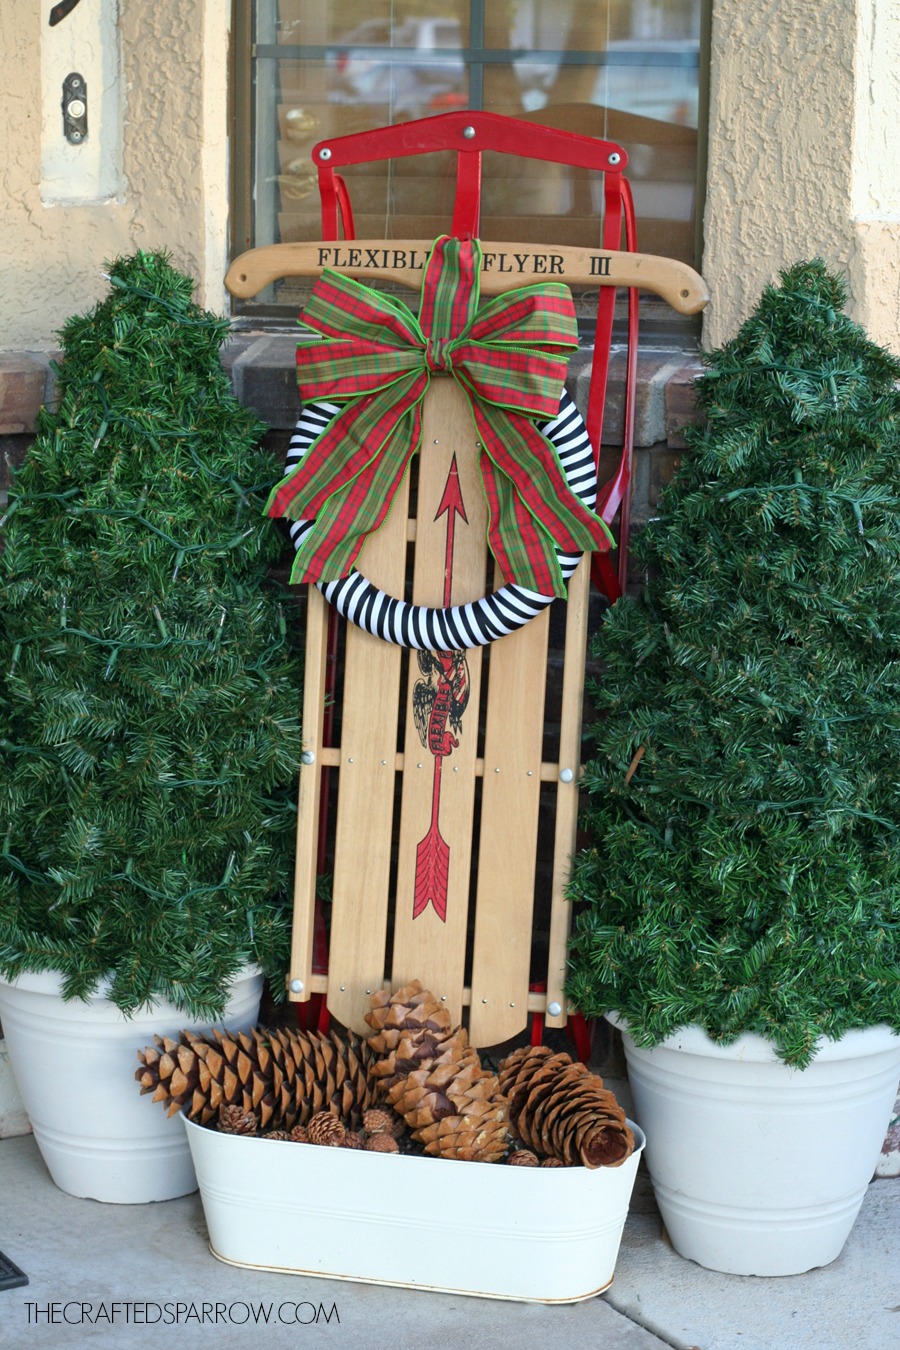 So what do you think? I hope you love it as much as I do. I’m so glad you stopped by, don’t forget to continue the Round Robin and hop over to Anders Ruff for more Christmas fun!







How cute and I love that sled!
Thank you Rebekah! Hope you have a blessed Christmas!
Love it! I almost bought a Flexie when I was antiquing this weekend. Now I know what I could have done with it!
Thanks Jennifer. You should have totally bought it, maybe you’ll find another one. 🙂 Have a Merry Christmas!
LOVE this! The wreath is super cute!
Thank you Alesha! Have a very blessed Christmas!
Lovely! Stripes and plaid… you can’t go wrong. 🙂
Pinning!
Thanks Kim! That’s what I thought, to some mixing the two is risky…but I LOVE it. Merry Christmas!
I love the black and white with the plaid ribbon, unexpected but so festive and fun! But, then again I am obsessed with all of your Christmas DIY projects and decor this year! 🙂
Thanks Mariah! That’s what I thought, I was worried it was a risk to put the two together…but I love how it looks. 🙂