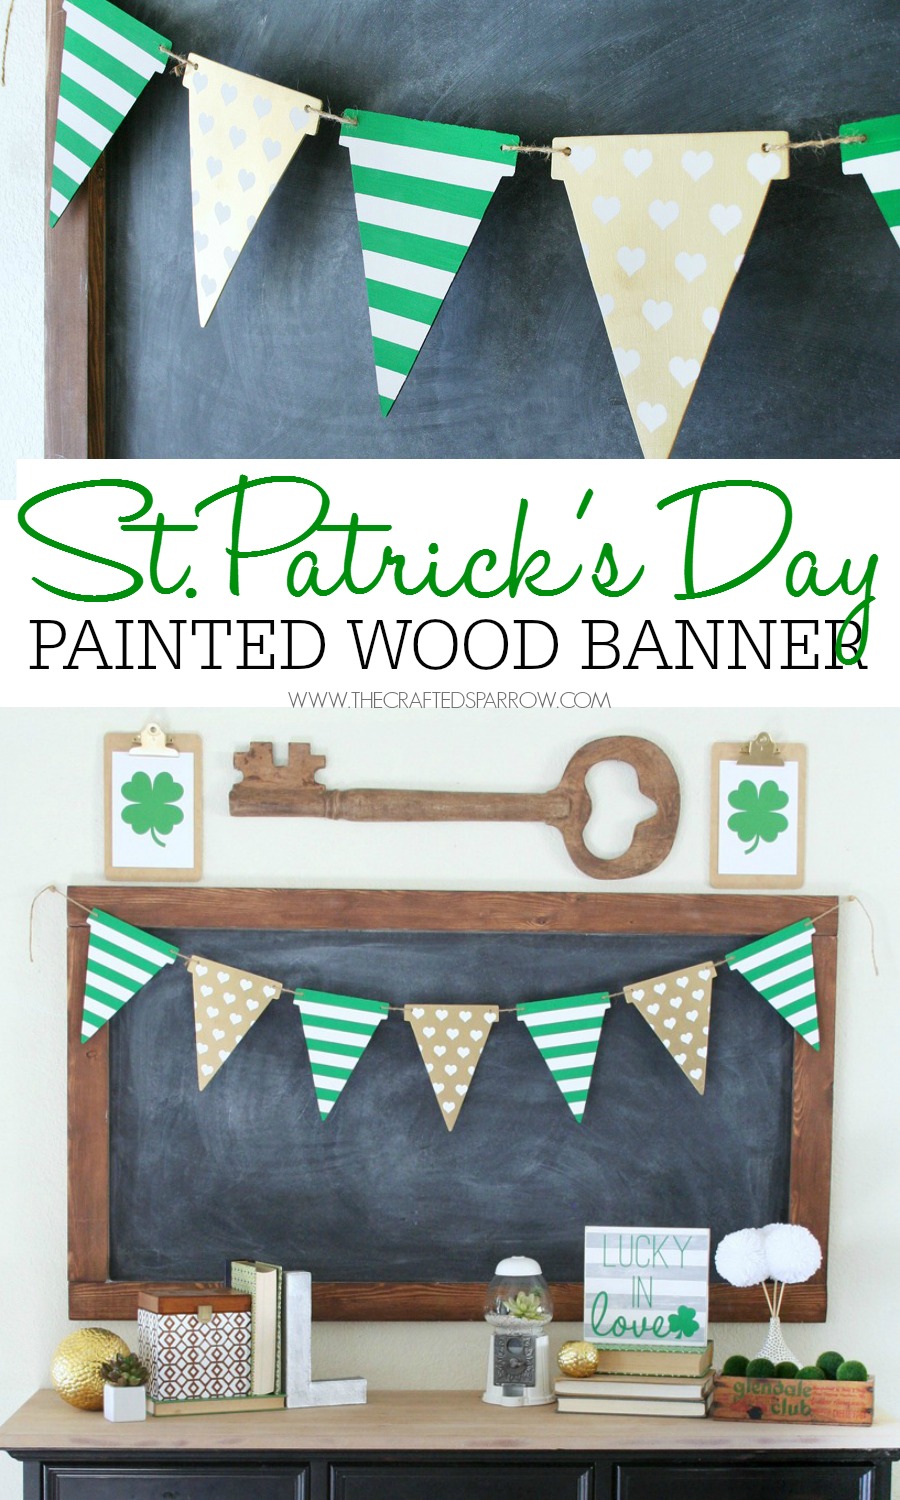
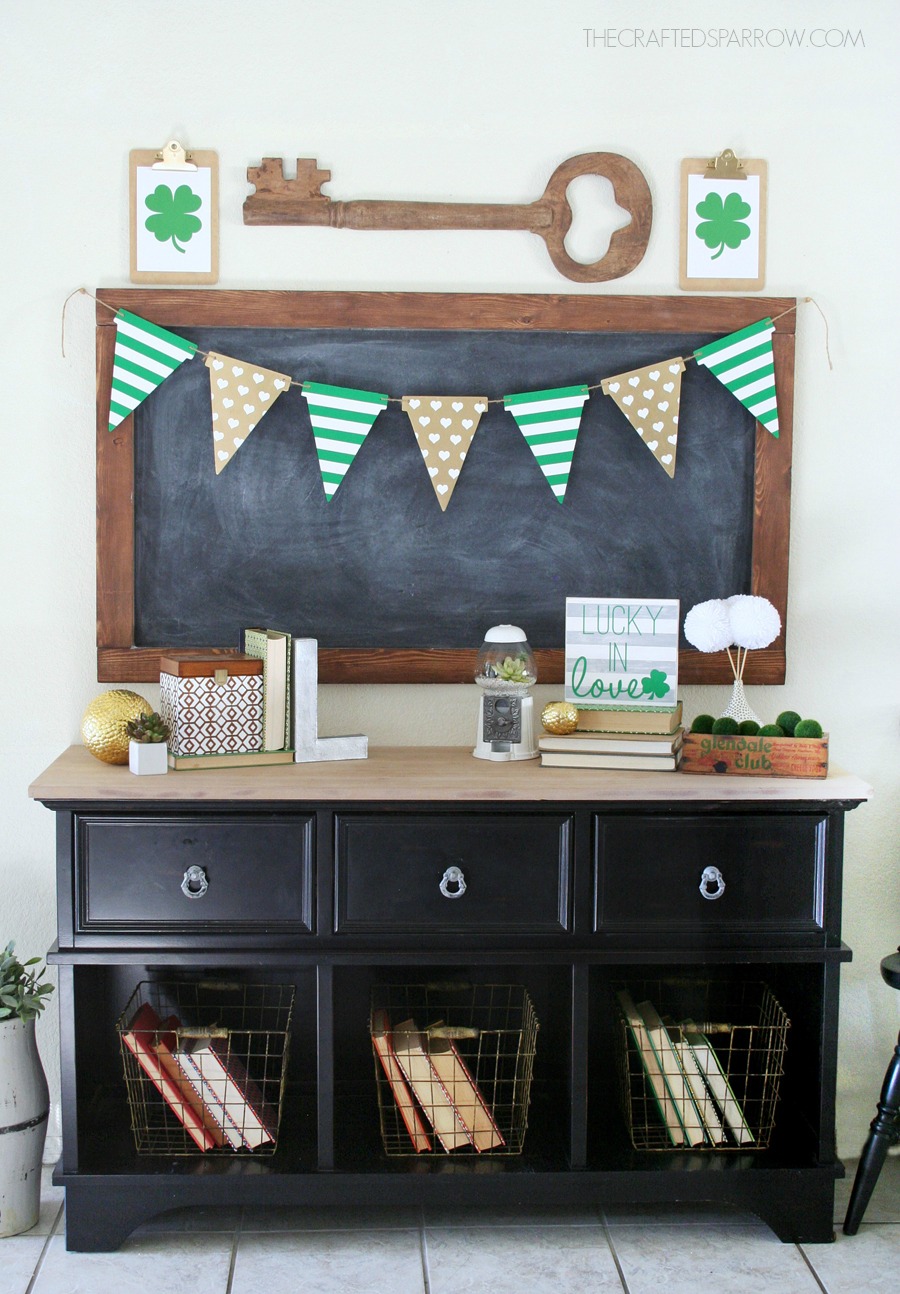
 I usually love decorating my giant fireplace mantel for each season and holiday. I even created one of my favorite mantels last year with this St. Patrick’s Day Mantel, but this year I just wanted to keep things simple as spring came early for us. So I decided to decorate my entry way table instead.
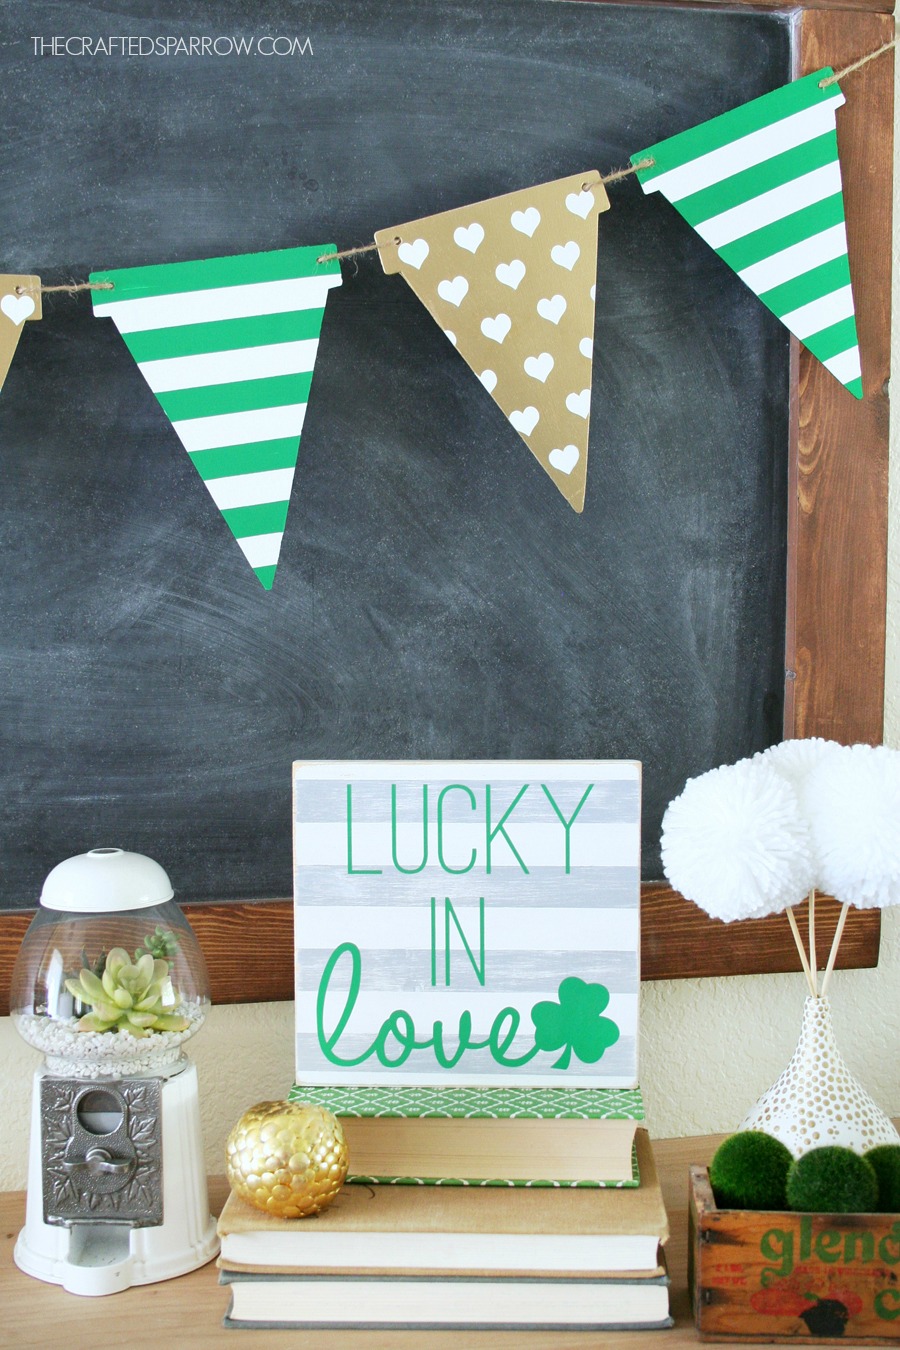
I gathered things from around the house that kind of fit the green & gold theme I was going for. Since I made the cute “Lucky in Love” DIY St. Patrick’s Day Sign I figured I’d just keep with green & gold for the decor. For Valentine’s Day this year I made a Hearts & Stripes Valentine’s Wood Banner that I didn’t have a chance to post, but when I made it I decided it should be double sided to cover more than just one holiday. Here’s what it looked like for Valentine’s Day.
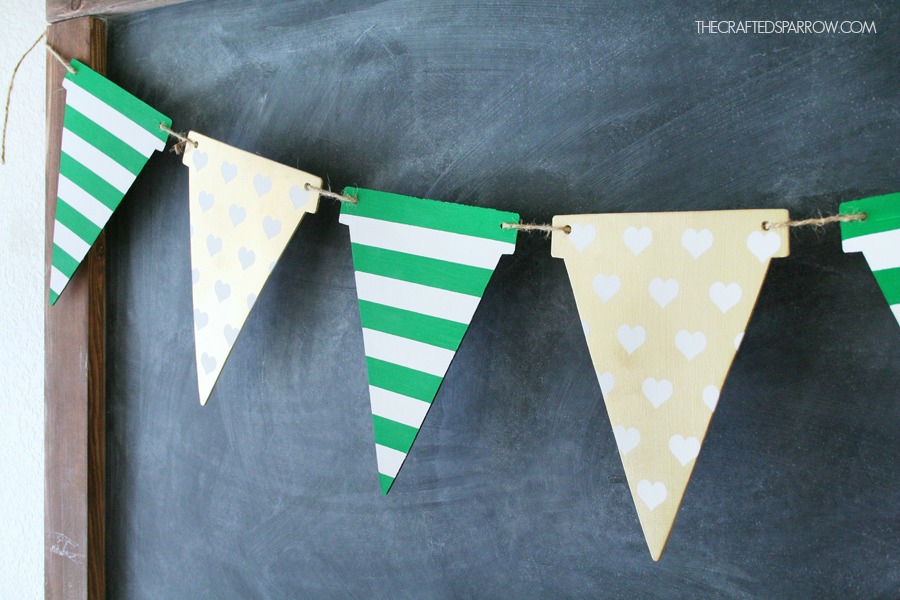
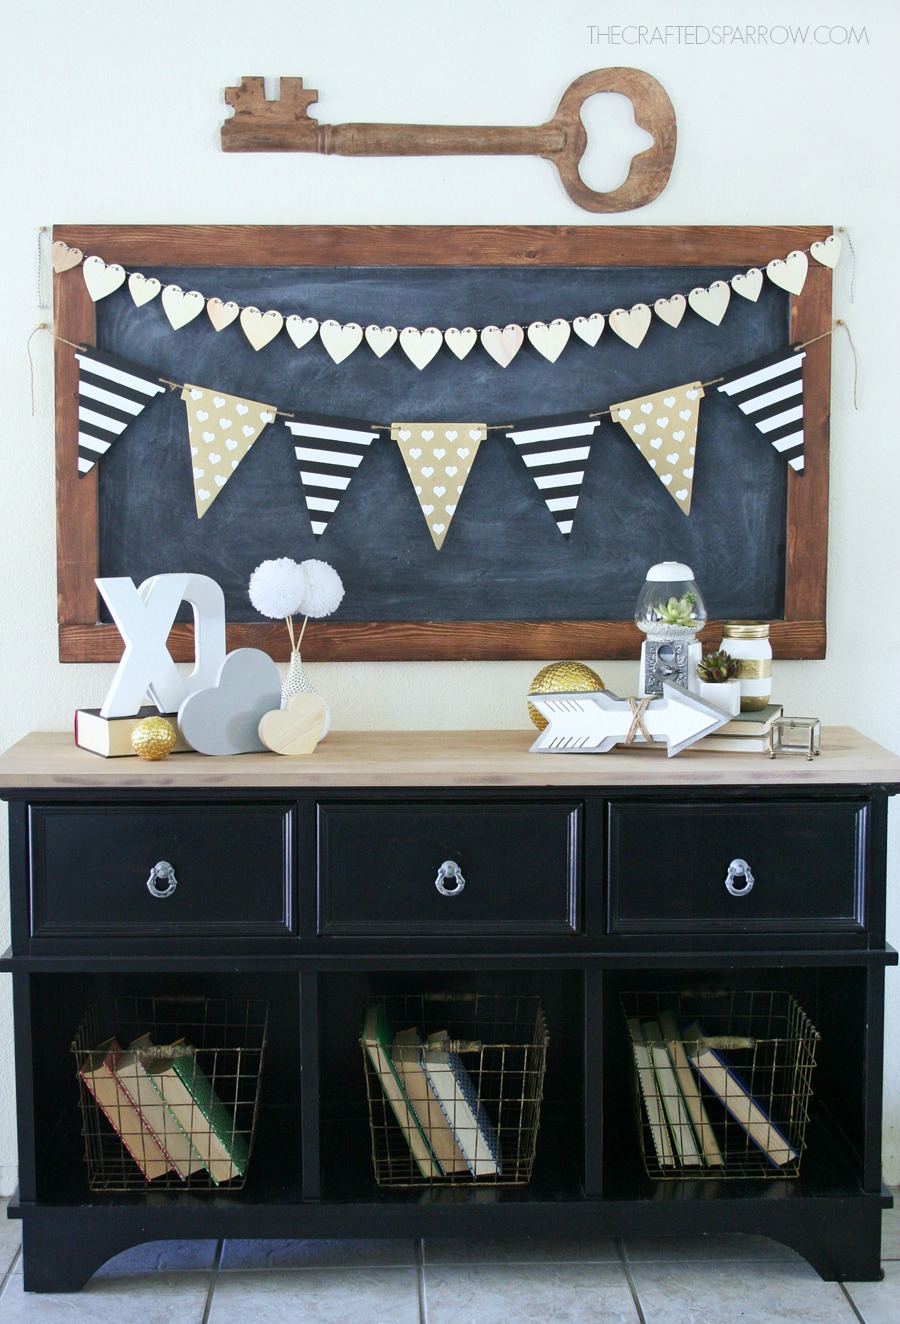 I did the black and gold so that I could keep it up all year in my office, and the other side is perfect for St. Patrick’s Day with the green. Cute right? Let me show you how easy it was to make.
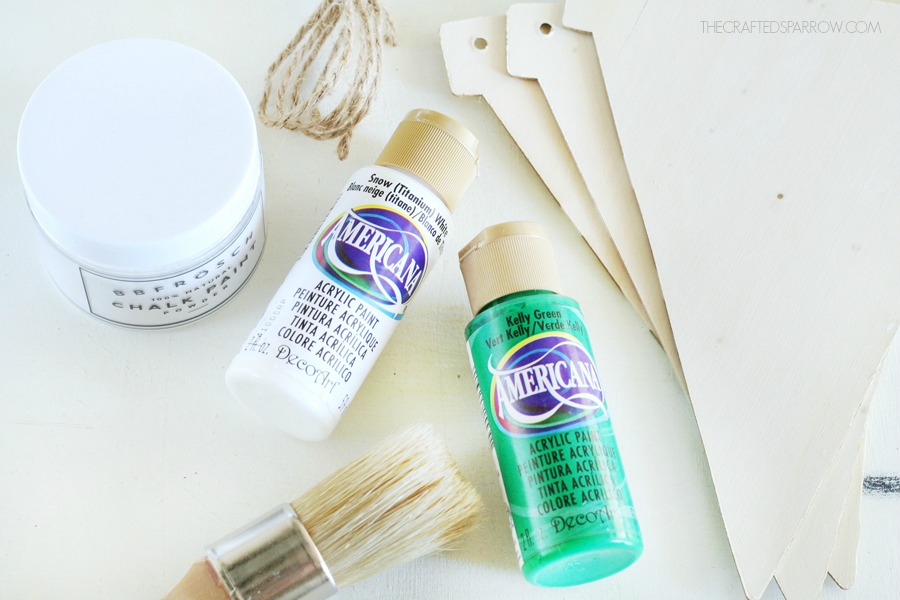
Supplies:
Wood pennant banner, you can find them online at Consumer Crafts or The Wood Connection and in most craft stores.
Jute twine or bakers twine
BB Frösch Chalk Paint Powder
DecoArt acrylic paint, kelly green & snow (titanium) white
Rustoleum Metallics gold spray paint
Masking / Painters tape
Vinyl hearts stencil, or heart stickers
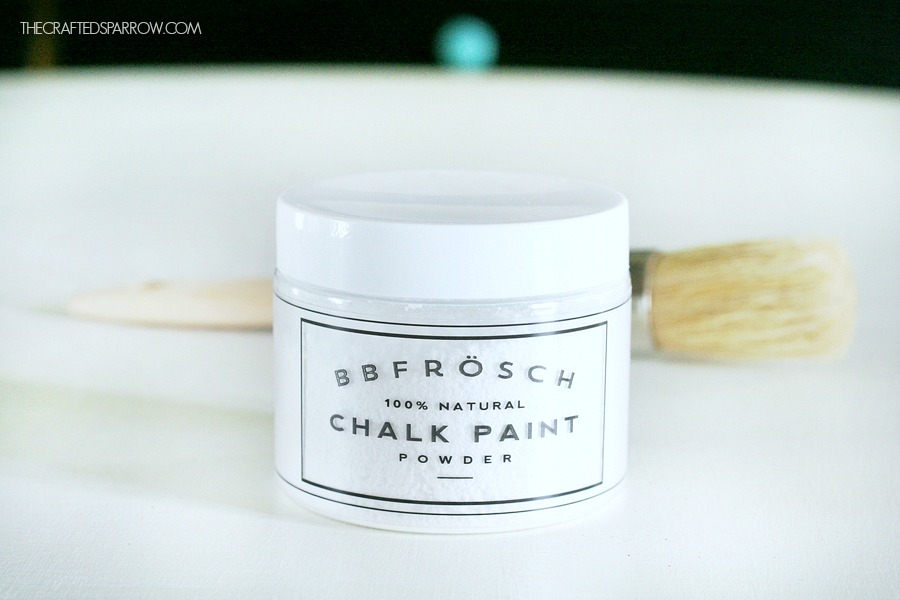
 I used my favorite BB Frösch Chalk Paint Powder for this project. It makes painting so much faster, the coverage is fantastic. It’s amazing for furniture re-do’s, but it’s also perfect for small projects like this wood banner. I also used it on this DIY Tablet Stand .
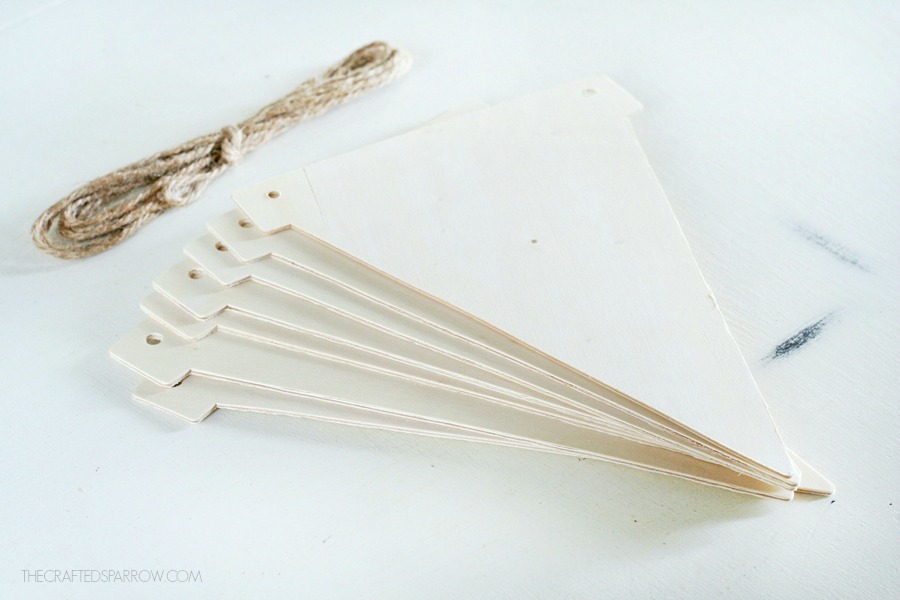 Start by prepping your paint with the BB Frösch Chalk Paint Powder. Typically you mix 2 TB of powder with 1 TB water for each 8 oz. of flat latex paint. For this project, since I already had acrylic paints on hand I decided to use those, so I just needed to cut down the recipe. I used 1-1/2 tsp of powder with about 1 tsp of water. Mix the BB Frösch first in a small bowl or painting pot, it should be the consistency of donut glaze. Then add your paint to the BB Frösch mixture. Stir thoroughly until well combined.
Paint your wood banner pieces white, let dry.
Now prep each wood banner piece for the next step. I used masking tape to create the stripes on some of them. For the rest of them I cut small vinyl hearts with my Cricut Explore machine, then just transferred them on with transfer tape.
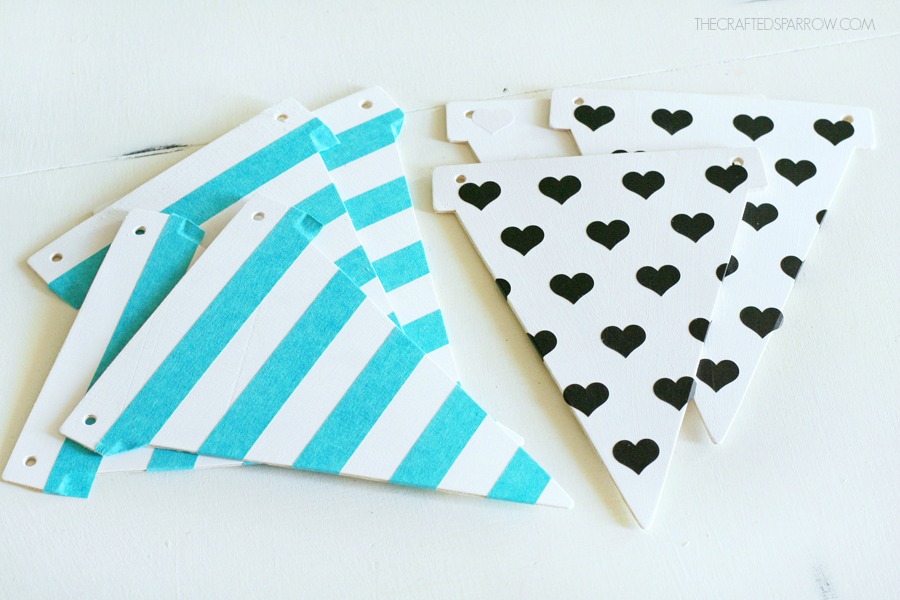 Paint your striped pieces kelly green, and let dry. Just know that for this small wood banner I had extra paint left over, so add it back to your paint bottles and use it on another small project within a week or so.
For the gold heart pieces, I used Rustoleum’s Metallics gold spray paint and gave them a quick coat of spray. This gives them the perfect gold shine.
Note: If you don’t like the hearts use a shamrock design instead.
Use the jute twine to string your banner pieces.
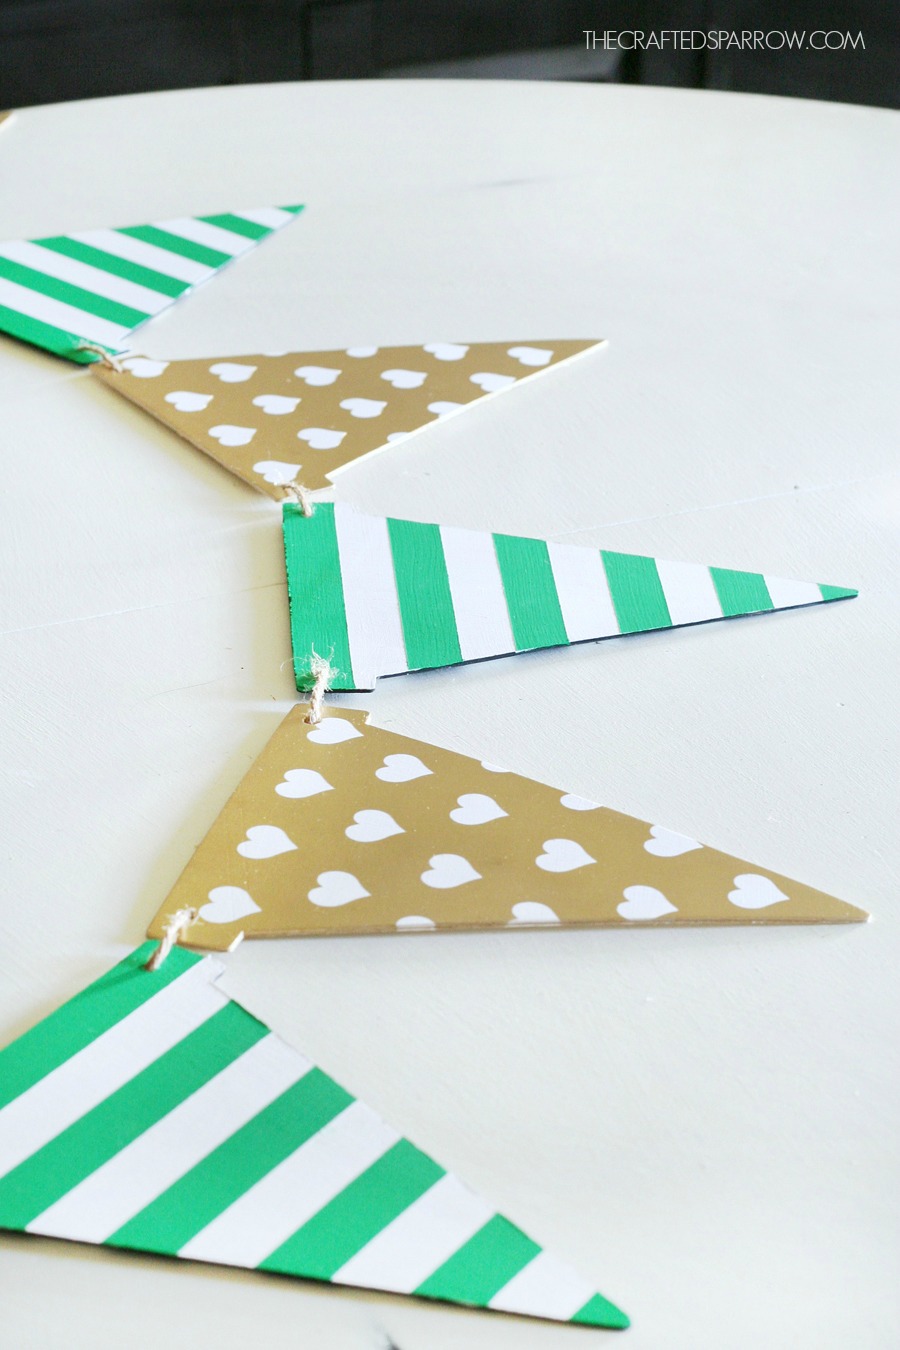 It turned out so cute. It’s perfect with my “Lucky in Love” DIY St. Patrick’s Day Sign.
Best part? I can just reverse the striped pieces back to the black & white striped side when the holiday is over.
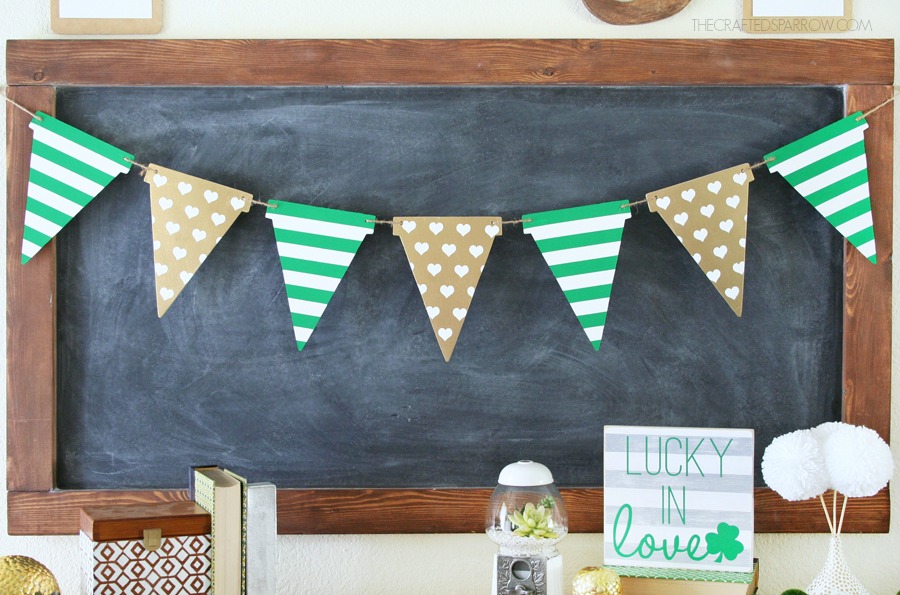

This banner is adorable! I love that you made it double sided and that it is fairly simple to make, but makes for a really cute banner! The gold is the perfect touch!
Thanks friend! It’s fun, and I might even change it up again for spring! 😉
This is so adorable! And I love that you made it reversible.
Those wooden pennant flags are great!
Thank you so much Becky. I love making these for different holidays, they are so fun!