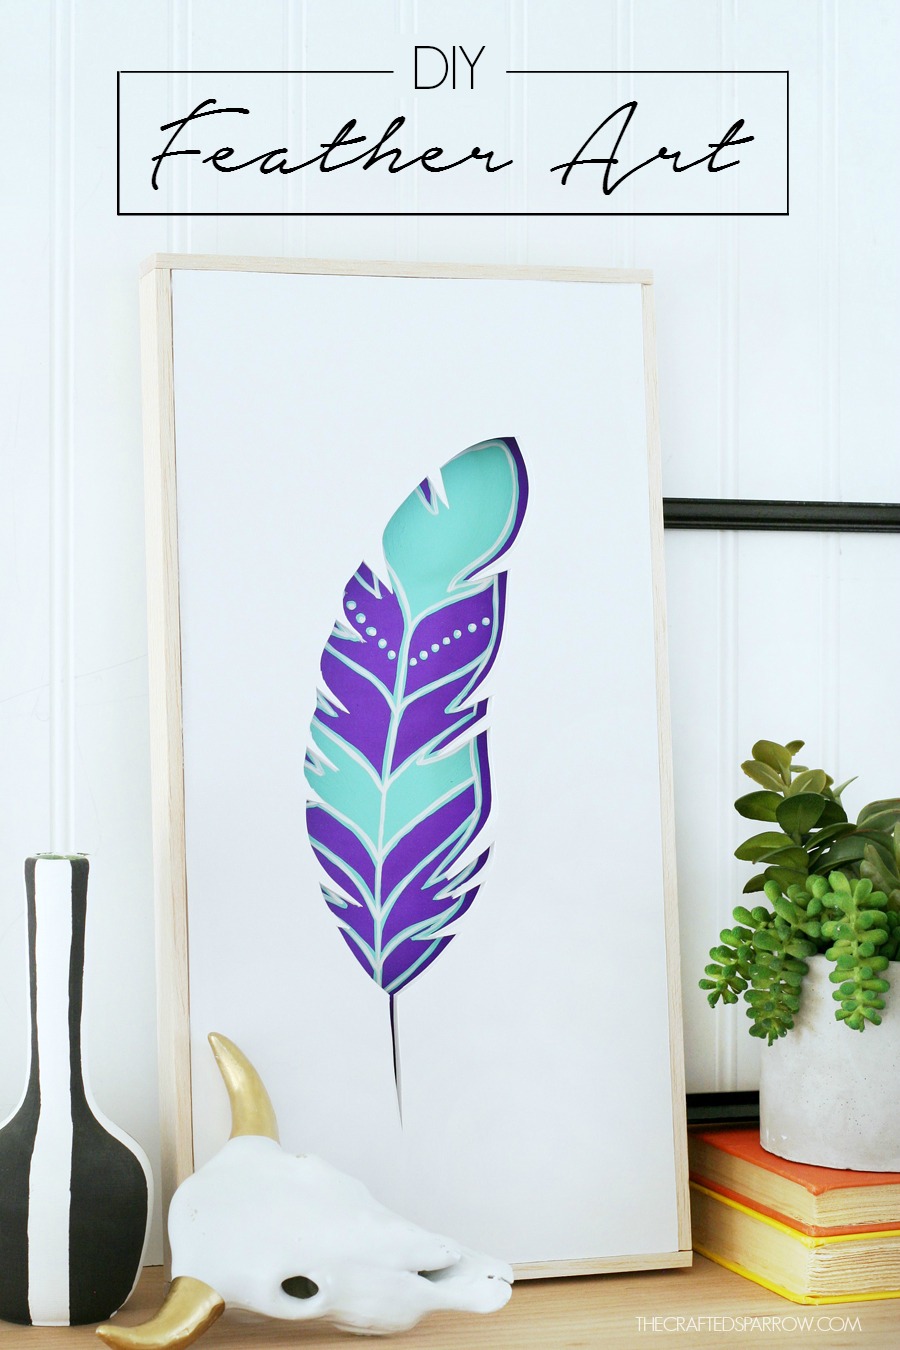
 I bet when you think of custom artwork you think oil or watercolor paintings, maybe a sketch drawing, or a sculpture. When I think of custom artwork I think of something that first of all represents me and my personality, and secondly is something fun and a bit different than what I might find in a retail store. It doesn’t have to be a complicated piece of artwork, but it does have to make me happy when I look at it. This DIY Feather Art is just that…easy to make, fun, and it definitely makes me happy when I see it.
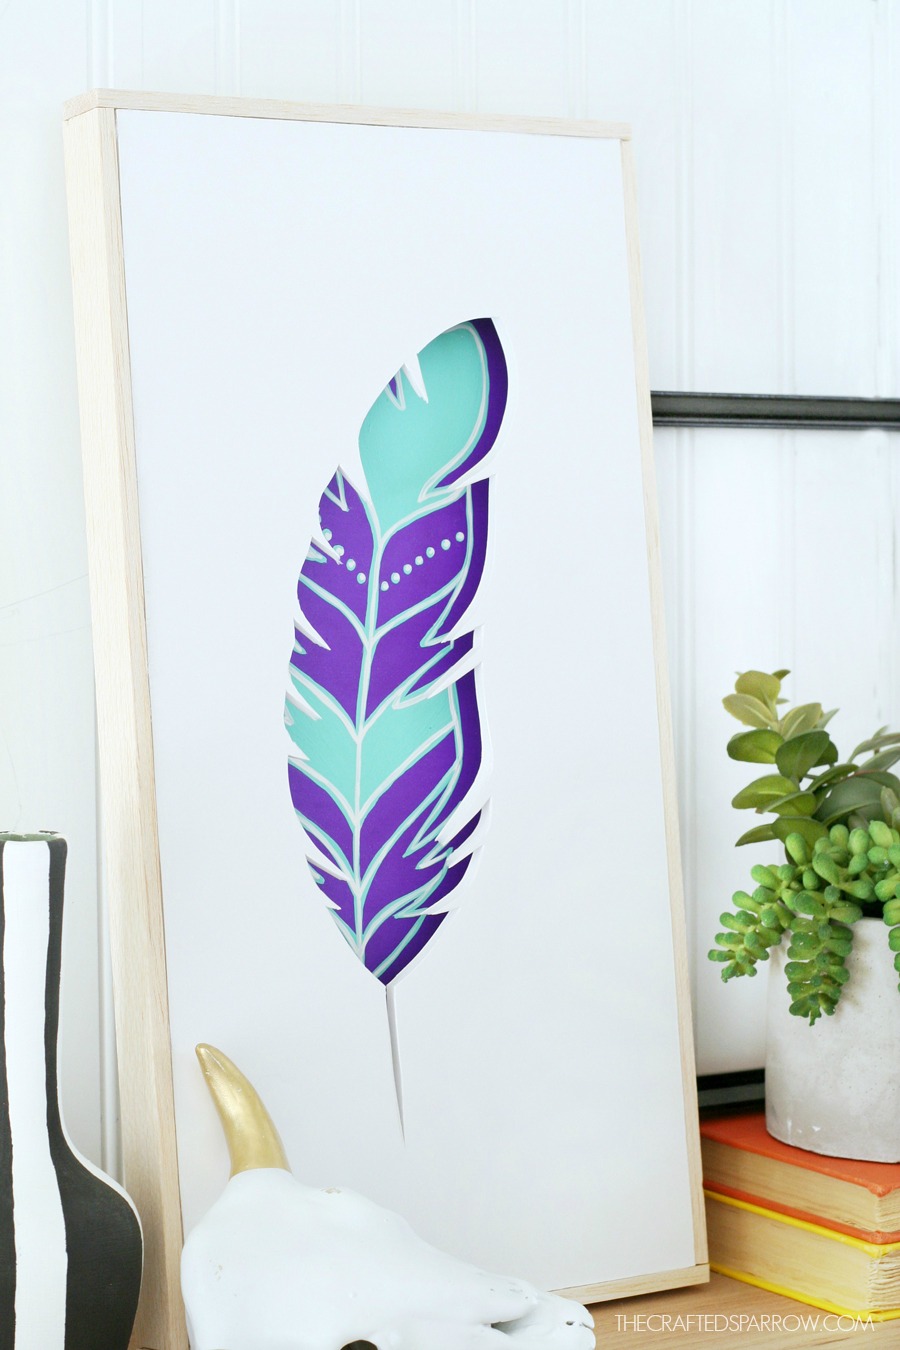
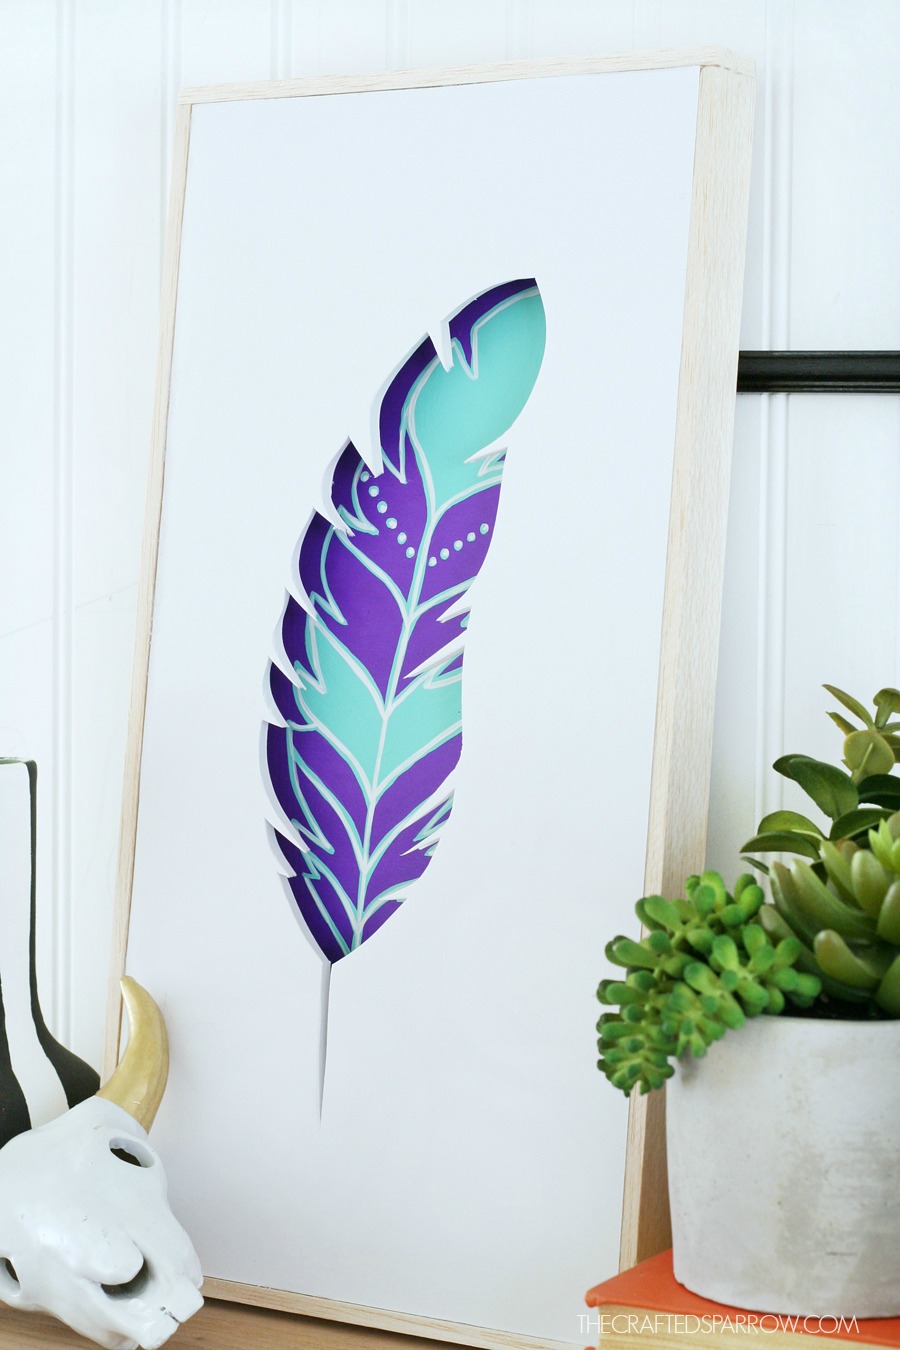
I love the dimensional look of this DIY Feather Art, it totally makes the design a bit more interesting. This dimensional look can be made with any design, it’s really easy.
Supplies:
Elmer’s Foam Board, purple
Elmer’s CraftBond® Quick Dry Glue or Glue Gun
1/4 x 1 x 36″ Balsa Wood, 2 pieces
Ruler
Xacto Knife
Pencil
Acrylic Paint
Small detail paint brush
I started by cutting two pieces 8 x 16″ of my purple foam board. This is a new color from Elmer’s, it’s so bright and fun.
Using my Cricut Explore Air I cut a quick stencil of a feather on some cardstock. You can choose any shape for your artwork, try to pick something simple with not a lot of curved lines since you’re cutting the foam board with a Xacto knife.
I used a light colored pencil to trace my feather shape onto the purple foam board. I made sure it was centered first.
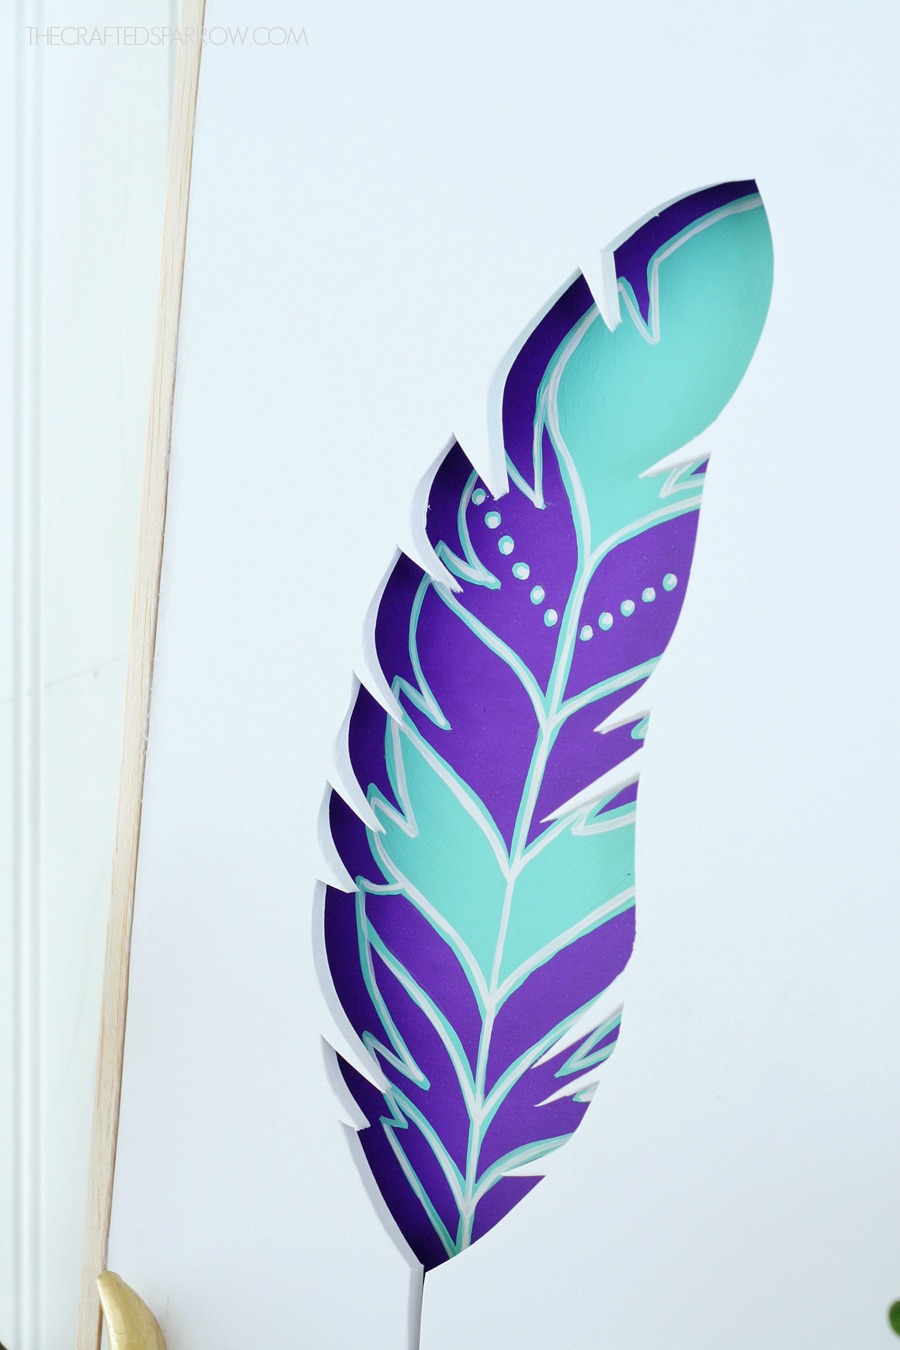
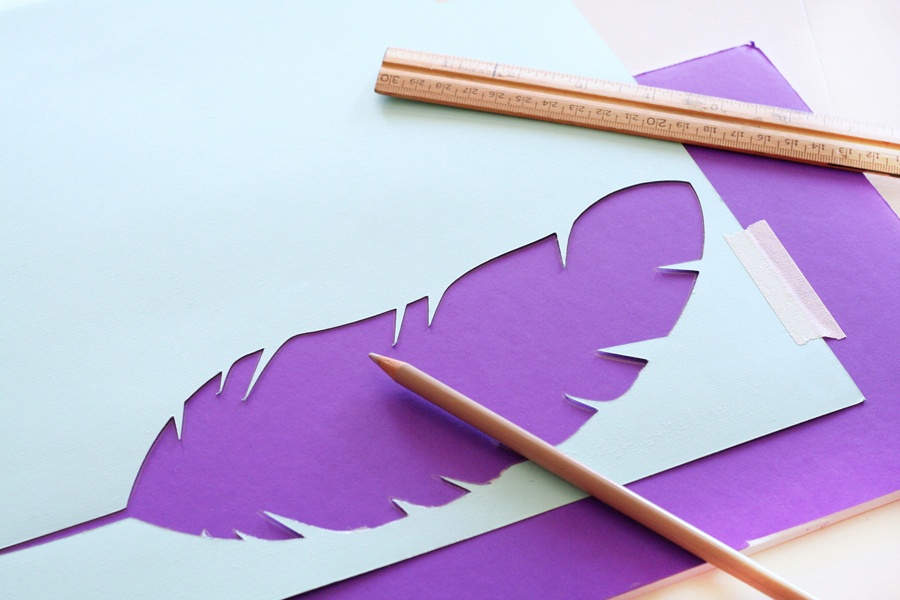 Use your Xacto knife to cut out the silhouette of the feather. Make sure you’re using a fresh blade so you have nice clean cuts, and go slowly around the detailed corners and any points.
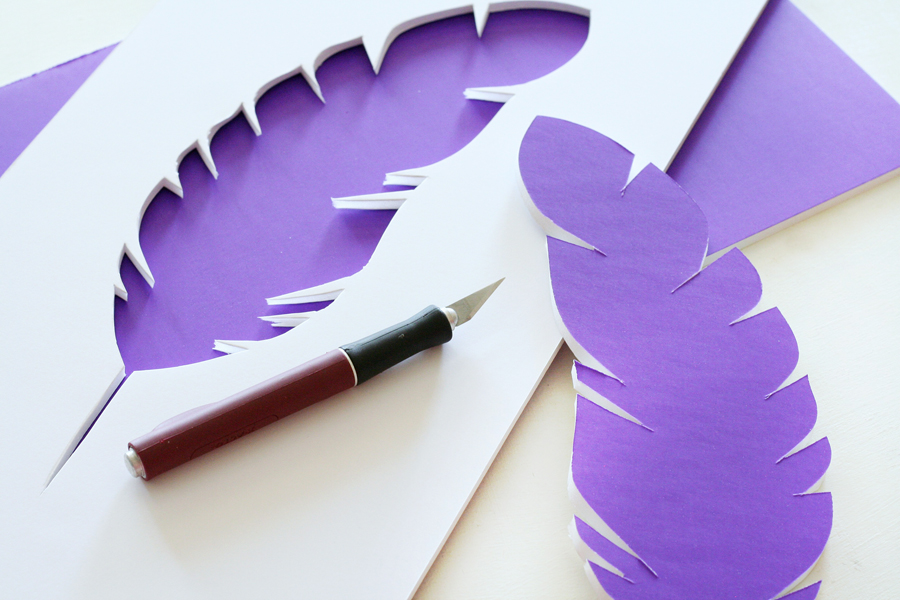 Now flip this piece over so that the white side of the foam board is face up. This is going to be your front piece.
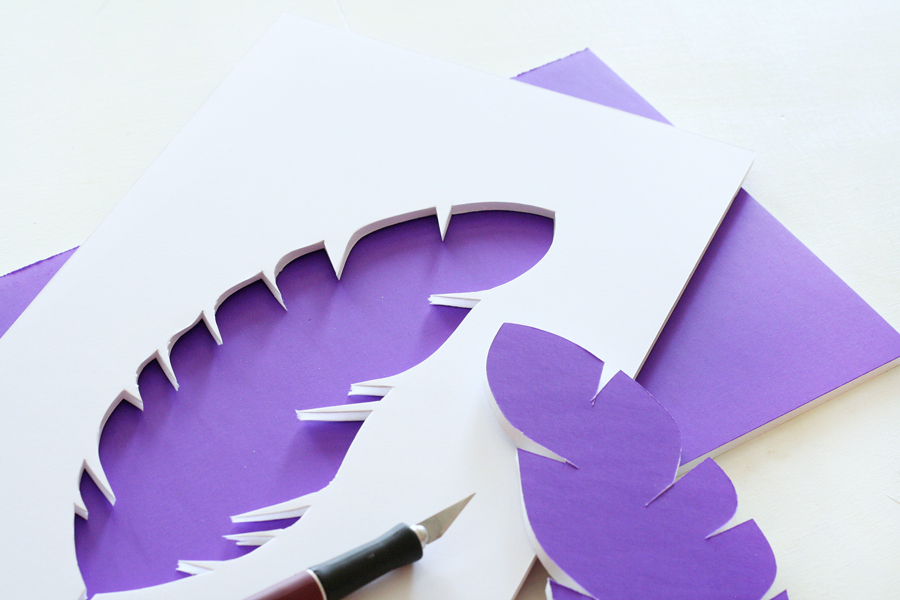 Place the cut out on top of the second piece of purple foam board. Lightly use your pencil again to trace the silhouette design on to the purple board.
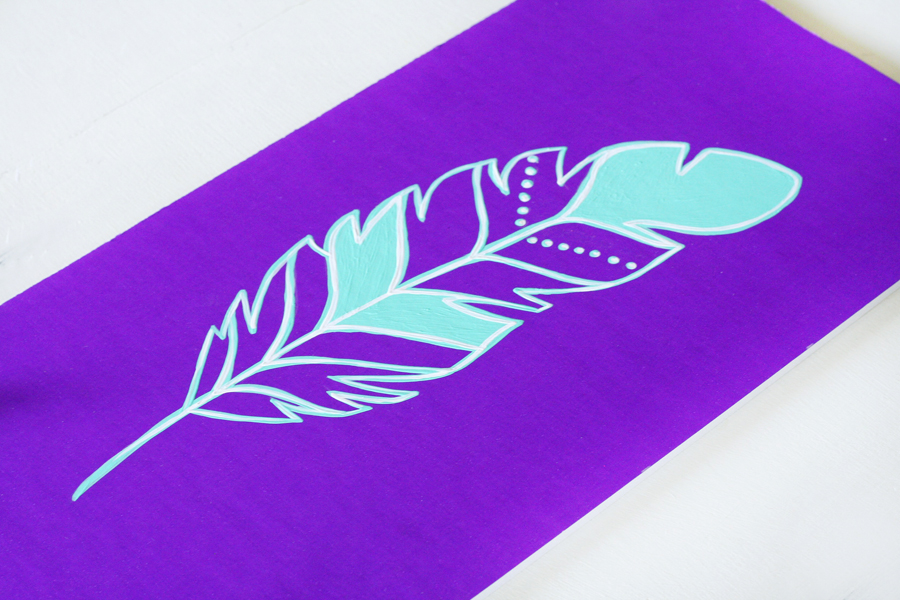
On the second piece of purple foam board use acrylic paints to trace your design and paint in any details you want to add. I used sea breeze from DecoArt to get a bright turquoise color, and I added some white detailing to make it stand out a bit more.
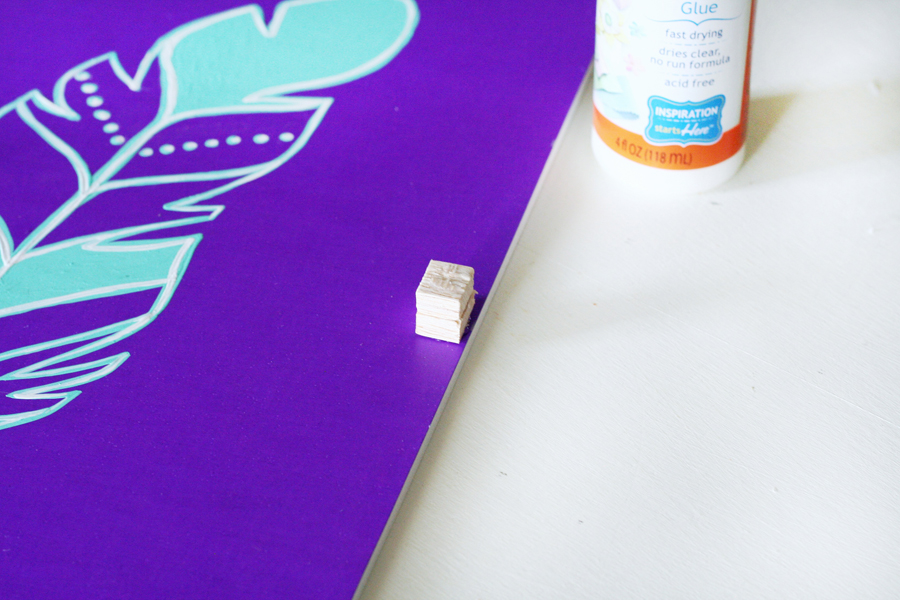
 Once it’s dry you will need to use a few small pieces of the balsa wood to help create the dimension of your art. I glued two small squares together and glued a set in each corner of the foam board, and one set on the middle of each long side of my artwork.
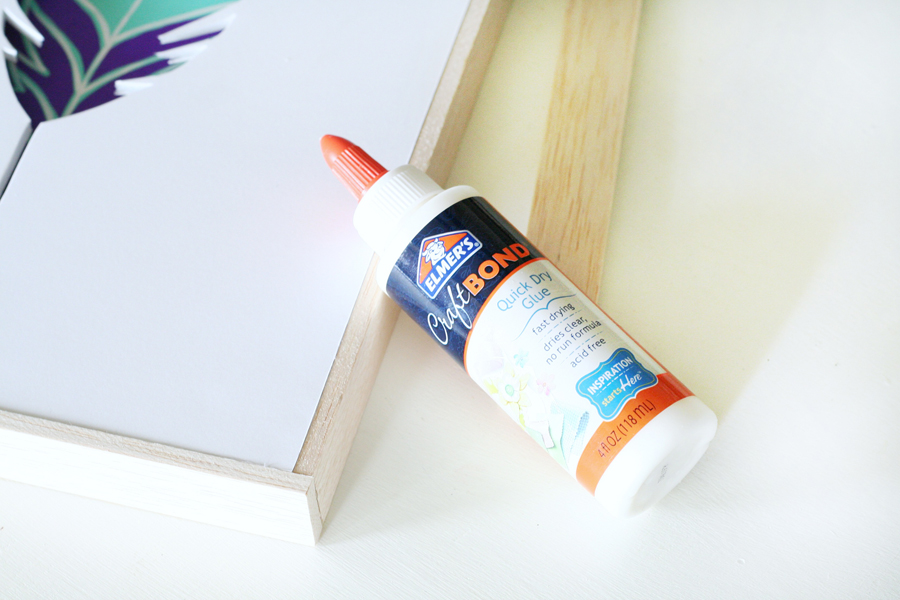
 Use CraftBond® glue or hot glue to attach the white feather silhouette cut-out piece of foam board on top of of the balsa wood spacers, let glue dry.
Now it’s time to create a quick and easy frame. I chose to use the balsa wood because it was lightweight, but you could also use Bass wood in the same thickness to create a sturdier frame if you want.
I used my Xacto knife to cut the balsa wood. You will need two 16″ pieces for the sides, and two 8.75″ pieces for the top and bottom of the frame.
You can either use the CraftBond® glue to secure the frame around the edges of the foam boards, if you do you will need to hold everything in place with masking tape or washi tape as it dries. If using hot glue work fast and be careful since you’re working with foam.
If you want to hang your artwork you can attach a small pop-tab to the back for a hanger with some hot glue. The artwork is super lightweight so it works perfectly.
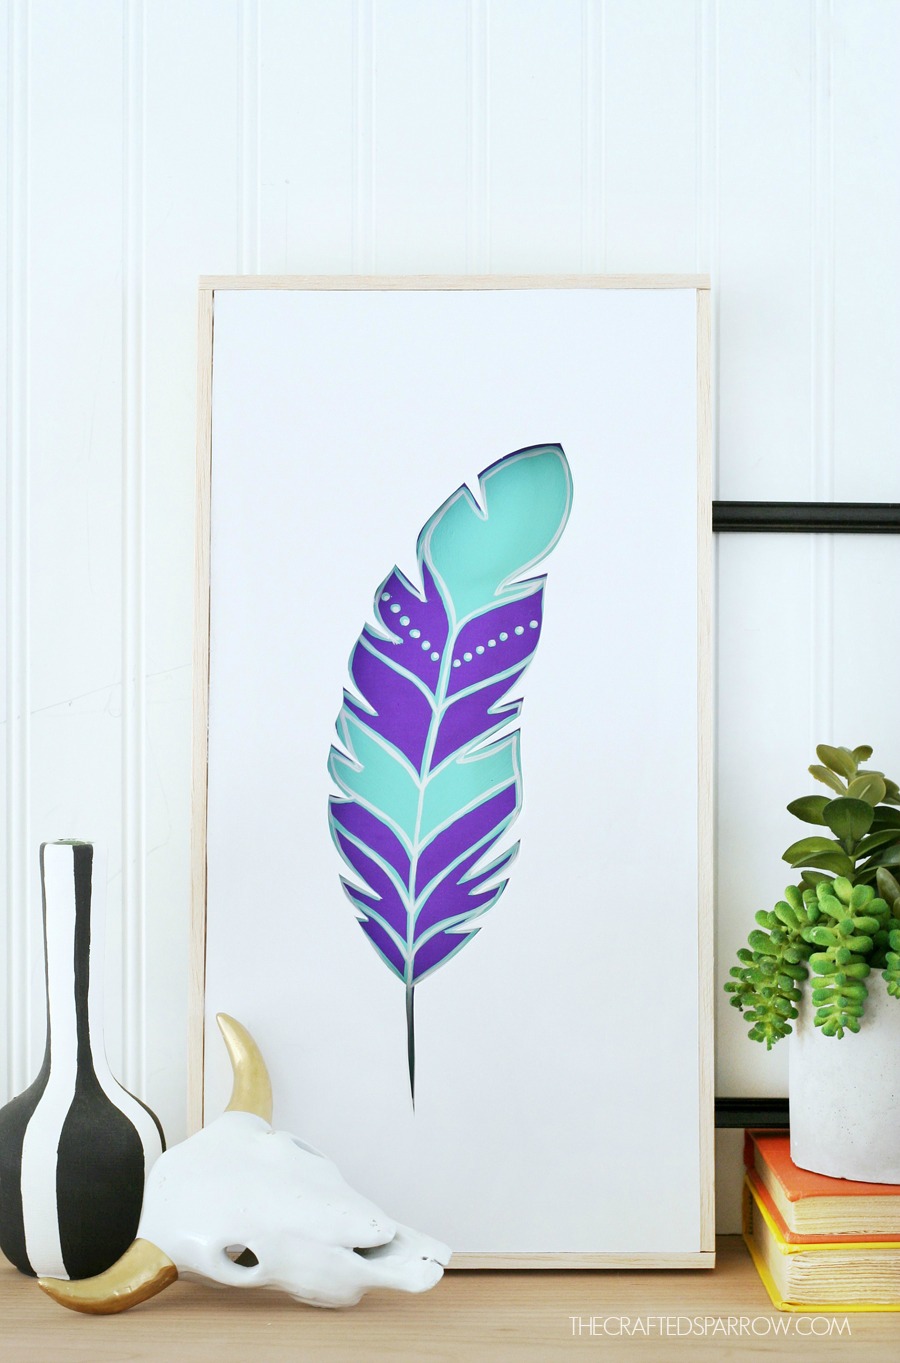
 I love how it turned out. It’s a bright fresh piece that is perfect for spring and summer, and it was so easy to make.
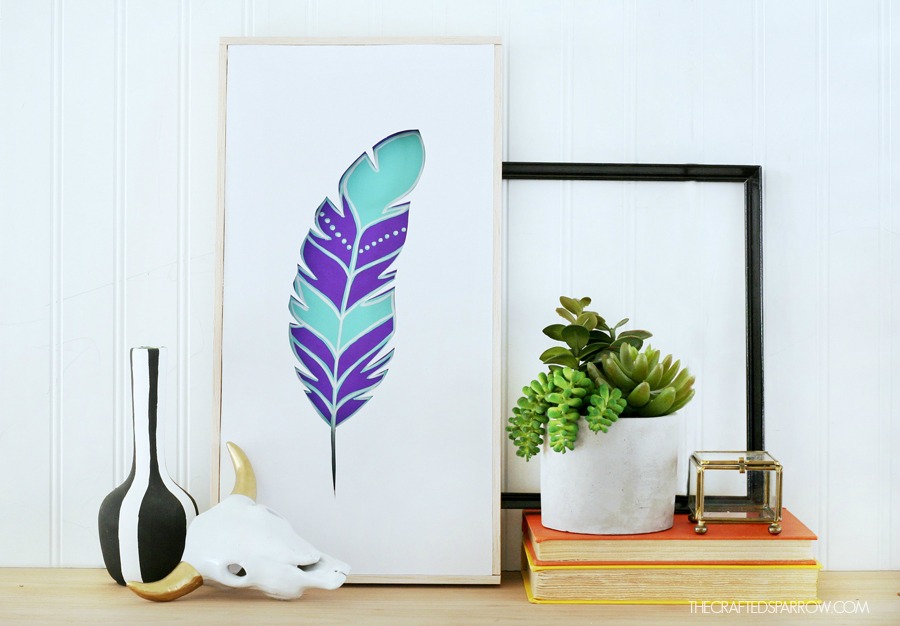
 Be sure to follow Elmer’s so you don’t miss a single thing as they introduce new products and fun ideas!
Facebook | Pinterest | Instagram | Twitter
Disclosure | This post is sponsored by Elmer’s. All ideas and opinions are 100% my own.

Truly elegant project!!
STUNNING! What a creative idea!!
Love this idea, inexpensive but so gorgeous
I’m gonna post in on my facebook: https://www.facebook.com/CurlyMade
Thank you so much! Have an amazing weekend!
Just a thought for the feather art – Lia Griffith has a wonderful feather image which can be easily cut on the Cricut. You have done an amazing rendition of a feather!
It’s beautiful and I love it. One question – why didn’t you use your Cricut on the foam board?
Never mind. I answered my own question. Sorry!