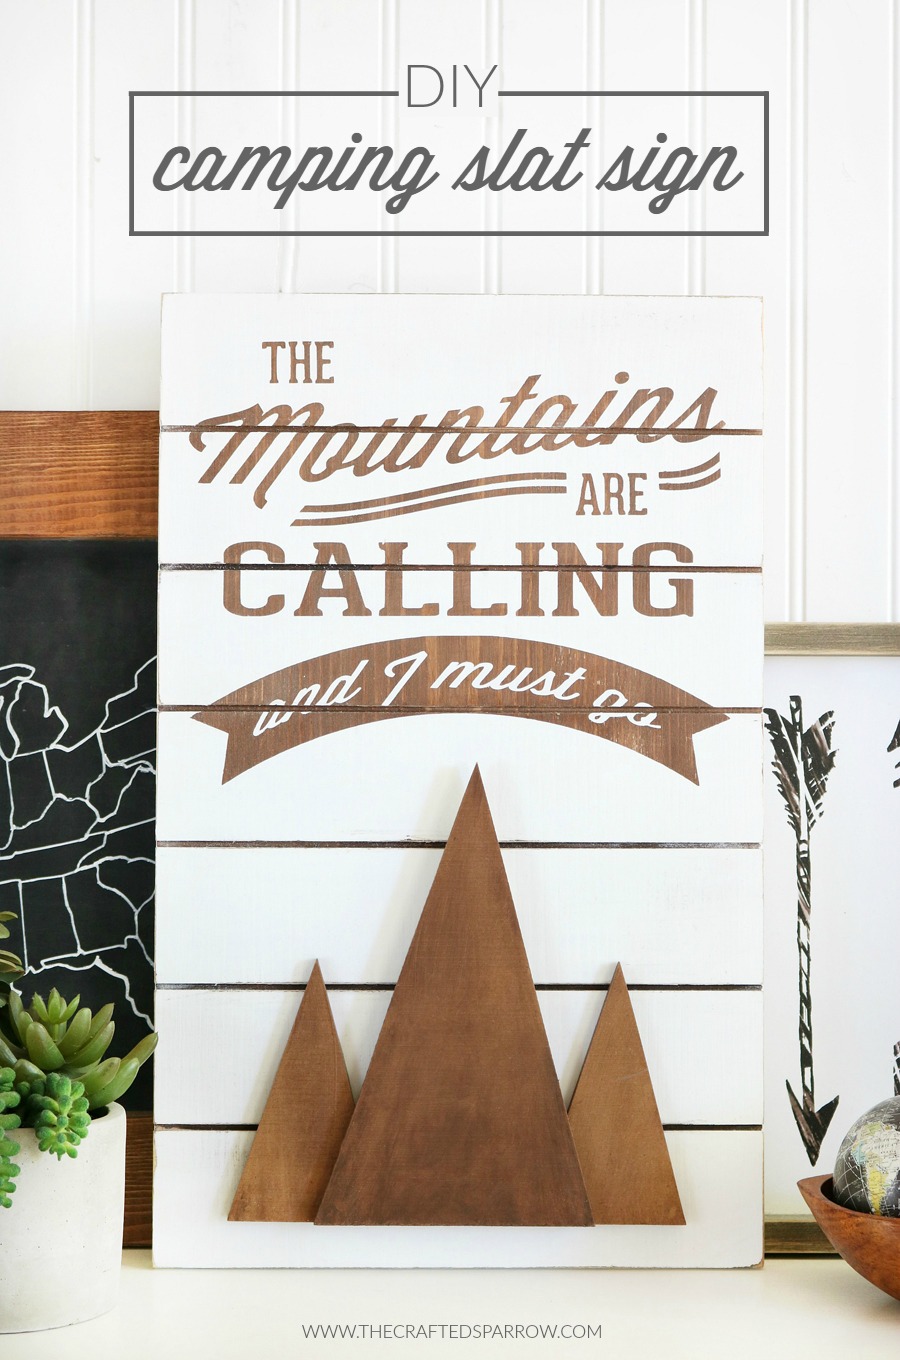
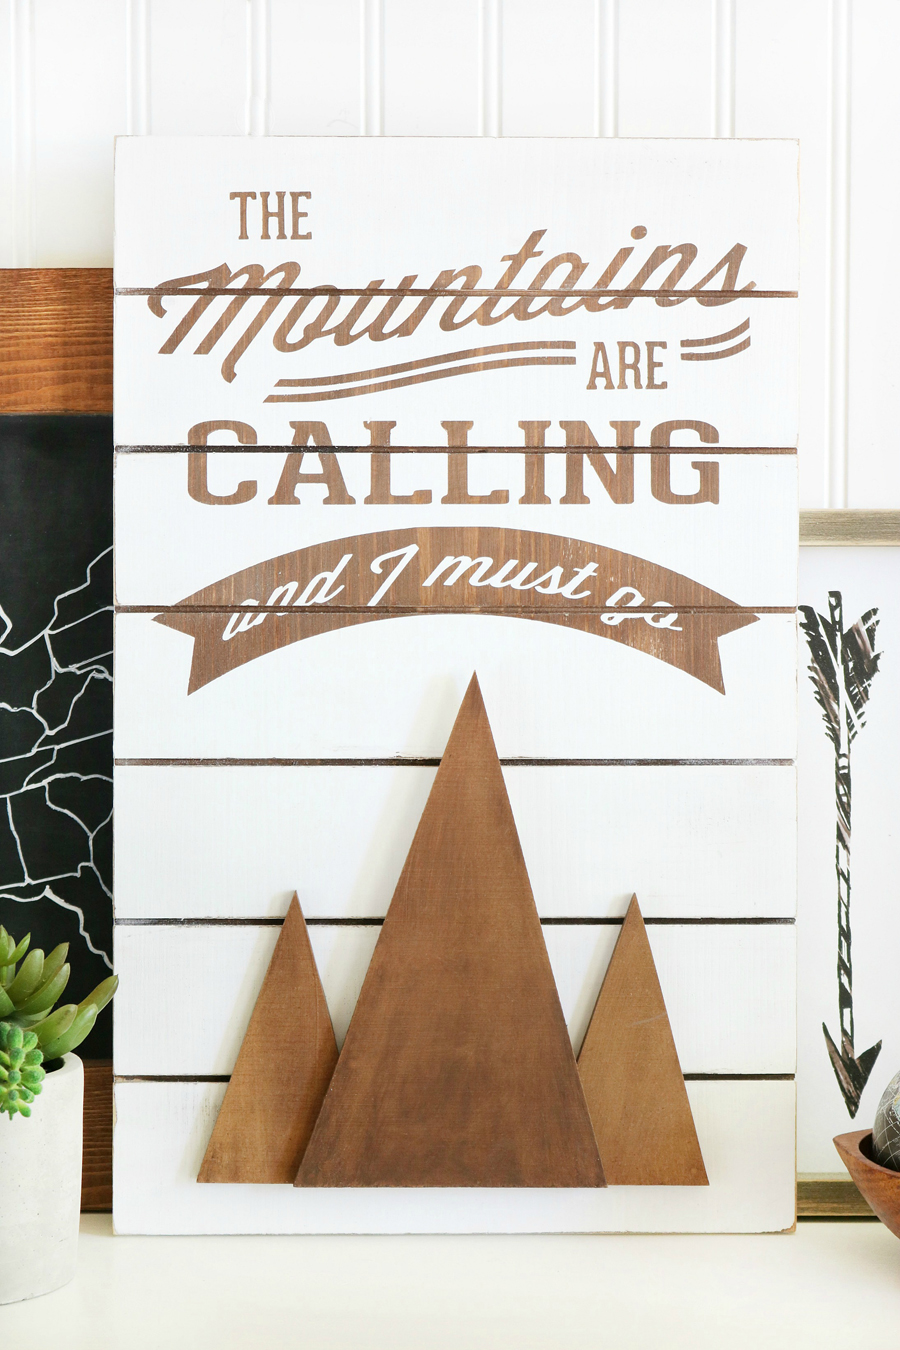
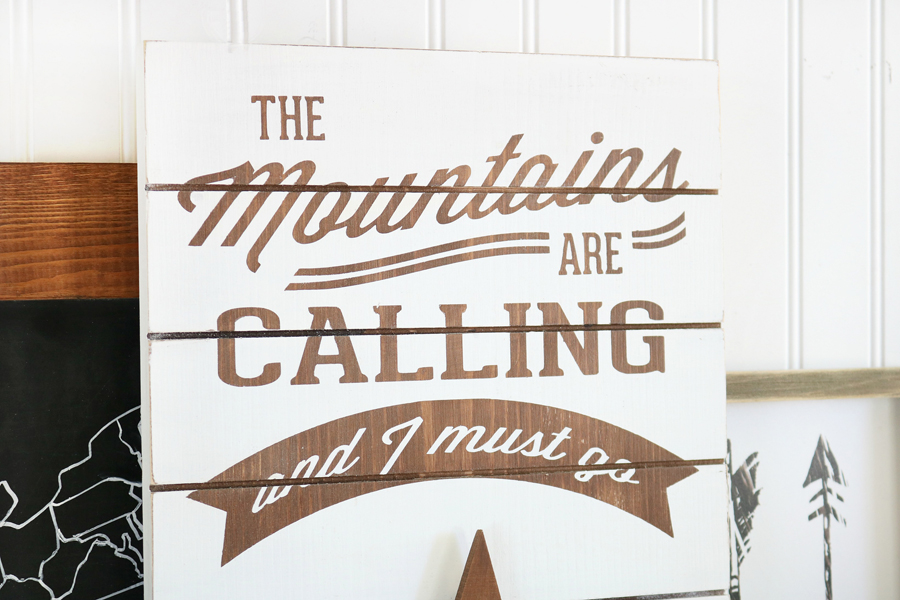
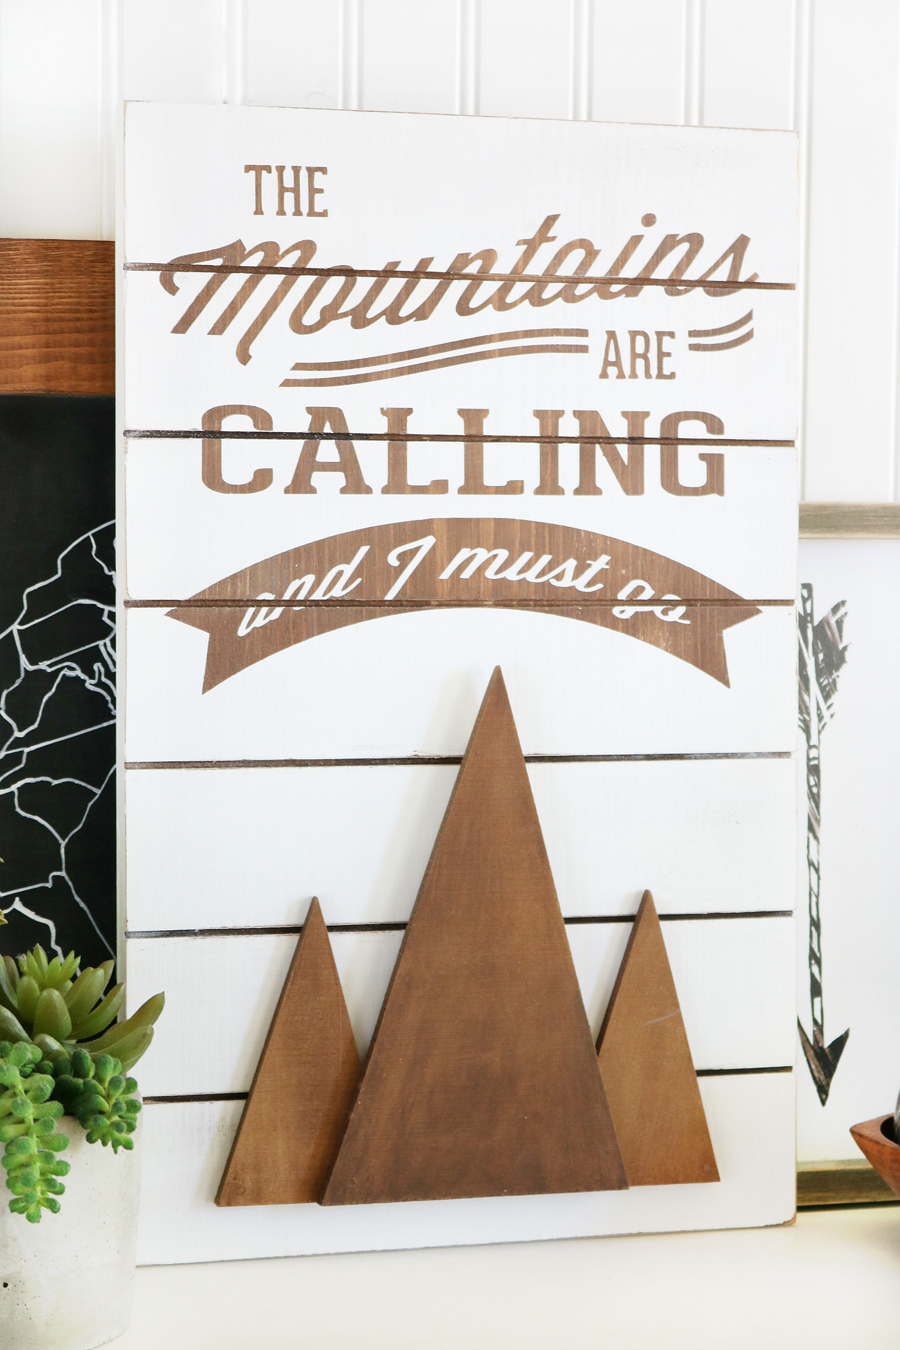
 In Arizona, we are pretty lucky to not only have gorgeous sunsets but we are also only a few hours drive from gorgeous mountain scenery. Sometimes escaping the summer temps with a trip to the mountains is the only way to keep sane during our horribly hot summers. Granted, the winters up north are pretty spectacular too. We’ve yet to have a vacation this year (or the past three years if you’re counting like I am) and I feel the mountains calling! I’m sharing this cute DIY Camping Slat Sign I made in hopes that I will soon be enjoying the cool pines.
Supplies:
Wood vertical slat sign, found HERE
Wood triangle banner shape (large), found HERE
Wood triangle banner shapes (mini), found HERE
Americana Decor chalky finish paint, Everlasting White
Americana gel stain, Walnut
Foam brushes, 2 or 3
Vinyl Stencil found HERE, made using the Cricut Explore Air or Silhouette
Transfer tape
Wood glue
Wood putty
Sandpaper or sanding block, optional
Paper towels or soft cloth
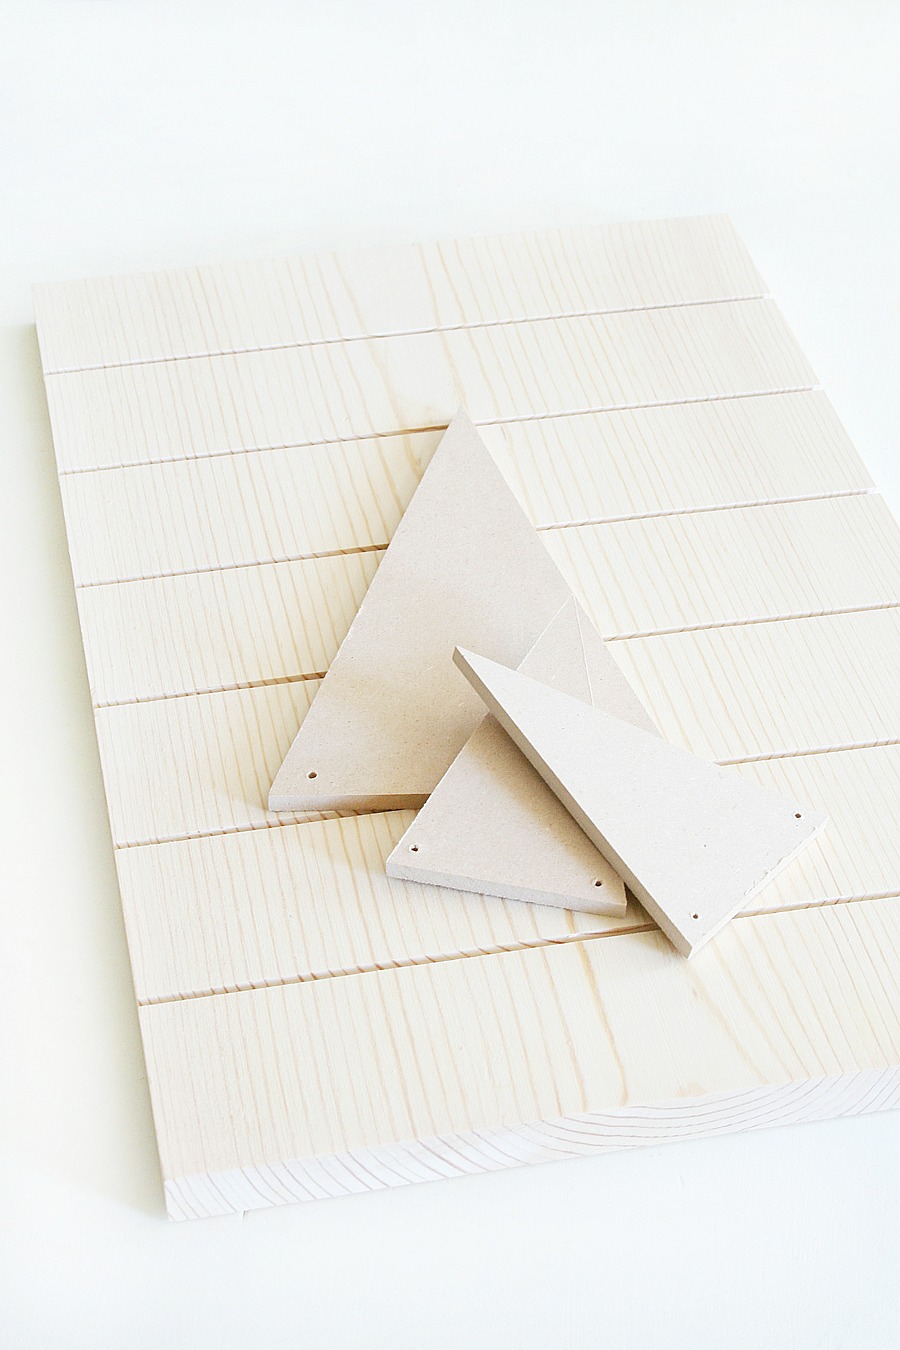
I love using these slat signs, they are so much easier than making one from scratch. To make this sign you will need one vertical slat sign, one large triangle banner piece, and two mini triangle banner pieces.
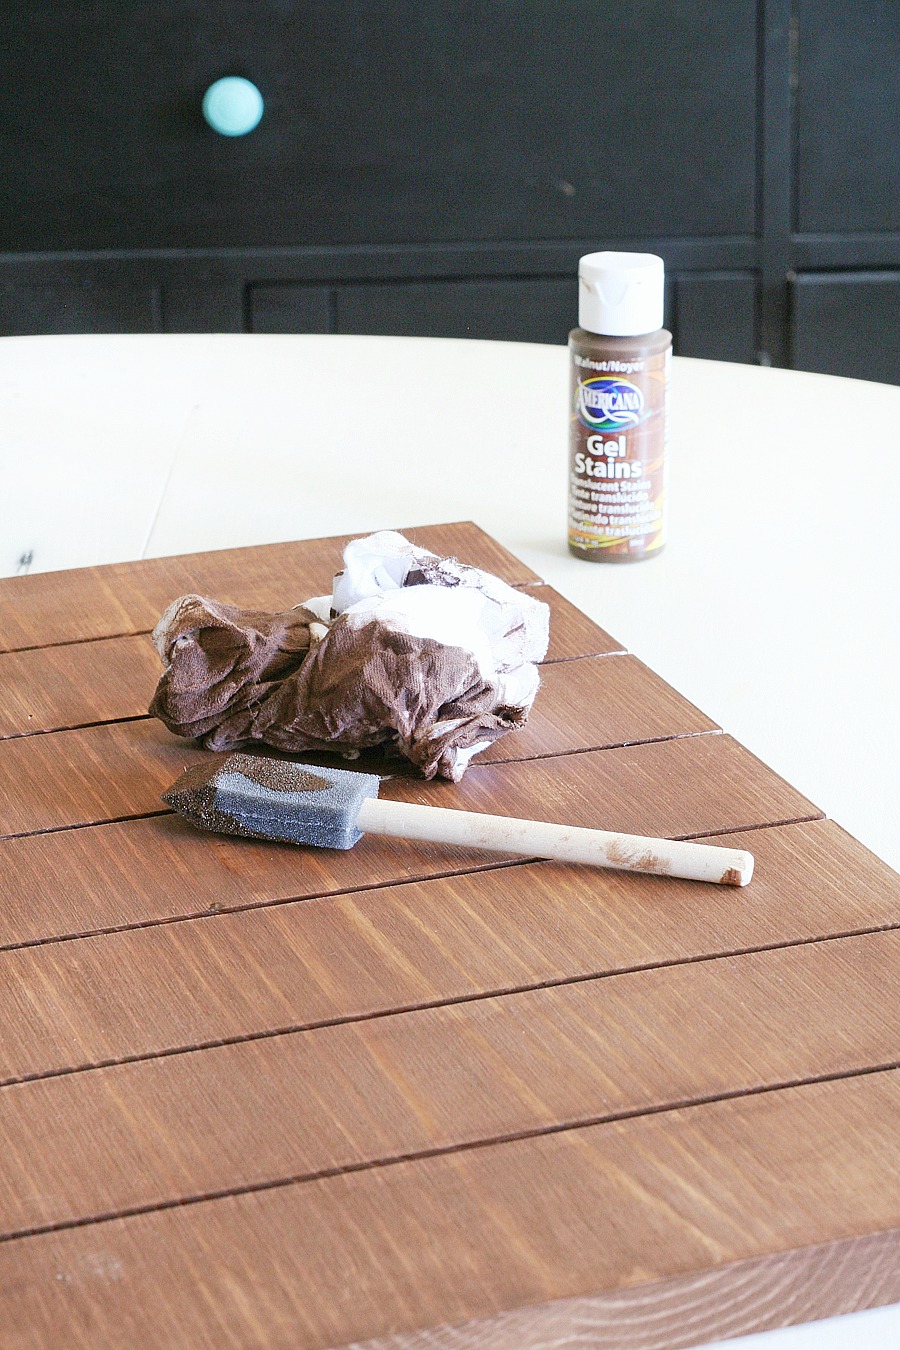
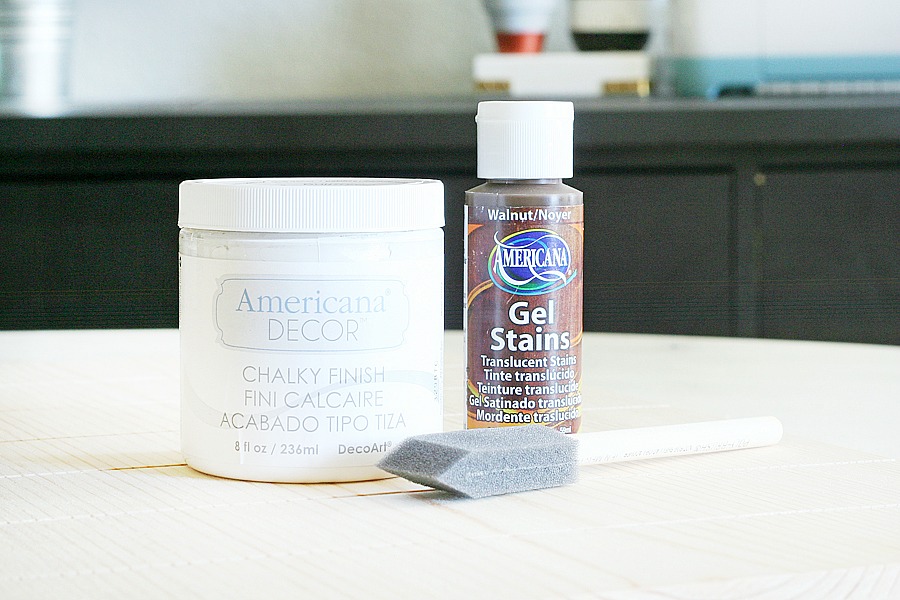 First things first, let’s stain the slat sign. I used one of favorite gel stains from DecoArt in walnut.
Using a foam brush simply brush the stain over the entire front and sides of the sign. I suggest starting in the grooves of the front first, wiping away excess stain with a soft cloth or paper towels as you go. Working in sections apply the stain, then rub and wipe with a soft cloth or paper towel. This dries pretty quickly. You will need to coats.
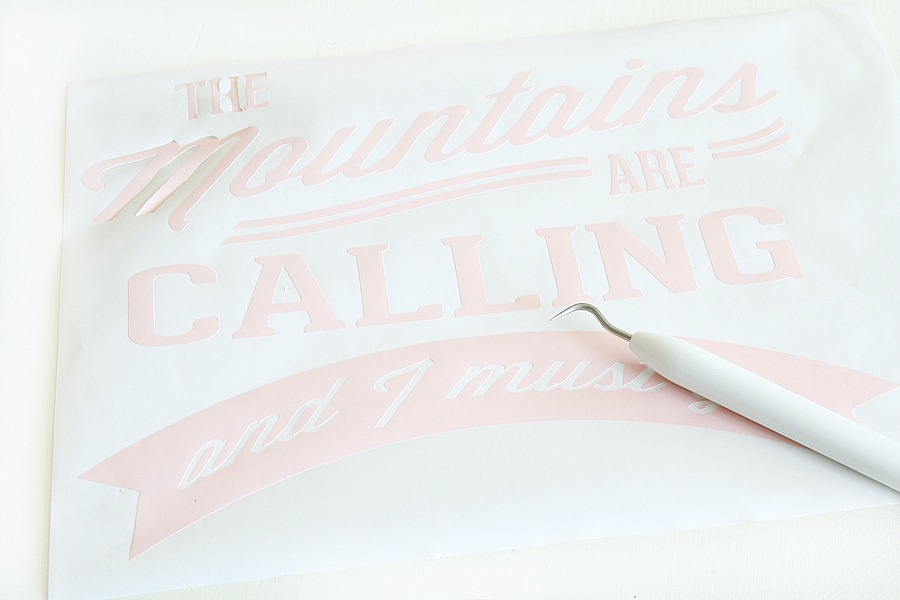
 Design your vinyl stencil in Cricut Design Space or your Silhouette cutting program, then cut. I’ve made it easy for you, go HERE or click the link below to download the image to upload to your cutting software to make your own sign.
Note: These printables and or images are for personal use only! All printables, images, and materials provided here on The Crafted Sparrow are owned strictly by The Crafted Sparrow. They are not to be used for resale purposes under any circumstance!
Weed your vinyl using a weeding tool if you have one, if not a pin or needle works great. I left only the lettering since I wanted the stain to peak through the white paint.
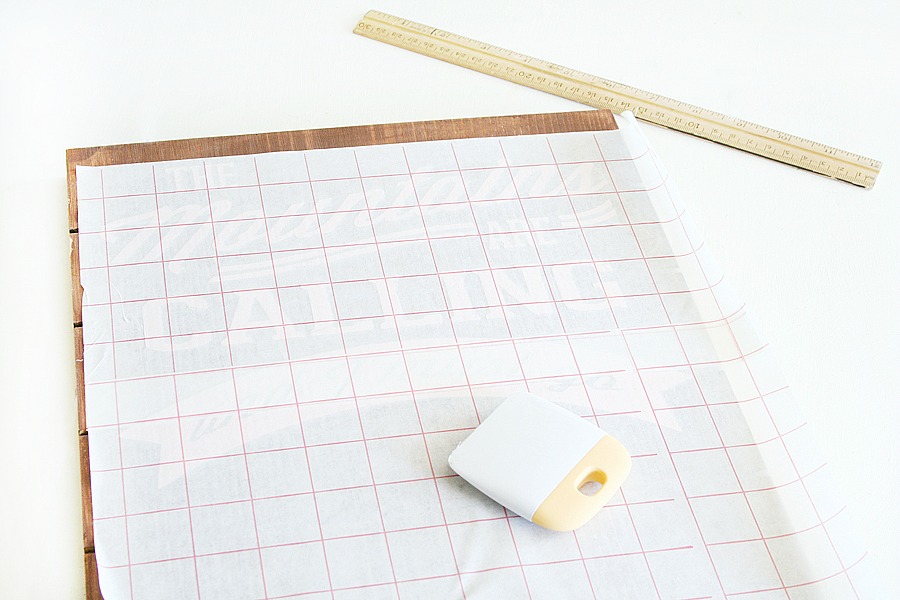
 Apply your stencil with transfer tape, and be sure to use a smoothing tool to adhere the vinyl to the slat sign.
Remove transfer tape carefully.
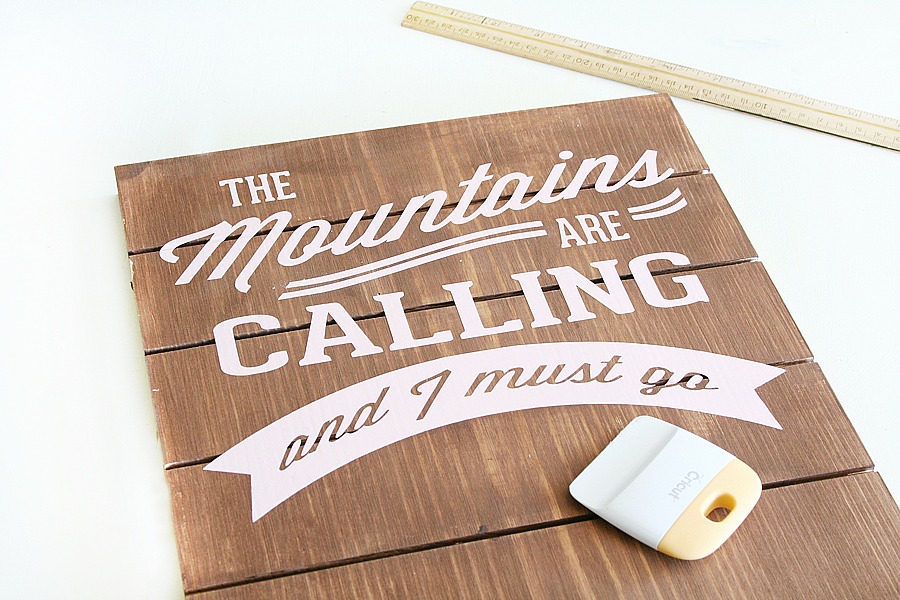 Using the Americana Decor chalky finish paint and a foam brush apply two coats of paint to the entire front and sides of the slat sign. Peel off your vinyl stencil just before the paint dries, if you wait too long to remove it you could cause the paint to peel up with the stencil.
I didn’t paint in the grooves since I wanted the stain to show.
If you don’t have the chalky finish paint you can also use white acrylic paint, or house paint.
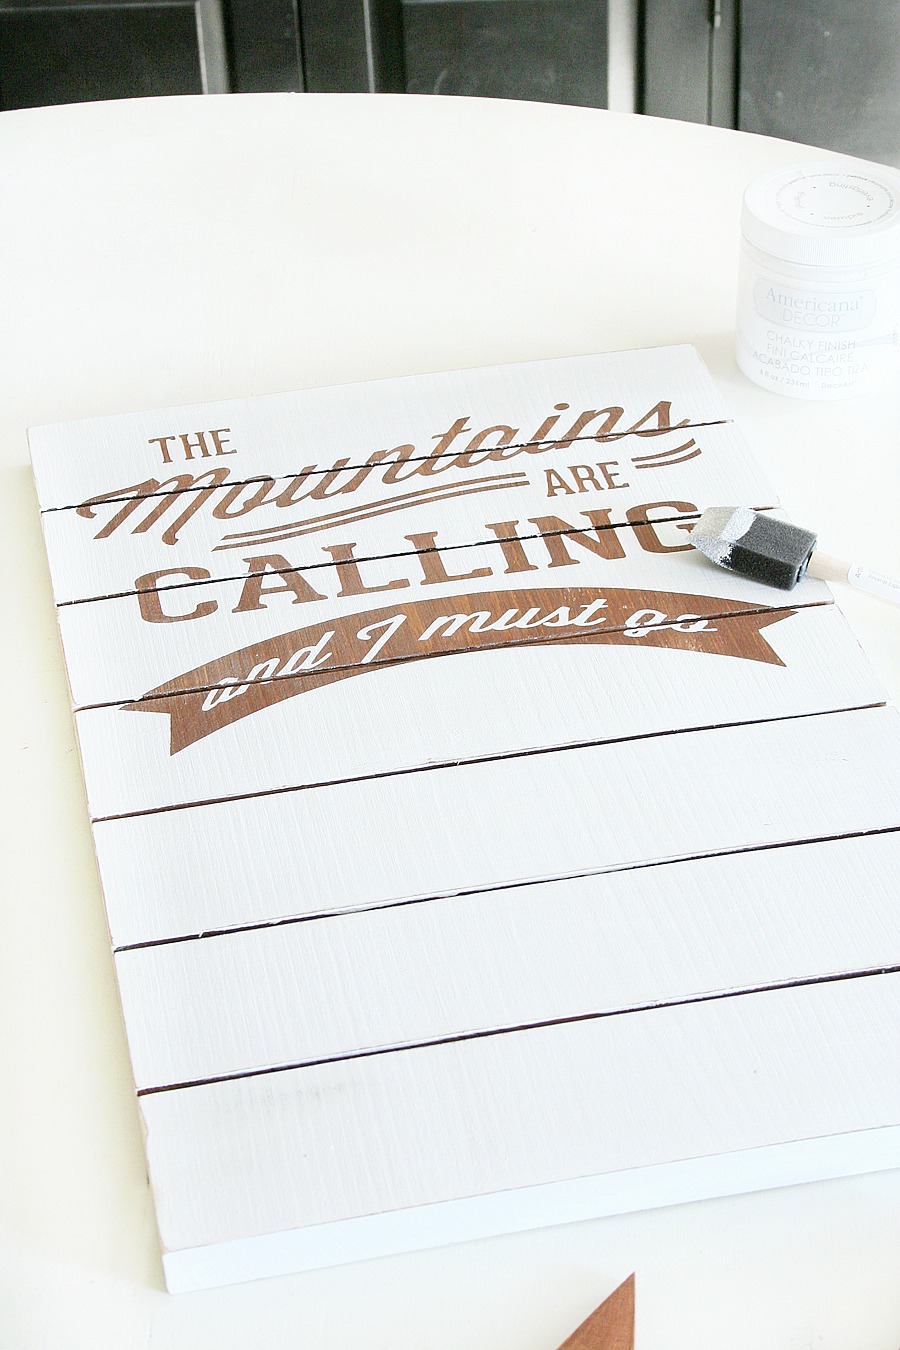 Now for the wood banner pieces that will resemble our mountains.
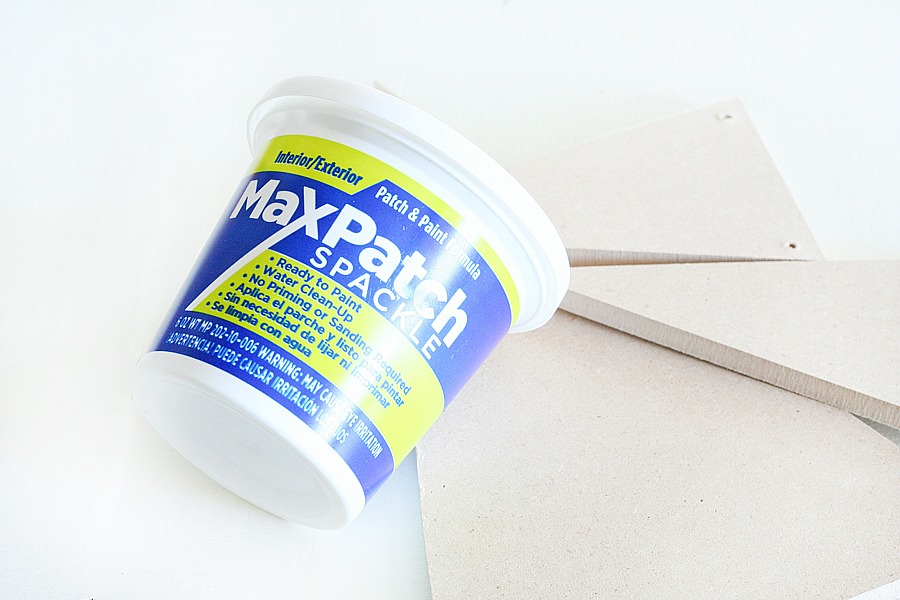
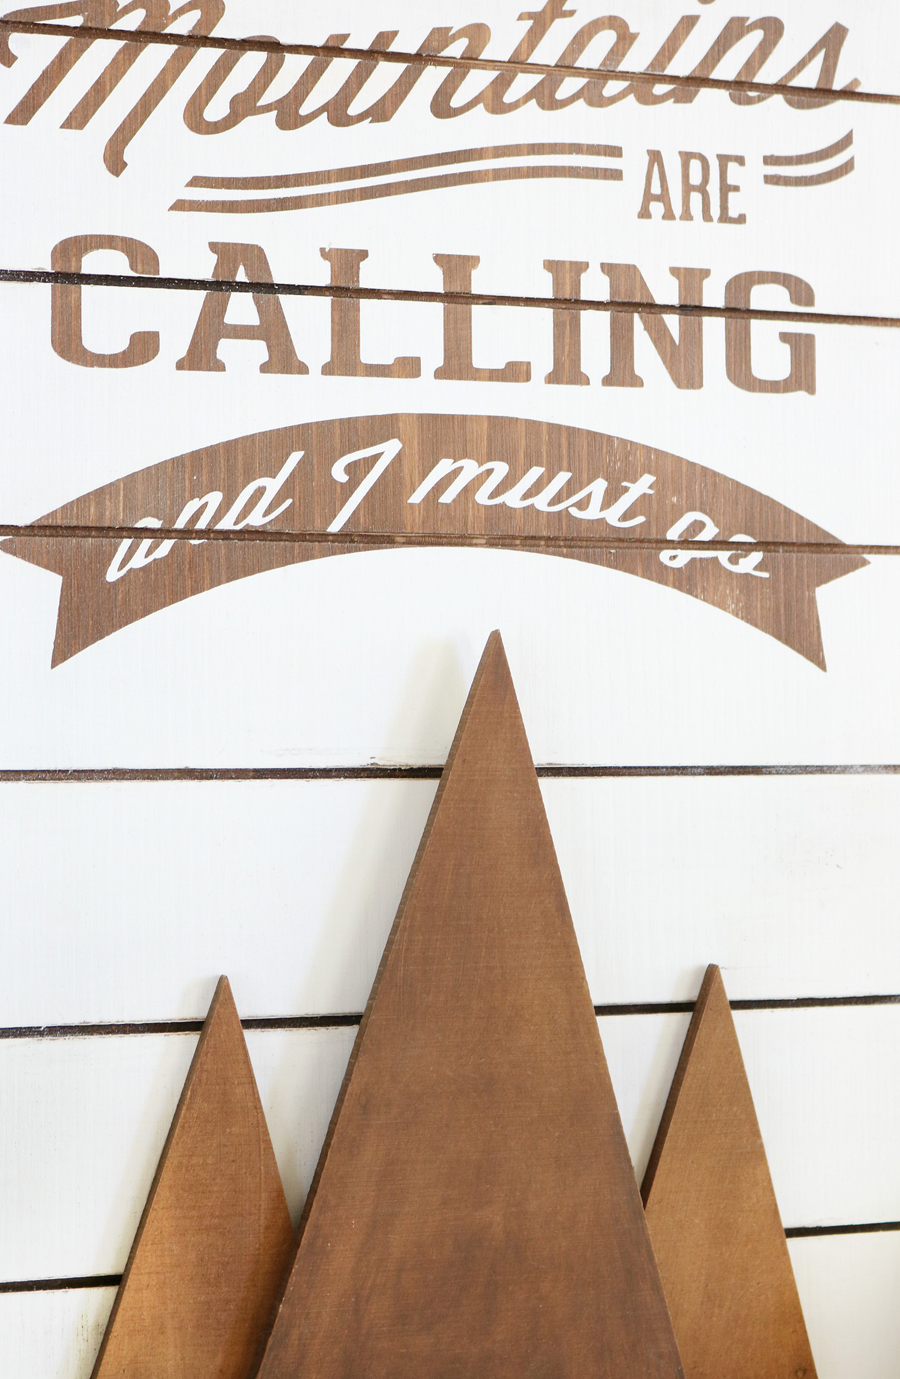
Use any wood filler, wall patch, or even caulking to fill the holes of each banner piece. Let dry, and sand smooth.
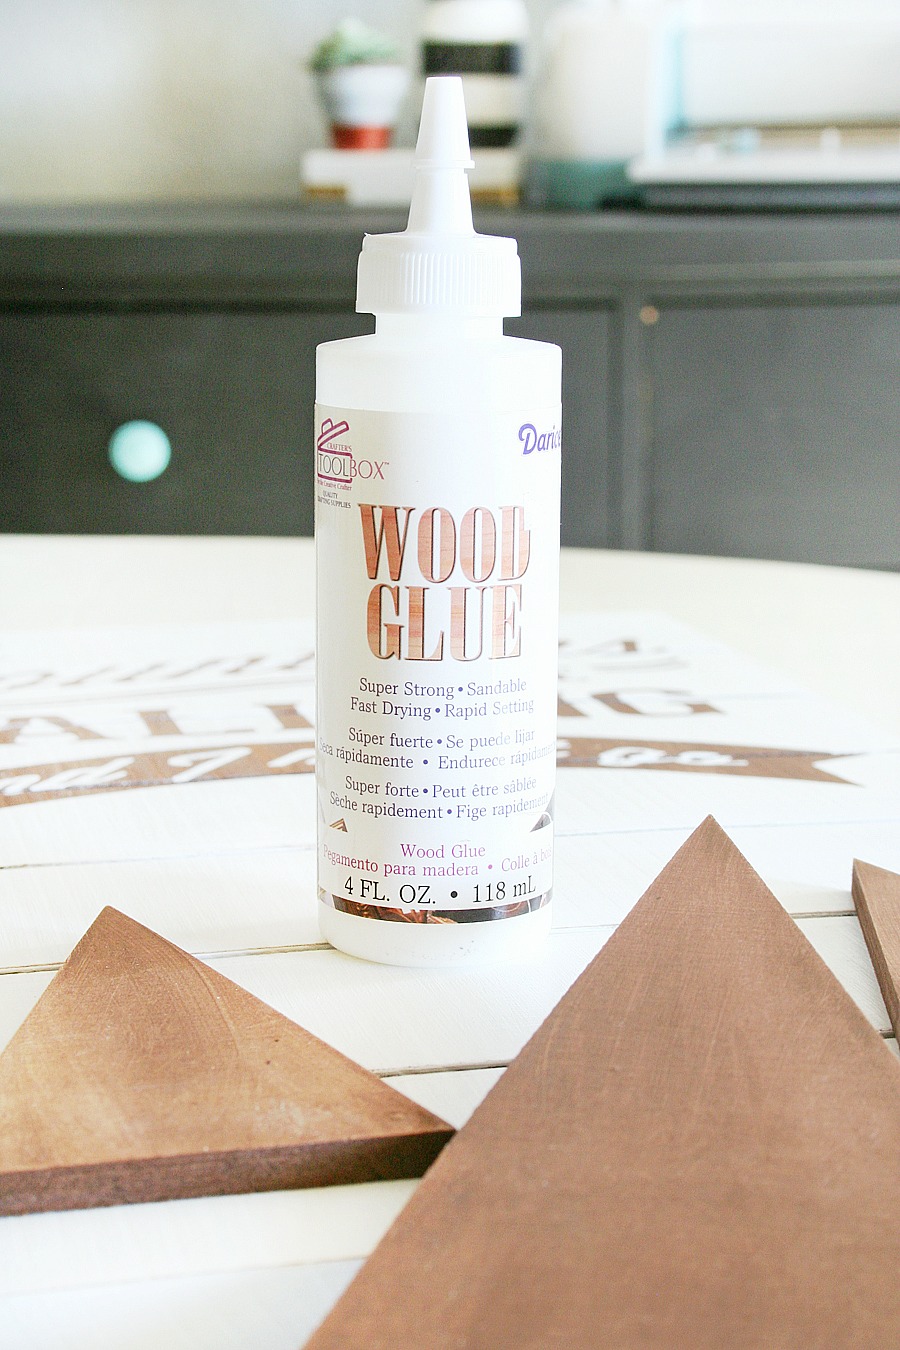 Use wood glue to adhere the wood triangle banner pieces to your slat sign. To keep the largest one from fall back against the sign while drying set something heavy on each corner that will be adhered to the smaller banner pieces.
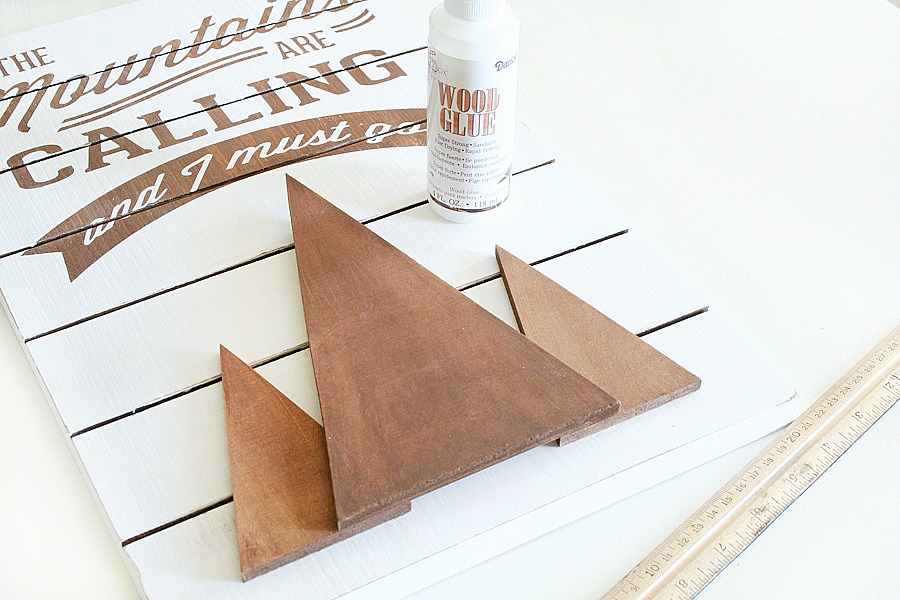 That’s it, now you have a fun Camping Inspired Slat Sign. Hang it in your house, cabin, or give it as a gift!
I hope you love it as much as I do!
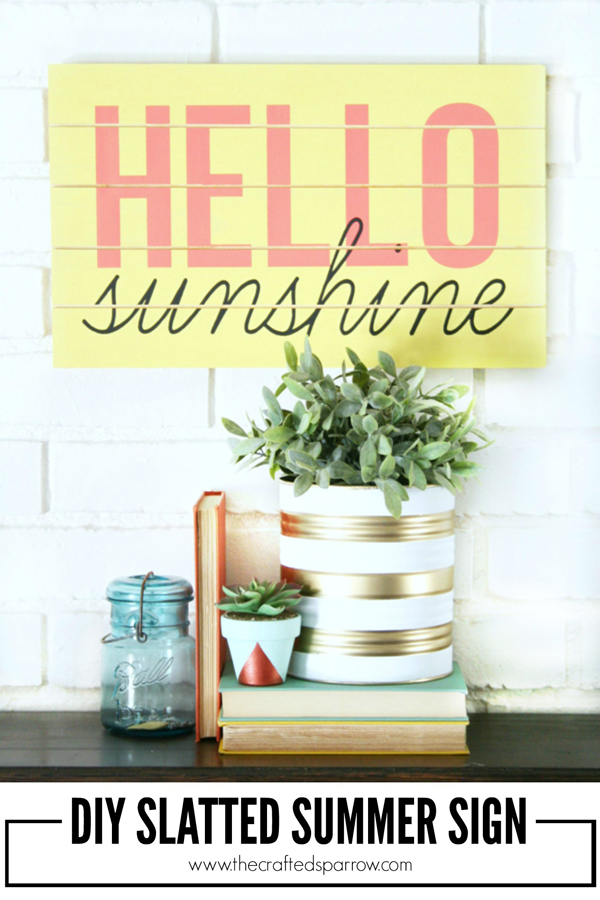
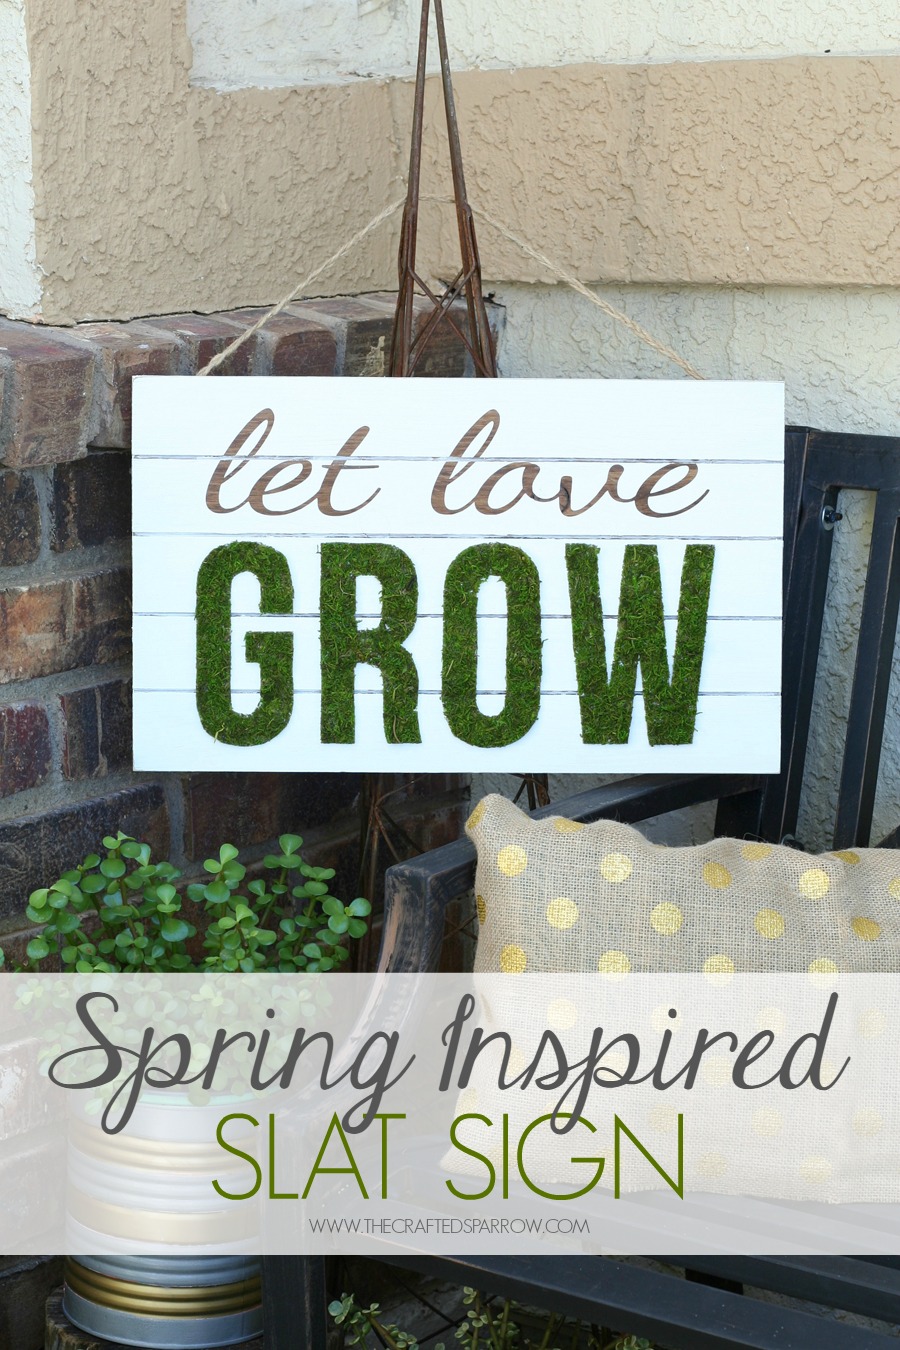
For even more slat sign ideas I’ve made be sure to check these ones out:
Get inspired with great ideas daily when you follow The Crafted Sparrow
Facebook | Pinterest | Twitter | Instagram



Leave a Reply