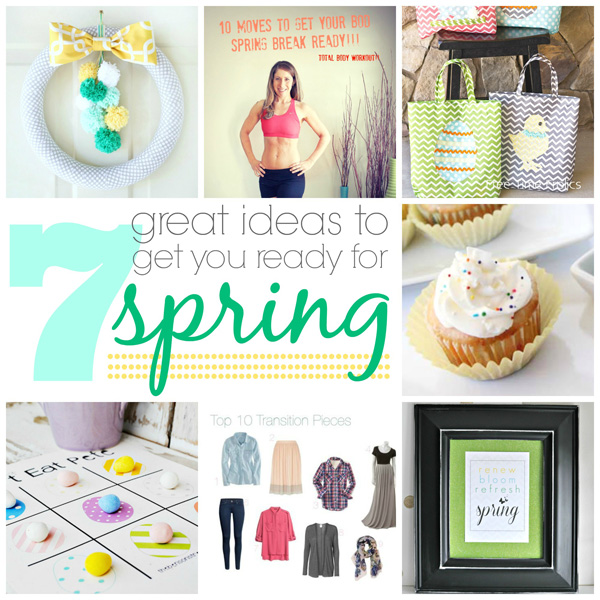
This post is also part of our monthly blog hop, and my blogging buddies have also put together some great ideas to get you ready for spring. So be sure to check them out below. For now let’s get started on this cute wreath.
Foam or straw wreath form
Yarn, choose what spring colors make you happiest
Fabric cut into 2″ wide strips, about a 1/2 yard should be enough for a medium size wreath
Fabric for a bow, I used a heavier home decor fabric for mine
Pins (small) or glue gun
I actually re-purposed this Valentine’s Wreath I made over at SNAP last month. I have been using only pins on my wreaths lately so I can transition them from season to season easily. So you can check out my tutorial over at SNAP to see how to wrap your wreath form.
Next step is your pom poms. For these pom poms I wrapped the yarn around my fingers about 70 times, if you are making larger poms wrap it around 4 fingers and wrap the yarn around 90-100 times.
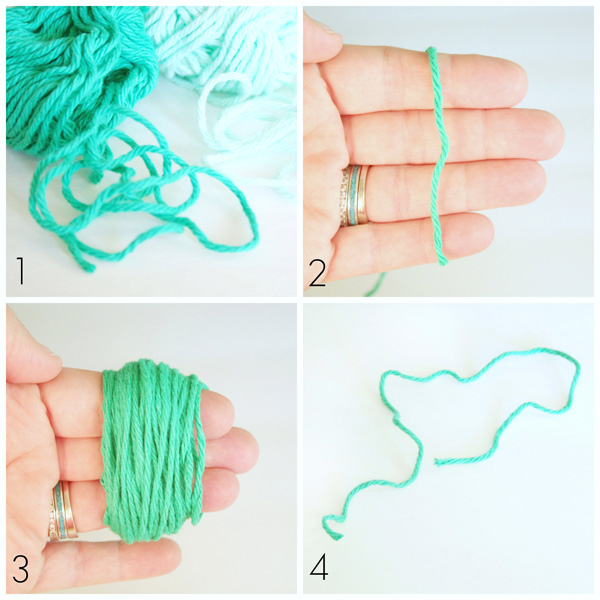
Once the yarn is wrapped around your fingers and you have slid the extra piece of yarn in between your pointer and middle finger (using a pair of scissors to help push it through is what I do, it’s not as scary as it sounds) tie it around the bunch of yarn one time.

Grab your scissors and cut all the loops.
Once all the loops are cut you will hold on to the two longer pieces of yarn from your knot. Using your shears (shape ones make a difference) give your pom a hair cut and shape it into a ball. The shorter you go the fluffier it will be. The kind of yarn you choose will also determine the fluffiness of your pom. The kind I used wasn’t super fluffy so I have a pom that looks a little stringy.

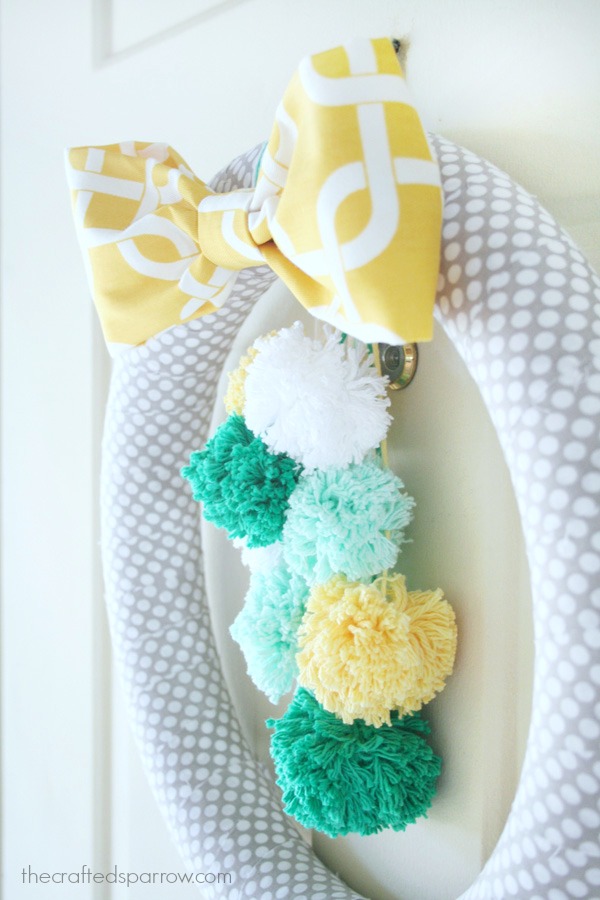
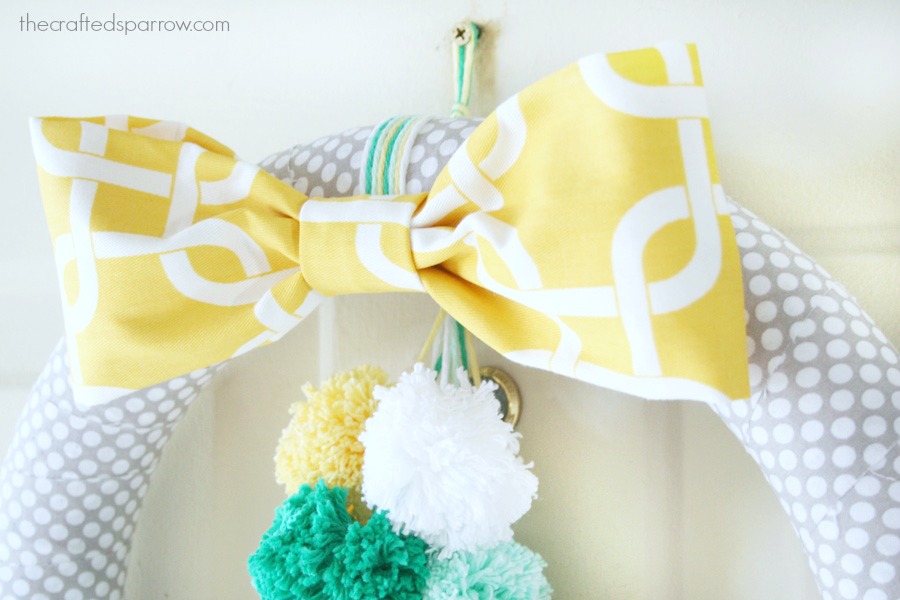
Once your done with your poms you can tie a longer piece of yarn to them and then tie them in a large bundle to your wreath.
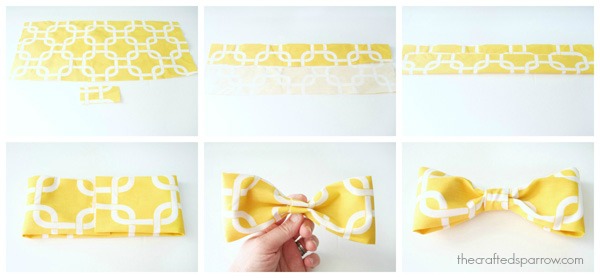
Cut a wide strip of fabric, mine was about 12 x 16″. Cut another small piece about 4 x 4″ for the center of your bow, set aside. Fold your larger piece of fabric over in half lengthwise once, and then fold over the other side and apply a small bead of glue. Fold over each end and glue the ends together. Pinch your bow in the middle and use the small piece of fabric that you set aside and wrap that around the bow and glue at the back.
I then just pinned my bow on to my wreath.
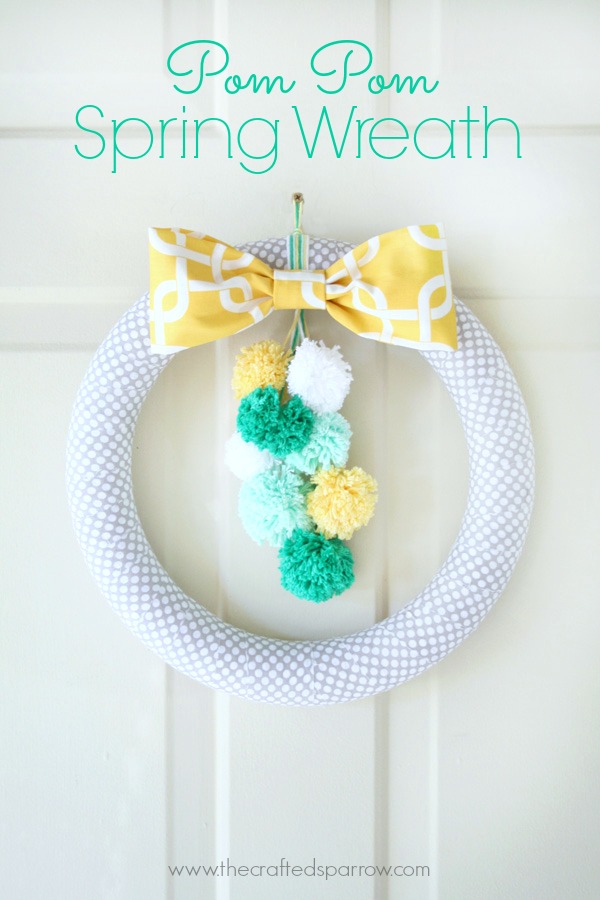
That’s it, your done. Cute Spring wreath all ready to welcome guests and give your front door a cheerful makeover.
Sour Nerd Cupcakes | Among the Young
10 Moves to Get Your Bod Spring Break Ready | Maybe I Will
DIY Easter Tote | Free Time Frolics
Spring Printable | She’s Crafty
Don’t Eat Pete Printable Game | The Benson Street
10 Perfect Transition Pieces for Spring | Flats to Flip Flops





I absolutely love it!
Thanks Megan! 🙂