A while back I did a tutorial on making a faux pearl baby onesie seen HERE.
I thought I should do another tutorial for Valentines Day. It’s the perfect little touch for any little girls onesie or t-shirt. And if you pair it with a tutu or pettiskirt and she’ll be a huge hit!
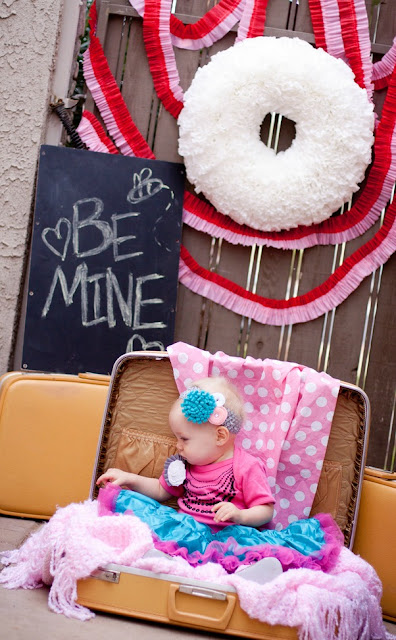
When I decided to do a new tutorial I enlisted my awesome friend Rhiannon from Raw Canvas Photography. Not only to let me borrow her adorable daughter to model, but to snap some great pictures of her daughter wearing the onesies. It all turned out so wonderful.
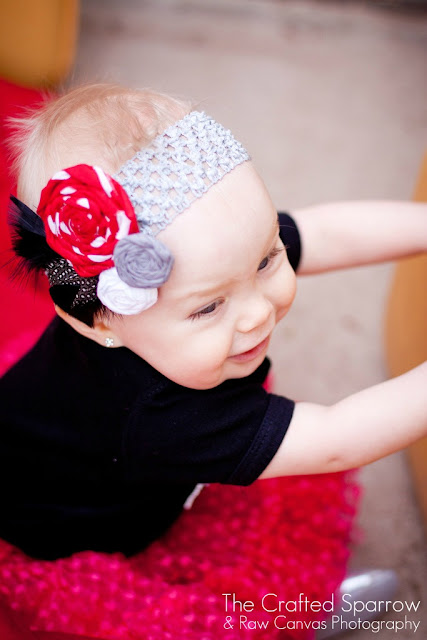
I also made all the hair pieces. I love how each one of them turned out.
I think this red, gray, & black one is my favorite because I love the feathers I put with it. Although the pink felt ball one reminds me of a cupcake’s frosting, and who doesn’t love a cupcake!
I want to give a huge thank you to my sweet friend Rhi for her help taking such lovely pictures, and for letting me try all this stuff on her sweet daughter.
If you want to make your own faux pearl onesie
or t-shirt this is what you will need:
* A t-shirt or onesie
* Puff paint in your choice of color to
coordinate with your shirt
* A fabric rosette
* Optional – clothing snaps or velcro
* A piece of cardboard
Before you start putting paint on the shirt you may want to “map” out where your going to place your strands of faux pearls. I used a white colored pencil to lightly draw the strands out ahead of time just to be sure I was doing each strand straight and as even as possible. When everything is dry and set, I then just took a damp cloth and wiped the white lines that were still showing off.
Start by placing a small piece of cardboard or a small cutting board in between the layers of your shirt or onesie. This will create a firm surface to paint on and prevents any bleeding.
Can you see my lines?
Also, if your doing a onesie..I find it helpful to tape the little shoulder flaps back onto my work surface so they don’t get in the way. Draw as many strands of faux pearls as you want, there isn’t a set amount.
I like to do graduating strands that go from small to large beads. But you can do anything you want. Make them all small, or big…or alternate.
Just keep going until your done.
Once your done with your strands of beads or pearls you will need to let it sit and dry it a safe place for 24 hours. While it’s drying make your rosettes. Make them as large as you want, and use whatever style your comfortable making. I added a little flair to the white one I made by adding a little ruffle behind it just to spice it up a bit {or rather was it to hide where I accidentally put my finger in the wet paint!} Just be sure to add felt to the back of your rosette for a smooth backing. I have sewn the rosettes on before, but this time I thought for washing purposes I would do something different. I bought large sew-on snaps thinking it would be fun to switch out the rosettes periodically. You can sew on some velcro if you want, I didn’t because I know it gets worn with washing. At this point hot glue one side of the snap to your rosette back really well. Sew the other side of the snap to your t-shirt or onesie in the spot where you want your rosette to be. I did notice that it is probably better when gluing the snap to the back of the rosette to place it not in the center if you think your rosette will be too top heavy, you can glue it more towards an outer edge so it hangs right. Or add two snaps one on top and bottom of the rosette. Feel free to sew your rosette directly to your shirt if you want!
And your done!










LOOKS WONDERFUL!!! Great work Friend!!
LOVE LOVE LOVE this!!! The snap for the rosette is a great idea too. Man I need a little girl!!! haha Pinning this for sure girl 😉
Lacee, uh you and me both! Maybe someday we’ll have one! Or not.
Those are so cute! What a great idea. I think I’ll try to make one for my little girl. Thanks for sharing. Jen
So pretty!!! What a cute idea. I def will have to try some of these. Love the idea of a snap!
~Judy~
This is so adorable!!! I want to make tons of these for all my friends having baby girls!
Lovely, I just want to know if you have a tutorial for the white rosette, I love it! =)
Can you wash this and not ruin the paint?
Hi Ladies – No I don’t have a tutorial for the rosette’s yet. There are some great videos on you tube though if you look them up. I need to make one, but I always forget. 😉
And yes you can wash these, I suggest turning them inside out and line drying them. But I have friends that made them with me and they said they washed fine. 🙂