I have no shortage of cute jewelry lying around my closet…problem is I don’t always wear it. I want to badly, but let’s be honest…I’m lazy sometimes and the thought of getting all dolled up wears me out! And let’s not forget the endless amount of jewelry making supplies I have on hand, I really have no excuse to not wear jewelry more. I have been eyeballing several “Arm Party” looks lately and wanting to get some new stuff, but I can’t justify spending my allowance {yes I get a bi-weekly allowance} on jewelry. So I thought hmmmm….what do I have in my closet that I could turn into a quick bracelet or two. Sure enough I had a couple things that made into a quick project.
{Arm Candy} – A jewelry revamp & some new simple DIY pretties for the wrist
First I started with these two necklaces.
One is a very chunky antique brass link chain that I had already taken the enormous cross off and used somewhere else. The other is a choker style necklace I’ve had for probably 12 years, I have never worn it…just liked the cross.
Let’s discuss the green cross necklace first, I took the necklace apart and separated the leather cord necklace from the chain. Then I simply just added the clasp back to the ends and kept is as a choker necklace length…I can wrap it around my wrist twice and it makes a cute bracelet.
Next I took the chunky brass link chain and took a couple links out and turned it into 2 equal lengths of chain that fit my wrist. I connected them with a jump ring on each end and added a clasp. Then to give it just a bit of color I added some large jump rings with large seed beads to random links on the bracelet. Not too much, but it added just enough color to it.
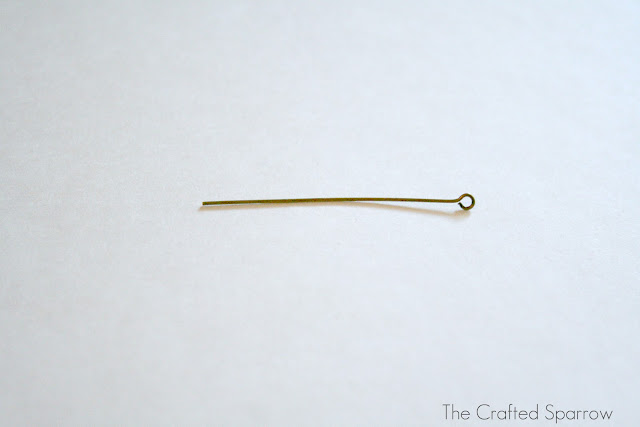
I then decided I would create some new bracelets from scratch. I usually have lengths of chain, and even scraps that aren’t long enough for a full necklace which are perfect for this project. I love to buy chain from Hobby Lobby, Joanns, Michaels, and Walmart…they all have great choices and if on sale or with a coupon they can be priced reasonably too. I started with a head pin that has a looped end. I added about 1 1/4″ worth of beads and then rounded out the other end to create another loop.
Next I added a small jump ring to match on each end of the beaded section. Then I measure the length of chain I needed for each side, making sure to leave enough room for a jump ring at the end and a clasp. I then attached the chain to the small jump rings at the end of the beaded portion, then added my jump ring and clasp to the ends and that’s it. Easy Peasy! You get these super simple adorable bracelets that you can layer with anything or wear together. The possibilities are endless.


So cute! I LOVE your new header BTW!
What a great idea to revamp stuff you already have! 🙂
Love these!! This would be a great way to turn thrifted jewelry into stunning Christmas/birthday gifts. Thanks for the idea 🙂
{{New follower!}}
I love to redesign jewelry to fit into my current ‘tastes’… very beautiful designs!
GORGEOUS!!! They are all so beautiful. I am a bit obsessed with making jewelry at the moment and these are too fun. I would love for you to link up to my fashion party tomorrow!!
Kara
http://www.mineforthemaking.com
Such pretty bracelets! Great job!
Adorable.
Very cute and simple remakes. Makes me want to use some of my bead and necklace stash to make some new items.
christian louboutin sale gdcxaf christian louboutin takopg cheap christian louboutin nvlfwx http://www.2013tiffanyjewelry.com
christian louboutin shoes hioicg christian louboutin clirgg christian louboutin buhukf http://www.coachfactory2013outlet.com