Supplies:

1. First roll some polymer in to a 1.5″ ball in your hand.2. Lay it on a clean surface like wax paper or a cutting board and roll it out until it’s about1/8″ thick. Trim it to a rectangle shape with your cutting knife, mine measure 6″ x 3″.3. Then cut it so you have 4 equal pieces, at this measurement my bow is 3″ wide when done!
4. Pinch one end like shown, then fold the other end over to meet it and gently pinch them together so you have a loop.
5. When you have all 4 loops done gently smush the ends so they all meet.
6. Cut one more rectangular piece to add to the center of your bow to cover where everything meets.
7. Using your paperclip carefully place two holes for your jump rings on two opposite loops.
8. I used my paperclip to also add a slight crease to the front of my bows.
9. Bake your bow according to package instructions, I did mine for 10 minutes at 275* in my toaster over, then I brushed a light coat of satin varnish over the whole bow once it is cool.
10. Last step not pictured is to add to large jump rings to the bow where you put the two holes, then place a small jump ring on each end of your chain (mine measured 36″) and attach to the bow.
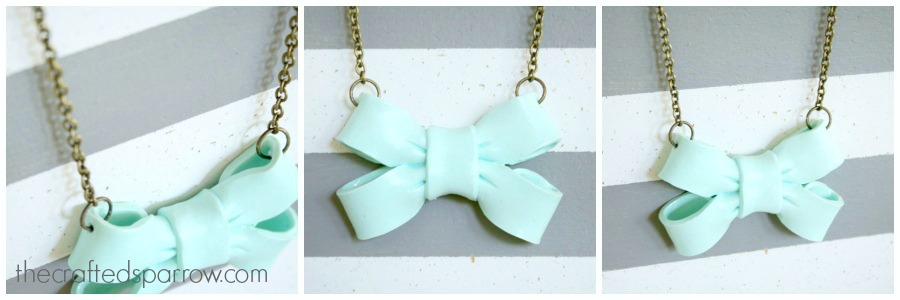
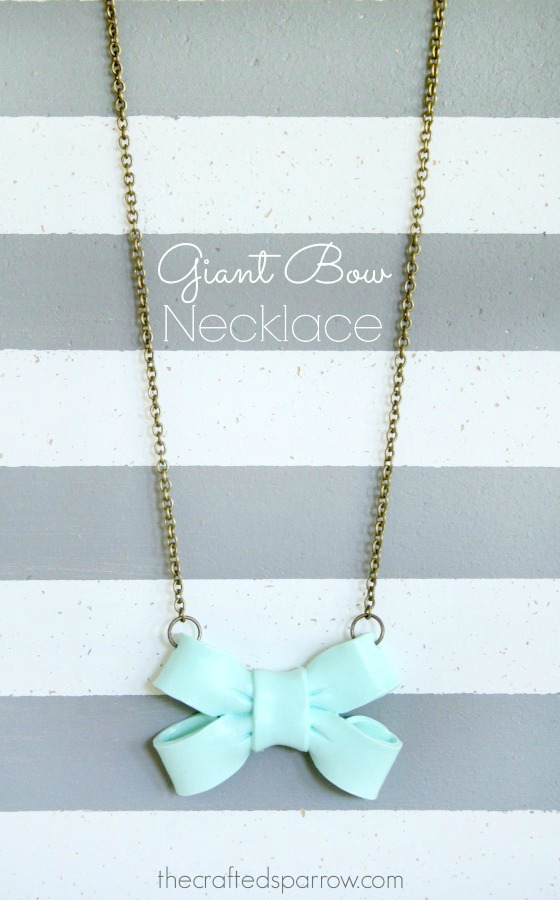
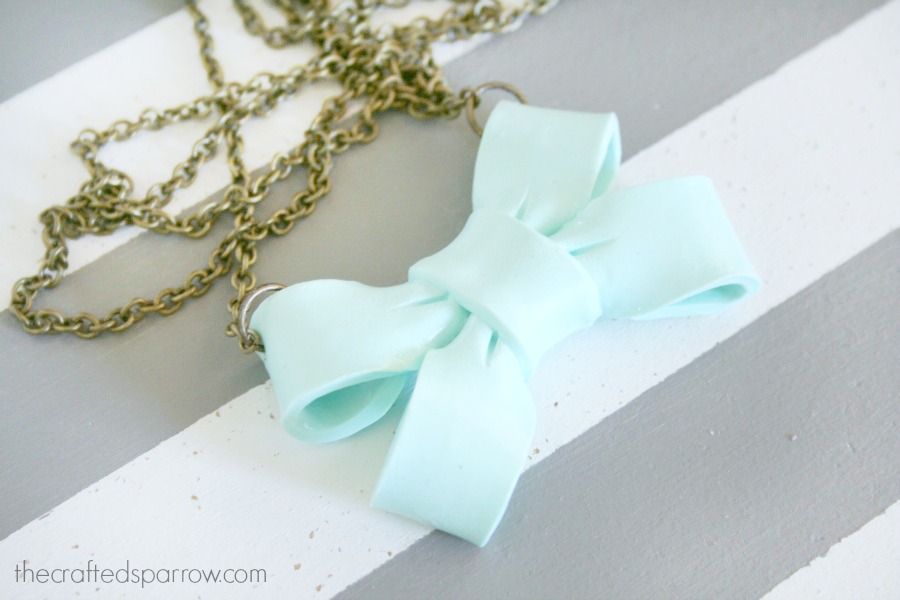 So what do you think? Don’t you love it! I certainly do, I’ve gotten quite a few compliments on it!


So adorable and I love the color! WIll you be selling these? I want one!
Adorable! I especially love the color.
Okay, totally loving this for me and my girls! We might need one in ever color now! I’ll be featuring this on my blog tomorrow!
http://www.sumossweetstuff.com
Thanks for linking up!
Sumo:)
This is super cute! I’d love if you’d link up to The DIY’ers: http://homecomingmn.blogspot.com/2013/08/the-diyers-and-our-country-weekend.html
This is so cute! I remember crafting a lot with polymer clay as a kid, but funnily enough, haven’t since then. This bow could be such a cute first project! 🙂
This necklace is so pretty and looks like a lot of fun to make! I featured it on my Handmade Gift Ideas. http://www.throughtheeyesofthemrs.com/2013/11/30-handmade-gift-ideas.html
Thank you Beth!