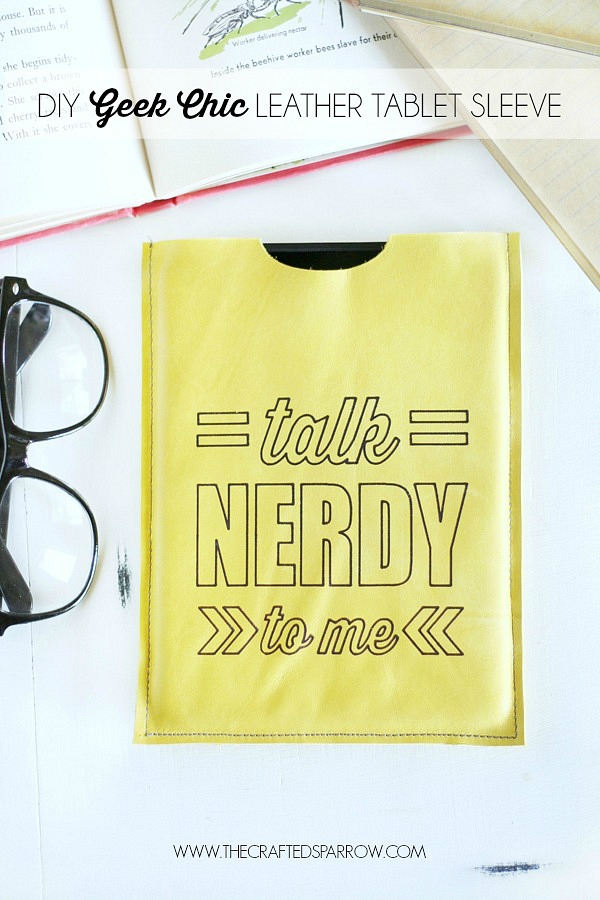
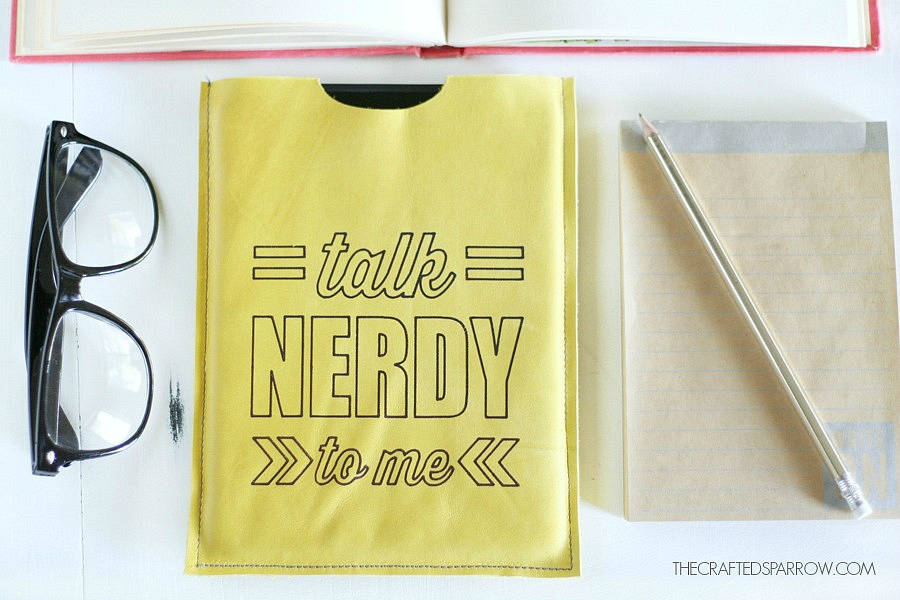
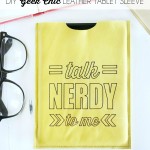
 Last month myself and a ton of insanely talented bloggers kicked off the first round of the Cricut Design Space Star competition. My team, which is team #7 ended up winning not only a group prize for our use of a theme…but two members of our team (myself included) made it to the top 10! This week is Round 2 and we had to come up with a new theme and create fashion and gear within that theme. Our team has picked Geek Chic. Today I’m sharing the fun DIY Geek Chic Leather Tablet Sleeve.
With Geek Chic being hot in fashion right now I though it would be fun to share all things Geek Chic this week on the blog.
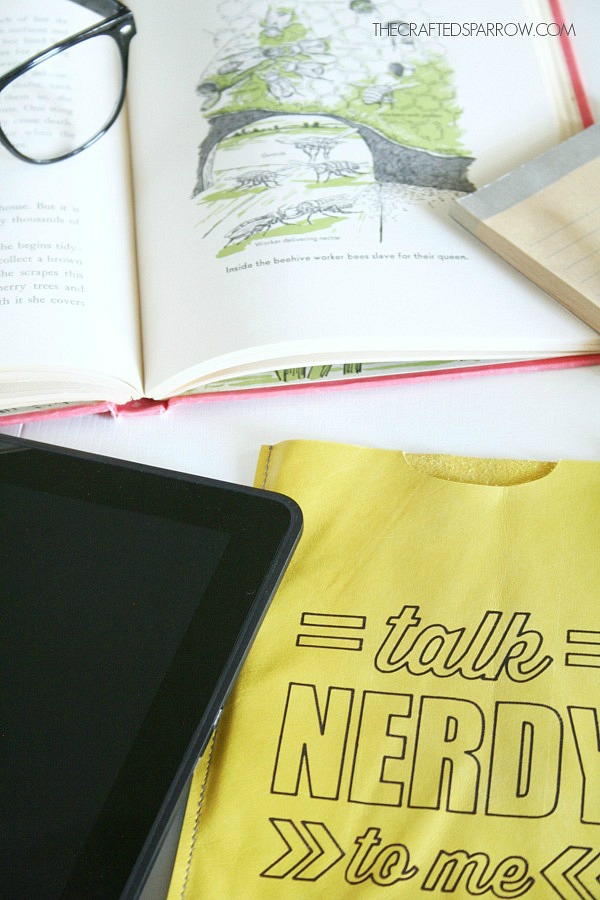
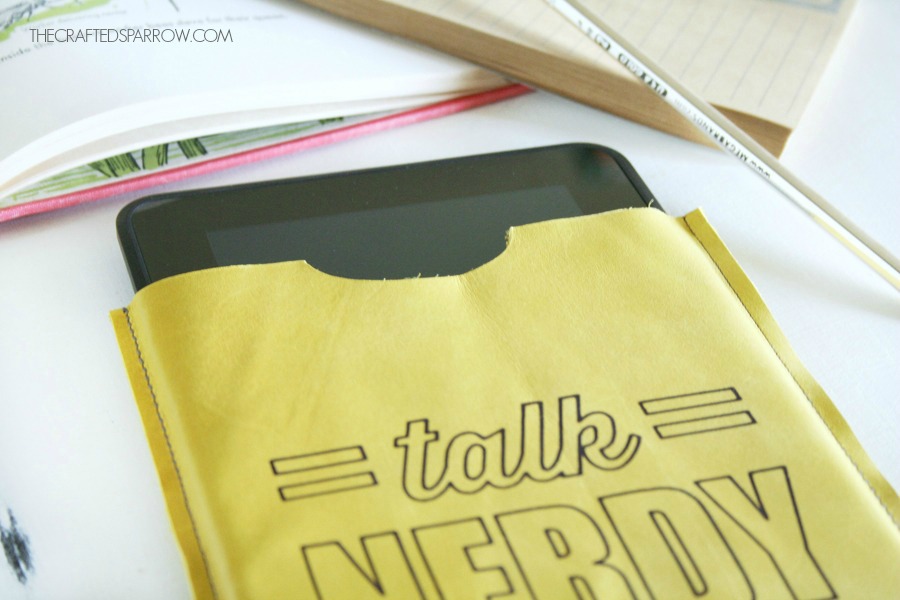
I created this DIY Geek Chic Leather Tablet Sleeve for my Kindle, but this sleeve can be made so easily for any tablet.
Supplies:
– Leather or Faux Leather
– Cricut Explore cutting machine
– Cricut cutting mat (strong grip is recommended but the regular grip will also work)
– Cricut Color Antiquity pen set (black is used in the project)
– Sewing machine
– Leather needle for the machine
– Heavy duty thread
– Scissors
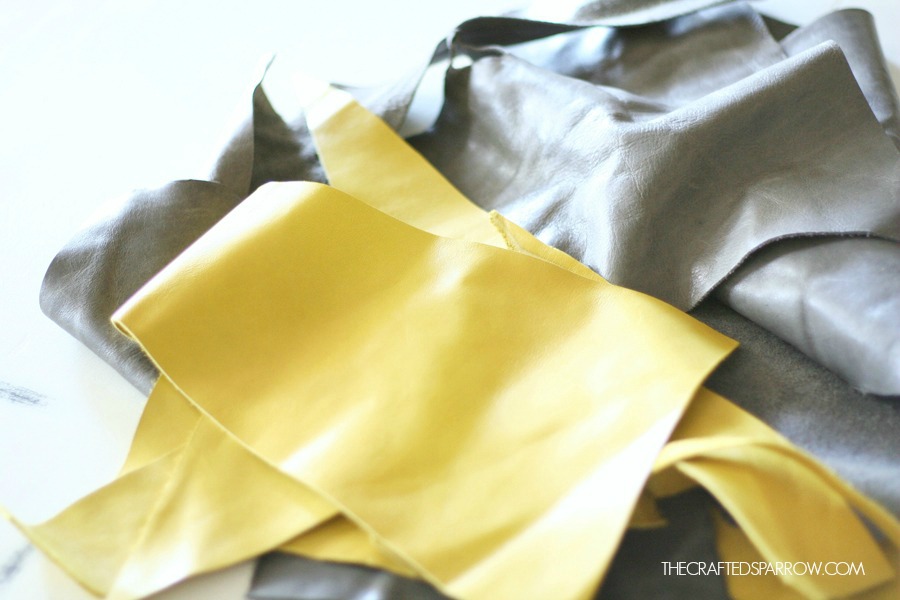
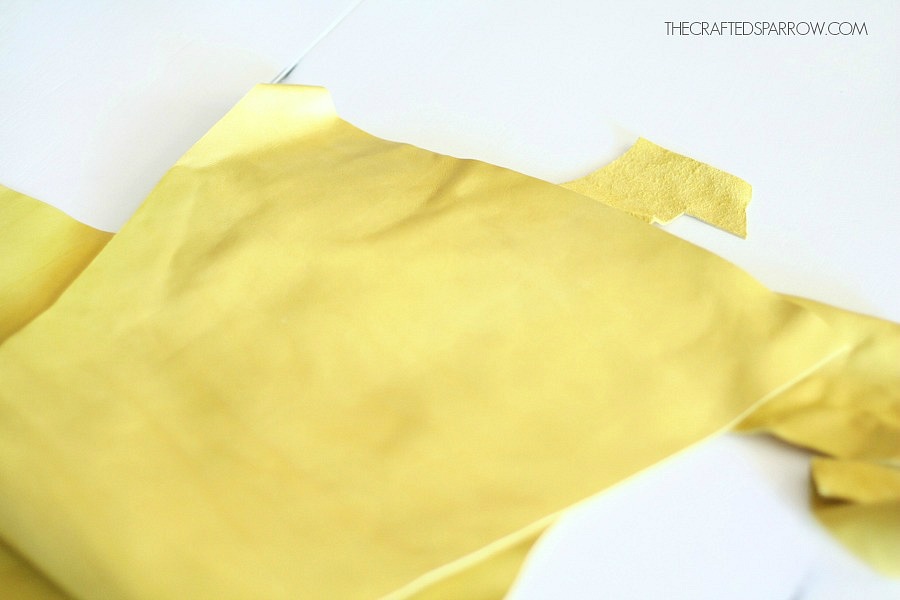
I am lucky enough to have a great hole in the wall fabric shop here that you literally have to dig through piles and boxes to find fabric. There are some amazing deals. On my last trip I lucked out and the huge boxes of scrap leather actually had some larger pieces that were the perfect size for this project. I snatched this yellow up as fast as I could for this project specifically. The only problem is that the leather is usually wrinkled. For the most part I got all the big wrinkles out using the method below.
Tip: If you have wrinkled leather simply turn your iron to a low heat setting (no steam), take butcher paper or brown kraft paper and cover the leather completely. Iron on top of the paper, do not stop moving the iron – if you leave it sitting in one spot too long you risk discoloring the leather.
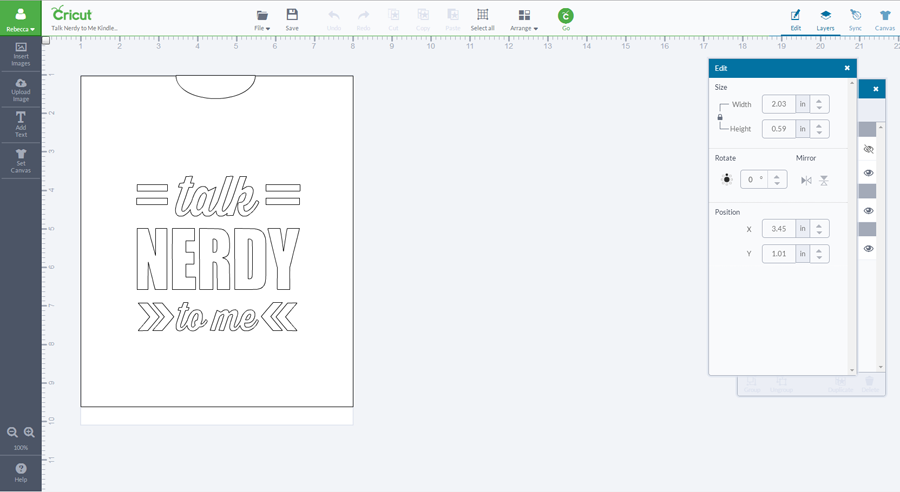
 I designed my project in Cricut Design Space. I actually created the font design I wanted in photoshop and uploaded my image in to Cricut Design Space. Once uploaded I was able to turn the image in to a cuttable design.
I created my canvas based on my Kindle tablets measurements, and added a little extra on the sides and bottom for sewing purposes. I also gave the top of my tablet sleeve a half oval cut out. My canvas (the rectangle) and the half oval are the cuttable portions of this project.
For the graphic/letting I chose to use the awesome write feature.
This design can be made for any tablet size. Just measure your tablet, and for good measure add 0.5″ to each side and bottom of the design you create.
 Once my design was created I hit the GO button.
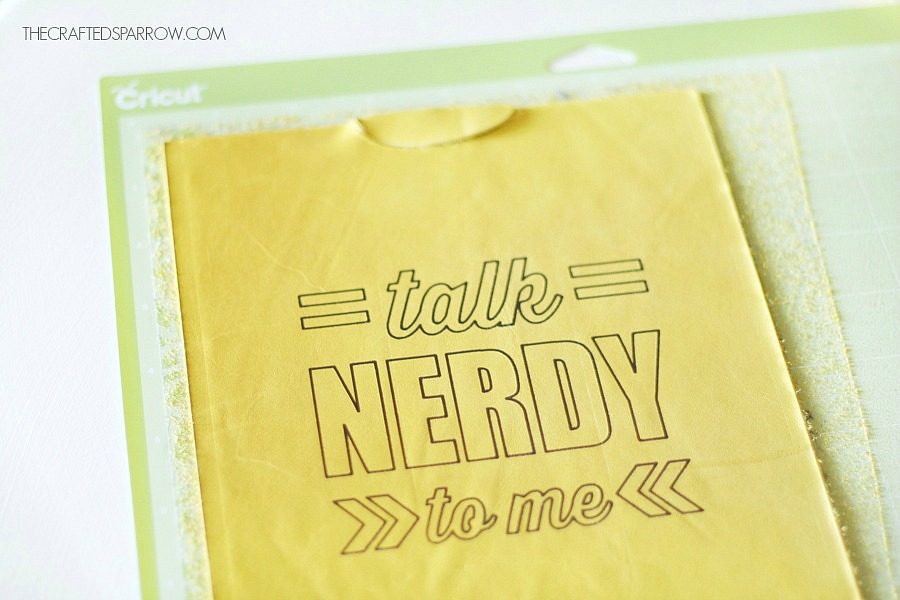
I cut a piece of leather to fit my design (slightly larger) and placed it right side up on my cutting mat. I recommend using a strong grip mat with leather, I just didn’t have one and used what I had and this regular grip mat worked perfectly.
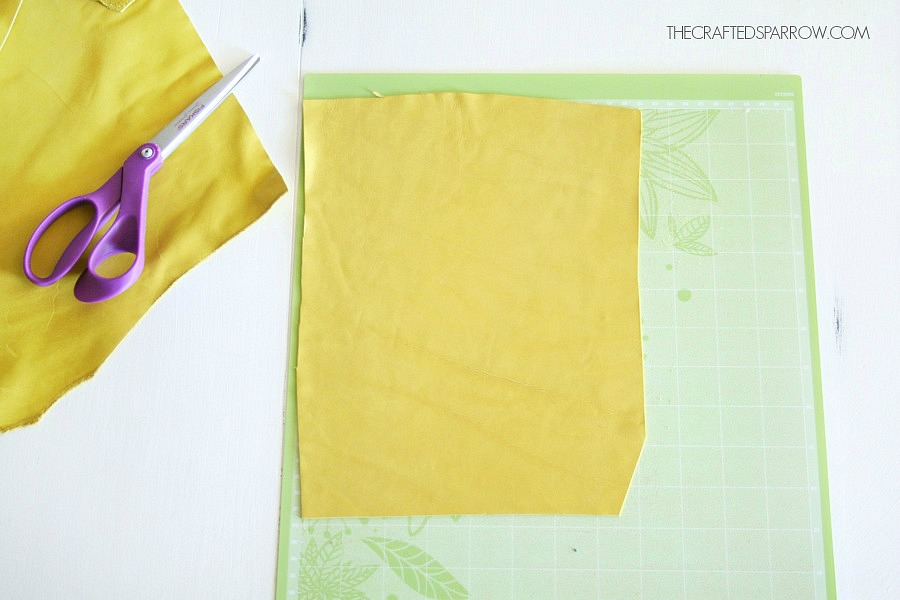 Once the mat is loaded in to the machine I turned my dial to CUSTOM. Then in my list of materials I chose Leather 1.4mm Deep Cut based on my leather thickness. You only need a regular blade for this.
Then I loaded my black pen in to the A slot and hit GO.
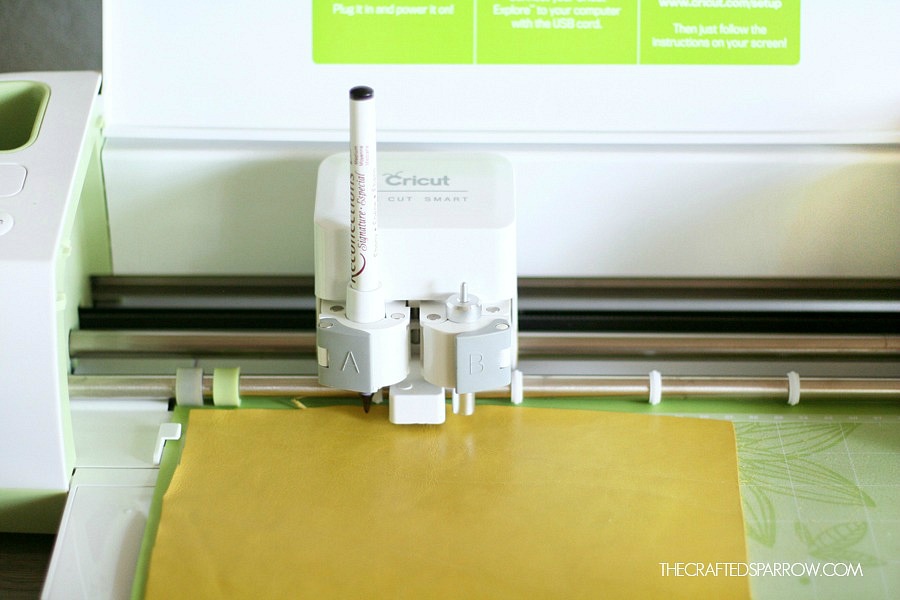 The machine sketches the design first with the pen. This is so much fun.
Tip: You can purchase Recollections or American Craft pens and they fit this machine perfectly.
The Explore will then cut the design second.
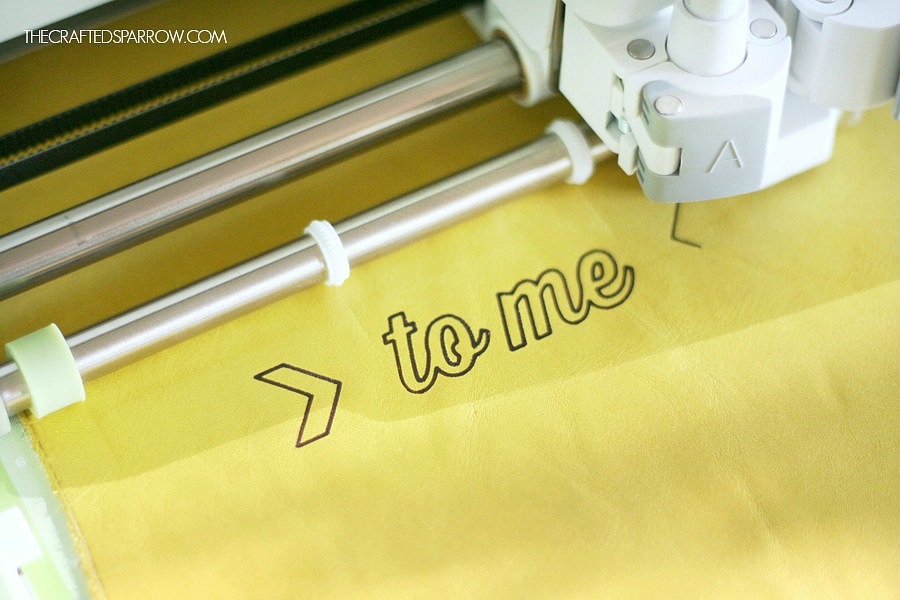 When the machine is done you can peel the leather from the mat carefully. You should have perfect clean-cut edges.
Tip: See all the leather leftover fibers on the mat? I like to use a lint roller to go over my mat first to remove as much as I can. Then I used a little dish soap and gave it a gently wash using my hands to clean the mat. Almost all of it came off. You mat will not be as sticky as a brand new mat after using it with leather most likely.
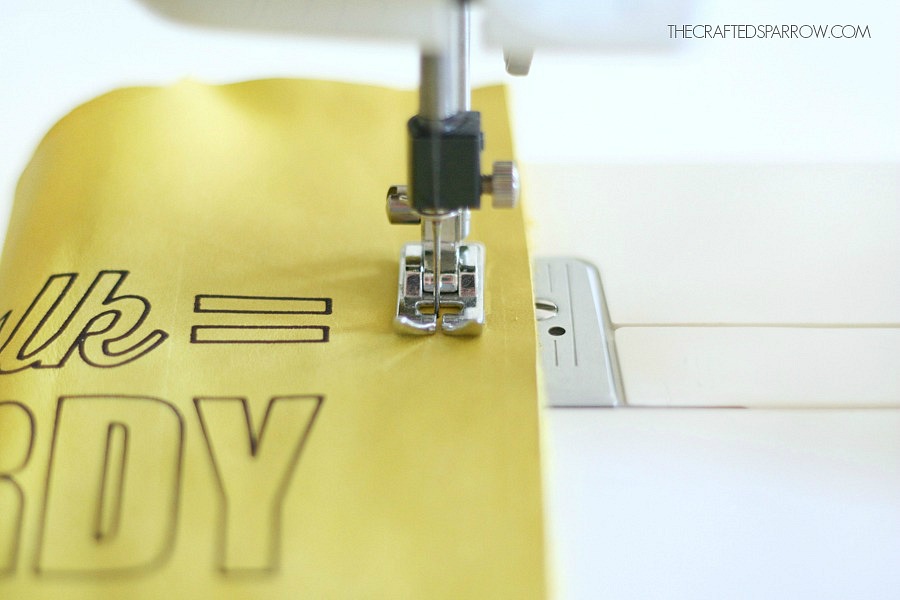
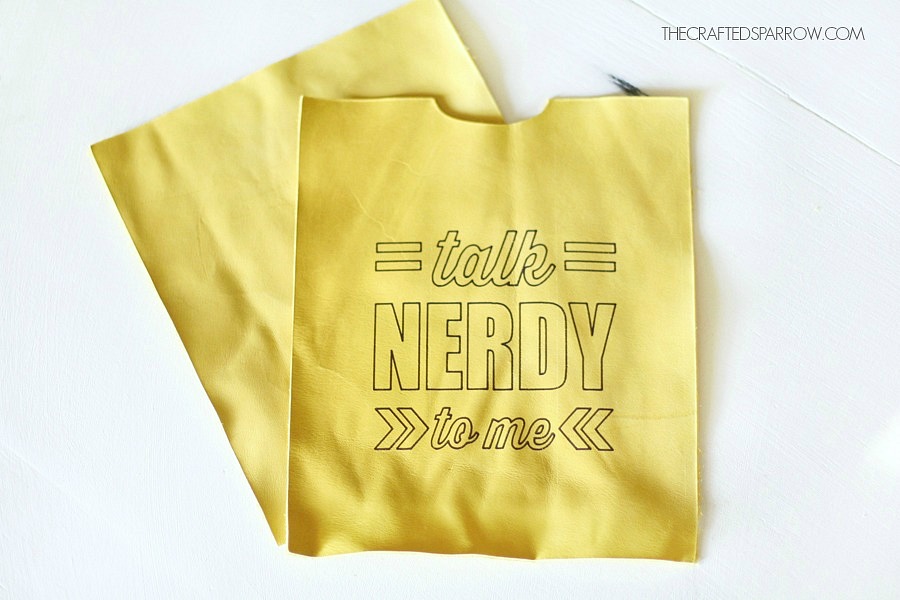 Line up all your edges and starting at the top right corner sew a straight seam around the right side, bottom, and left side. I used a heavy-duty thread and leather needle for this project, both are a must.
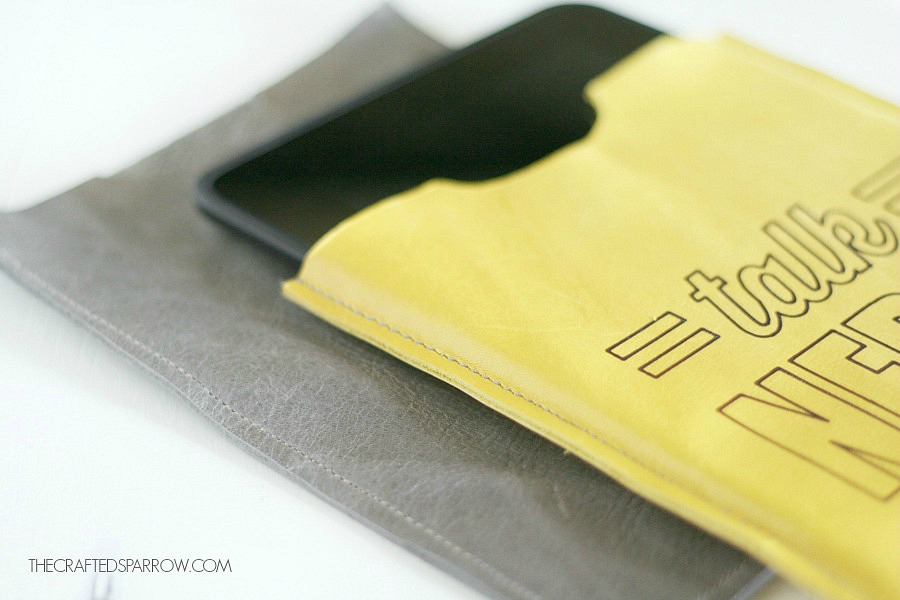
 That’s it, super easy don’t you think?! I also made a plain gray sleeve. If you don’t like my Geek Chic saying then you can customize your sleeve to anything you want.
How fun would these be to make as Christmas gifts or for a birthday. Do you have a tech friendly person in your life? This would be a fun project to make for them.
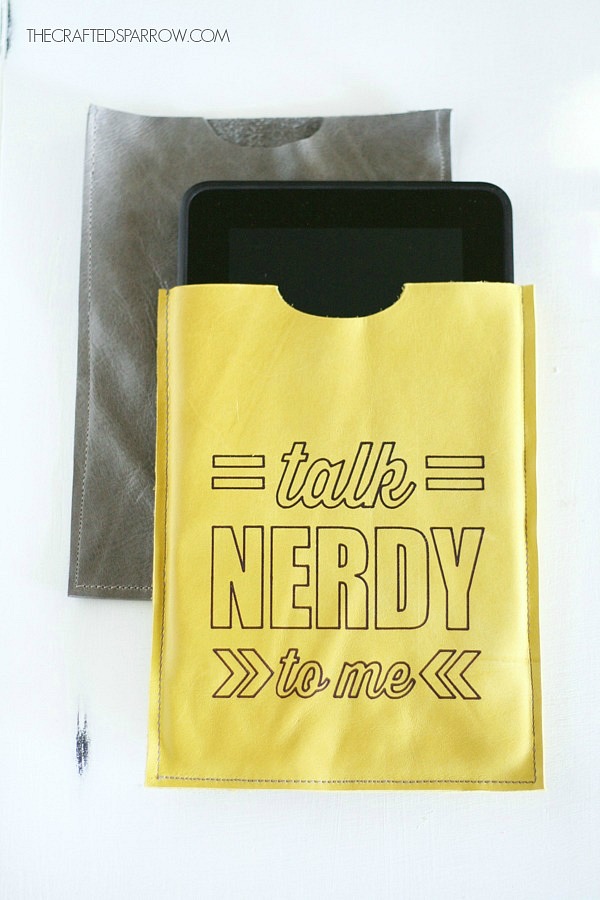 I kind of love that this DIY Geek Chic Leather Tablet Sleeve looks like a manilla envelope.
 Here are some other projects I’ve made using my Cricut Explore, including my project from Round 1 that made it to the Top 10. If you would like a chance to Join the Cricut Affiliate Program go HERE for more information.

Vintage Inspired Ice Cream Sign
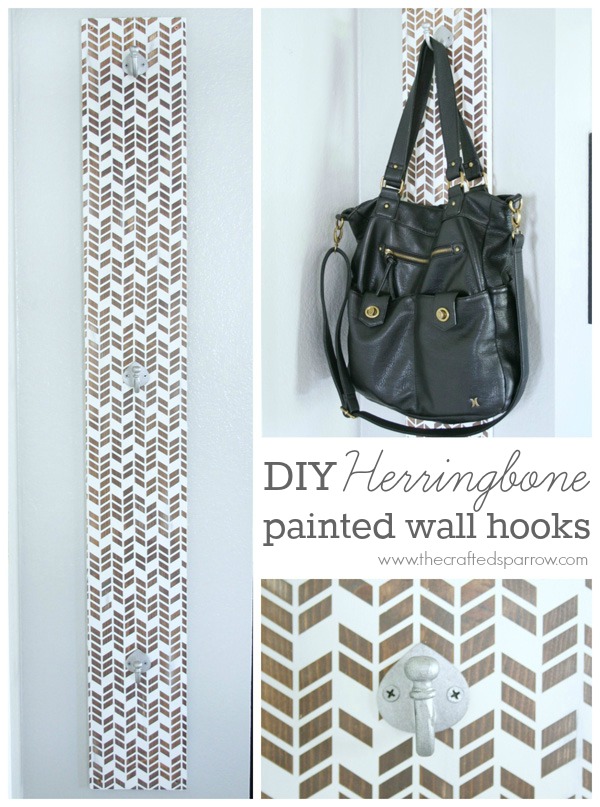
DIY Herringbone Painted Wall Hooks
Disclosure | I am a member of the Cricut Blogger Network. I may receive prizes in exchange for my winning projects. Even though I am not being directly compensated for these posts, I am under consideration for a prize with Cricut Design Space Star. All opinions are 100% my own.



Love this Rebecca!! So fun! plus yellow leather?! way cool!
Thanks friend. I know I really lucked out with the yellow leather! Total score.
I love this project! I am always looking for fun covers for my kindle. Now I will have to add this to my list of projects to do once I get my Cricut. Thank you for your creativity 🙂
Oh thanks Jenn, you are so sweet. Have a great week. P.S. You will love the new Cricut when you get it.
This is such a great project, well done post and amazing pictures. Well done!!
Oh thank you so much Amber, that made my day to hear. 🙂 Have a super week.
Umm, ok this is seriously so awesome! I love it!
Oh thanks girl! xoxo
OMG, I LOVE this, Rebecca! So stinking cute—and would make a great gift! I really need a Cricut. Like really really.
Thanks Jen! 🙂 You definitely need a Cricut! Be sure to check the links in my posts for great deals on bundles.