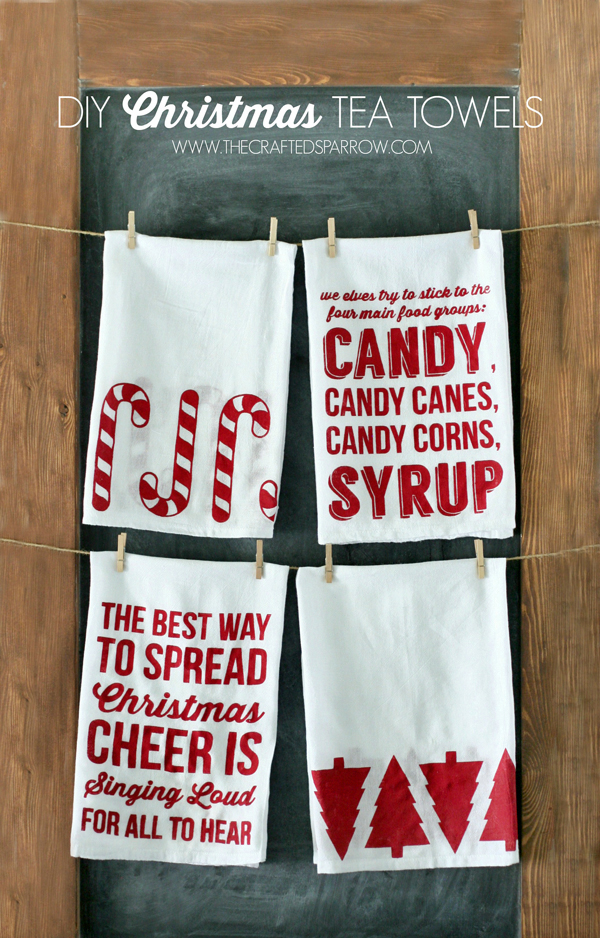
 I know it’s a little early for Christmas projects for most people, and don’t worry I am not skipping Fall…I just had to share these DIY Christmas Tea Towels I created for round 4 of Cricut Design Space Star. Aren’t they so fun!
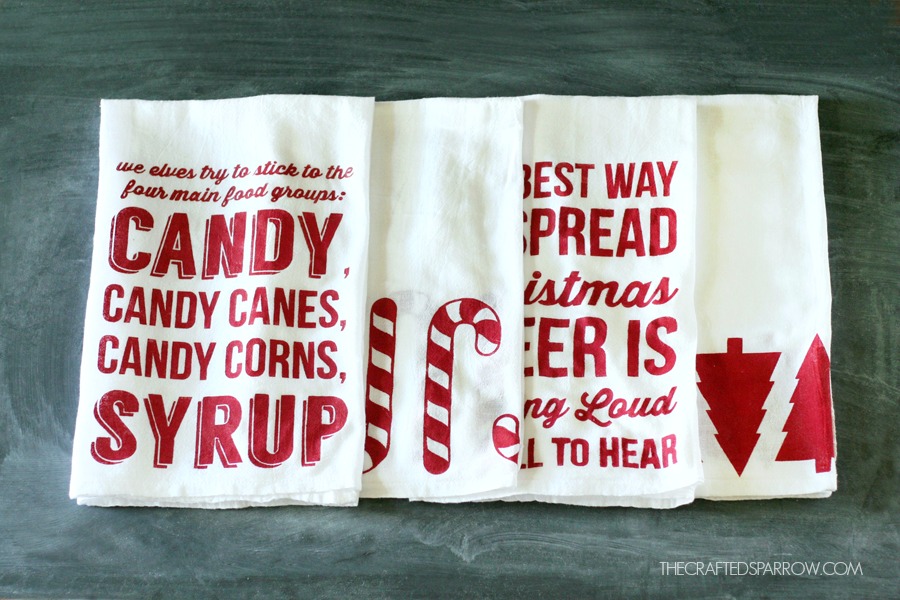
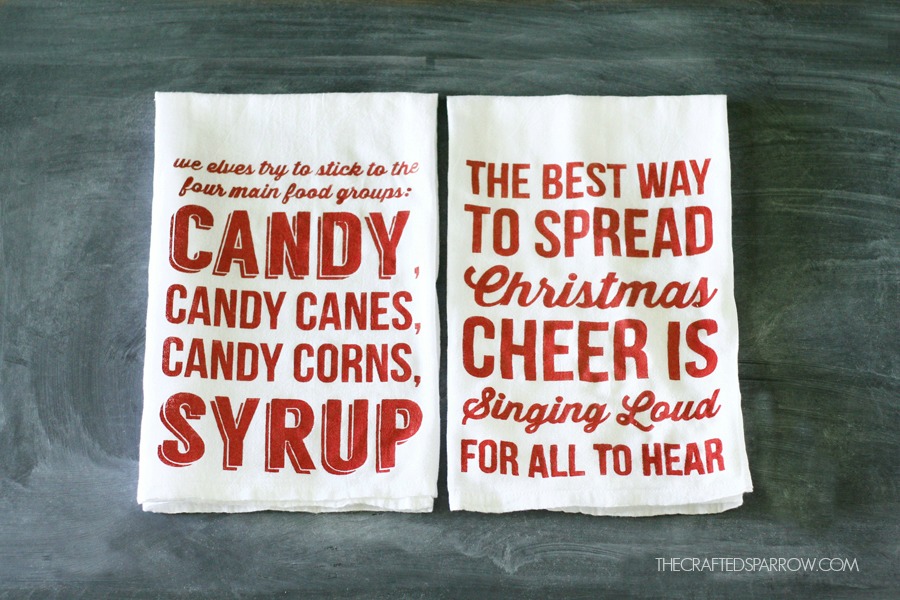
Our family loves the movie Elf, it’s become a yearly tradition for us to watch it as a family at the beginning of the holiday season. I thought it would be fun to create this DIY Christmas Tea Towels with some of our favorite sayings. Our team theme this month was holiday gifts under $10, this is the perfect project for an inexpensive and custom gift for someone.
Supplies:
– Cricut Explore cutting machine
– Cricut cutting mat
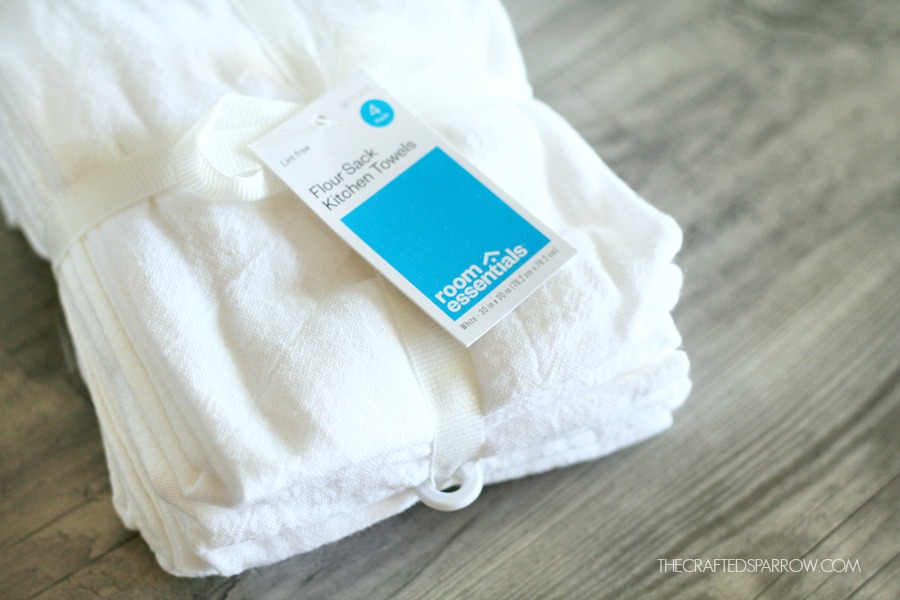
– Tea towels / flour sack towels, I found these at Target for about $4
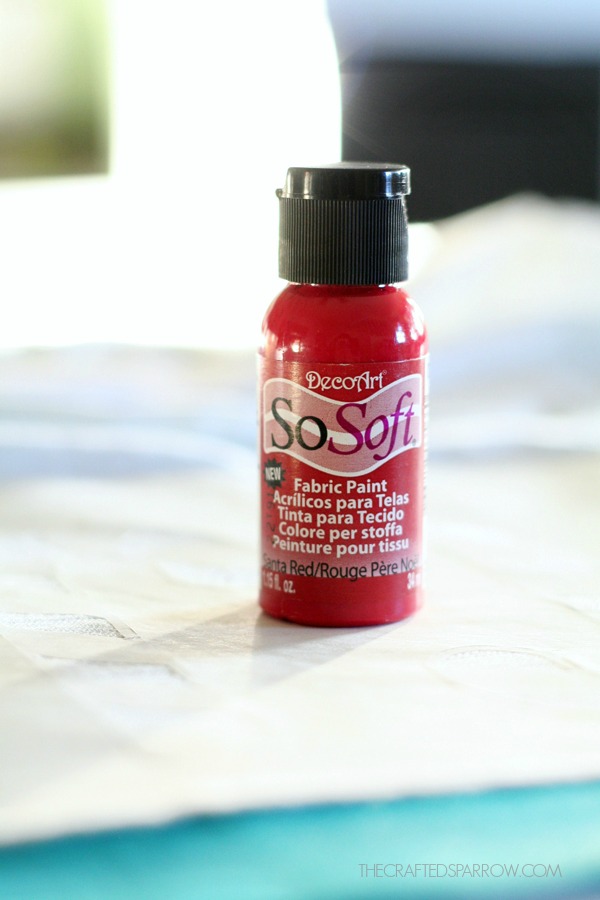
– Red fabric paint, DecoArt SoSoft in Santa Red is what I used
– Round foam pouncer brush
– Freezer paper, or vinyl if you prefer
– Iron if using freezer paper
 Most of you know by now how much I love freezer paper stencils, you can see some past projects using this method HERE, HERE, and HERE.
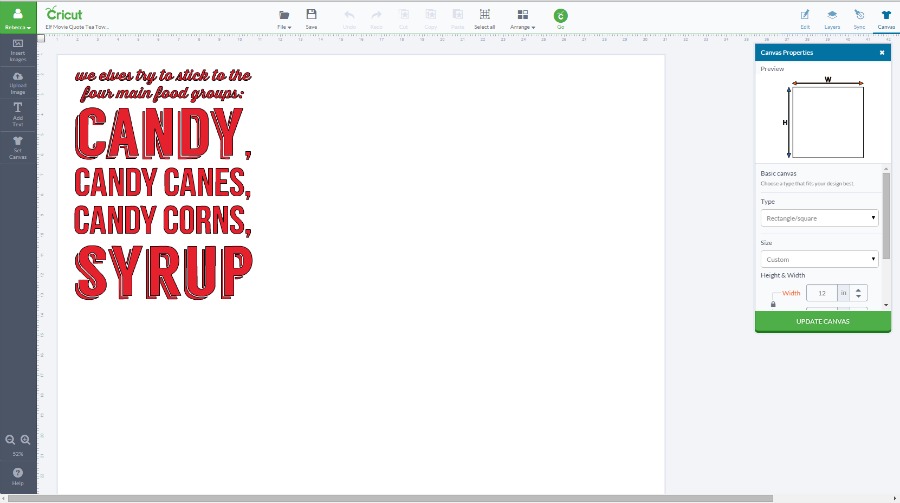
So first thing I did for these towels was to create my stencil images. For the font images I typically like to create my whole image in a program like picmonkey, or photoshop then I upload the image in to Cricut Design Space and turn it in to a cuttable image. If you don’t want to do that you can just create your font image directly in Design Space.
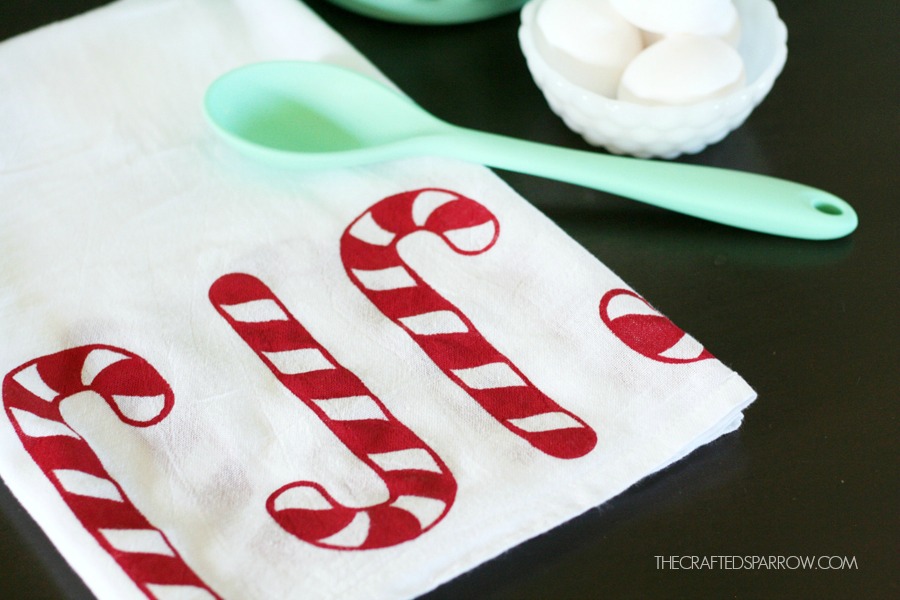
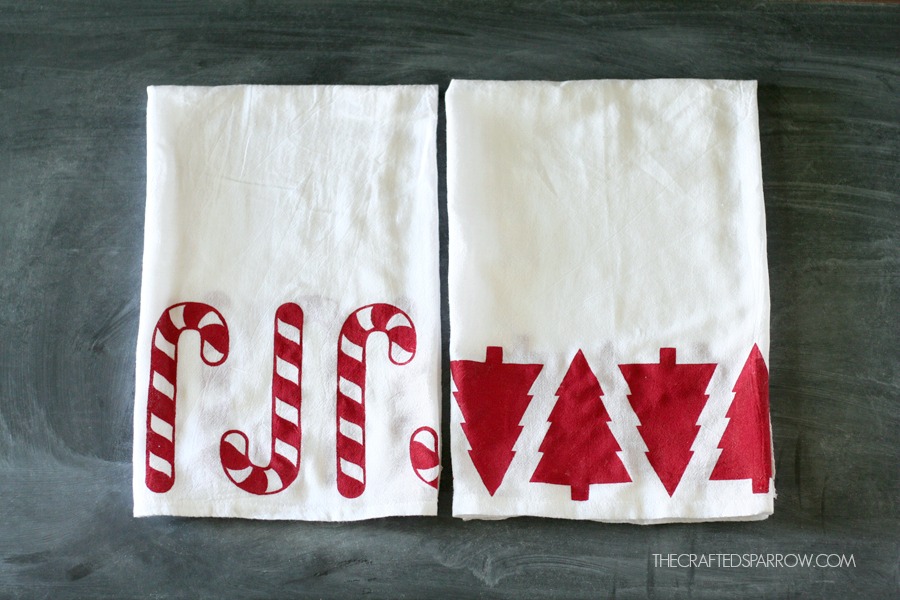
For the Christmas tree, and candy cane towels I just found a clipart file I liked and uploaded them to Design Space and made them a cuttable file as well.
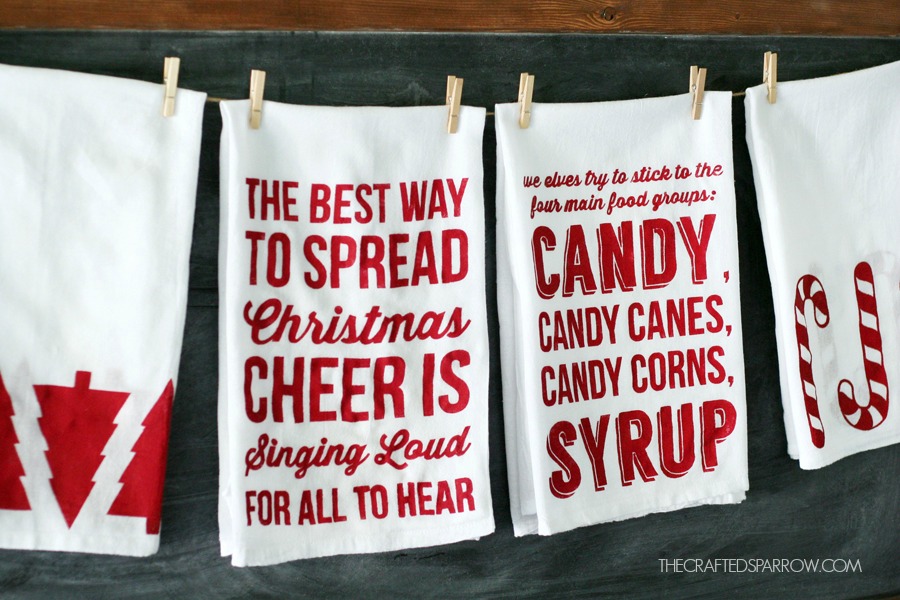
 These particular tea / flour sack towels are 30 x 30″ in size. So I needed my images to be larger since I’d be folding them into thirds.
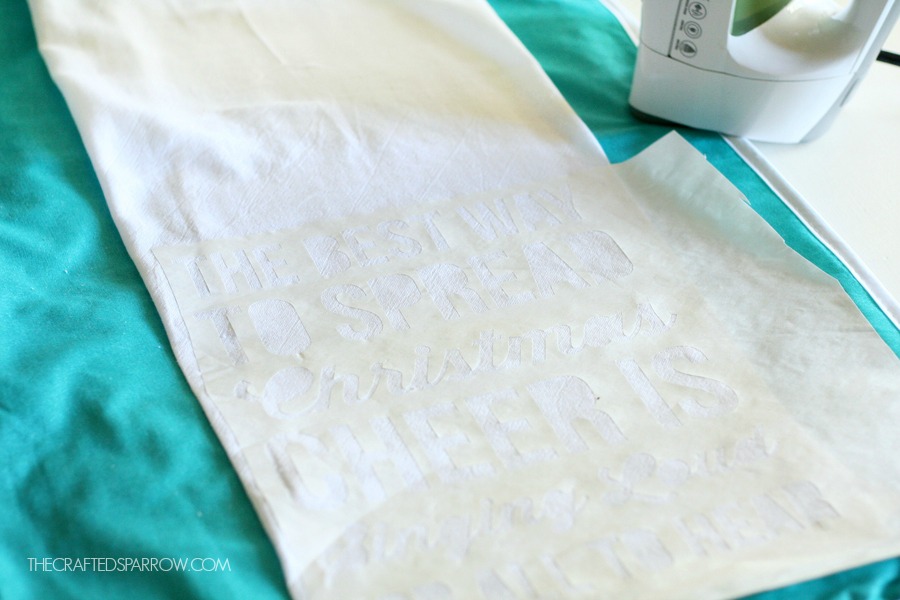
Once your designs are finished, cut your freezer paper stencils with your Cricut Explore. Cut shiny side down on the mat.
Be sure to save the middles of letters once it’s cut…you will need in a small bowl, I find it helpful to label which letter they go to with a pencil.
Iron your towels flat to start, then place the freezer paper stencil where you would like it and using a dry heat iron them on.
 Place a piece of cardboard or old cutting board under your single layer of tea / flour sack towel to protect the rest of the towel and your work surface.
Then using a round foam pouncer brush carefully dab your fabric paint over the stencil. For this particular project I only needed to do one good layer of paint since these towels are a thinner. Set aside to dry.
 Once they are completely dry you can peel away the freezer paper. You may have to use a weeding hook or small needle to get the small areas around the smaller fonts off.
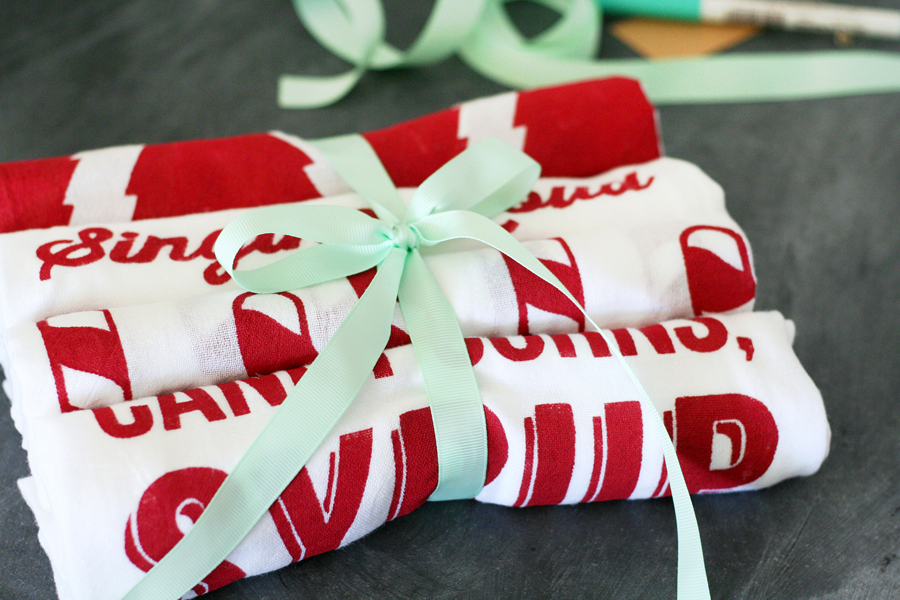
That’s it, now you have these super fun and festive DIY Christmas Tea Towels. Not only will they look super cute in your kitchen for the holidays they would make a great gift idea for a friend or neighbor. Roll them up and tie them with a cute bow.
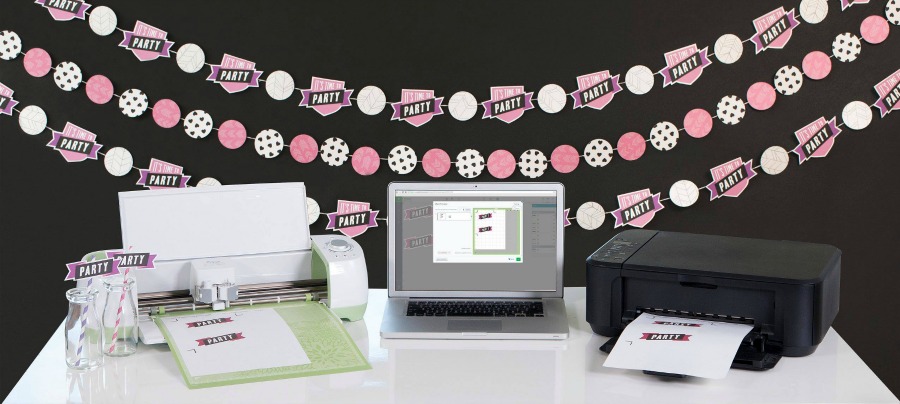
 In case you haven’t heard the awesome news the Cricut Explore now offers an amazing Print & Cut feature! Go HERE for more information about that new feature.
 If you have a website and would like to join Cricut’s Affiliate Network, sign up HERE.

Disclosure | I am a member of the Cricut Blogger Network. I may receive prizes in exchange for my winning projects. Even though I am not being directly compensated for these posts, I am under consideration for a prize with Cricut Design Space Star. All opinions are 100% my own.


These are SO insanely cute! perfect gift idea!!
Thanks girl. I’m kind of partial to them, but I really love how they turned out.
I would love to purchase the two towels with the Elf food groups & Christmas cheer. I’m not crafty but we also love the movie Elf and this would be a perfect gift. [email protected]
Hi Carolyn, I’m sorry these are not for sale. They were just a tutorial. Wish I could offer them for sale, but not at this time. Thanks for the interest though. Have a great weekend.
So cute! Wish I had a Cricut!
Thanks Bonnie! Yes it should totally be on your Christmas wish list, maybe they will have an awesome black friday deal…keep watching.
Love these!
Thanks so much Diane!
So cute ! Can I ask what size did you cut your image ?
Hi Veronica. The tea towels were 30 x 30″ in size so knowing that I decided I would fold the towels in to thirds for hanging. I made each word design about 9.75 wide x 12.5″ high. The tree and candy canes were about 6.5″ tall and go across the entire bottom of the towel in a repeating pattern. 🙂 Hope that helps.
Super cute. I am so ready to decorate for Christmas
Thanks Karen! 🙂
These are just what I have been looking for! So cute! Unfortunately I don’t have a Cricut to make these. Would you ever think about making some and selling them? Like on Etsy or something? Probably not–but I had to ask!
Thank you so much Lisa, and unfortunately I don’t have the time to make any extras right now…but if for some reason I do I will let you know first.
These are darling would love make these to,but no cricut either Great job any one would love these for Christmas..Thank’s
Thank you, and something similar could totally be made by hand with an xacto knife…it just takes some patience. 🙂
Hi Rebecca!
I was trying to find these in the design space and could not locate them! Can you e-mail me the link?
Thanks!
Beth
Hi Beth. They aren’t actually available in Design Space. These are all my own personal designs that I created and just uploaded into Design Space to cut myself. You can recreate something similiar in an editing program and upload the image to Design Space. Then turn the image in to a cuttable image. Hope that helps, sorry about that. 🙂
These are awesome! I’m curious, are you able to re-use the freezer paper stencil for multiple applications? If so, I wonder how many times before it loses the iron on capability. Thanks for sharing.
Hi Eric, Thank you so much. No you won’t be able to re-use the freezer paper for multiple applications. It’s a one time stencil. Sometimes if you’re lucky and need to reposition something after you iron the stencil on it will let you re-iron once but the bond isn’t as good as the first ironing. 🙂
These are so cute! Could you tell me what fonts you used?
HI. Super cute. So every time I find an image to cut using freezer paper- I am left to piece together the image before ironing- My candy canes seem to be cut opposite of what I need to stencil. Have any ideas?
Hi Sara, thanks for asking. Yes, the downside to freezer paper stencils is having to piece everything back together to iron it on. You can try using vinyl if you want to avoid this, but freezer paper is cheap and gives you more of a crisp line when painting. As far as why your candy canes seem to be cut opposite of what you need to stencil I’m not really sure. Are you mirror-imaging them on accident? That is an option once you hit GO and are on the mat setting page. That’s the only thing I can think of. Sorry if that doesn’t help.
IS it Possible for you to Share what Fonts were used?
looking forward to make them 🙂
Hi Natalia, Yes I used Langdon – Wisdom Script – and Bebas Kai. 🙂
Will the paint wash out. Just wondering about care instructions.
Hi Rose, If you are using a fabric paint then no the paint won’t wash out. You can either use a designated fabric paint like I did from DecoArt or you can use regular acrylic paints with an added fabric medium to make them fabric safe. 🙂 Hope that helps. I also suggest washing in cold water.
Hi, I absolutely love these towels and want to make them. I have everything you listed, but I am curious about the printing part. Did you print to cut with all of your images? Also, did you print it on your freezer paper? I am not the craftiest person, so I am trying to figure out how you cut it on freezer paper.
Hi Michelle, No print to cut method here. Just choose to have your image cut only. So design your image, then cut the image onto the freezer paper or vinyl. You will need to be sure to save any little insides for the letters as well, you will need to iron them in place when you place the whole stencil on the towel. Make sense? Do you have a light blue cutting mat? If not, use a mat that isn’t super-super sticky otherwise you won’t be able to get the freezer paper off the mat after cutting. Also, be sure you place the paper shiny side down on the mat for cutting. Let me know if you have anymore questions! Have a great week! 🙂
Thank you for your clear response. The writing one makes sense now. My only question is how did you upload an image from the Internet for your candy cane and not have it cut as just one piece (no stripes)?
Hi Michelle. I used a candy cane image that had stripes, when I uploaded it to Design Space it I selected which parts needed to be transparent using the magic wand tool. So I removed the “white” stripes from the candy cane, then when I placed the stencil on the towel I ironed on all the pieces that were cut included negative spaces and then removed the parts I wanted to be painted. This allowed the stripes to stay in place.
HI! I love these and can’t wait to try freezer paper. Can you tell me what you had your Cricut set at when cutting?
Hi Tiffany, Thank you! Just set your machine to paper to cut the freezer paper, and be sure to use a blue mat or a green mat that isn’t super super sticky. 😉 Have a great week.
I love these towels. I was thinking about making them with iron on vinyl. Have you tried using vinyl?
Hi Kathy, that’s a great idea. Vinyl would be so easy to do. I haven’t tried it myself and so I’m not sure how they would hold up to normal use, but I’m sure they’d be okay. 🙂