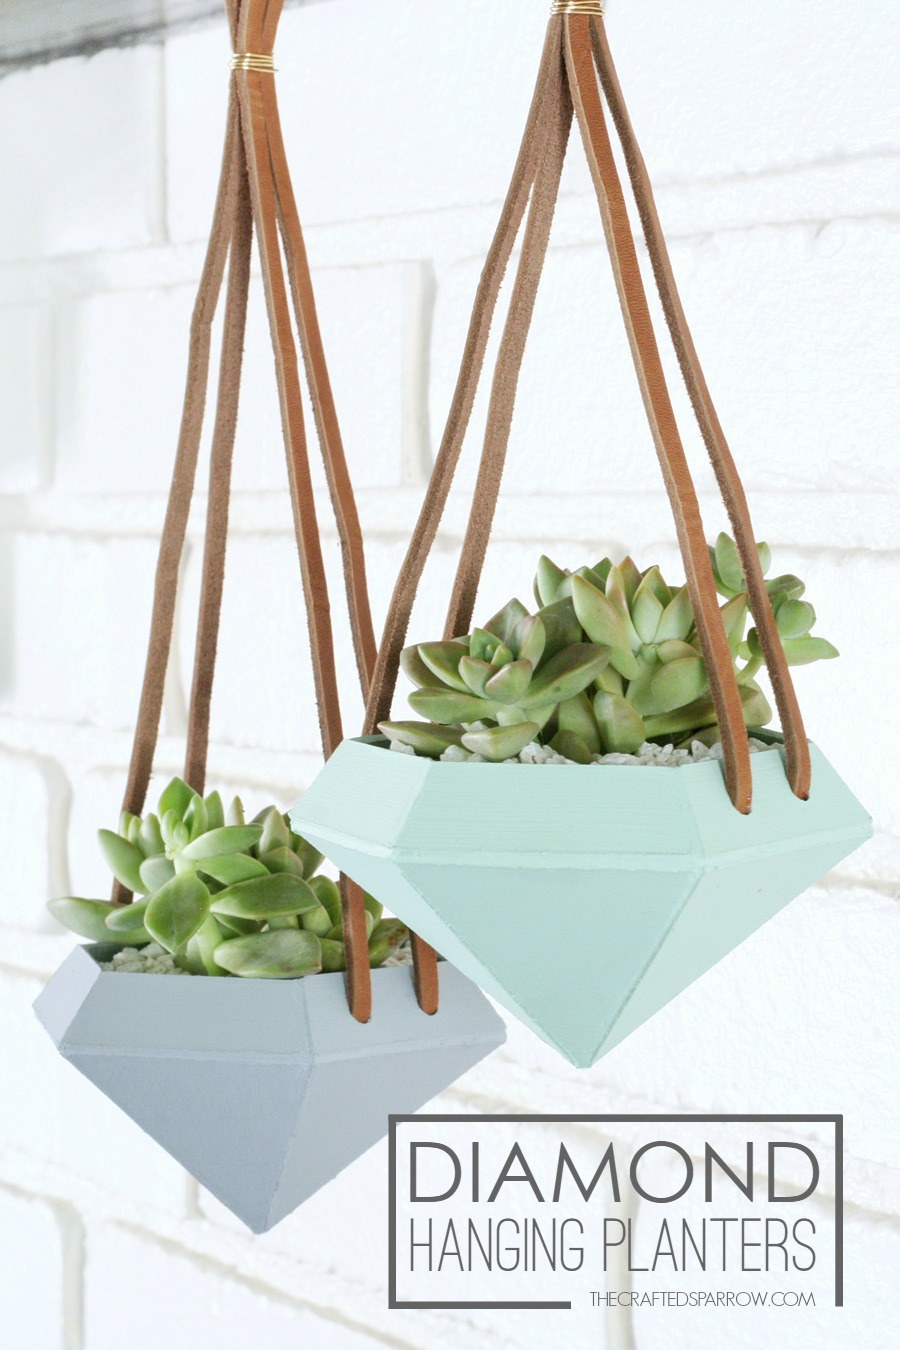
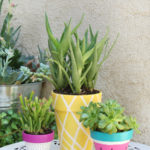
 Creating custom decor has always been one of my passions, whether its creating something from scratch or making an old item new again there is something satisfying about it. Like I’ve mentioned before I love to change my decor often which can be a costly habit. Sometimes I find something I just fall in love with and have to have. It may or may not fall in my budget, usually if it doesn’t I try to find a way to DIY my own version. The Diamond Hanging Planters I’m sharing today are exactly that kind of project!
A couple of weeks ago I was trying to find a unique way to display succulents in the house, while searching online I found these awesome hanging planters. They are so much fun, but with a price tag that just didn’t work with my budget I thought it would be fun to DIY my own with the Cricut Explore Air.
Supplies:
Cricut Explore Air
StandardGrip or StrongGrip Cutting Mat
Deep Cut Blade
Chipboard, 50pt
Glue gun or quick dry glue
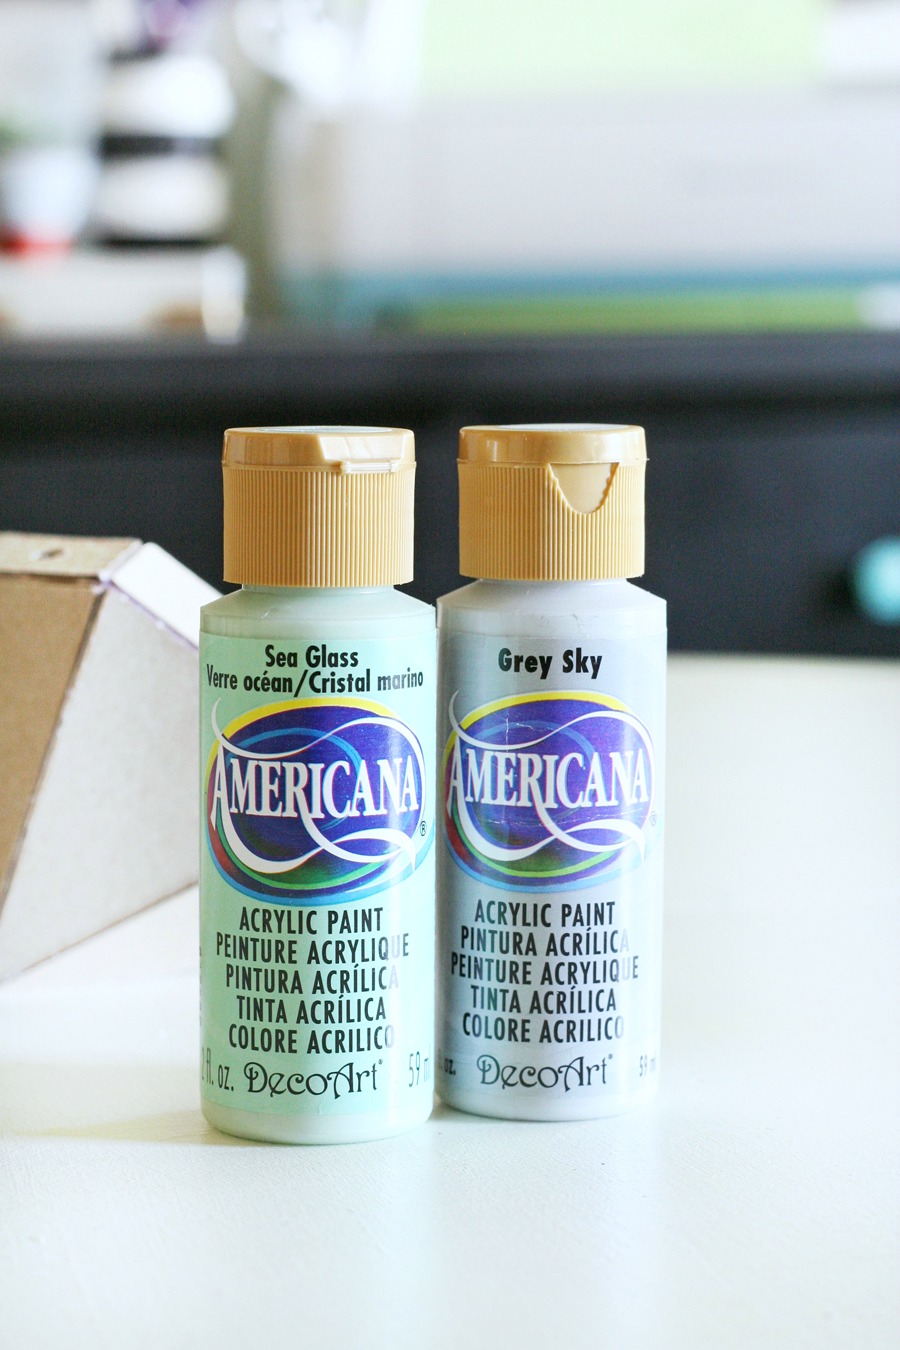
DecoArt acrylic paint, sea glass & grey sky
Foam brushes
Leather cording
Light masking tape
Wire, optional
Succulents, live or artificial
Small plastic container of soil if using live succulents
Small white gravel, mine is fish tank gravel
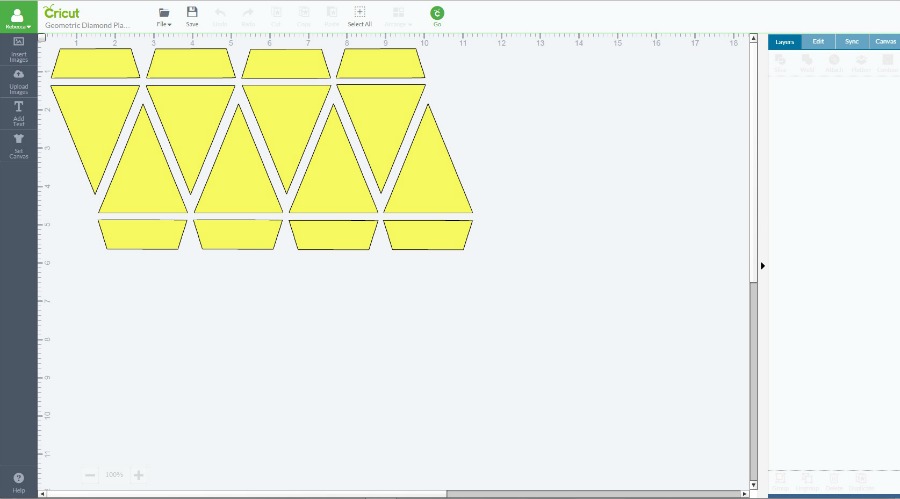
I created a couple of images in photoshop for the diamond design and uploaded them to Design Space. The bottom triangle panels measured 2.3 wide x 2.82″. The top trapezoid panels measured 2.3 wide x 0.76″. You will only need 6 panels of each, but it’s always best to cut at least 2 extra just incase.
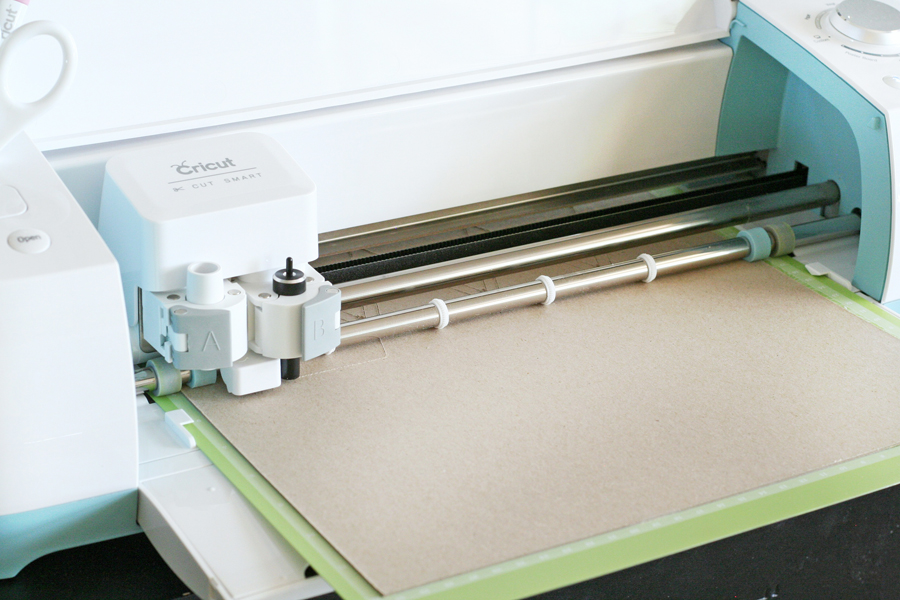
 You will select the custom setting on the cutting dial. Then select Chipboard Heavy, 0.7mm – and hit GO. Once the first cut is complete, hit GO again and send it through for a second time.
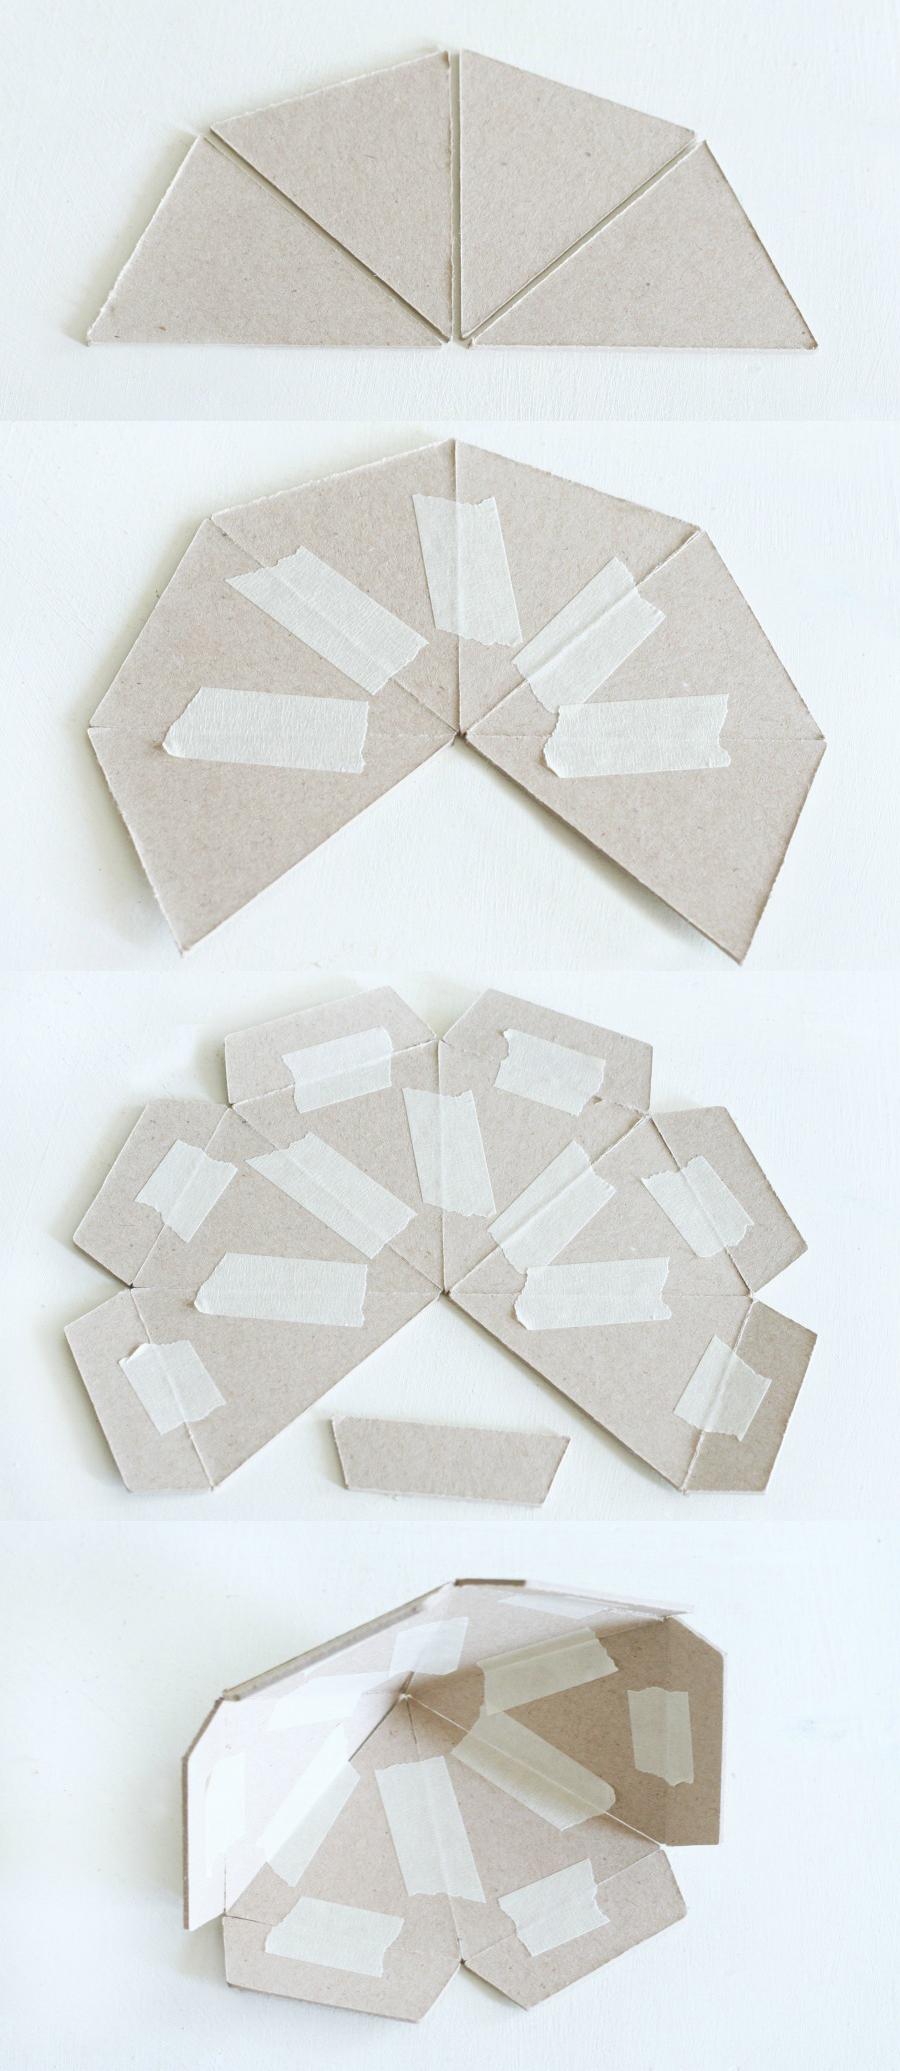
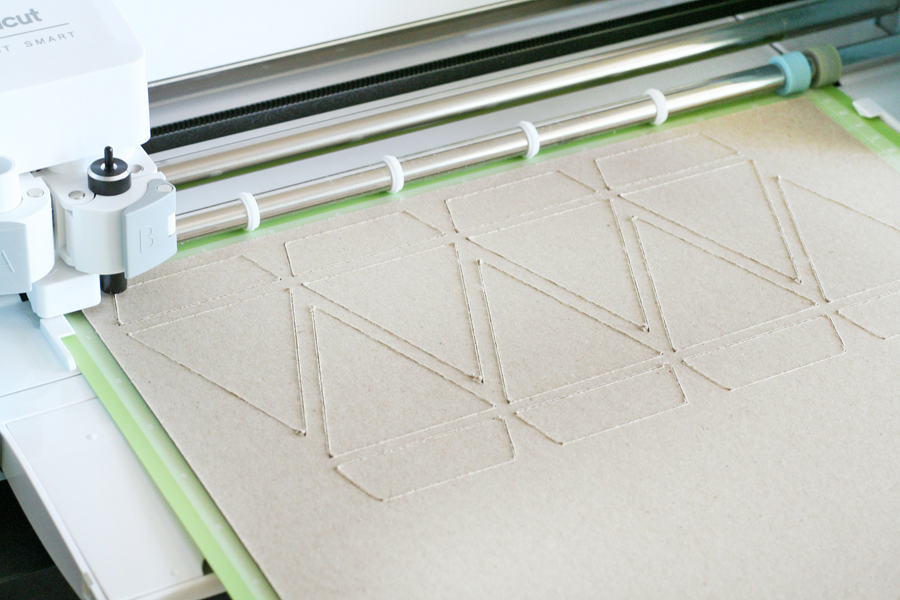 Once all the panels are cut you will need to assemble them for gluing. I lined up all 6 triangle panels as close as possible, holding them in place as I used a light masking tape to hold them together.
Now add your trapezoid pieces the same way to the top like shown below.
Close your diamond shape with another piece of light masking tape. Also, lightly tape all the trapezoid pieces together too so the entire diamond shape is complete before gluing.
With either a glue gun or quick dry glue you will need to glue the outside seams of the diamond. All the taped pieces should be on the inside. If using a glue gun be warned it’s going be tricky if you’re not use to working quick with hot glue. I used hot glue for mine and as soon as I spread the line of glue down the seam I used my finger to smooth away any excess glue so it didn’t leave a bumpy texture. If you want to save your fingers you can use the quick dry glue, be sure to clean up any excess glue. Let everything dry.
Once it’s dry remove all the tape from the inside.
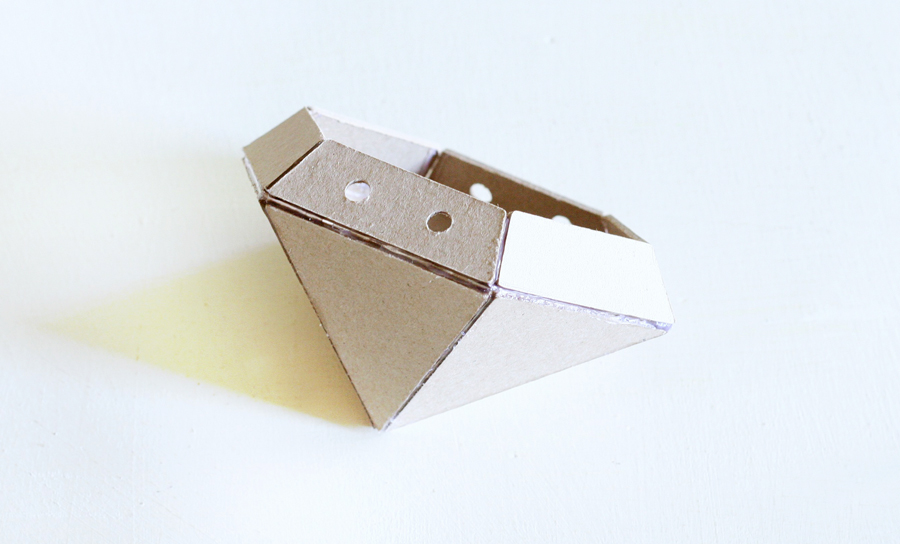 Now that you’re left with this awesome diamond shape you will need to create the holes for the leather cording to hang them. I used a regular hole punch.
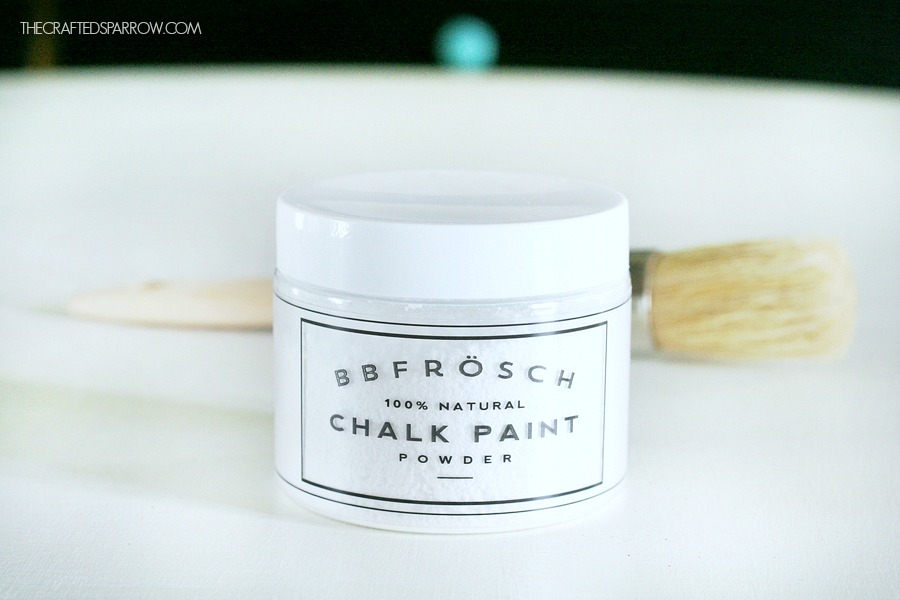
I kept my colors subtle when it came to painting. I wanted them to be soft like the succulents that would go inside them. I used my favorite BB Frosch Chalk Paint Powder mixed with my favorite DecoArt paints to create a paint with great coverage. It’s perfect for covering glue and you will only need two light coats of paint if you use the chalk paint powder.
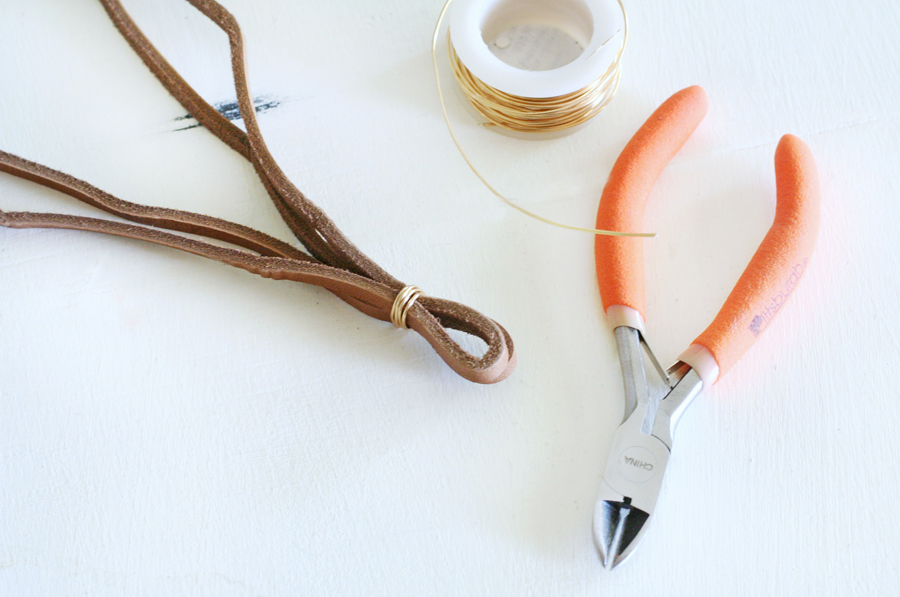
 When your paint is dry it’s time to add the leather cording. You can either hot glue it to the inside of the diamond planter or tie a knot in the end that goes on the inside of the planter.
I added some gold wire I had on hand to join the two strands together at the top for hanging. This is optional, but added a little extra to them.
 Since these Diamond Hanging Planters are made out of chipboard obviously they aren’t waterproof like my inspiration for this project. You can either place artificial succulents inside with small white gravel (I found mine at the pet store, it’s fish gravel) or you can place a small plastic container filled with soil inside with the live succulents, then cover with the small white gravel to hide the container. If you do the live version you will just have to water it very carefully.
I placed live succulents in mine because I have an abundance right now, it seems to be the only plants I can’t kill. Eventually I might switch them out to artificial if the watering becomes to hard.
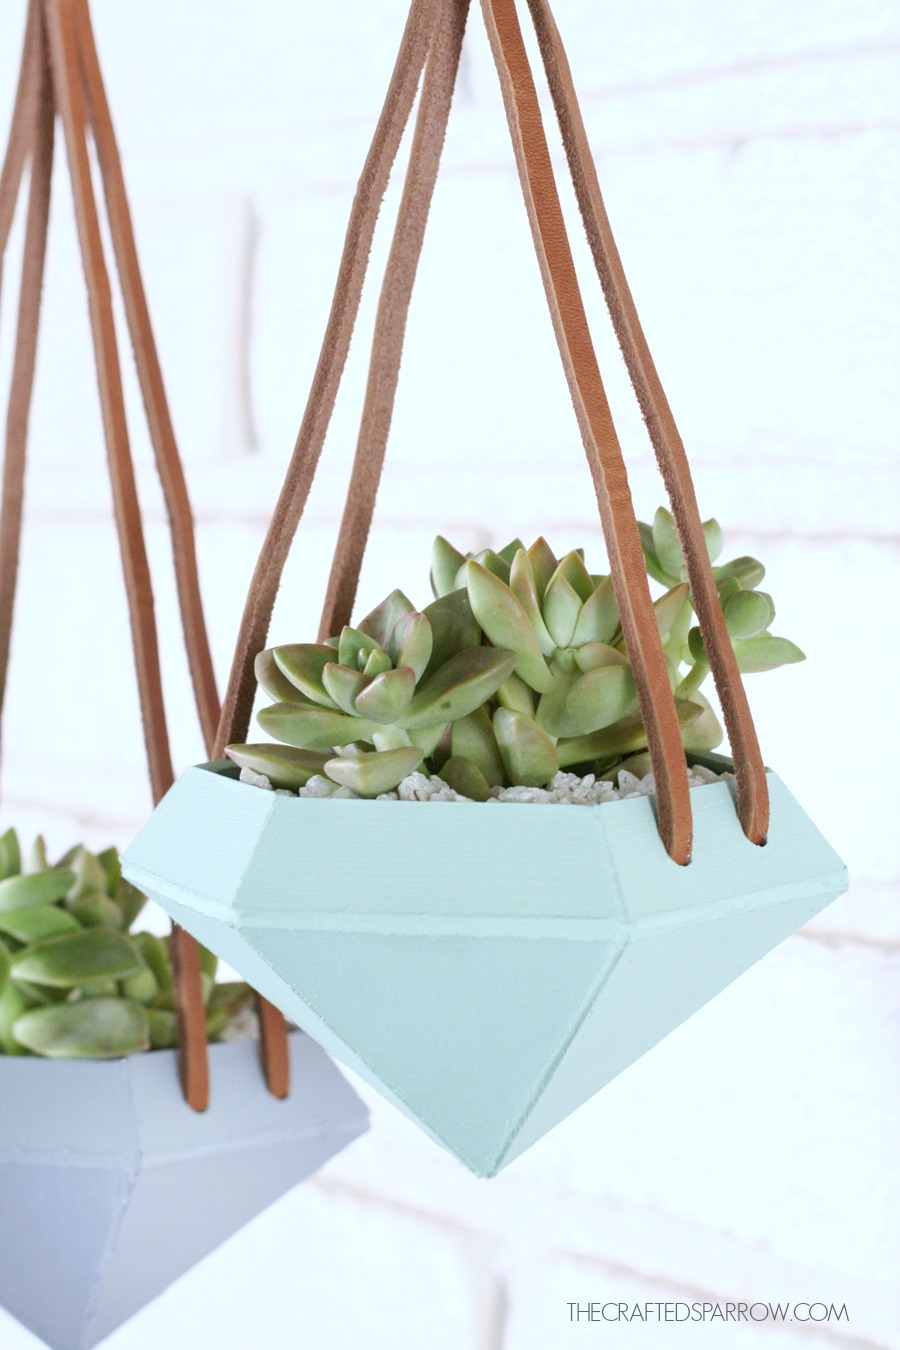
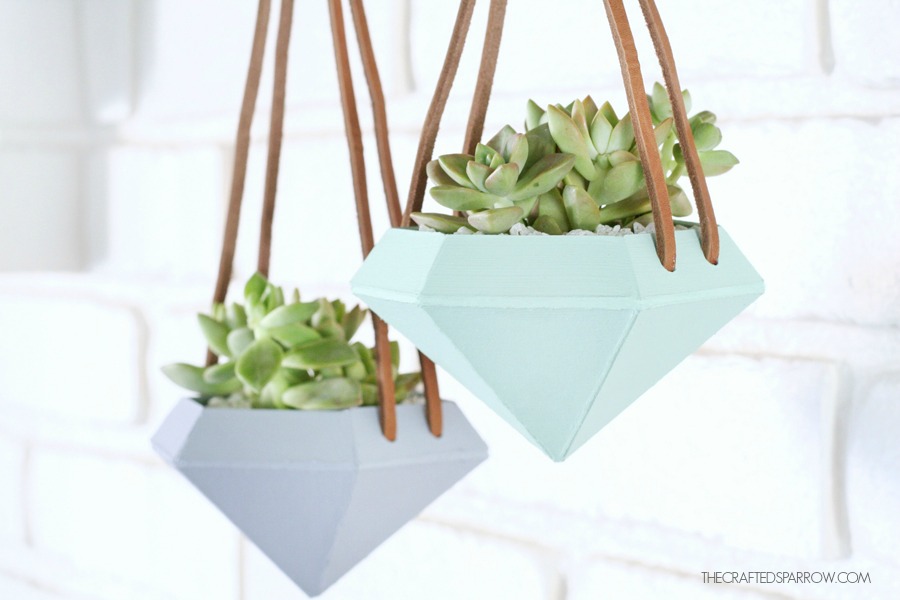
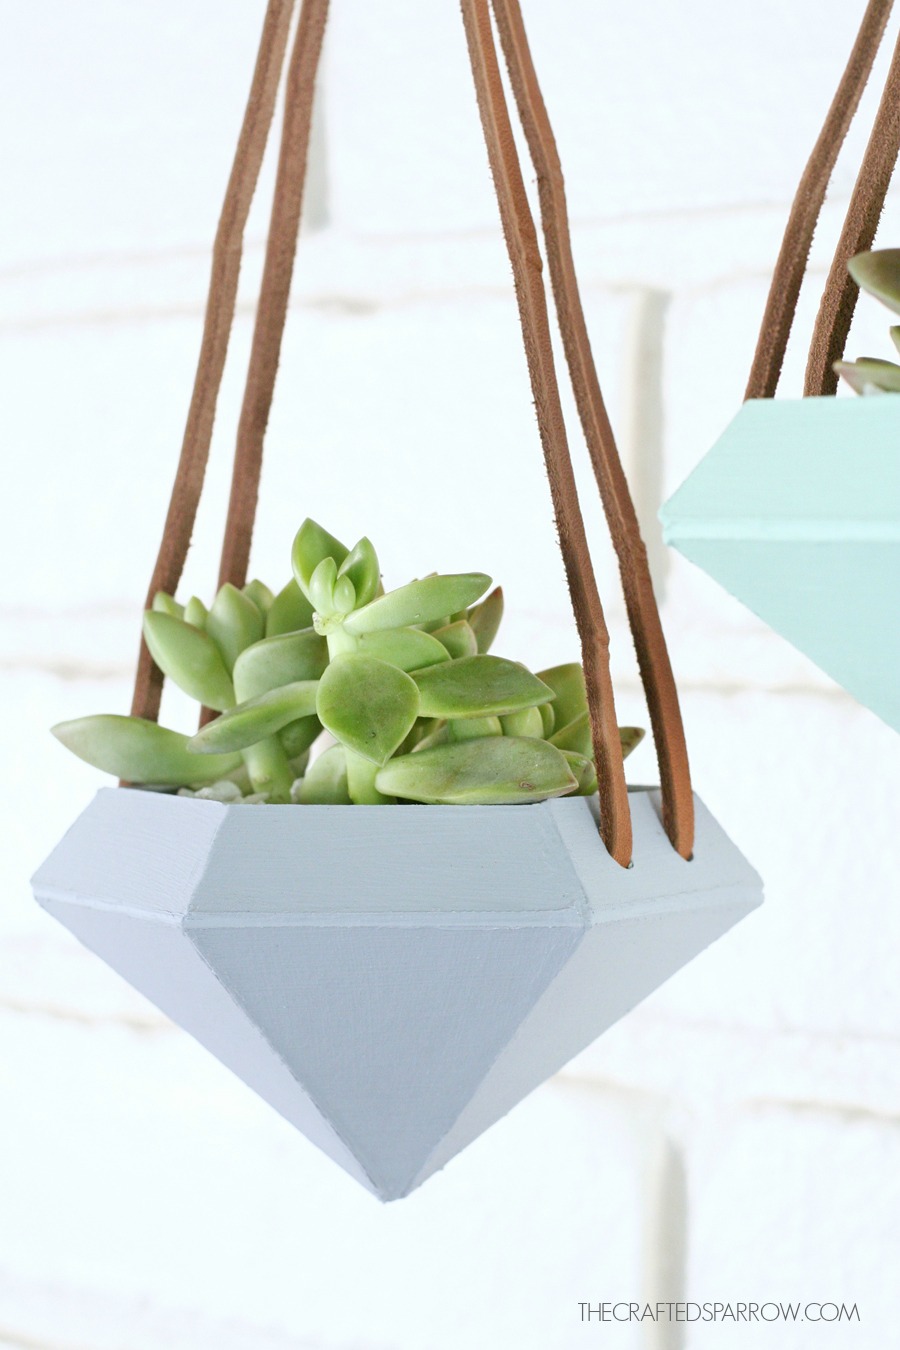
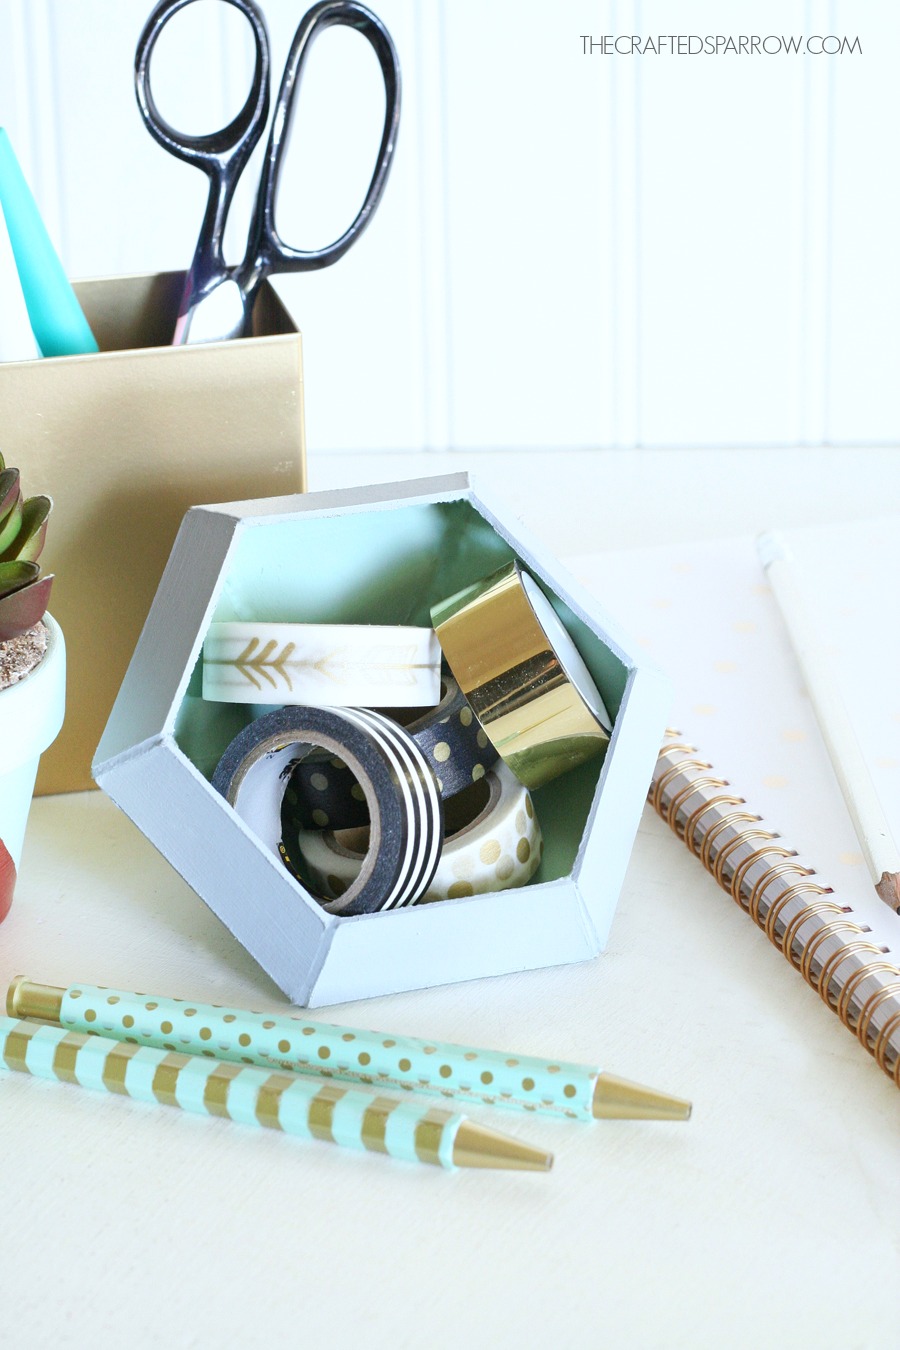
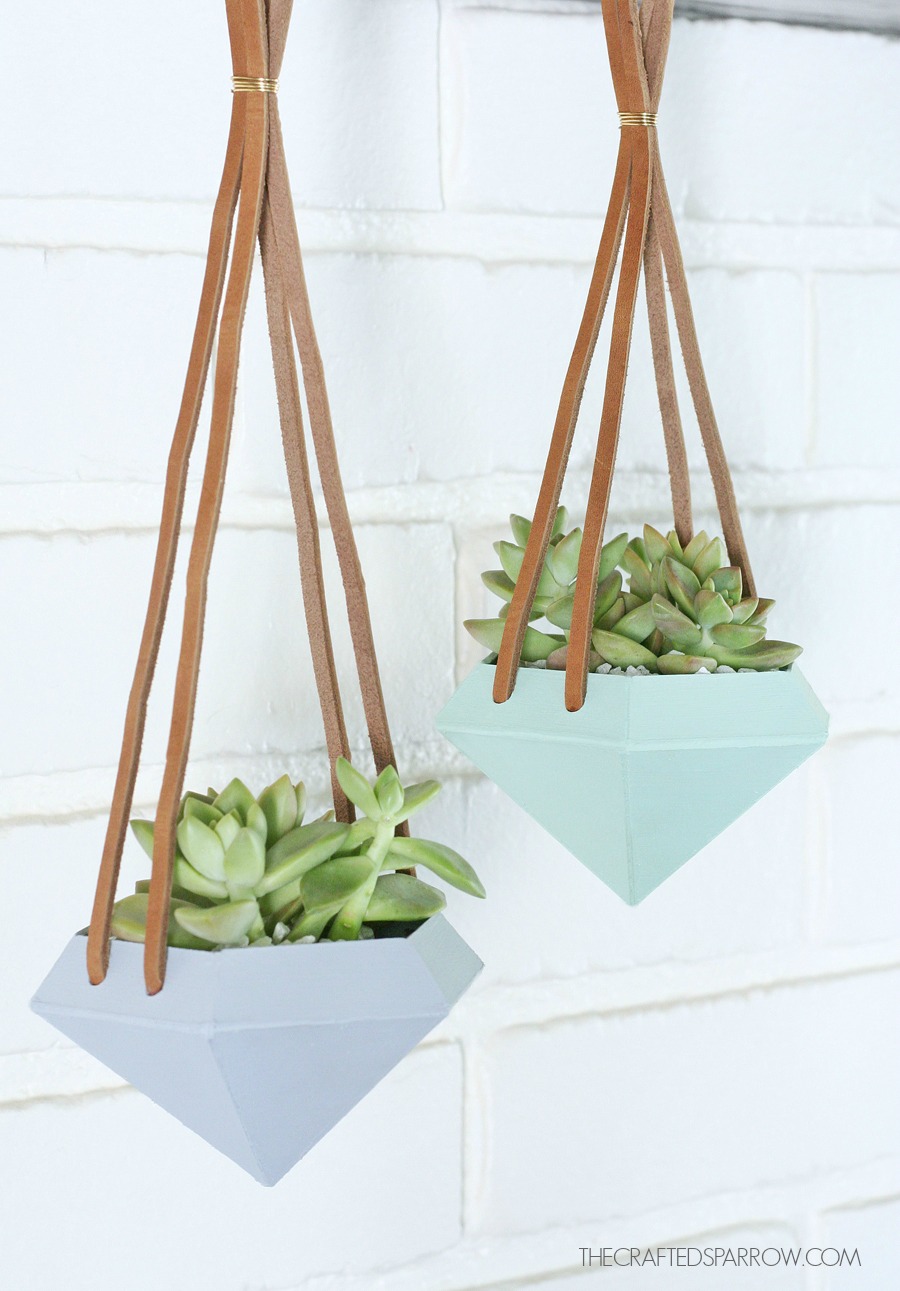 These would also make cute little organizers on a desk or bookshelf, don’t you think? Just skip the hole punch and leather cording and viola!
The best part of this project besides these being so much fun? They cost about $3 to make since I had the paint, wire, succulents on hand.
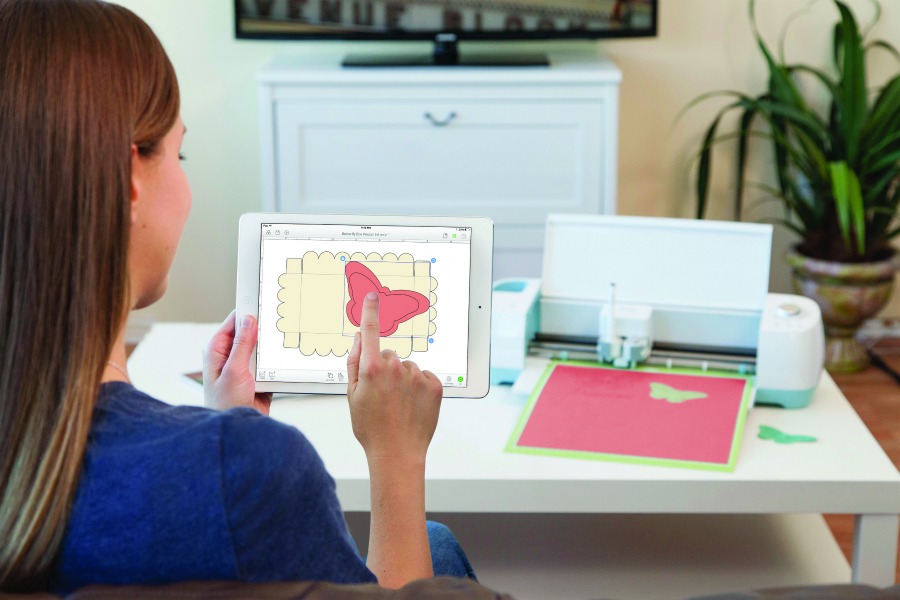
 I love that the Cricut Explore Air has completely changed my approach to crafting & DIY! It’s made it so much easier to create projects like these fun Diamond Hanging Planters, lots of custom one-of-a-kind decor, and quick projects on the fly. It’s so much fun to think outside the box when creating these projects, and I love that I’m not cutting a ton of pieces by hand and that I can create wirelessly anywhere. It’s honestly my most favorite craft tool, hands down! How would the Cricut Explore Air change your approach to DIY & Crafting? Leave a comment I’d love to hear!
Here are some of my most favorite projects that I’ve created with my machine!
Leather Geometric Buffalo Pillow

DIY Herringbone Painted Wall Hooks
Disclosure | This post is sponsored by Cricut. All ideas and opinions are 100% my own!



I love everything about these. Rest assure that I’m going to be having diamonds all over my house. So cool! See you in a few weeks. XO
Thanks friend! Yay for SNAP! Can’t wait! xoxoxo
These look amazing! I can’t believe how expensive they look but were only $3. Are you worried about the chipboard getting soft when you water? I know you don’t water succulents much, but still…
Thank you so much for sharing. I definitely want to give these a try. I don’t have a cricut though.
Hi Heidi. Thank you so much. I did put live succulents in these, they are inside a very small soil filled plastic container that I cut down to fit inside the planter. Yes, if you don’t water it extremely carefully it will get the chipboard wet. So you could still have the live succulents you just have to put hardly any water in it and be careful to keep it in the plastic container inside. I will probably be switching mine out for artificial since I found some that look real at Michaels. Truth be told I forget to water things anyway so it will be better for me personally. I can grow succulents like crazy outdoors, but I think my hubby secretly takes care of them for me. lol.
These are AMAZING!! They look ceramic, I can’t believe you made them with the Cricut!
Thanks girl, they turned out so great and they are so fun to look at! xoxox
cray that that came out of a cricut…i want them! perfect with the succulents.
awesome ide, love it! This will be great house wrming gifts for the glam girl! LOVE it, TFS
Thank you Liz! 🙂
Rebecca! These are beyond fabulous!! Thanks for joining the Handmade Hangout – featured on FB tonight 🙂
Thanks Heather! xoxoxo
You rocked this DIY. Unique and impressive.
Thank you so much! 🙂
Oh, look so beautiful and simple, i will decor my room like that <3
Thanks Sandra! Have a great weekend! 🙂
I am trying to find the template for cutting the DIAMOND HANGING PLANTERS. Can you please let me know where to find it in Design Space?
Hi Pat. Unfortunately, Cricut doesn’t have the images to create this project. Like I mentioned in my post this was a project I created my own images for in Photoshop and uploaded into Design Space to create the Diamon Planter. You can see in the second photo in the post the shapes I used and it also lists the measurements for each shape to cut. I hope that helps.