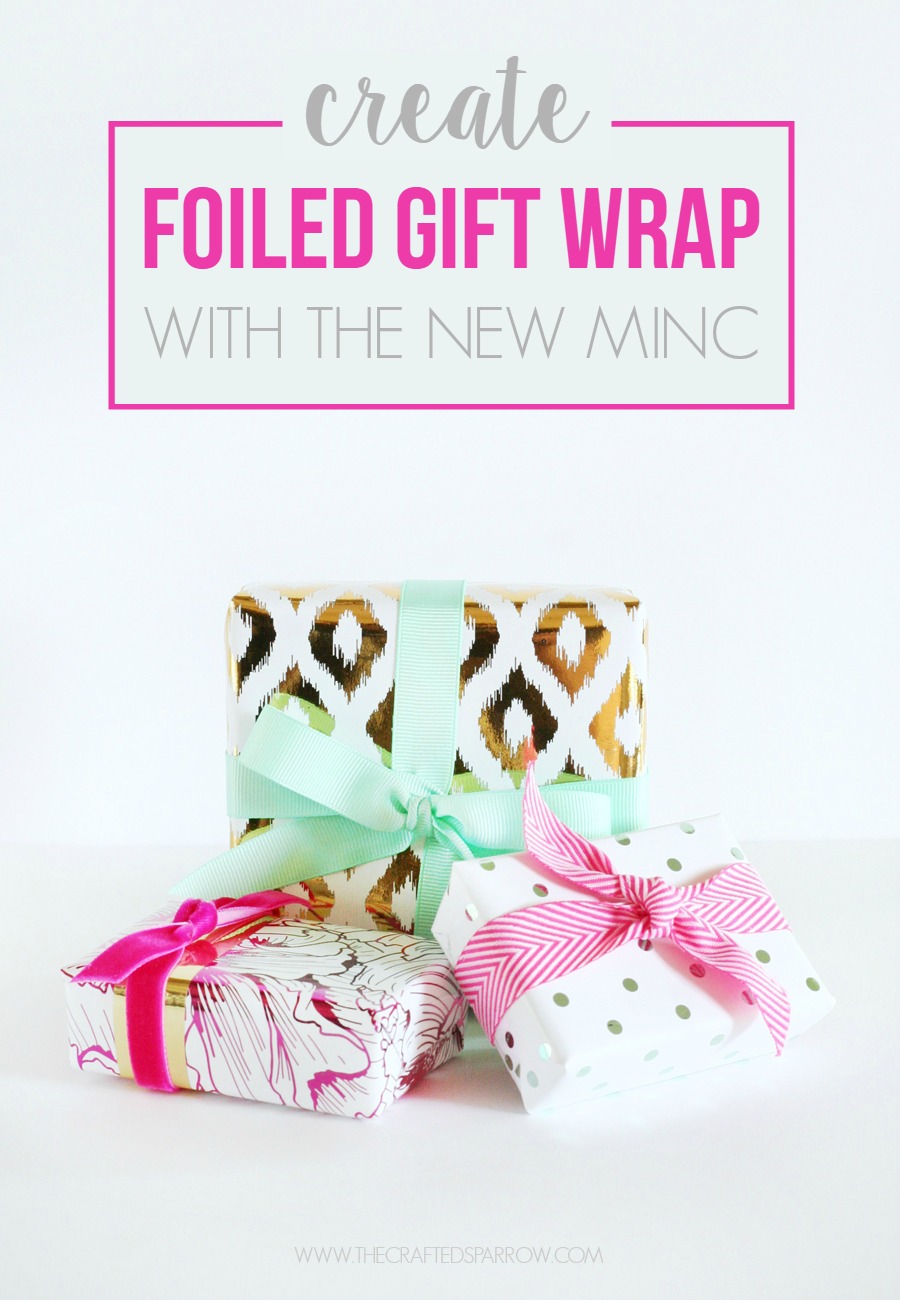
 Is there anything better than shiny metallic foiled projects?! I think not! Guys, I’m so super excited to introduce you to one of my new favorite crafting tools today, meet the MINC! This machine is amazing, it creates gorgeous foiled projects in seconds. Today I’m showing you how to create Metallic Foiled Gift Wrap using the MINC. MINC.
The awesome Heidi Swapp and American Crafts have teamed up in creating the new MINC machine, along with a ton of accessories and product to use with the machine. Let me give you a brief run down of how it works before we start. The MINC can transform any plain product that uses toner from a lazer printer into a bright metallic foiled project in seconds. You can either purchase pre-designed and printed product from the Heidi Swap line or create your own custom pieces at home.
What if I don’t have a laser printer?
No worries, simply design your projects on your home computer and send them off to your local copy shop for printing. Bring them home and run them through your MINC with the awesome colored foils.
What is the cost?
The MINC Foil Applicator and Starter Kit have a MSRP of $149.00. The MINC Foil (12″ x 10′) is $9.99. MINC Accessories range from $2.99 to $12.99.
Where can I buy it right now!?!
These items are available at Hobby Lobby, Jo-Ann Fabric and Craft Stores, as well as locally owned craft stores and online shops.
Tell me more…
The MINC is pretty light-weight and compact, measuring about 19.5 x 5″. It’s pretty easy to store. Plus it’s not too shabby to look at with it’s white and gold finish. It has the ability to accept 12″ wide sheets of paper and materials, and includes four pressure rollers (most laminators only have two) to evenly distribute pressure across a 12 x 12″ surface. The MINC has a heating element that covers the entire 12″ material surface, as opposed to heat focused a the outer edges (also common in every day laminators). It features adjustable heat setting that allow for foil transfer on sensitive materials like vellum, all the way to more robust chipboard and even thin wood veneer.
Ready to create? Let’s get started!
Supplies:
MINC Foil Applicator
MINC Foil, any color your heart desires
MINC Transfer Fold (the plastic sleeve that comes with the machine)
MINC Papers, 12 x 12 or Your Own Laser Printed Project
Scissors
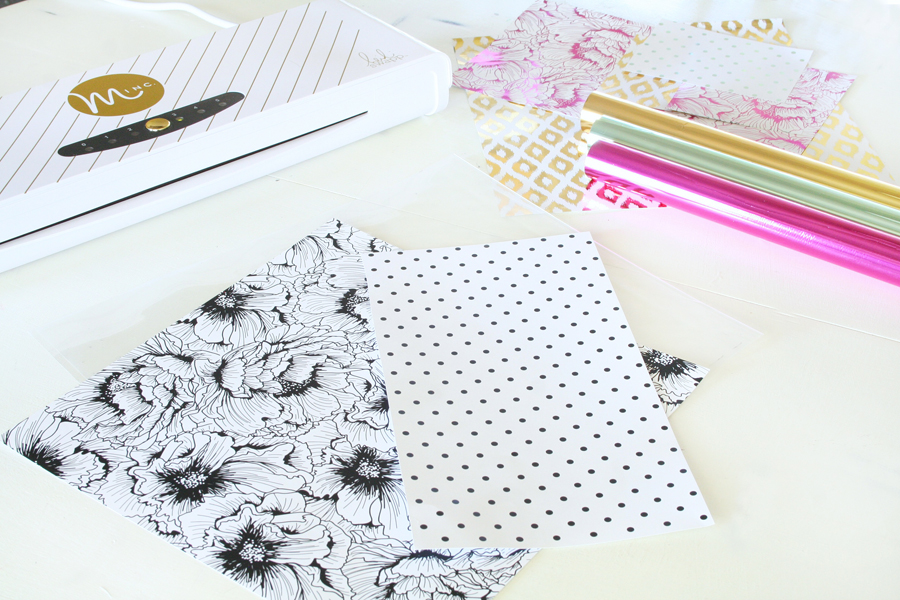
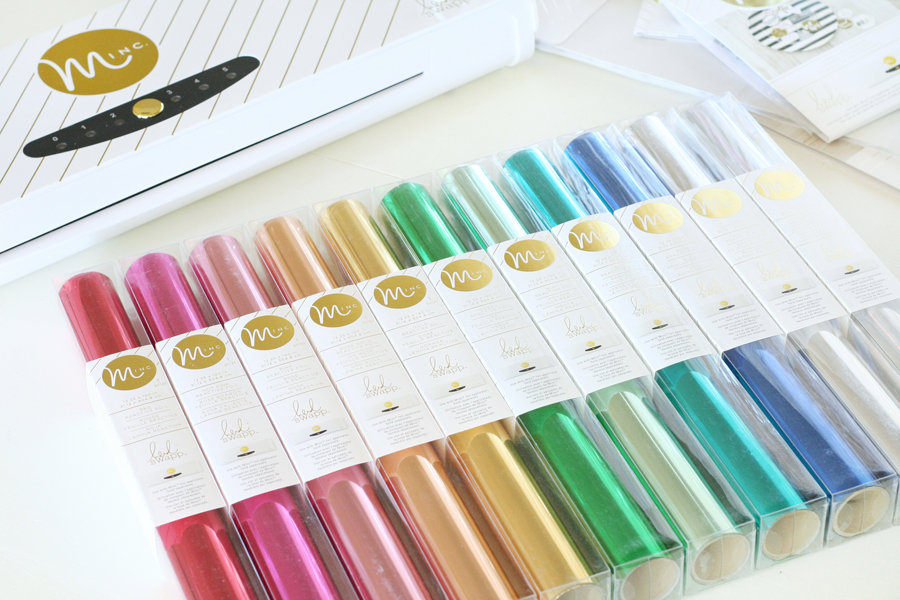 Take a peek at all those gorgeous foil colors! They just make my heart so happy! The hardest part is picking which color to use!
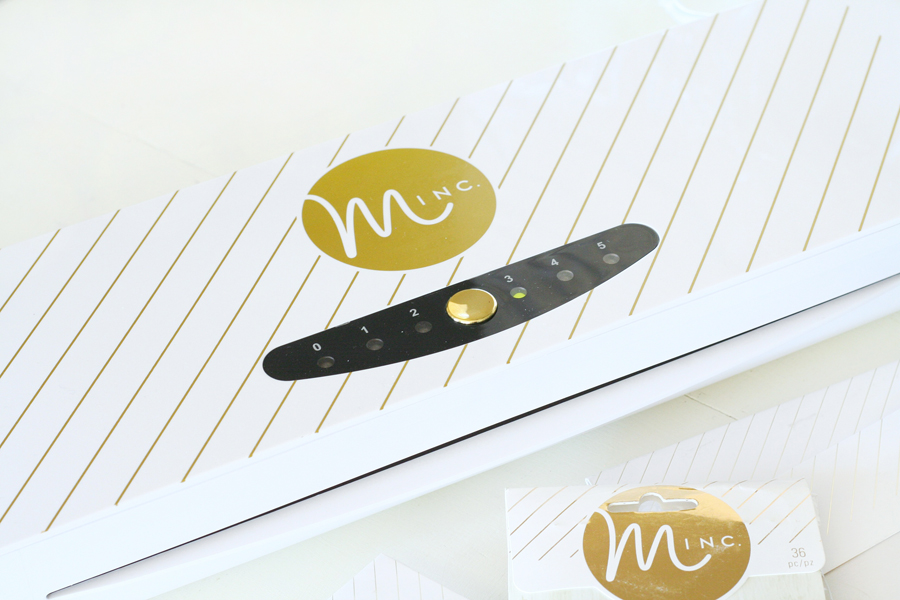
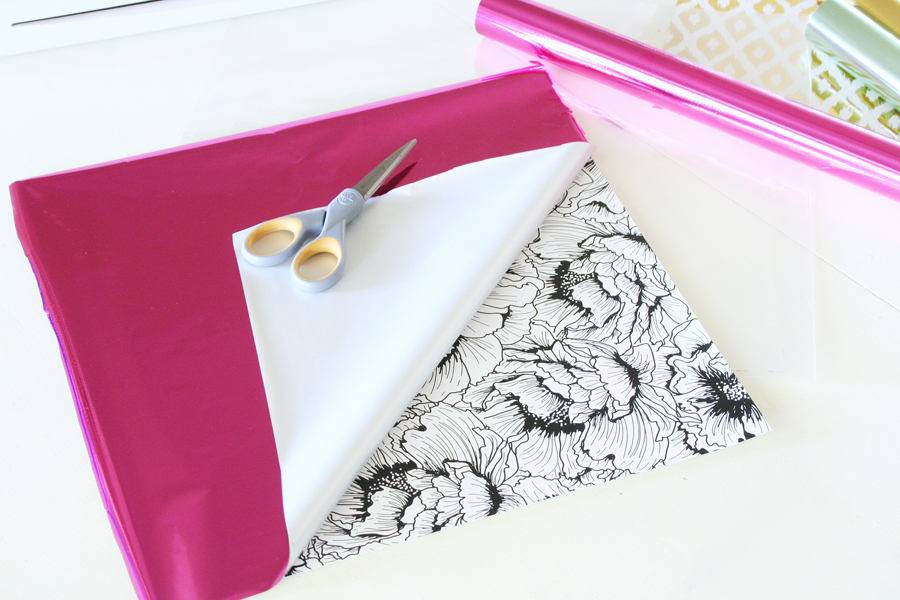
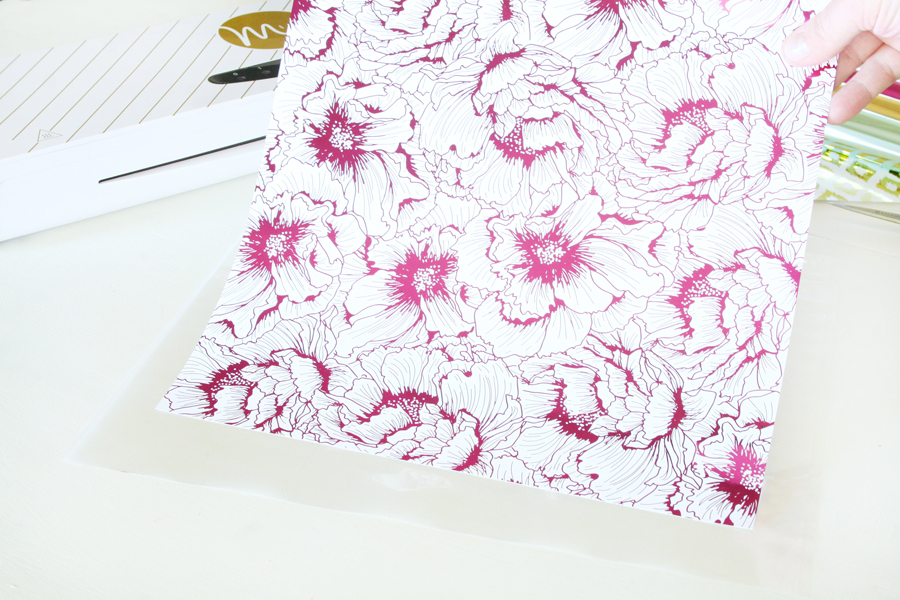
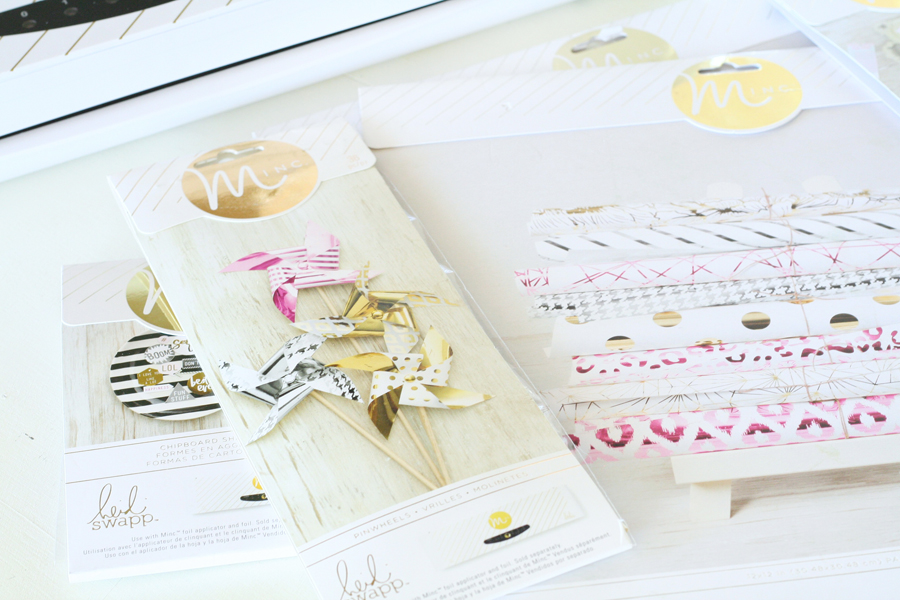 I picked a few of the pre-printed papers from the MINC line and the foils I wanted to use. I chose the Hot Pink, Gold, and Mint.
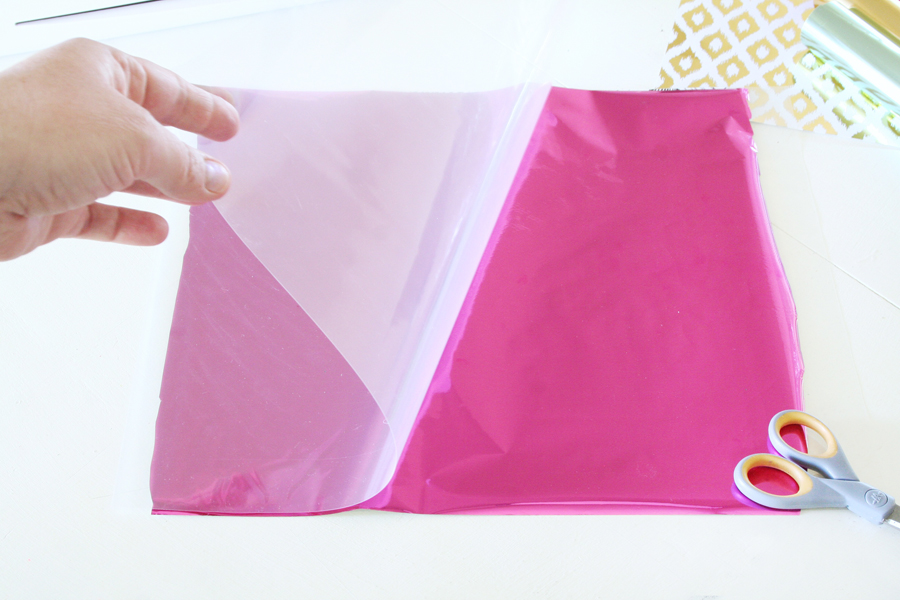
 You will need to cut just enough foil to cover your sheet of paper or whatever material you’re using. The foil should only cover the toner printed portion you want foiled, no need to waste an entire sheet if you have a small area to foil.
Place the paper and sheet of foil covering the paper inside the plastic sleeve / transfer folder that comes with the machine. Be sure it’s covering the entire surface you want foiled, if you have excess foil hanging outside of transfer folder then just trim it away with some scissors.
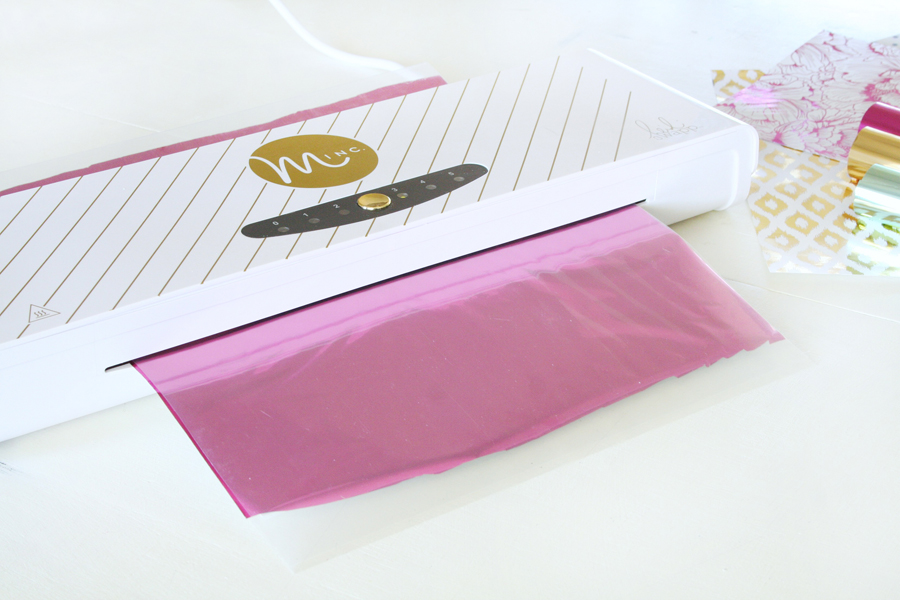
 Be sure to follow the MINC Owner’s Manual for proper heat settings depending on your materials. I have mine set to 3 since this paper is a thicker cardstock. A lighter heat setting would be perfect for more delicate materials like velum, hotter setting are great for things like chipboard.
Once the light has turned green on the desired heat setting you’re ready to insert the transfer folder. Gently push it into the machine (folded side of folder first), it will automatically grab the folder once you push it inside. Now let it do it’s magic!
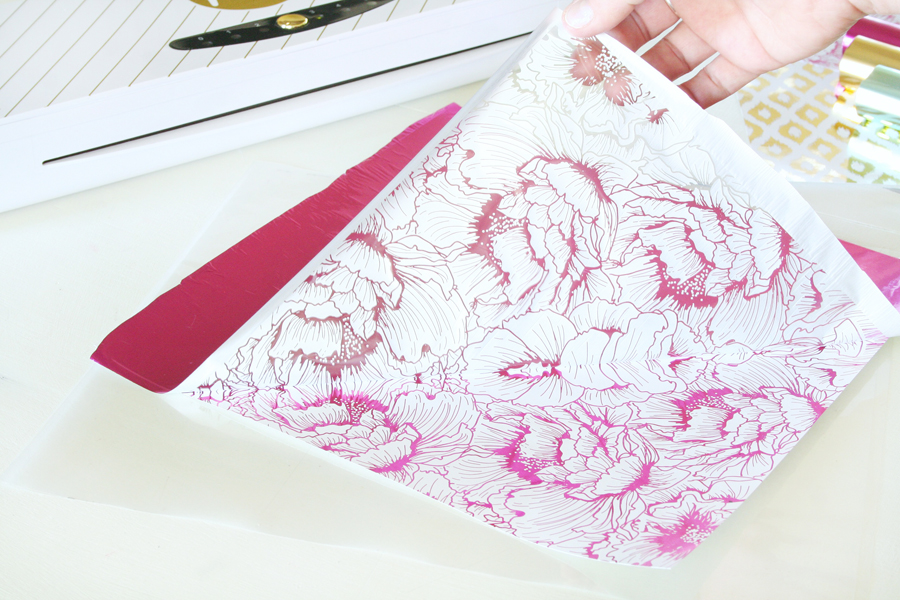
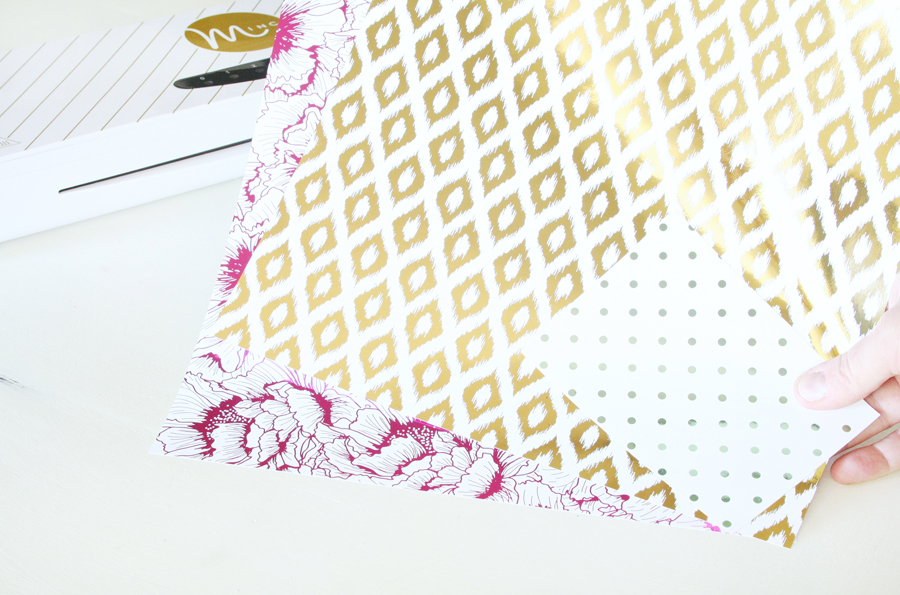
 Once it comes out remove the paper from the transfer folder. On this heat setting, it shouldn’t be hot, so no need to wait for it to cool.
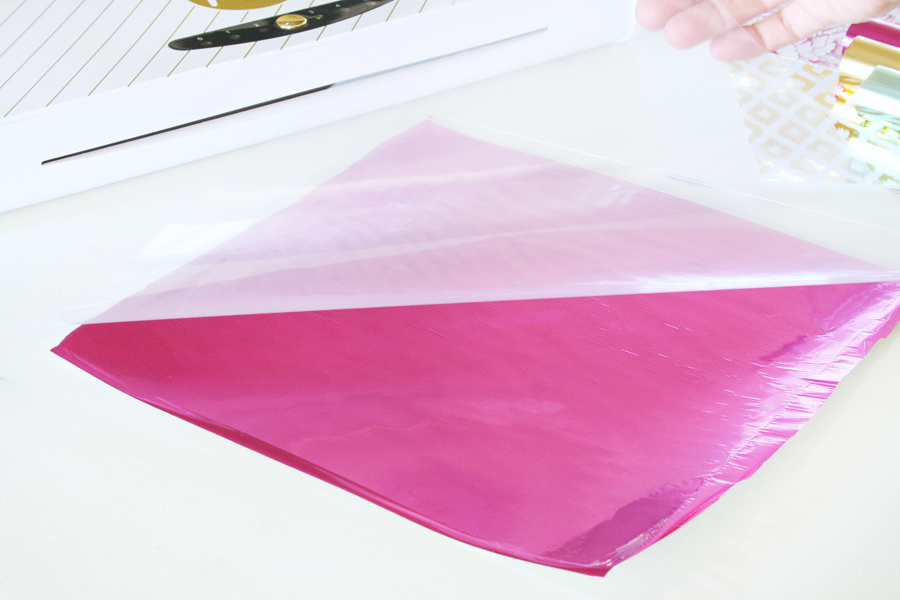 Peel back the foil and viola! It’s so fun to see the finished product. The gold might just be my favorite!
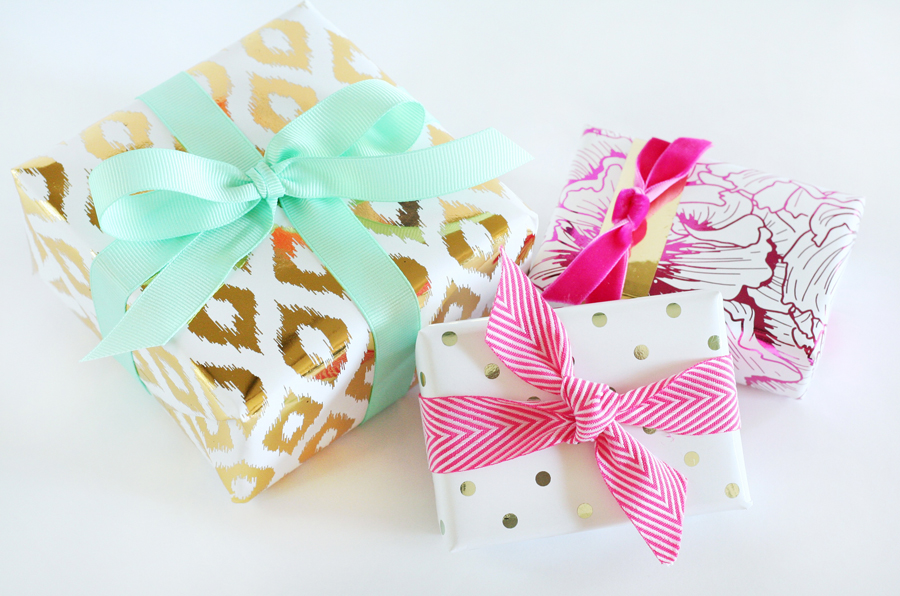
Once you’re done you can wrap some cute little packages. These 12 x 12″ sheets are perfect for small gifts. You could probably have the copy shop print larger sheets of paper, maybe some 12 x 24″ – that would work for medium sized gifts.
Aren’t they so pretty?!
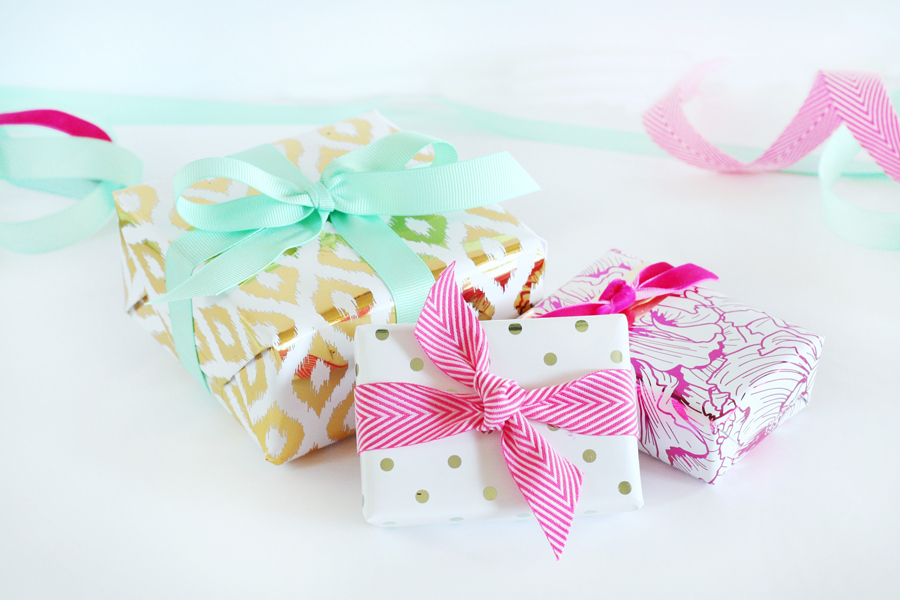 Just think of all projects you can create with the MINC. Custom gifts, journaling accessories, custom prints, artwork, etc…
 Be sure to stay up to date on all the latest MINC product releases and information by following Heidi Swapp!
Facebook | Instagram | Twitter | Pinterest
Disclosure | This post was sponsored by Heidi Swapp and American Crafts. All opinions and ideas are 100% my own.


I’m loving this! I’m so impressed by your masterpiece. Pinned and tweeted. We appreciate you taking the time to party with us. I hope to see you on Monday at 7. Happy Mother’s Day! Lou Lou Girls
This is such a great idea! Love it! Can you get these products in Canada? The stores you listed aren’t Canadian ones 🙁
Hi Lindi, I’m not sure if they are available in Canada yet. I did list a link to the machine on Amazon, is that an option for you? If so, click on the link in the supply list for Minc Foil Applicator and the other supplies listed. If Amazon isn’t an option, you may be able to purchase it directly from American Crafts. 🙂 Let me know if something works for you.
ribbons are very beautiful. we have bookmarked for this post. Thanks for sharing