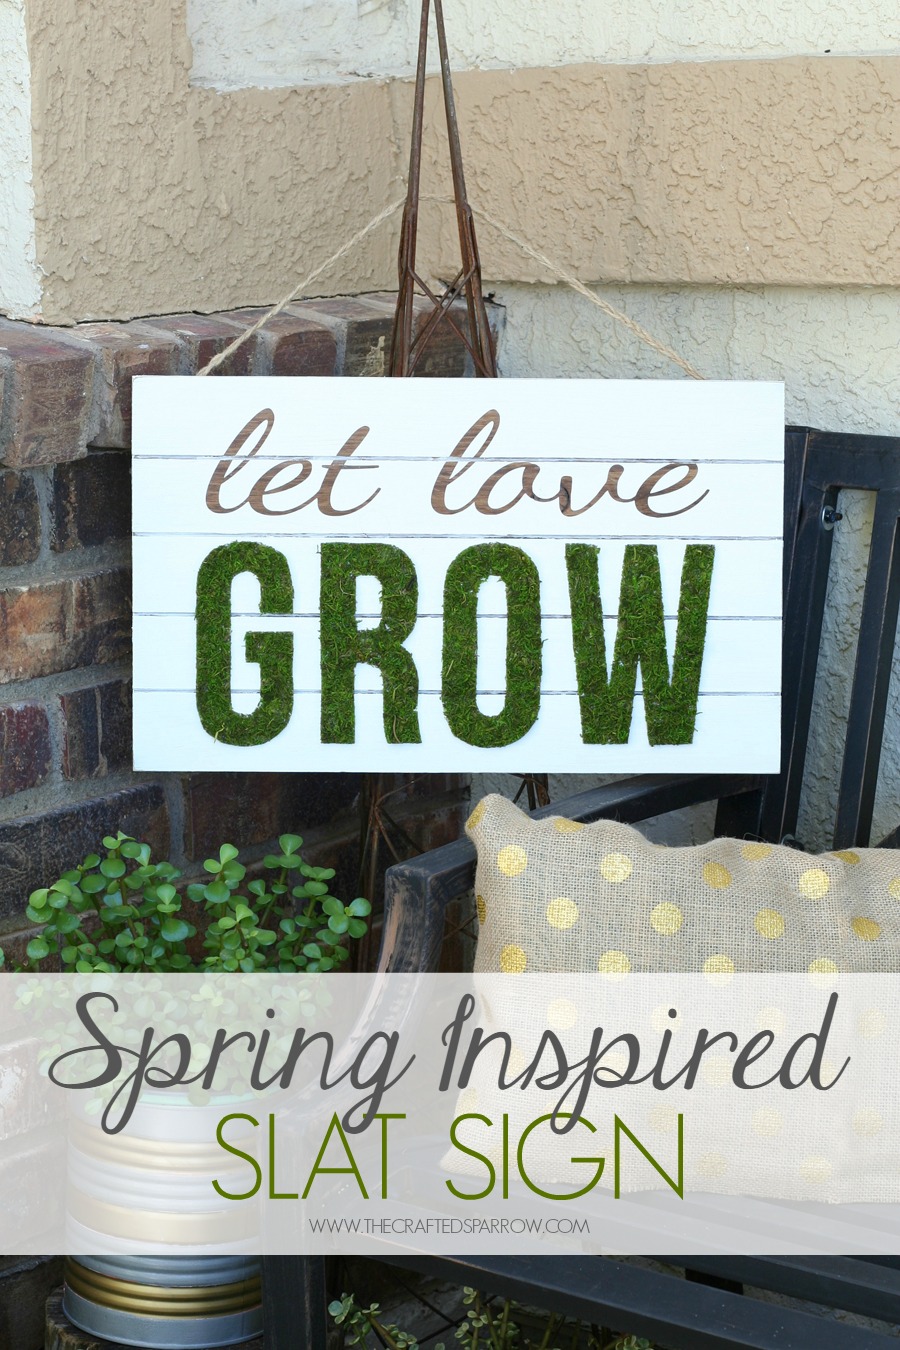
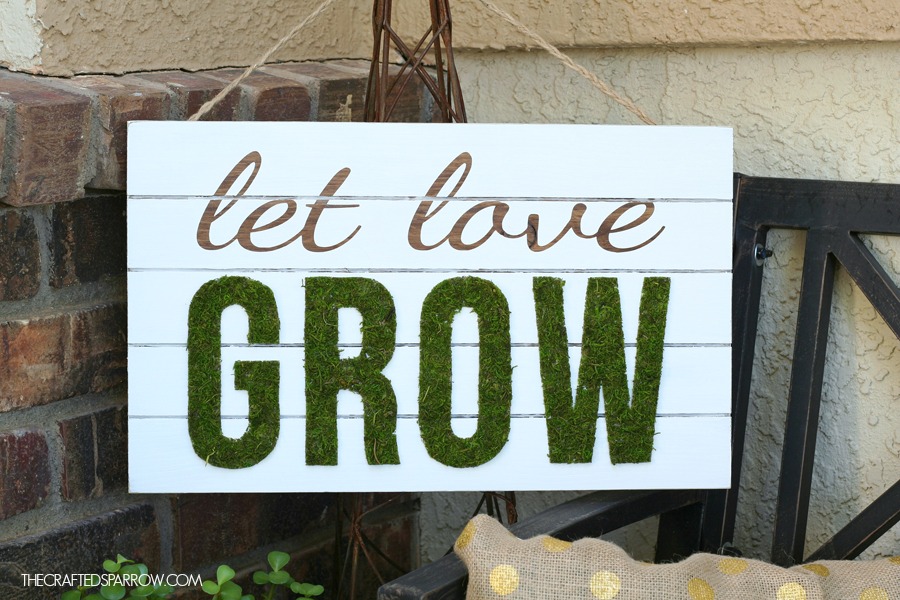
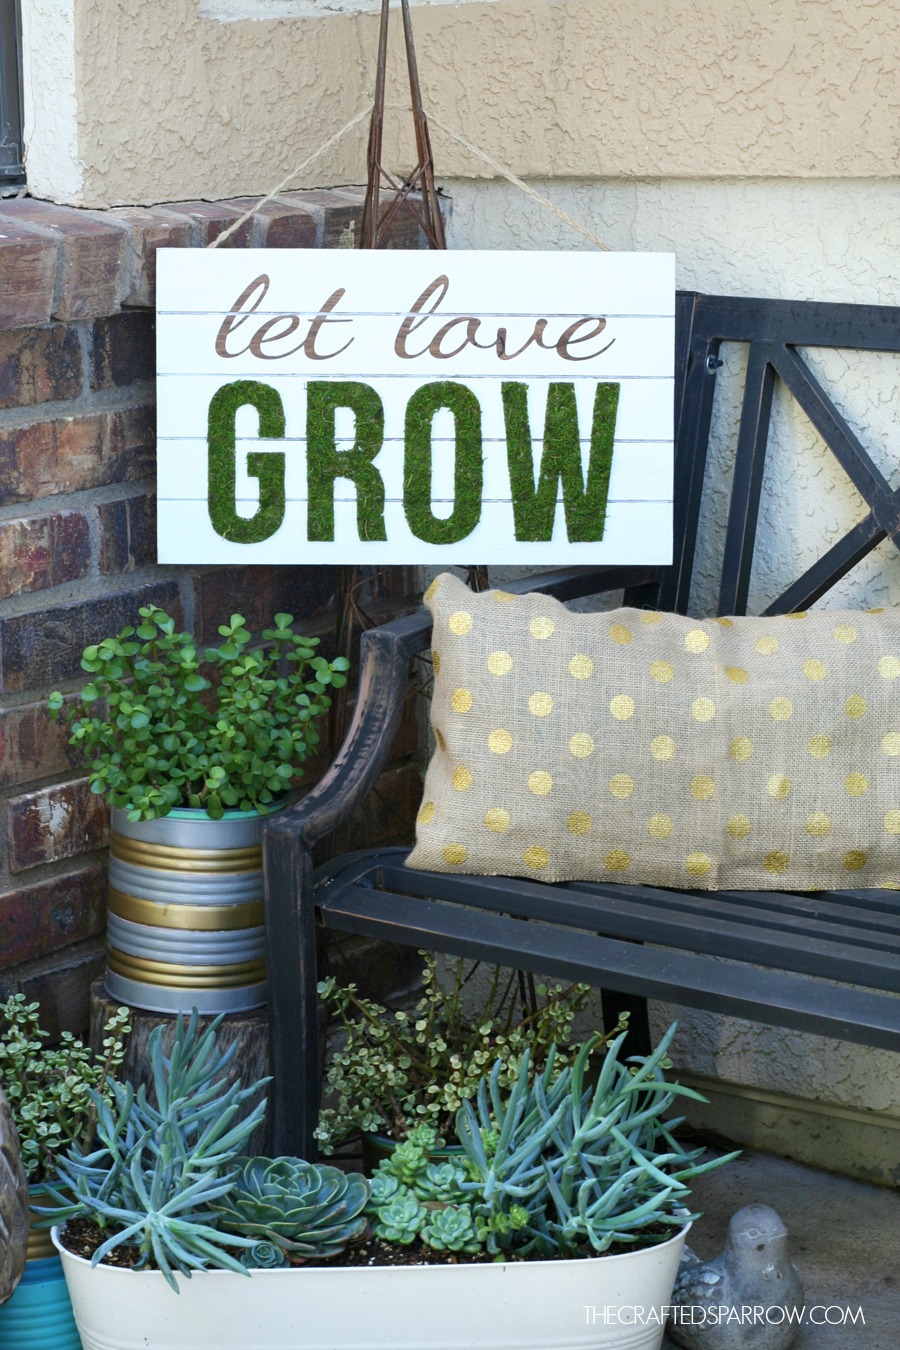
 With the warmer temperatures and all the amazing things that spring has to offer I thought it was time to start the season of with some fresh decor. For my first project of the season, I’m showing you how easy it is to make this Spring Inspired Slat Sign.
The design of this slat sign is simple just how I like it, but the end result turned out really pretty. It can be customized with any color palette, I chose to stick with a natural color palette for mine, but it would be perfect with bright colors like turquoise or coral too.
Supplies:
Slat sign
Vinyl
Cardstock, green is best but white will also work
Transfer paper
Cricut Explore Cutting machine
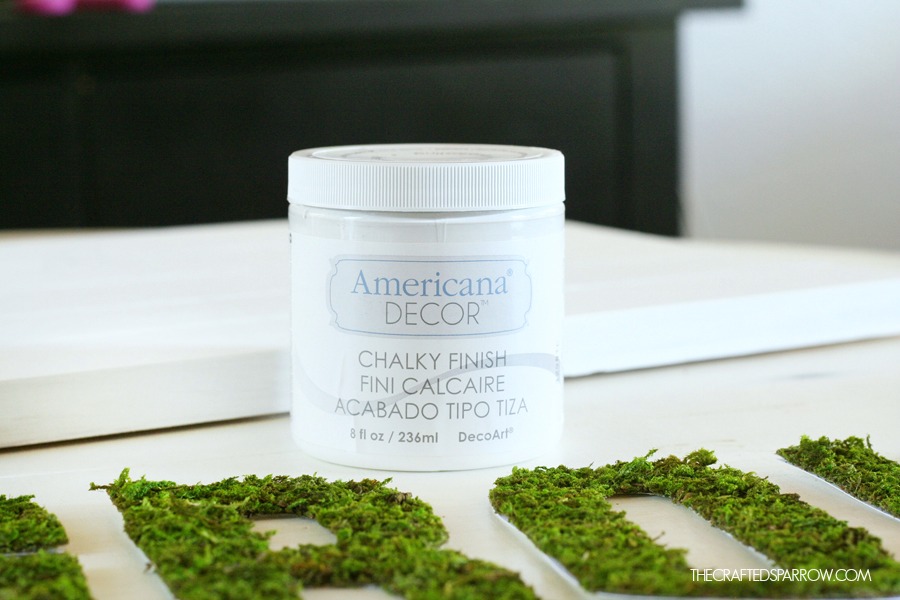
White DecoArt Americana chalky finish paint
Stain, optional
Foam brushes
Scissors
Glue gun
All purpose moss mat, found in the floral department of craft stores
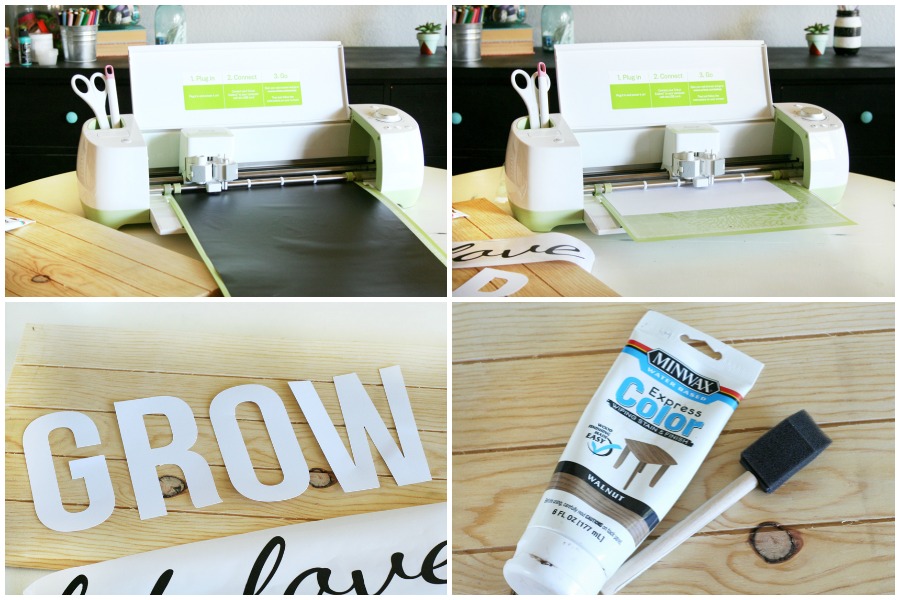 Begin by designing a vinyl stencil in your cutting machine program, the only portion that will need to be cut from vinyl is the words “let love”.
Cut the stencil, then weed it. You can either choose to use the stencil like I did to have the stain peeking through. Otherwise weed the negative vinyl and use it as a stencil to paint the first part of the saying on once you have your base color on.
Design your second portion in your cutting machine program, this is the word “GROW”. It will need to be cut on cardstock, using green paper is best so it blends in with the moss. If you don’t have green use white like I did.
Now it’s time to stain your slat sign. I love the Minwax Express Color stains, they are so easy to use and little to no mess. Just use a foam brush to give your slat sign a good coat of stain. Wiping away any excess stain with a paper towel. Be sure to get in the grooves.
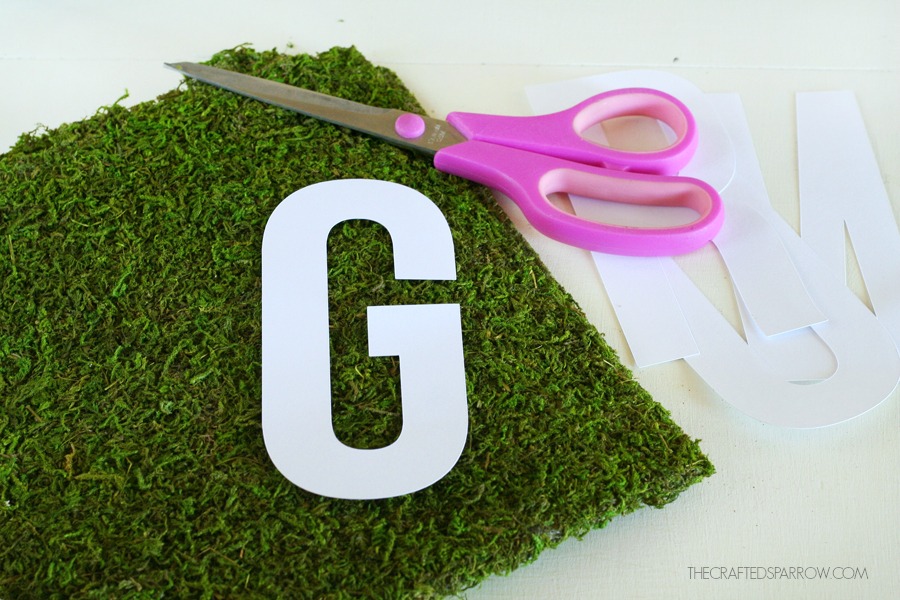 While your slat sign is drying it’s time to create the moss letters. This part is super easy.
Unfold the all-purpose moss mat which is basically a big sheet of moss. Using your glue gun give each letter a quick bead of hot glue and place face down on the moss mat. Then cut out each mossy letter with a good pair of scissors.
 When the stain is dry apply your vinyl stencil to the slat sign with your transfer tape. Be sure it’s centered and measure everything twice before adhering it.
Use your vinyl applicator to be sure the vinyl is sealed well to prevent paint seeping under it.
 Give the slat sign 2 – 3 coats of white chalky finish paint, let it dry between coats. Being sure to paint carefully over the vinyl stencil.
Before the paint is completely dry be sure to remove vinyl stencil carefully. If you wait until it’s dry it may peel up additional paint from the sign.
Optional: You can choose to distress your sign if you choose to. For mine I left the majority of the sign alone and just gave a quick sanding to the edges only.
 Using your glue gun again, adhere the moss covered letters to your sign. Be sure to use a ruler to be sure they are all aligned right.
You can hang this new Spring Inspired Slat Sign indoors or outdoors. It would make a great sign for your front door instead of a wreath. For mine I added a braided piece of jute twine to create a hanger for my sign. It looks great on my front porch to welcome guests.
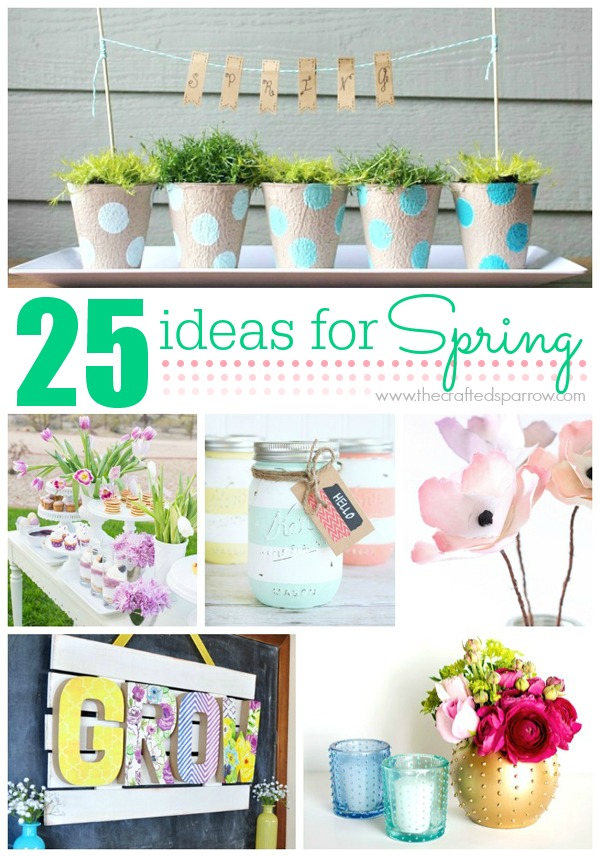
 Want even more spring ideas? Be sure to check out these great ideas:
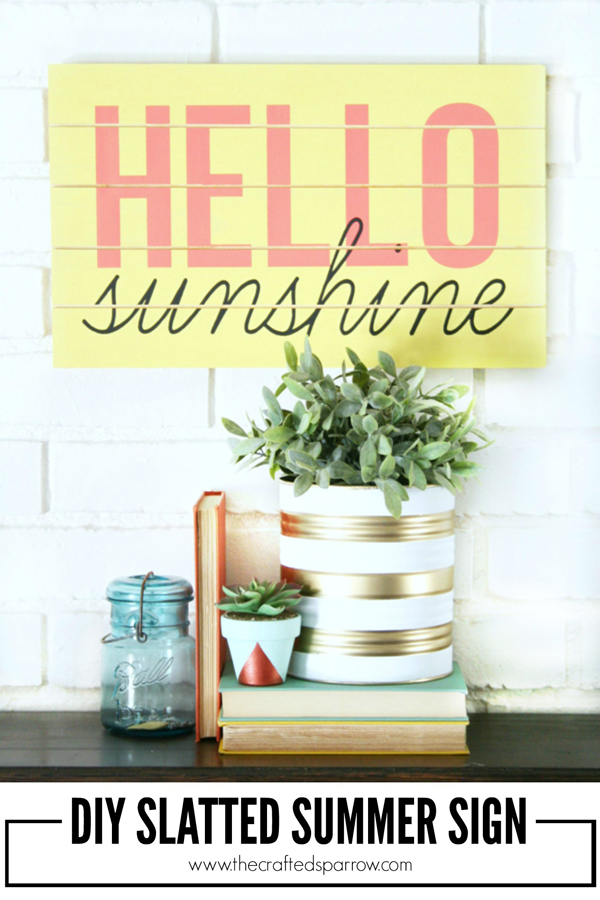
Want another fun Slat Sign project? Be sure to check out this one:


Please subscribe me to your site by email .Love your projects
Thank you Kathy! I’d love to have you join my mailing list, you can subscribe on the right sidebar of my blog under my profile picture there is a search bar & a “subscribe to blog via email” bar. Simply enter your email address there and it should send you a confirmation. 🙂
I love moss projects this is super pretty! Pinned for later.
Thanks Theresa! 🙂 Have a great day!