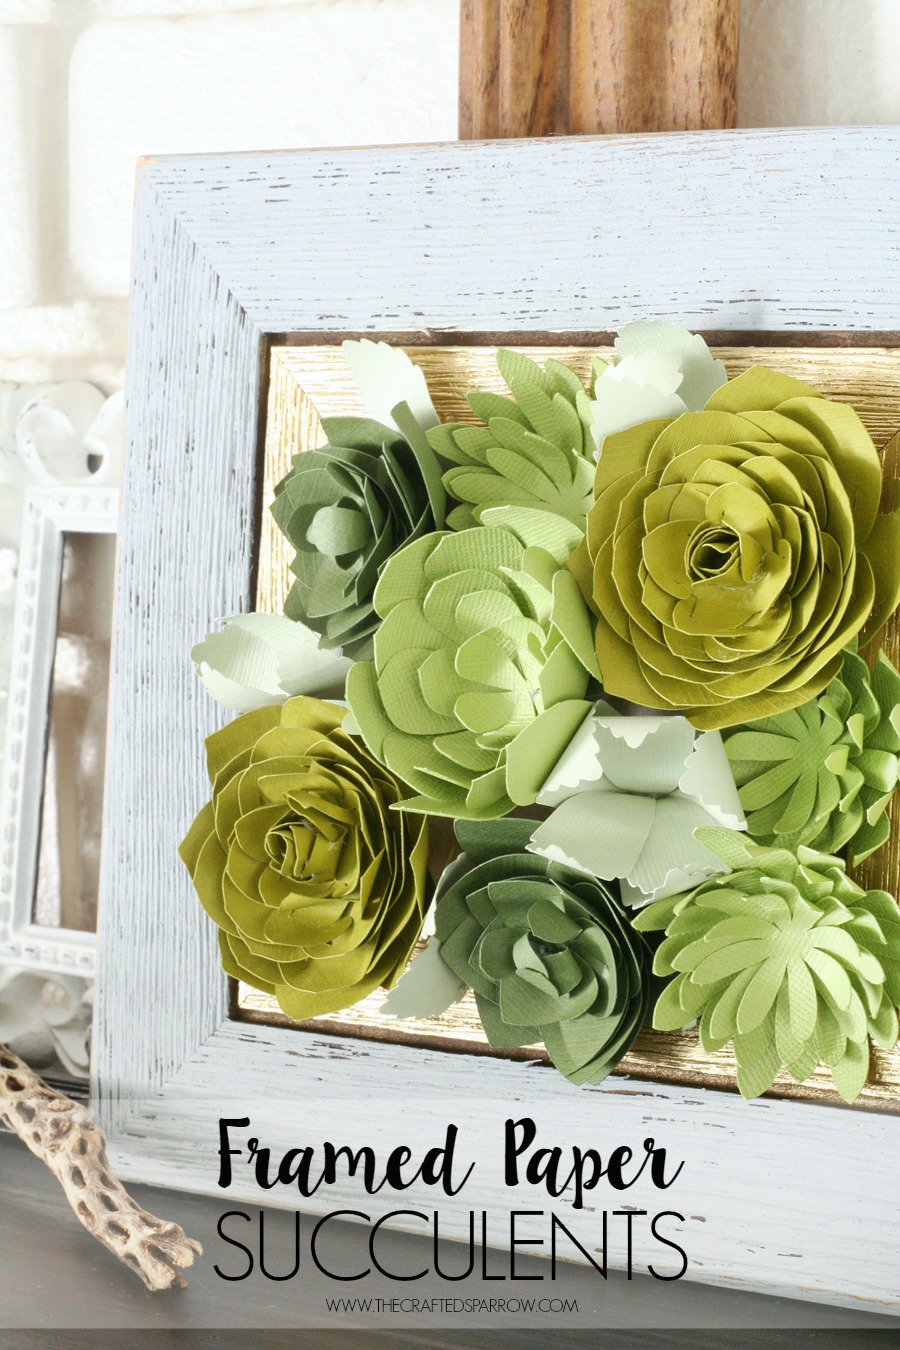
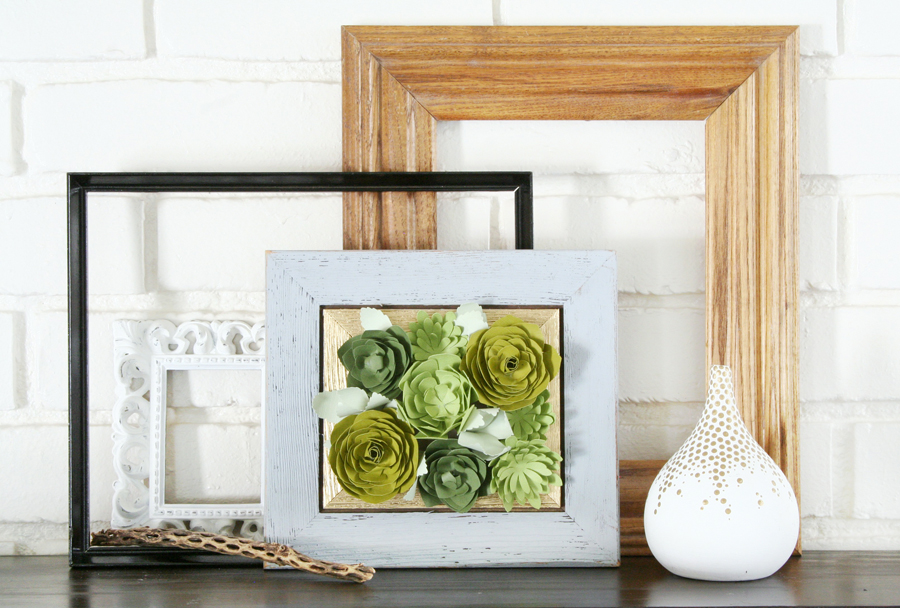
 By now, you’ve all probably figured out that I have a love for succulents. They are quickly becoming my favorite plants, between THIS project or THIS one I’m just in love. Succulents are the one live plant that I’ve yet to kill, my front patio is overflowing with them. Although I do tend to love artificial succulents too, no watering – score! These Framed Paper Succulents are the perfect addition to my collection, the best part is they are super easy to make!
Supplies:
Cricut Explore Air
StandardGrip cutting mat
12 x 12 Cardstock, assorted green colors
Glue gun
DecoArt acrylic paint, optional for frame
Foam brush
Piece of chipboard, cardboard, or thick cardstock to fit inside the frame
Scissors, for curling succulent petals
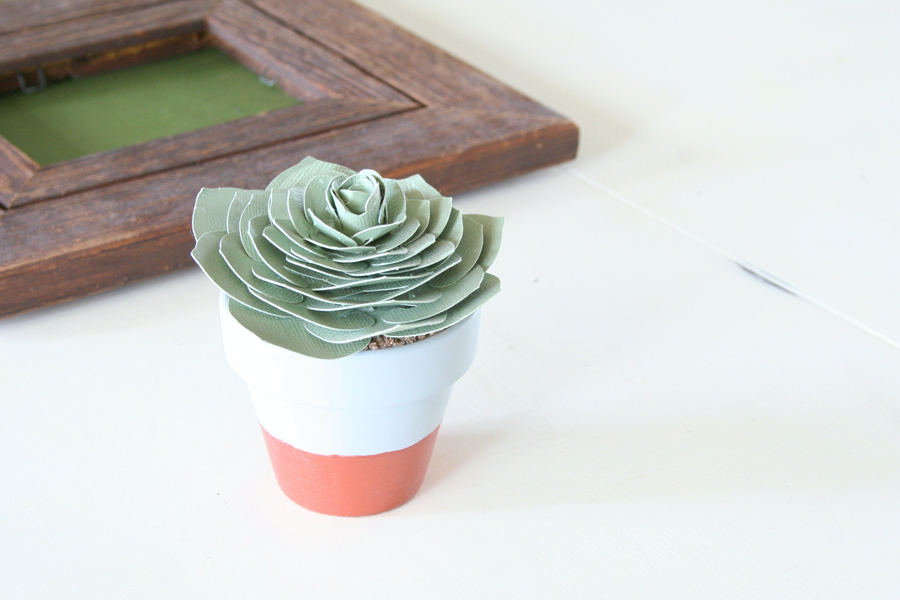
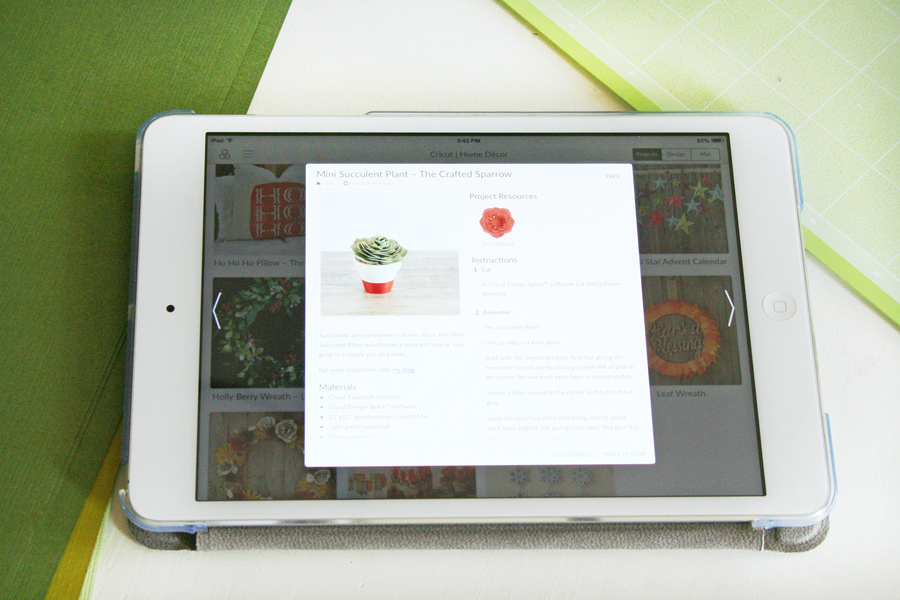
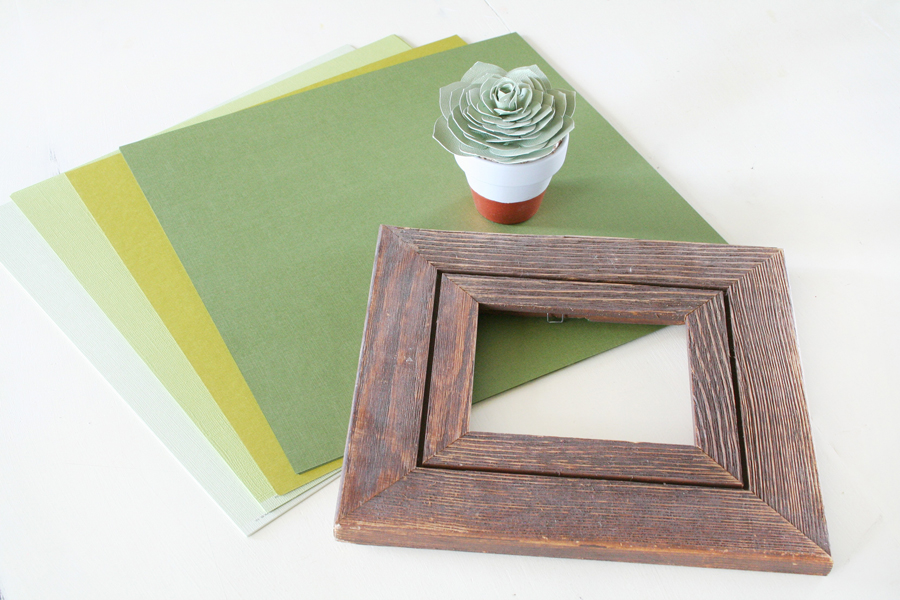 Late last year I created this cute little Mini Succulent that you can find in Cricut Design Space, it’s sweet and simple – the perfect quick project.
I really wanted to create a larger piece and I was so inspired by the amazingly talented Lia Griffith. With the help of her awesome tutorials, I created even more succulents to add to my Mini Succulent Plant to fill a fun frame.
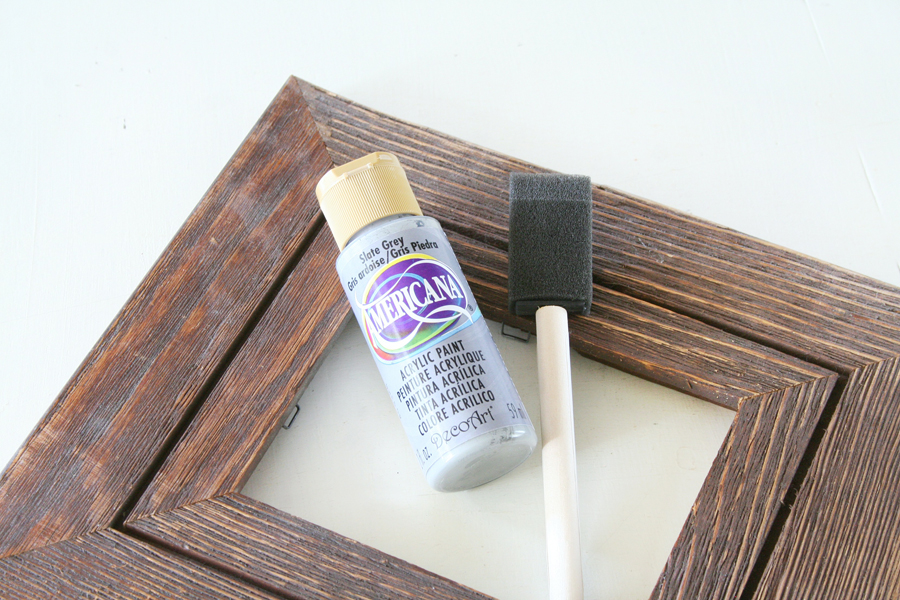
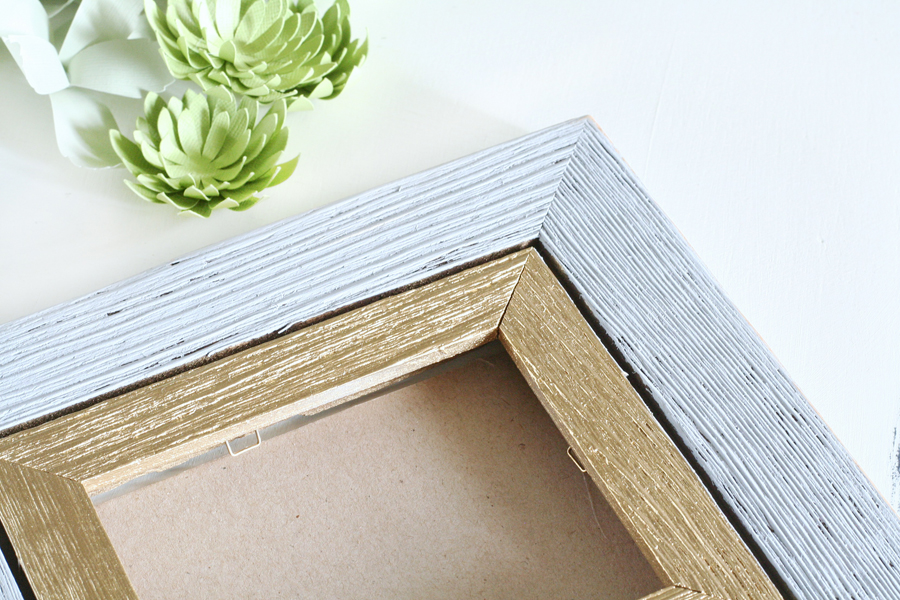
 First things first, I began by painting an old frame I had lying around. I used DecoArts Slate Grey to give this barn wood frame a quick update. Since the frame had the separation to look like a double frame I spray painted the inside gold by just masking off the outer portion.
Once everything was dry I gave the frame a quick once over with some fine grit sandpaper to give some wear to the edges of the frame.
 In order to have something to glue your finished paper succulents to the inside your frame, you will need a piece of chipboard – cardboard – or thick cardstock.
Just cut to fit inside your frame and hot glue in place.
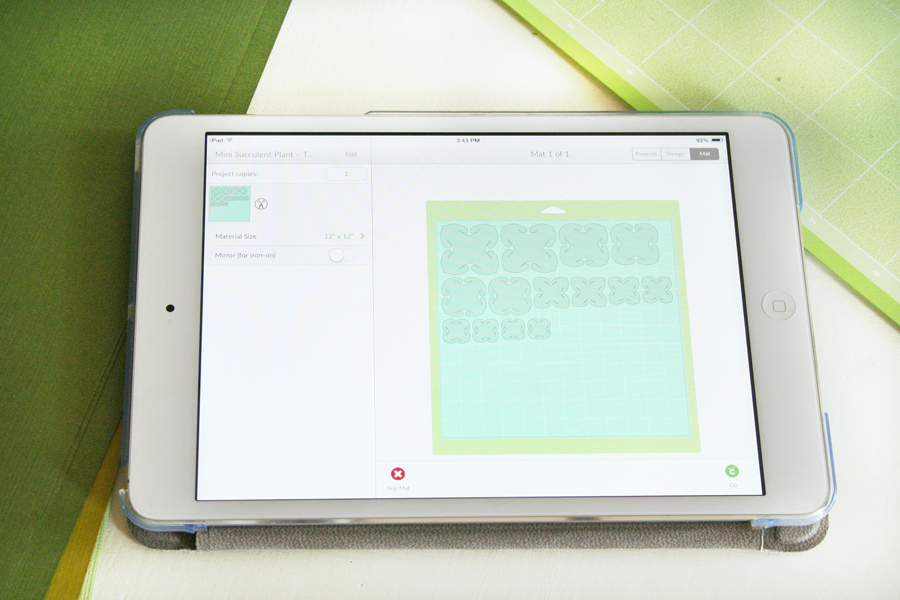
 To start, I pulled up my Mini Succulent in Design Space on the new iPad app. I resized it to the size I needed it and hit GO to cut it out.
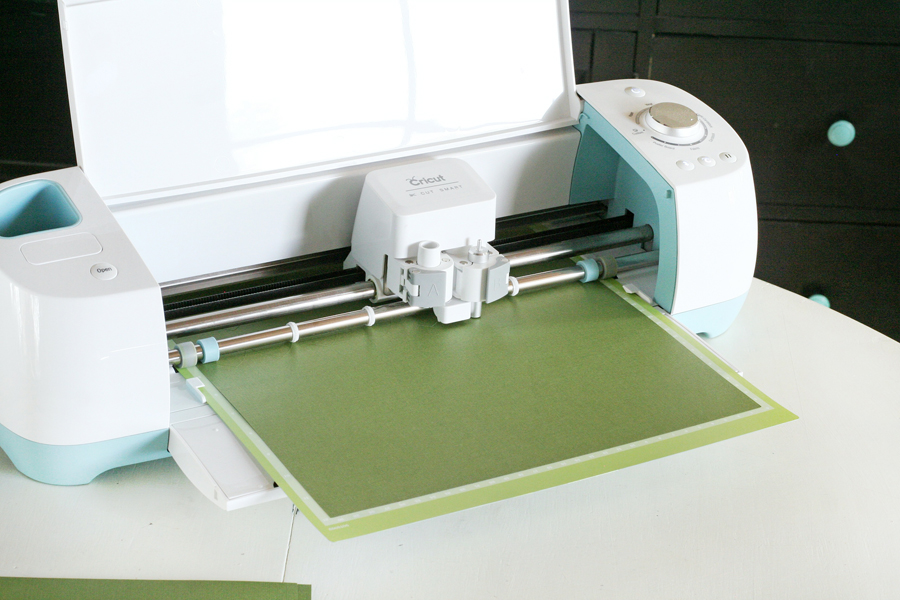 Once all the pieces are cut out for this succulent, the assembly is easy. To make it a little easier I made a quick video showing you how to create my Mini Succulent, enjoy!
For the rest of the succulents be sure to check out Lia Griffith’s tutorials and you can cut them in Design Space HERE.
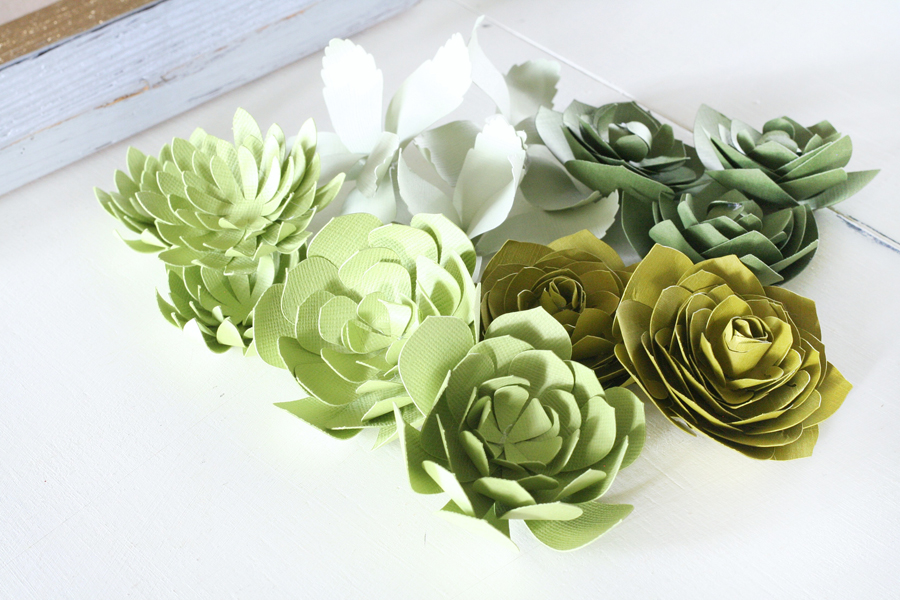 To create some dimension with some of the succulents in the frame, I glued some small pieces of bamboo wood skewers.
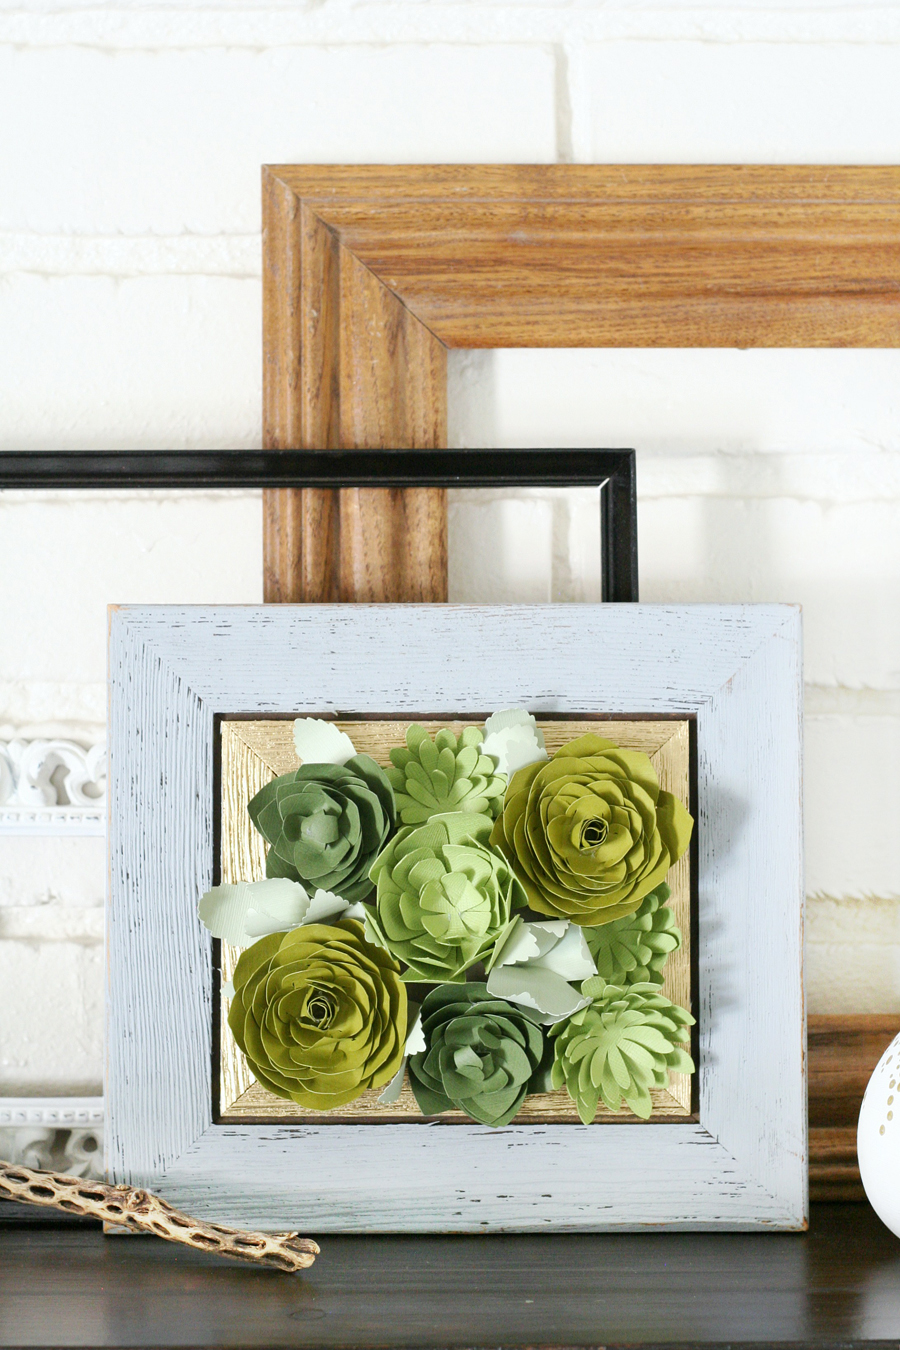
I started hot gluing the largest succulents first to the inside of my frame (to the cardboard backing) then just fill in with the rest of the succulents.
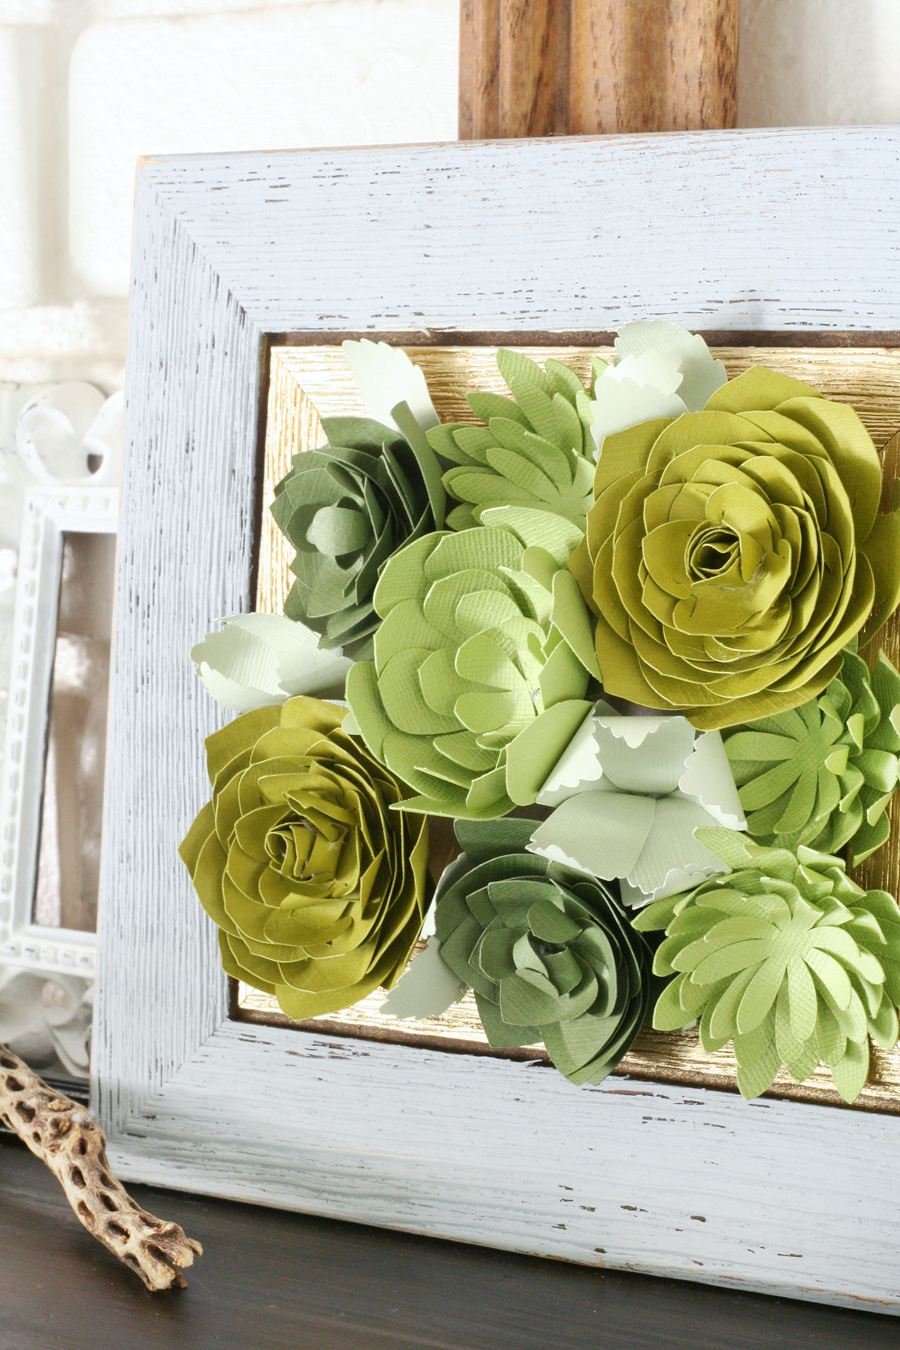
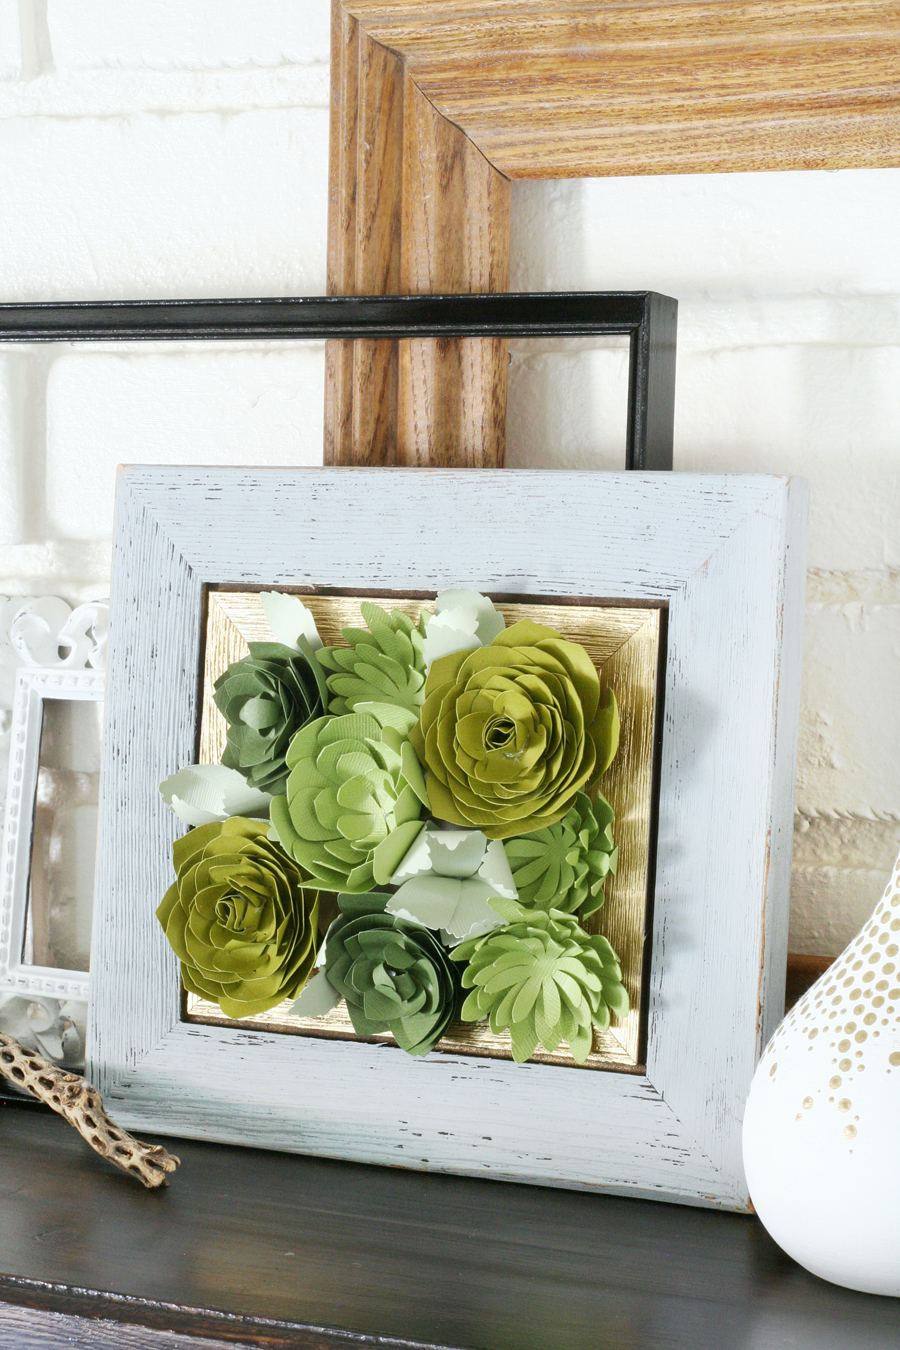
I love how this project turned out, the varying shades of greens are just so pretty. It will look great as part of a gallery wall or styled on a shelf with simple accessories.
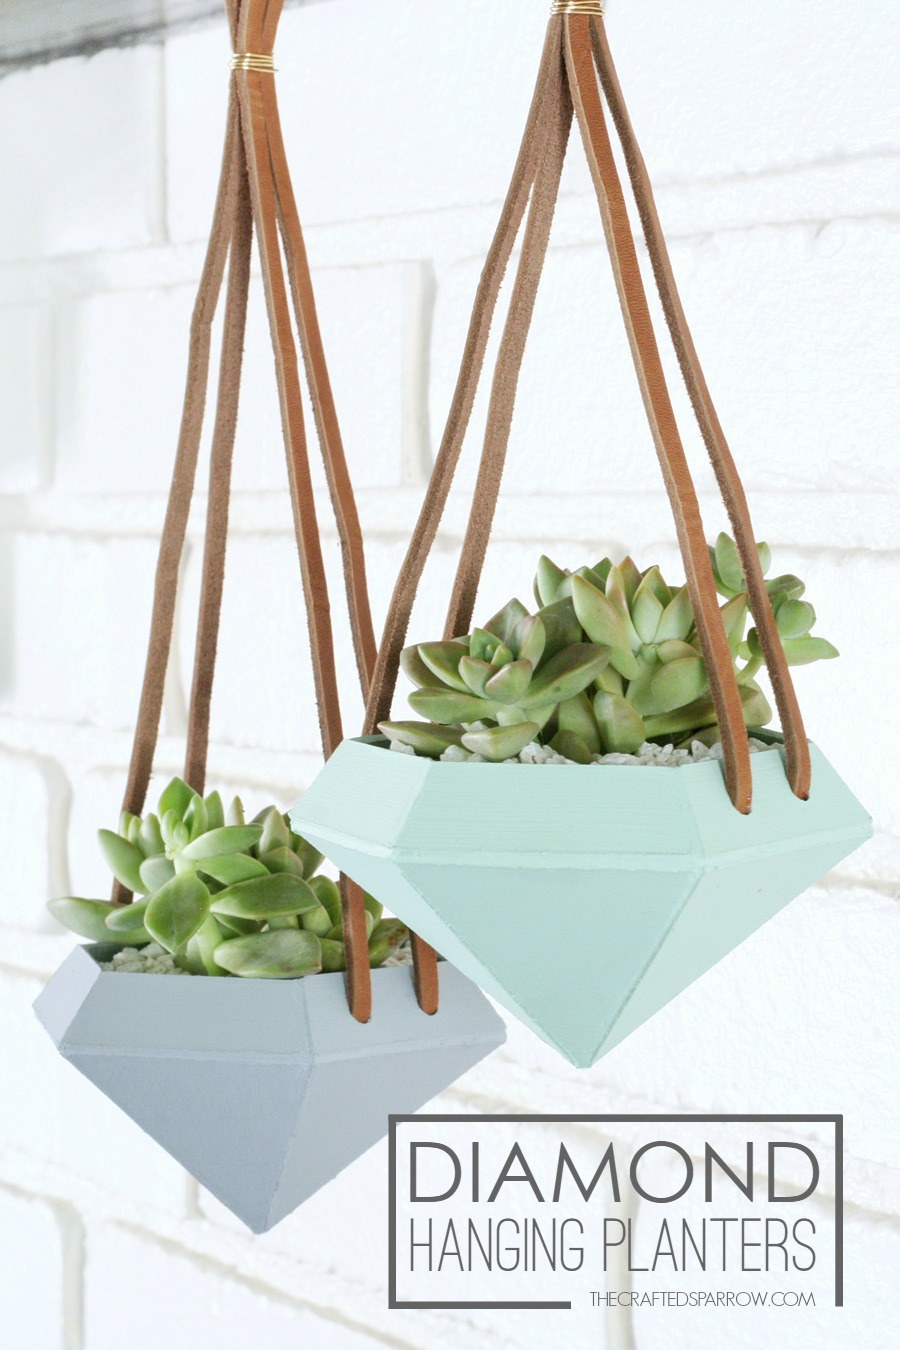
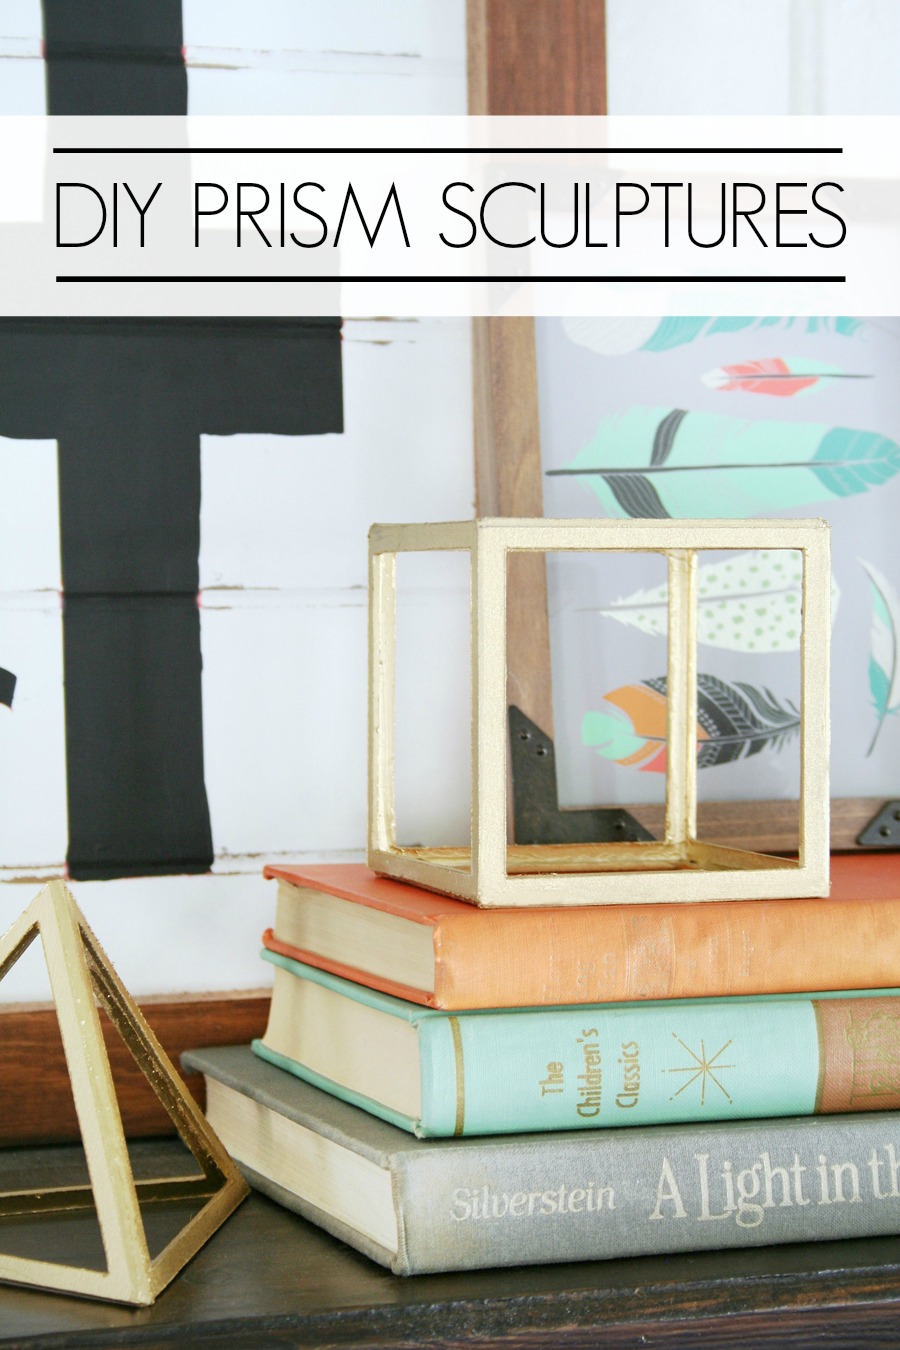
 Don’t forget to check out these other fun ideas created with the Cricut Explore Air.
Who’s ready to start creating with the Cricut Explore Air? Here is a little something to help get you started, a $100 Jo-Ann Fabric and Craft Stores gift card.
Disclosure | This post is sponsored by Cricut. All ideas and opinions are 100% my own!



Had trouble getting to the JoAnn Pinterest page from the link so I found it on my own 🙂 Just a heads up in case I’m not the only one!
LOVE the succulents in the frame – would make a great addition to my kitchen. I don’t have a green thumb like my mom but I did get her creative genes so this would be a great project to undertake this summer.
Thanks for the heads up Vanessa! Good luck with the giveaway! Have a super awesome week!
Thank you so much for the love!! We are honored to be included and LOVE how your framed paper succulents turned out:-)
Lia Griffith + Team
They’re just adorable in that frame! Nice job!
Thanks friend! xoxoxo
These are so cute, and I love being able to just cut and assemble them!
Thanks Lisa, they are so fun to make! 🙂
This is exactly what I need to decorate my office! I might try this project using handpainted watercolor paper… thanks for the inspiration!
Oh that sound so pretty Nikki! Be sure to tag me if you make them, I’d love to see! Have a great week.
Thank you so much for the video. I’m so very new to this and when you said “curl” the edges I wasn’t sure how to do that…and the video helped so much!
Thanks Lynn, so glad it was able to help you! Have fun creating! 🙂
What kind of paper did you use? My card stock has a white edge when you cut it instead of being dyed all the way through 🙁
Hi Aubrey, I think I grabbed whatever Hobby Lobby and Michaels had for colored cardstock. Usually the cardstock I purchase there is dyed all the way through. 🙂
Hi there! Just wanted to say I love this post and just started making a large one to go over my low mantle. it will take awhile…I’ll just do a couple at a time… but I was totally inspired. Thank you so much!
Jenny, that’s so awesome! Please send me a pic when you’re done, I’d love to see how it turns out. Have a great weekend. 🙂