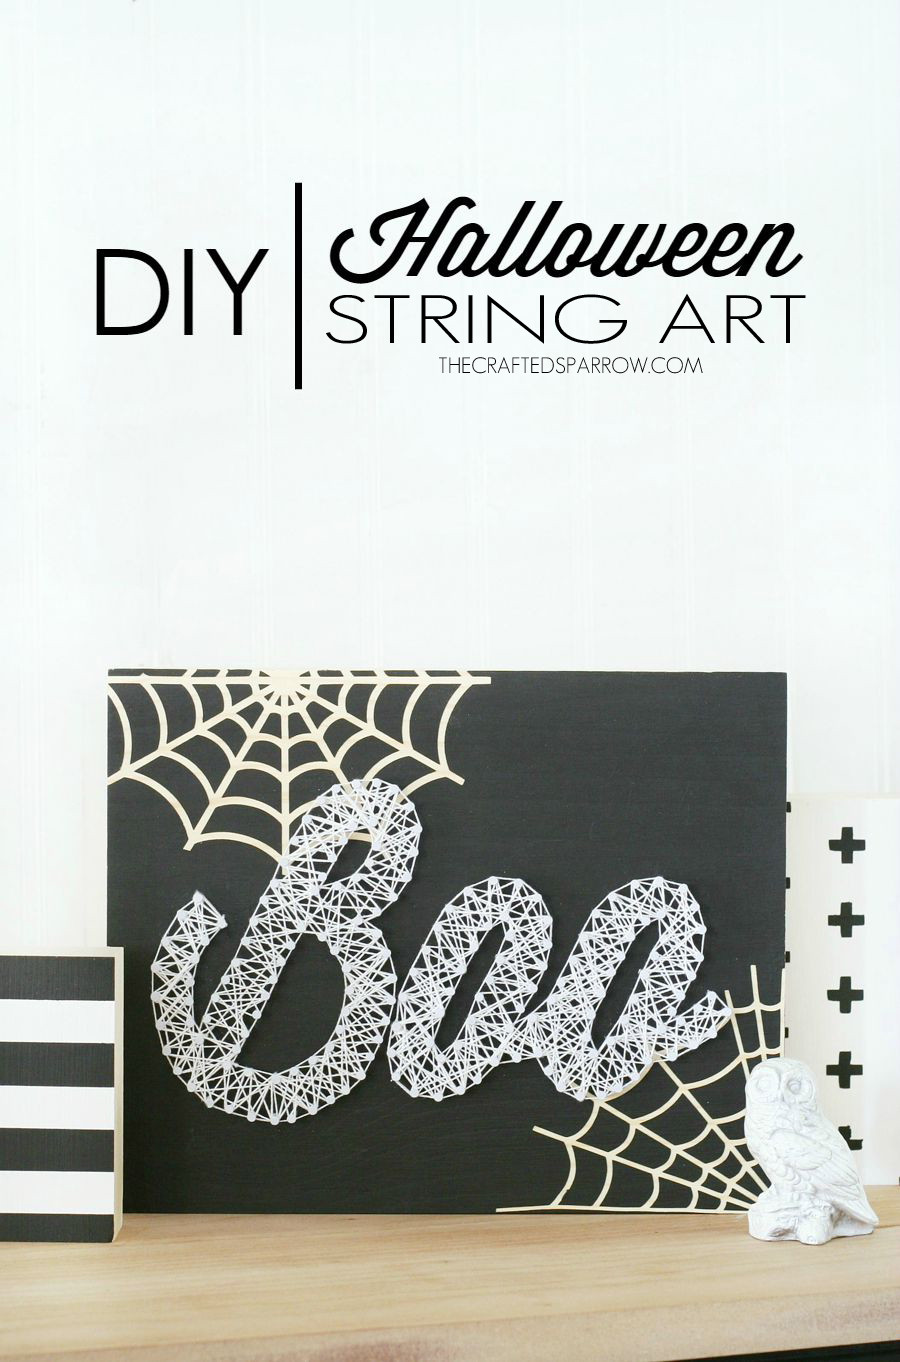
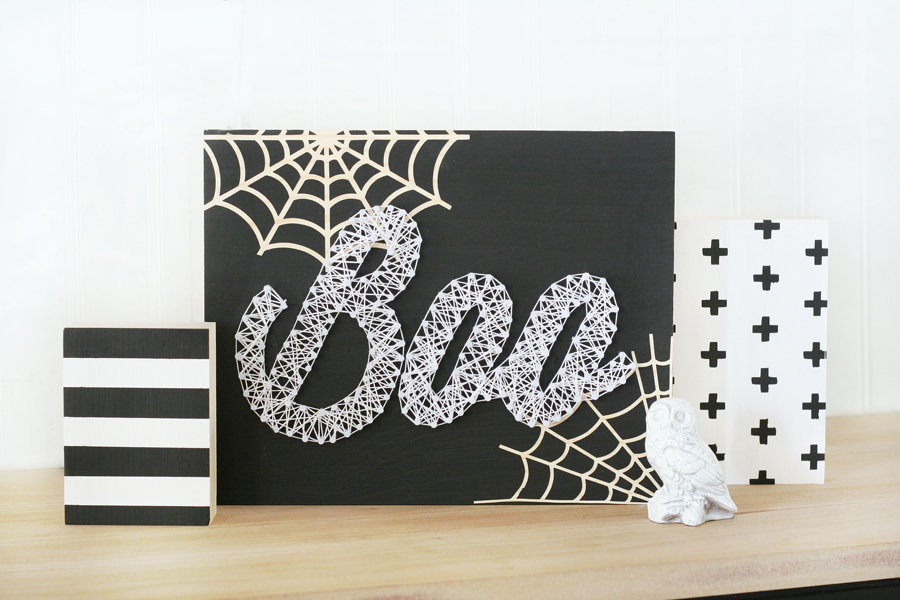
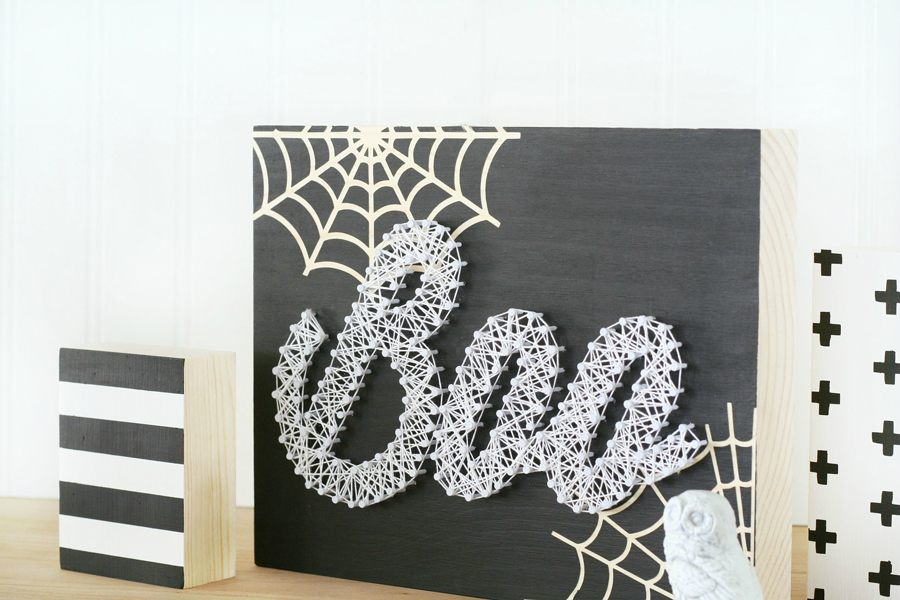
 It’s time for all things Fall, and I know that I’m not alone when I say this time of the year is my very favorite. It seems that most people tend to go crazy for Halloween, I love all the black and white decor in stores. Today I’m sharing the DIY Halloween String Art I made with just a few quick supplies.
Supplies:
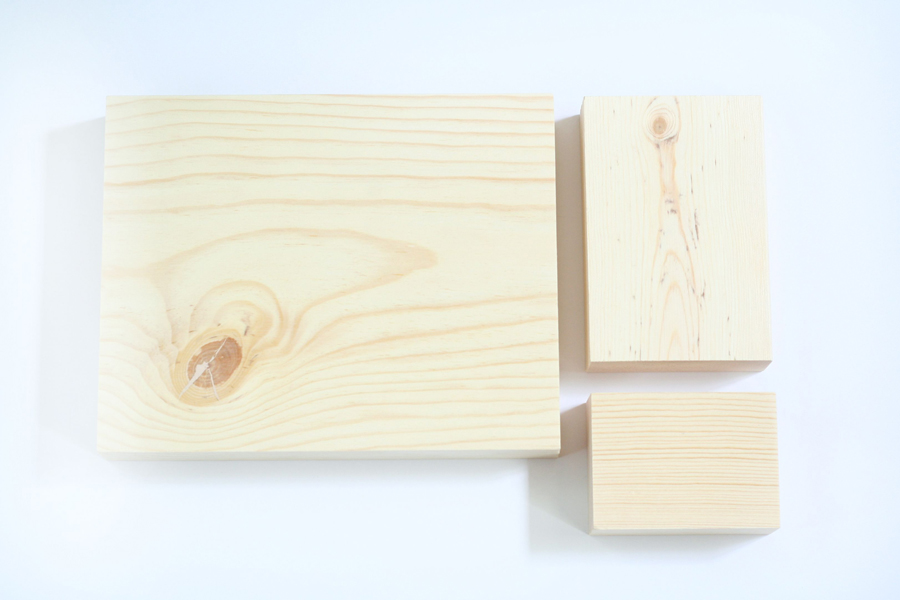
Wood Photo Block, 8 x 10″
Wood Photo Block, 4 x 6″
Wood Photo Block, 3 x 4″
DecoArt black acrylic paint
DecoArt white acrylic paint
DecoArt decoupage matte
Foam brushes
Vinyl spider web stencils
Small nails
Hammer
String
Drill, and a drill bit that is the same size as the nail you use
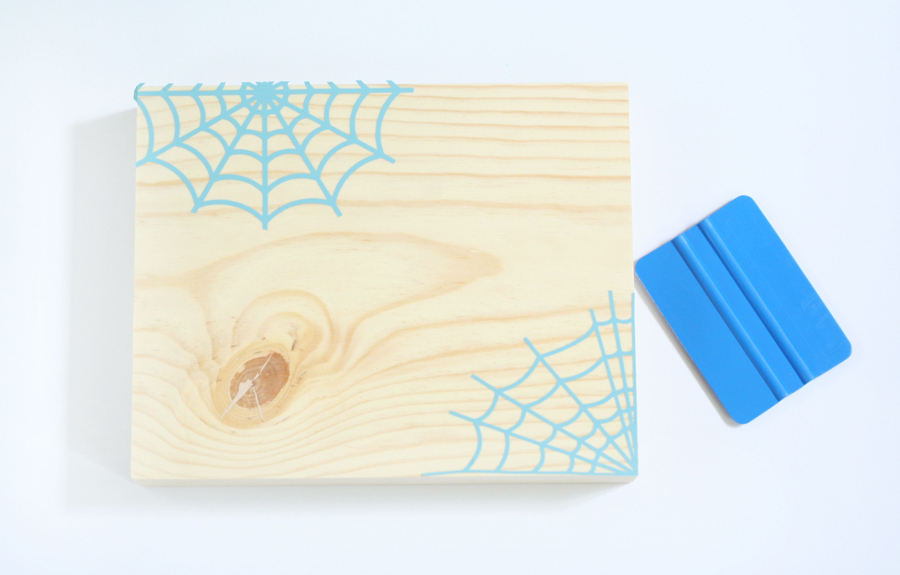
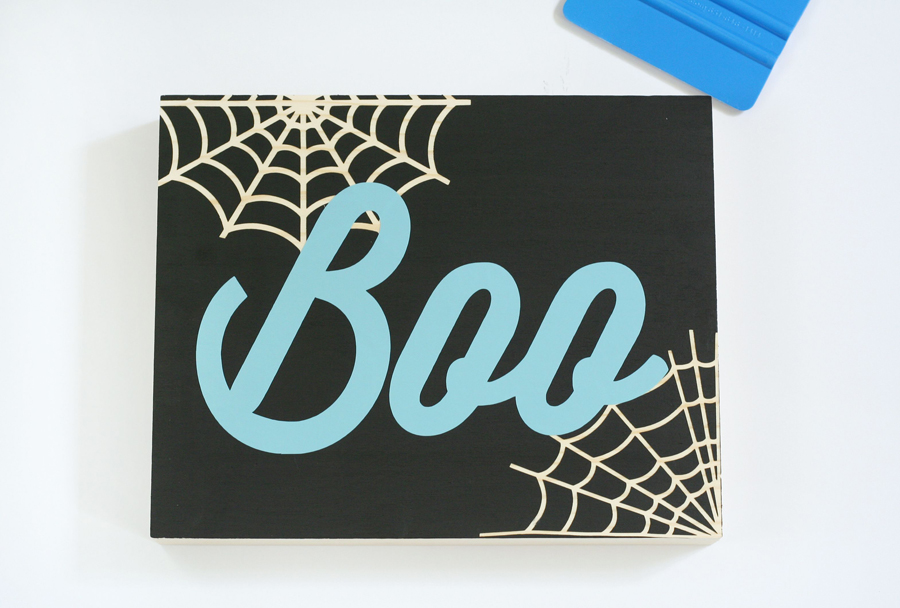
 When I was designing this project I was originally going to just have a painted wood block with the white string art, but then I decided it needed a little something extra. So I thought it would be fun to add a couple spider webs to the back of my sign. I used my Cricut Explore Air cutting machine to cut two vinyl stencils, I weeded them and placed them on my wood block. I love the look of raw wood peeking through so I didn’t paint my board.
Be sure to smooth down your vinyl so you get a crisp paint job.
Brush a light coat of decoupage over the vinyl stencils and let it dry. This will help to create a clean seal and crisp lines when you remove the stencils, it’s my secret trick for perfect signs every time.
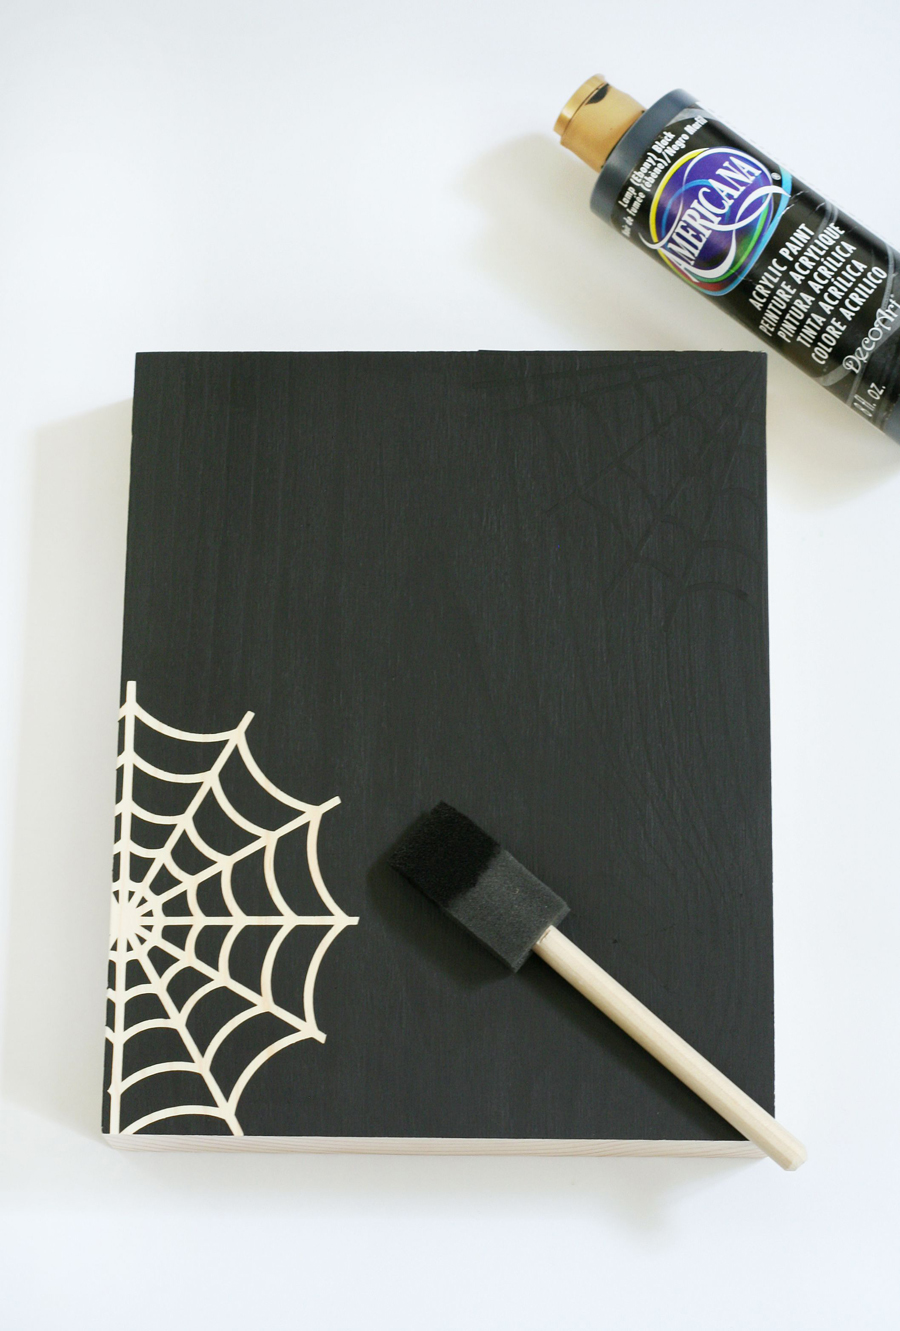
 Paint the entire front side of sign black. I chose to leave the sides and back of my signs raw wood for a couple of reasons: Like I mentioned before I love raw wood, and I wanted to be able to use the back side for another holiday sign in the future. I love double duty projects.
After two coats of black I was able to peel up my vinyl stencil for the webs.
 While I was designing the spider web vinyl stencil, I also designed the lettering stencil I needed for the string art. I used the Wisdom Script font for the word “Boo”.
Apply your vinyl stencil carefully to the center of your wood block, no need to press it down really well. You are only using this as your guide for where to place the nails.
If you don’t want to create a vinyl stencil for this step you can just print out the word and cut it out by hand. Then use it as your template for the next step.
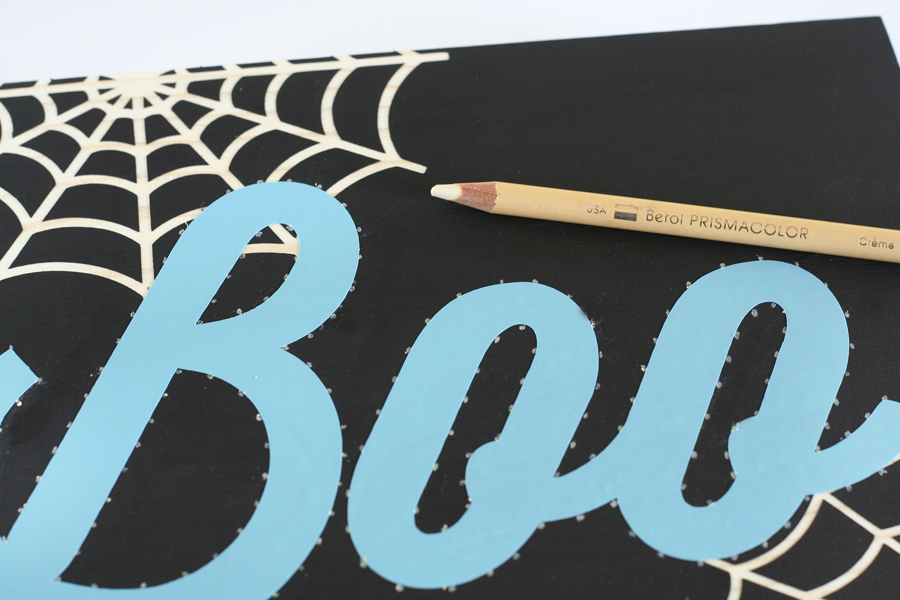
 Using a light colored pencil, I marked out where my nails will be placed.
Once you’ve marked your nail holes you can remove the vinyl.
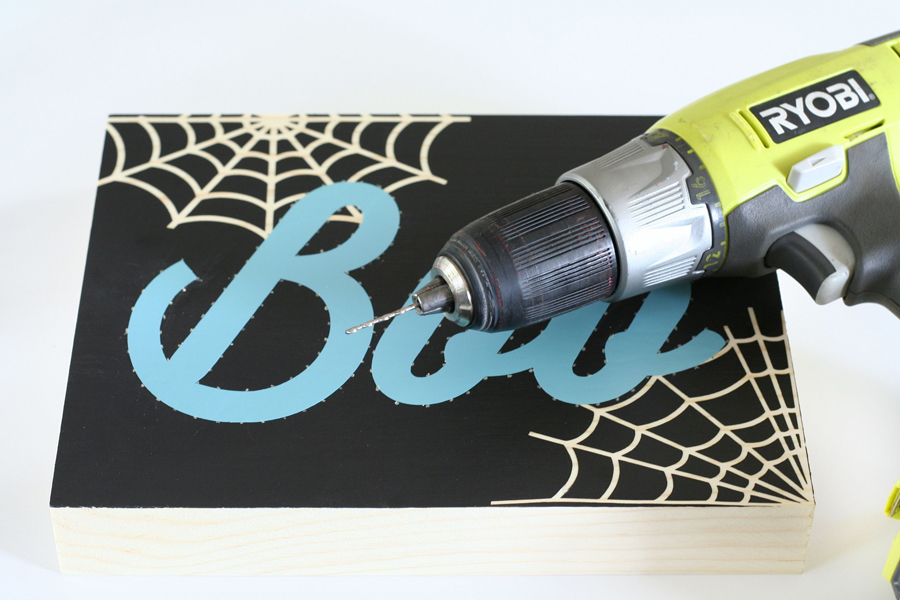
 This step is optional, but it does help to prevent the pine from splitting. Use a drill bit the same size as the nail your using, and pre-drill your holes. Do not go into the wood too far, you need to only drill about 1/8″.
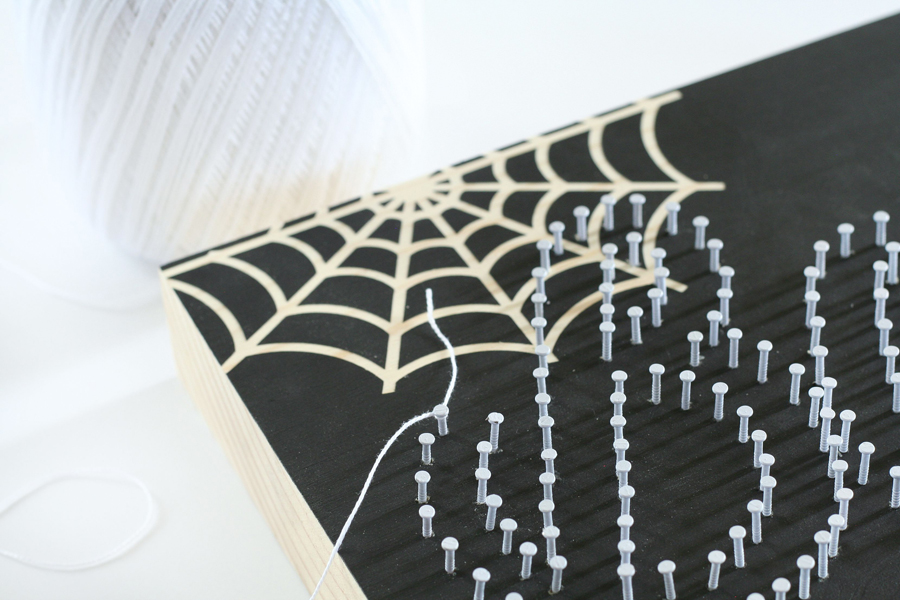
Next you will need to hammer in your nails, being sure they are all close to the same height. I used some small white nails that I had on hand, but I think next time I would use a smaller finishing nail.
 Start by tying a double knot on your string to the nail.
You will go around the outside of each letter first, looping it around each nail head.
Once you’ve done the outside of each letter then you can go crazy and fill in the insides of the letters with your string. Just go until you think it looks finished and then tie your string with a few knots and trim the string.
 I love how this turned out, it’s so fun.
I chose to just do some simple patterns on my other two wood blocks. For the swiss cross block I used another vinyl stencil, I painted the front of my block white first – then applied the stencil and painted the crosses black.
For the striped block, I painted the front of the block white then I used washi tape to create my striped pattern. Then painted it black.
 For even more great Halloween projects be sure to check out these ideas and posts:

Black & White Halloween Wreath
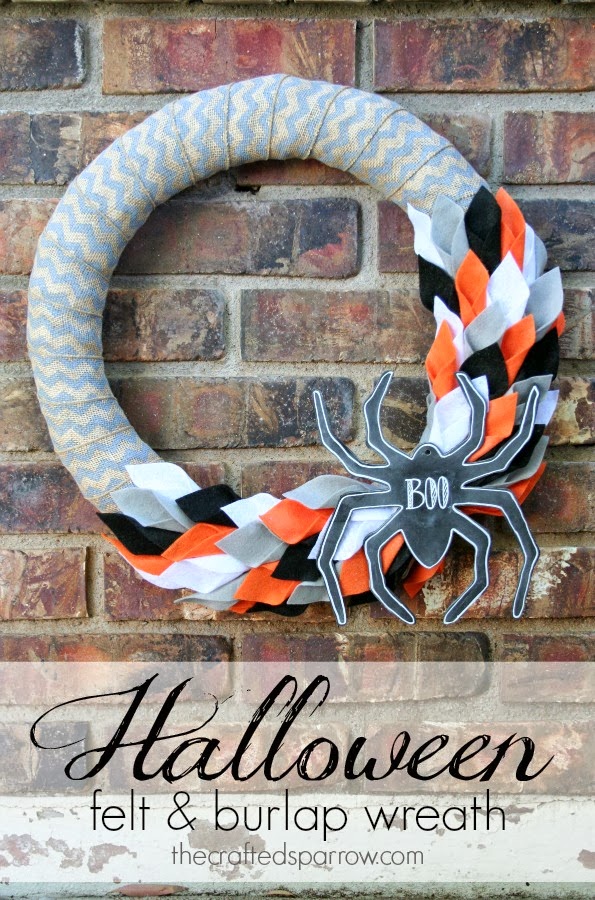
Halloween Felt & Burlap Wreath
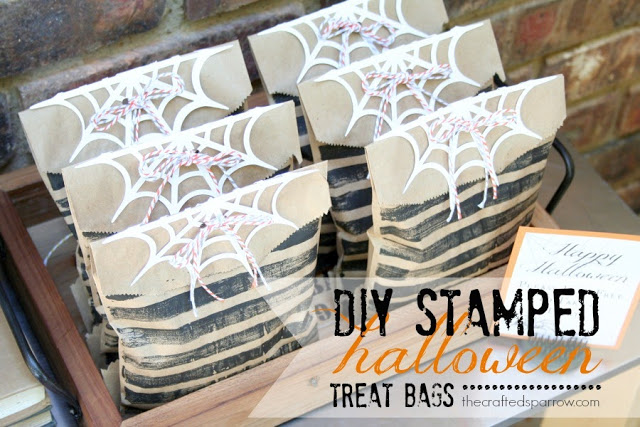
DIY Stamped Halloween Treat Bags
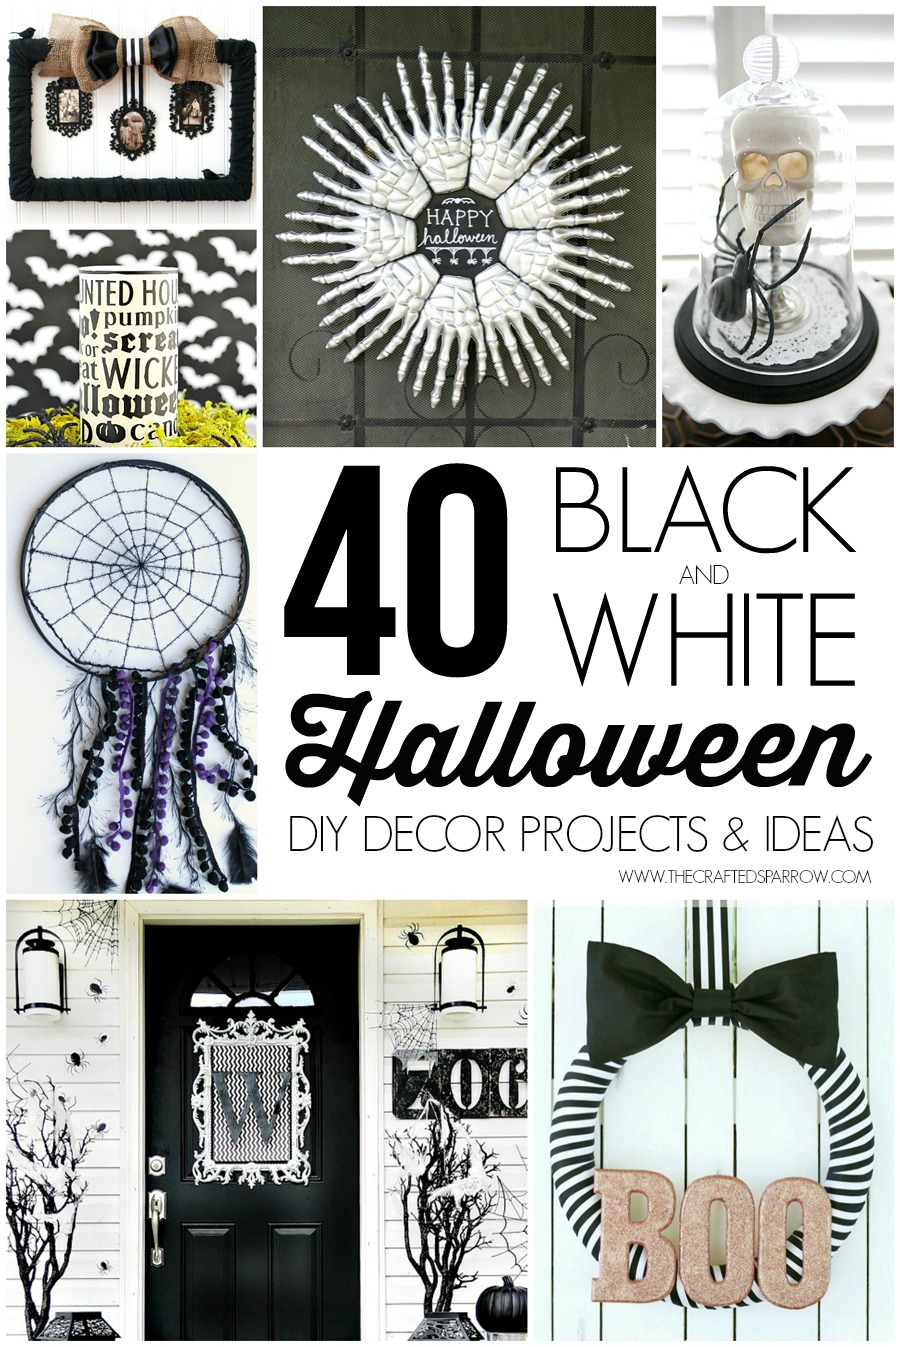
40 Black & White Halloween Decor Projects & Ideas
Disclosure | This post is sponsored by DecoArt and Michaels Craft Stores. All opinions and ideas are 100% my own. Post may contain affiliate links.
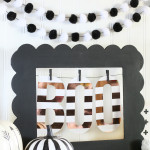

[…] Boo String Art […]