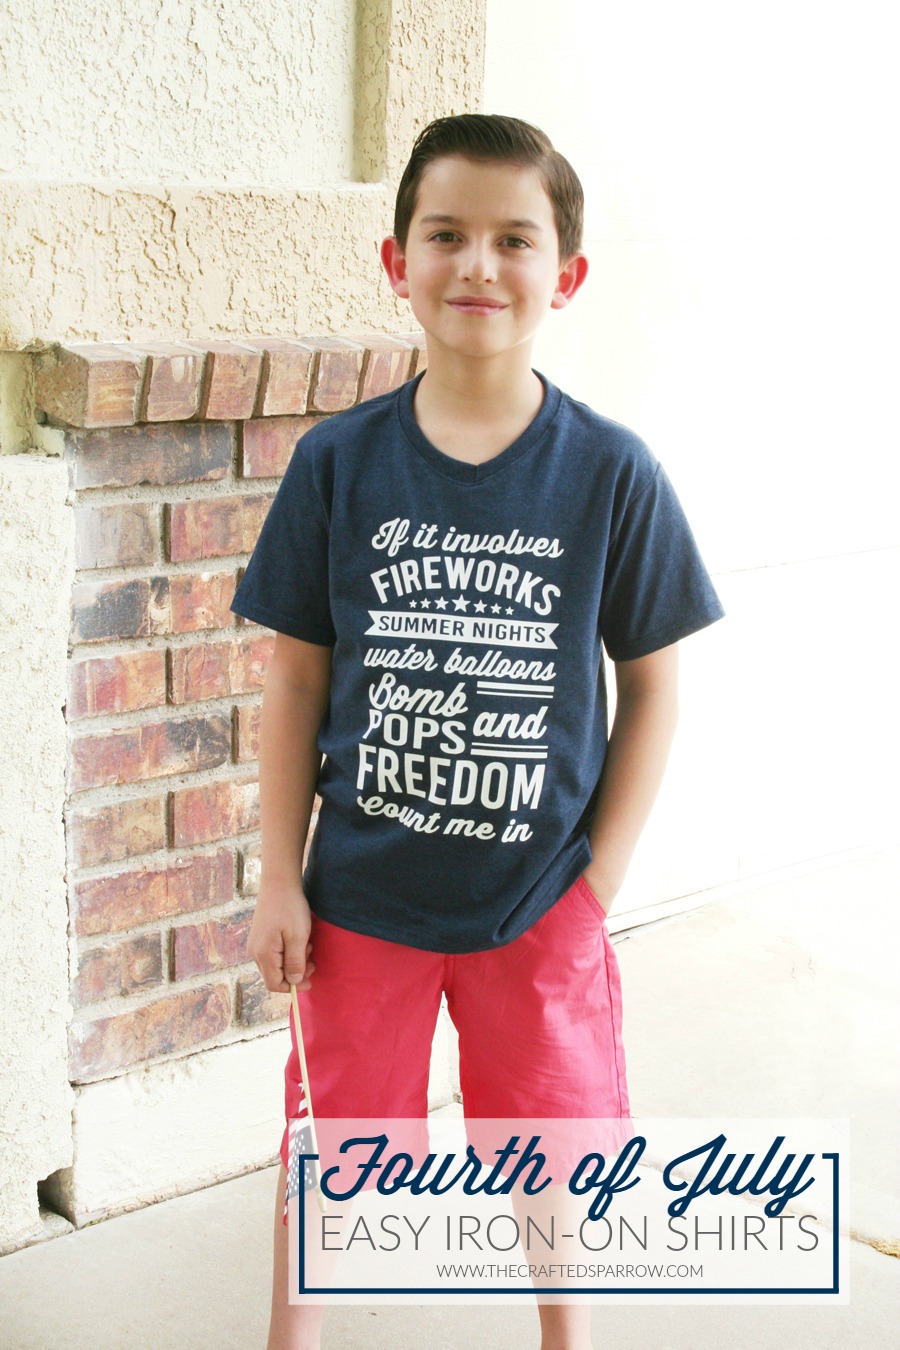
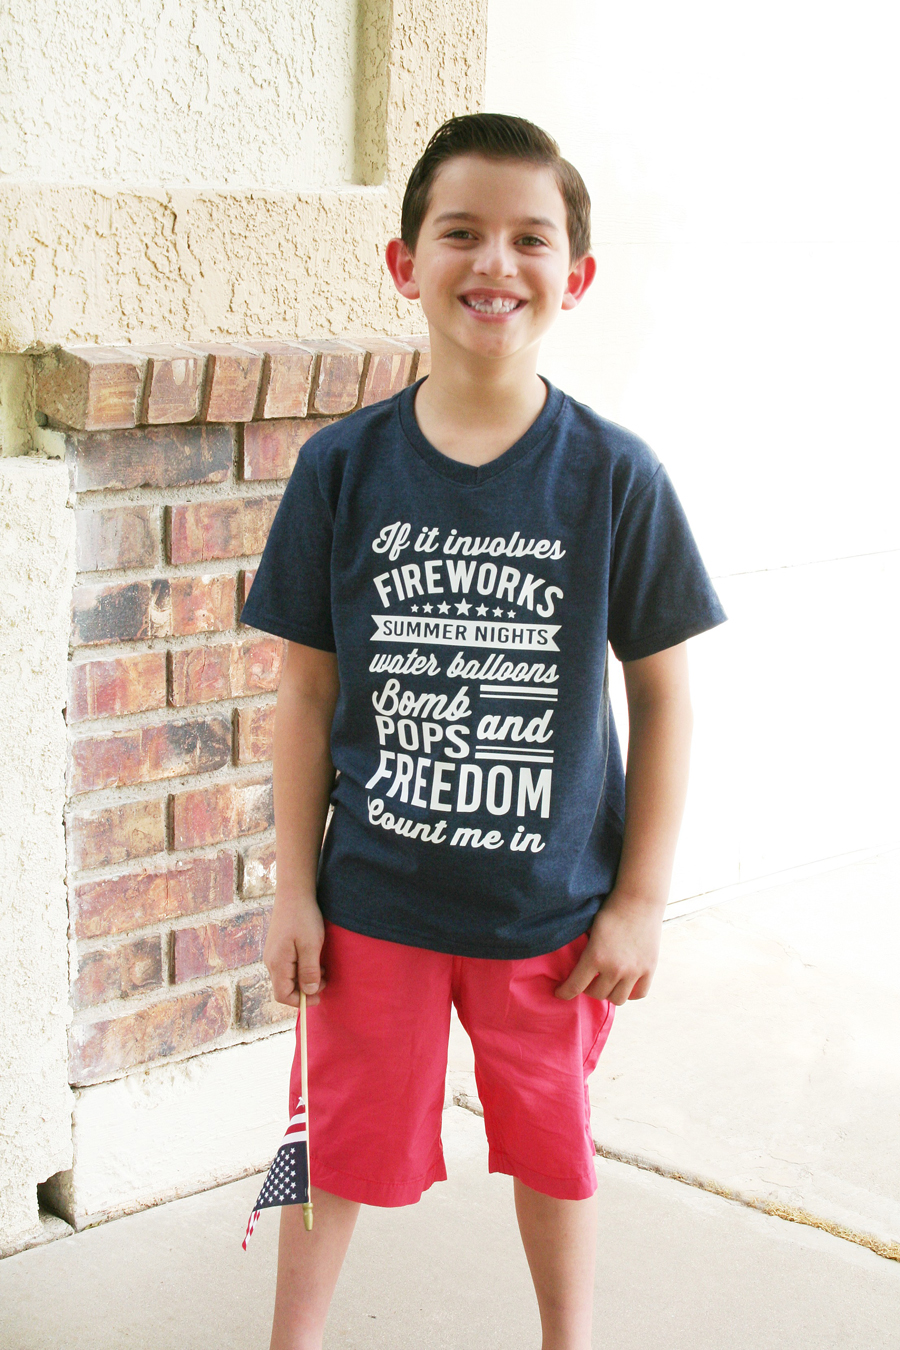
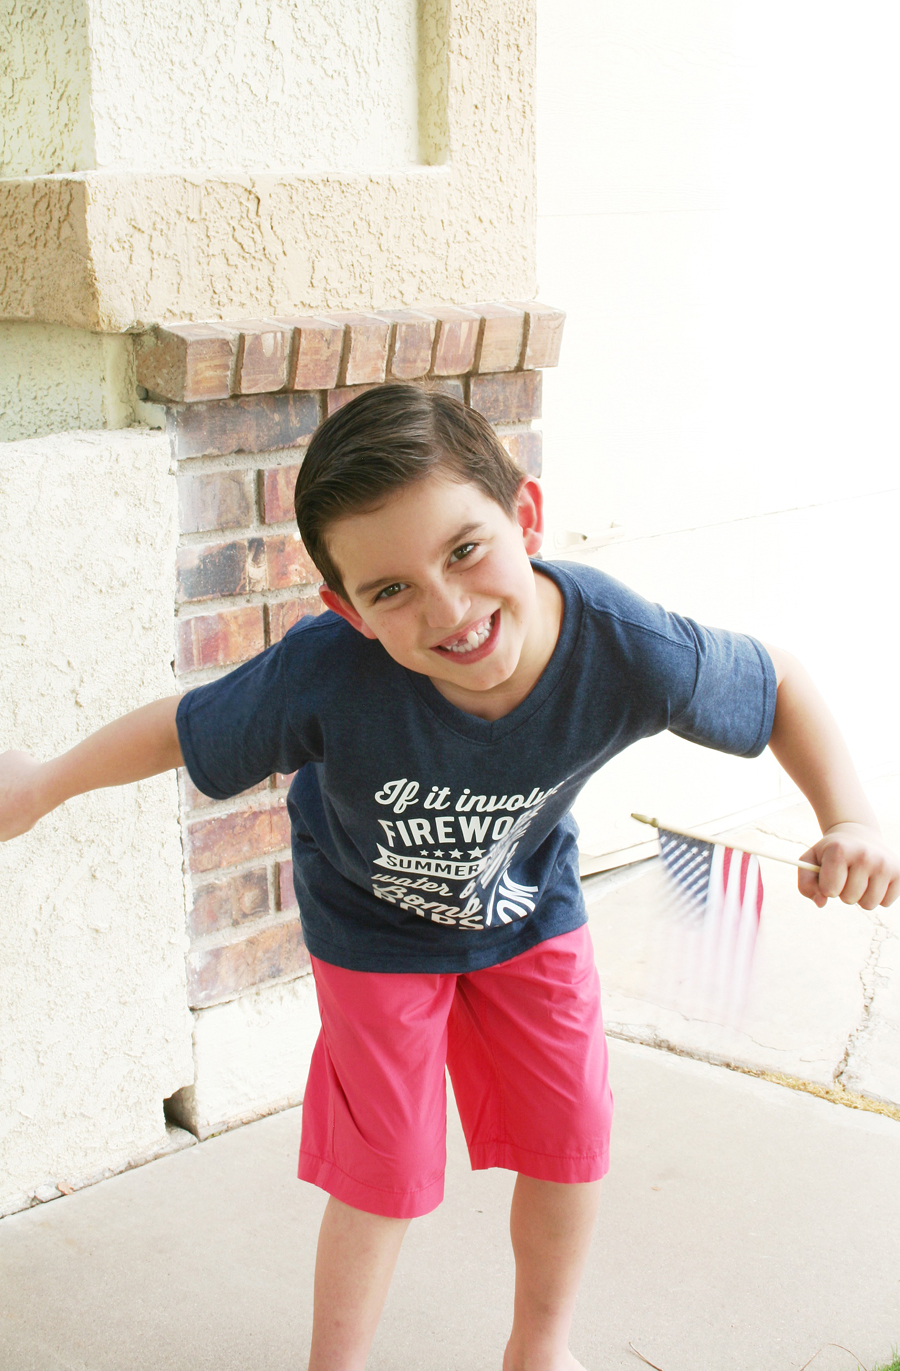
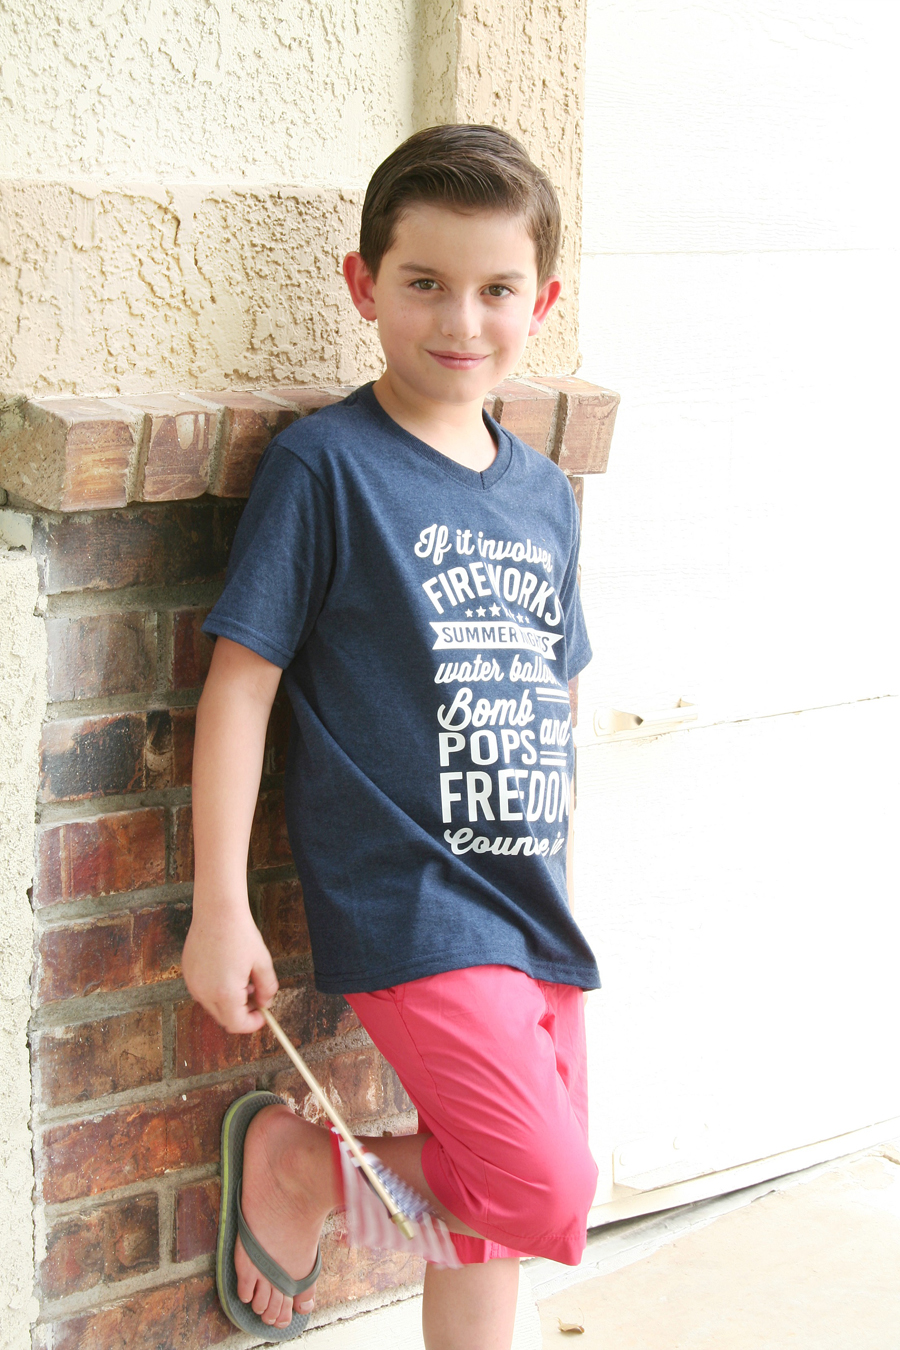
 With Fourth of July just around the corner, I thought it would be fun to create a fun t-shirt for my kiddo’s to wear to celebrate the holiday. By now you know I love making t-shirts. I’ve made themed tee’s for Valentine’s Day, Halloween, Geek Chic, and Hunger Games. I decided to take my popular 4th of July Printables and switch them up a bit to create these fun Easy Fourth of July Shirts. I’m also teaming up with some fun blog friends for a Red, White, and Blue Vinyl Hop so be sure to check out all the creative ways they used vinyl to celebrate the 4th below.
Supplies:
Expressions Heat Transfer Vinyl
T-shirt
Iron
Cricut Explore Cutting Machine, or cutting machine of your choice
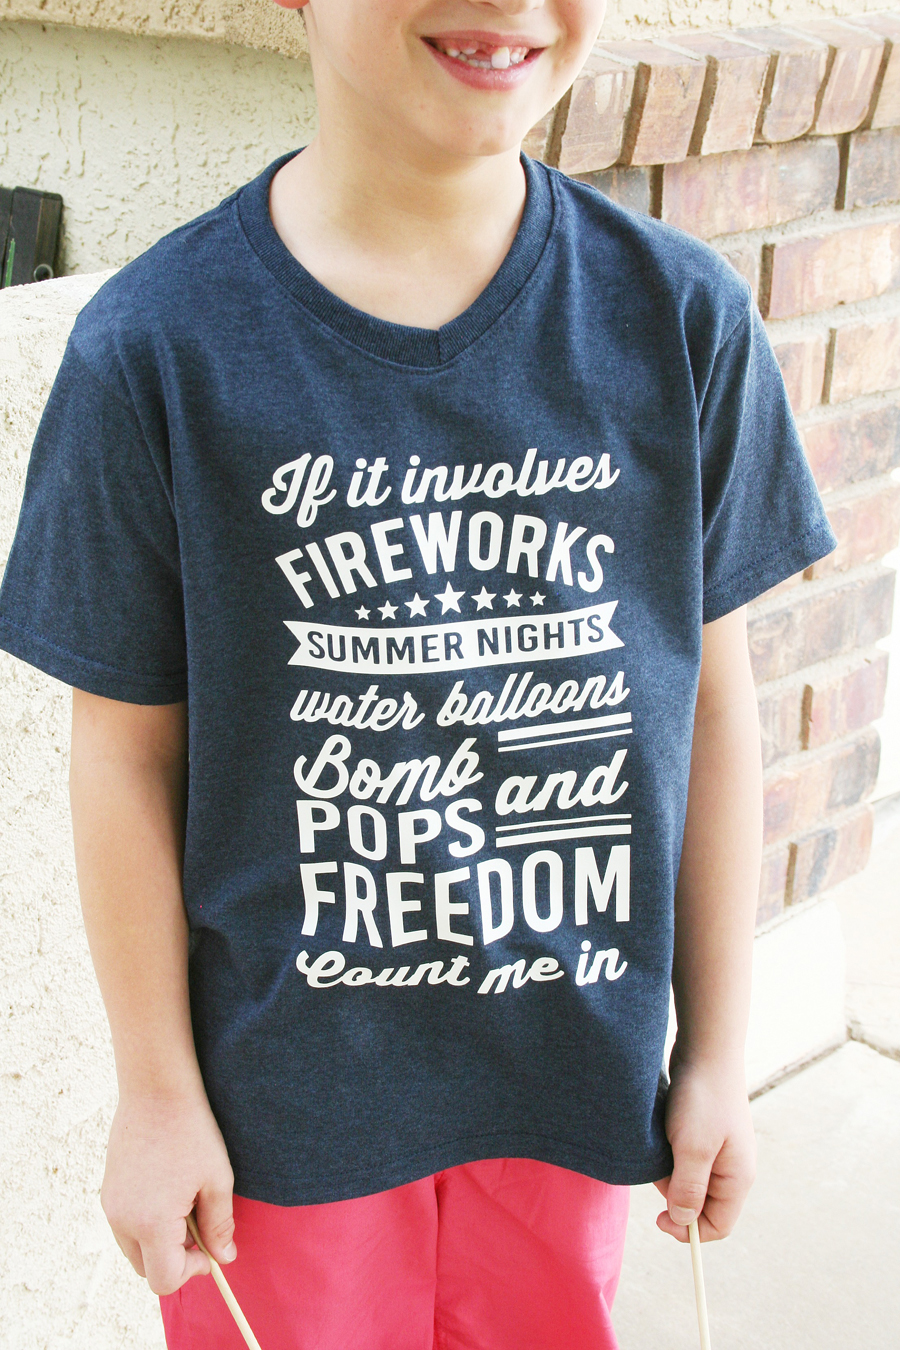
When I first thought about making this shirt I wanted a cute design that I could use to create a quick and easy to make shirt. Like I mentioned I used my popular printable from last year, the printable was based off this 4th of July Sign that I created with the help of my favorite Expressions Vinyl. Since this shirt was going to be geared towards my kids I wanted to slightly switch up the design up a tiny bit, so I switched out a few words.
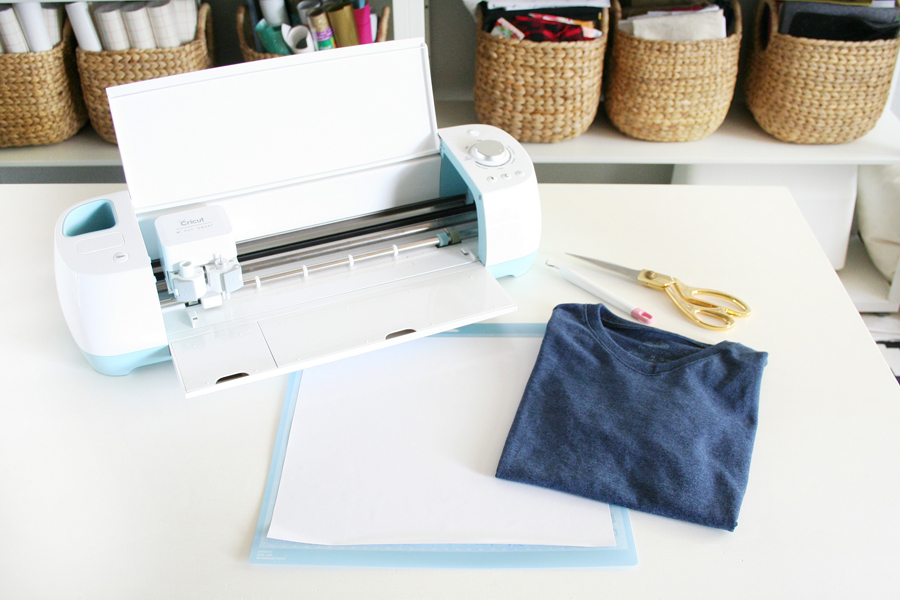 I uploaded my image to Cricut Design Space and created a cut file with it. Click on the button below to get the image to cut your own shirt design.
Note: This design and image is not to be used for resale purposes, it is only for personal use. The image is copyrighted and owned by The Crafted Sparrow.
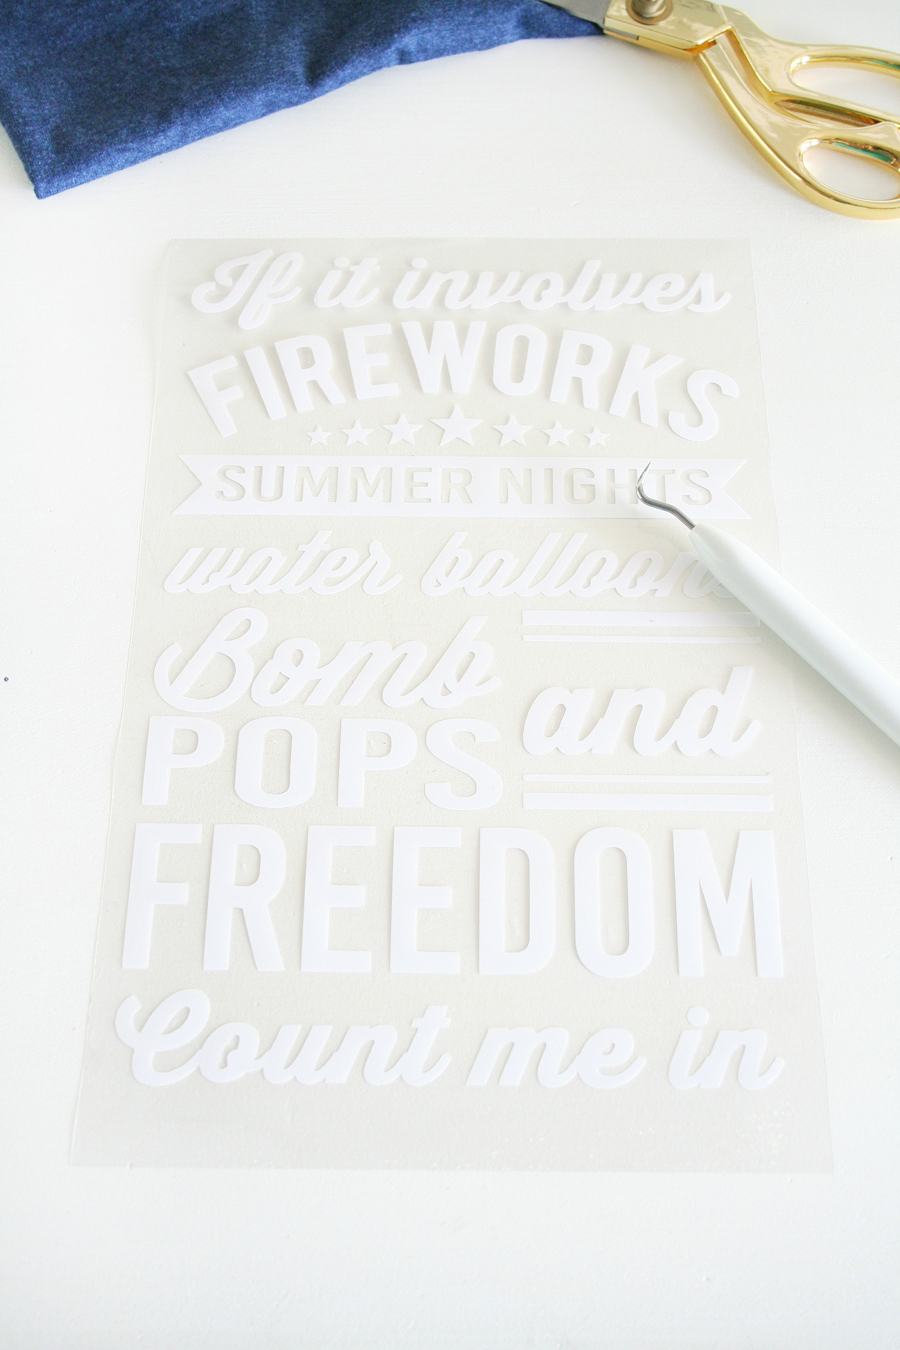
Placing the Heat Transfer Vinyl on the cutting mat shiny side down I cut my image, being sure to check the “mirror image” box to flip it for ironing.
Once the image was cut I just used my weeding tool to weed the vinyl. I seriously love Expressions Vinyl, all their product is amazing and I never have issues with it. The Heat Transfer Vinyl is one of my faves, so easy to weed and it holds so well.
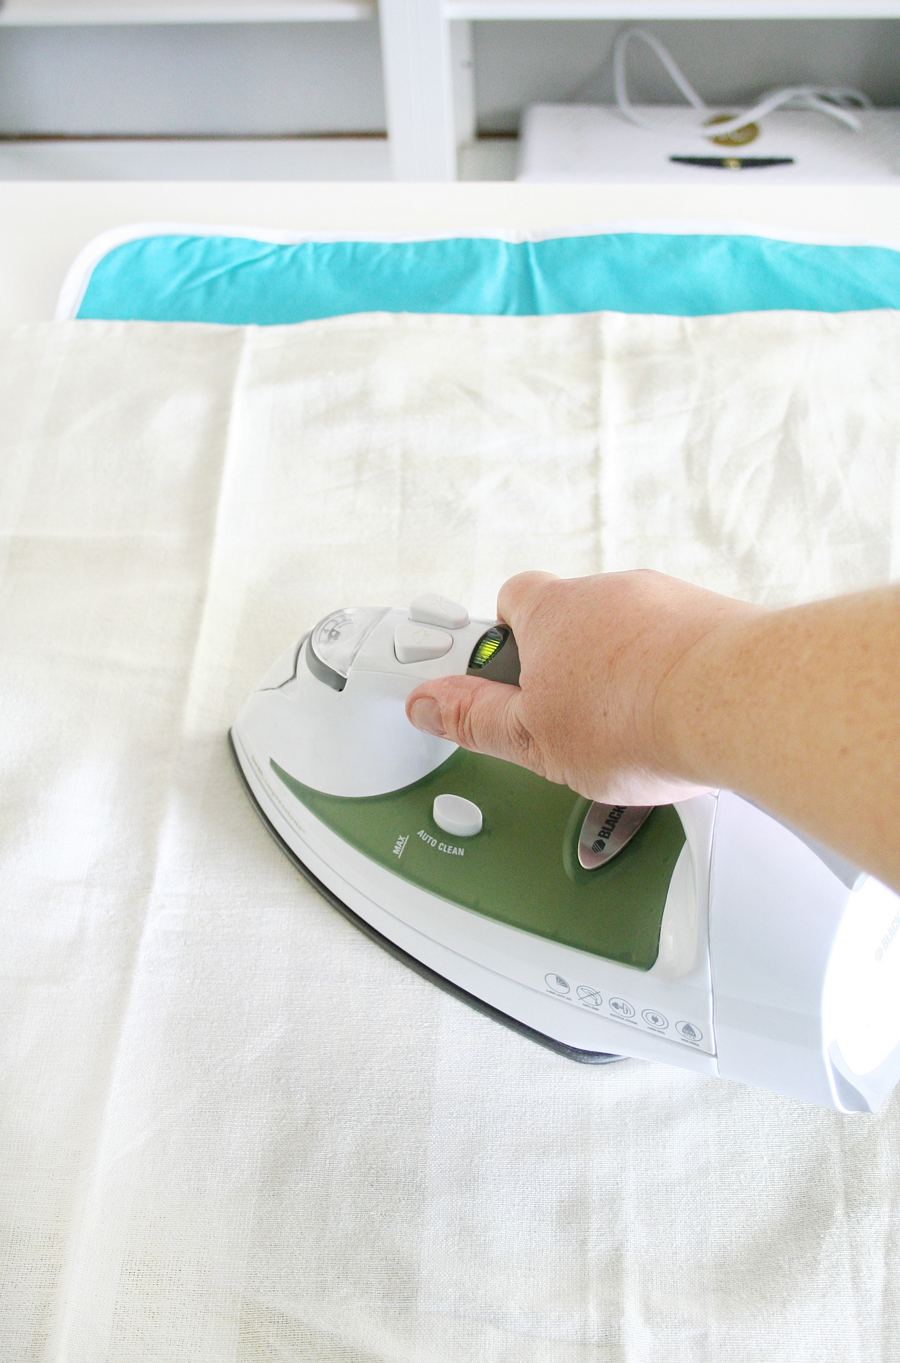
 While you’re cutting your vinyl you can turn your iron on, you should have it set to a non-steam setting. I usually just make sure there is no water in my iron and turn it to the highest setting.
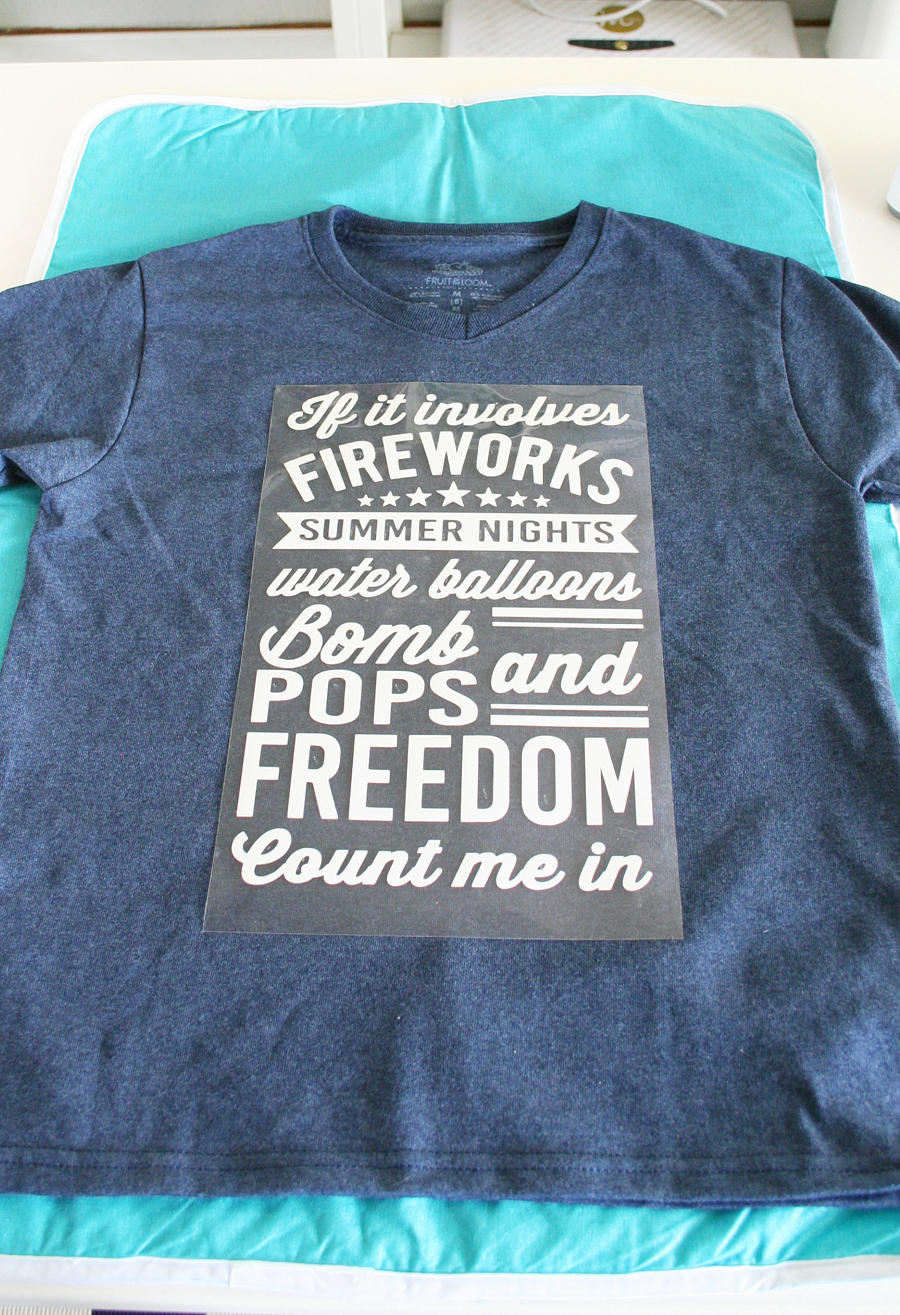
Pre-heat your shirt surface for 2-3 seconds prior to laying down your vinyl. Once the vinyl is in place cover with a thin towel or cloth, then press iron firmly over the surface of the vinyl in 10-15 increments on each section. I typically go over my vinyl several times. Let it cool, and then just peel one corner of the clear protector up to see if the vinyl has adhered properly. If not, then go over it again for a few more seconds.
Once the whole design is cool remove the clear protective paper. That’s it.
 This shirt is totally machine washable, I just like to flip them inside out to protect the vinyl.
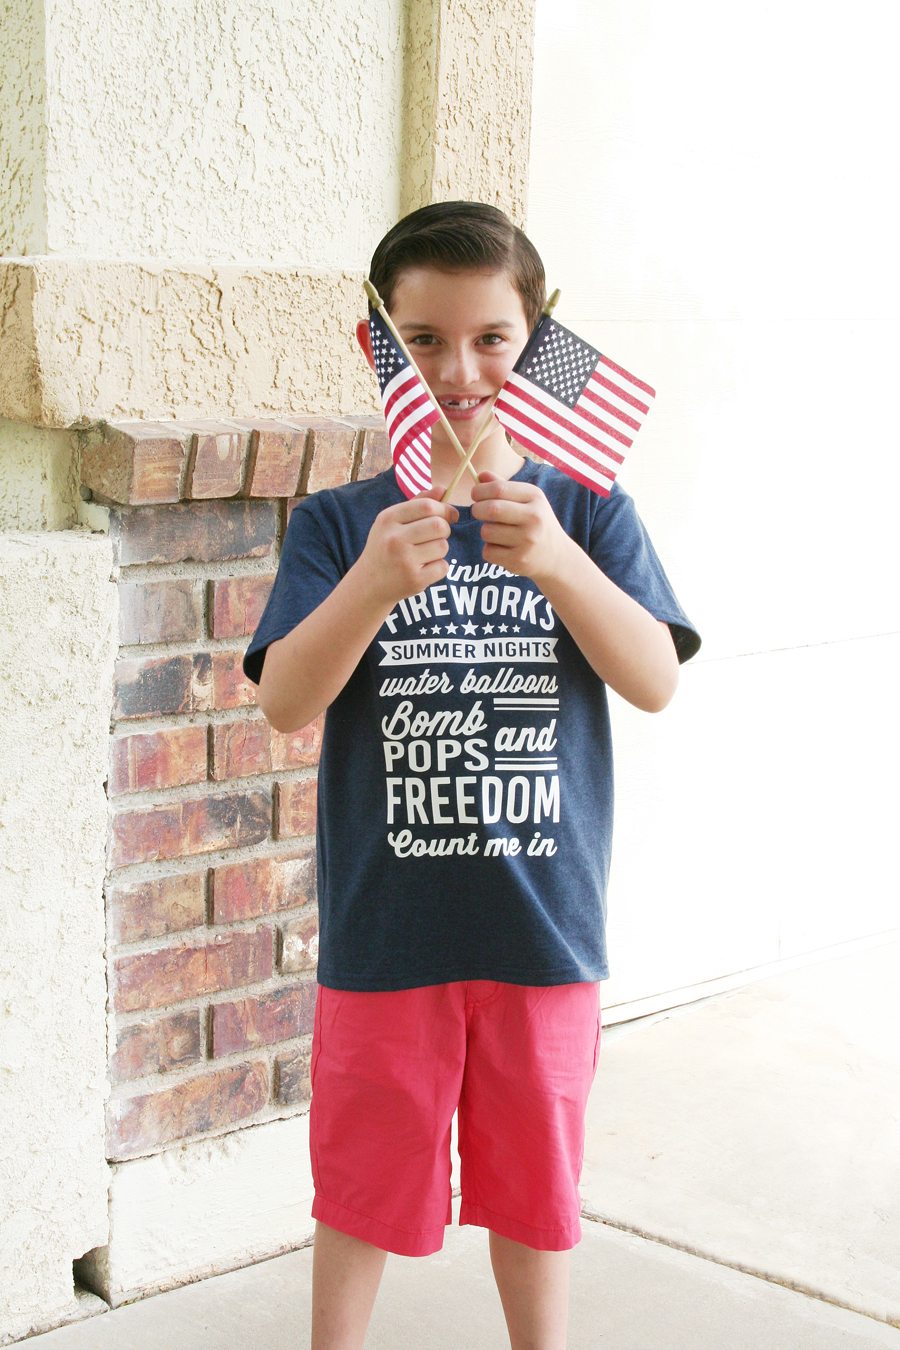
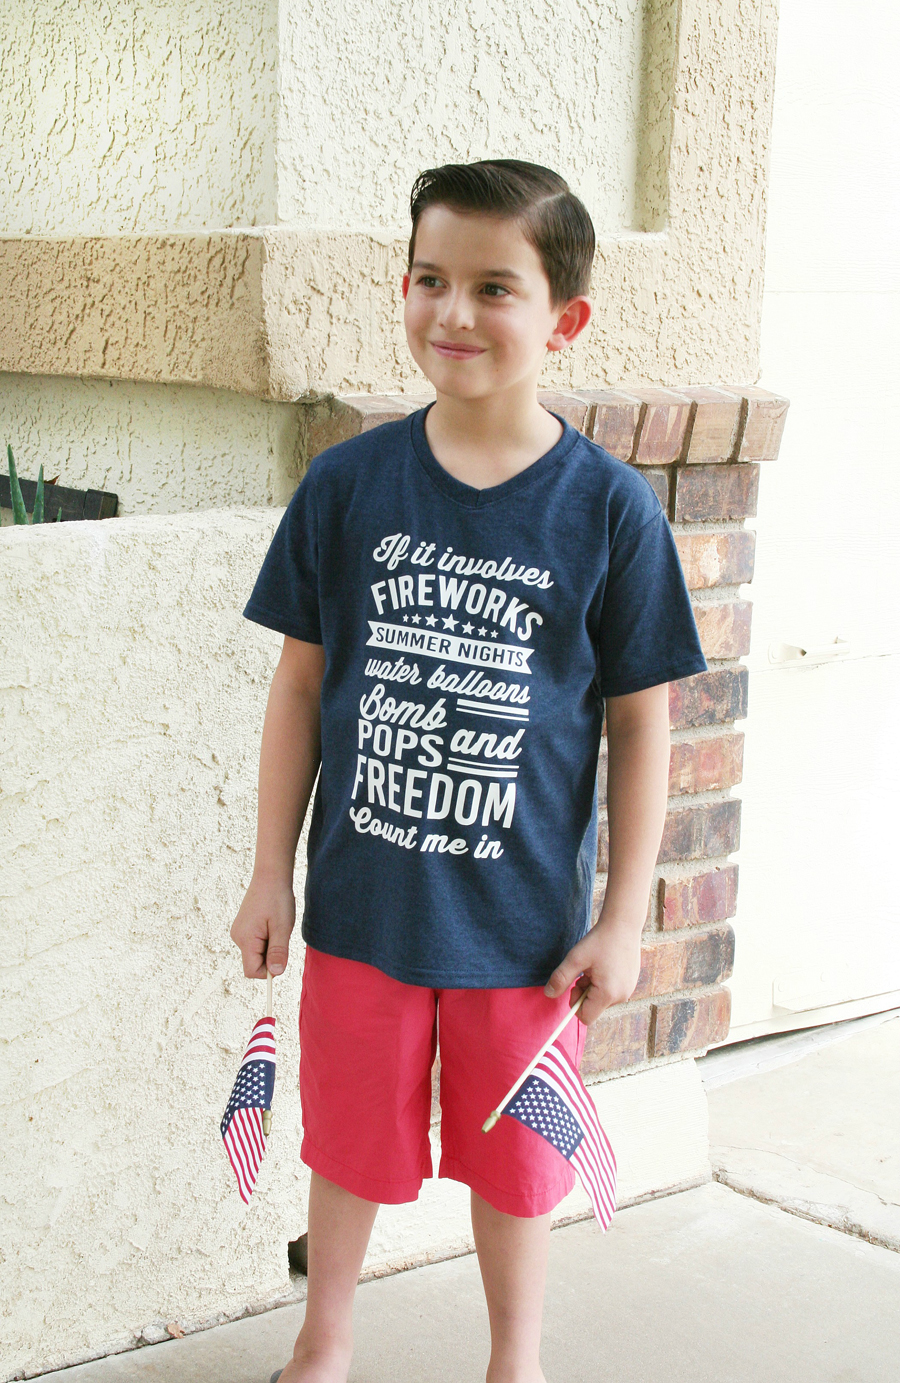
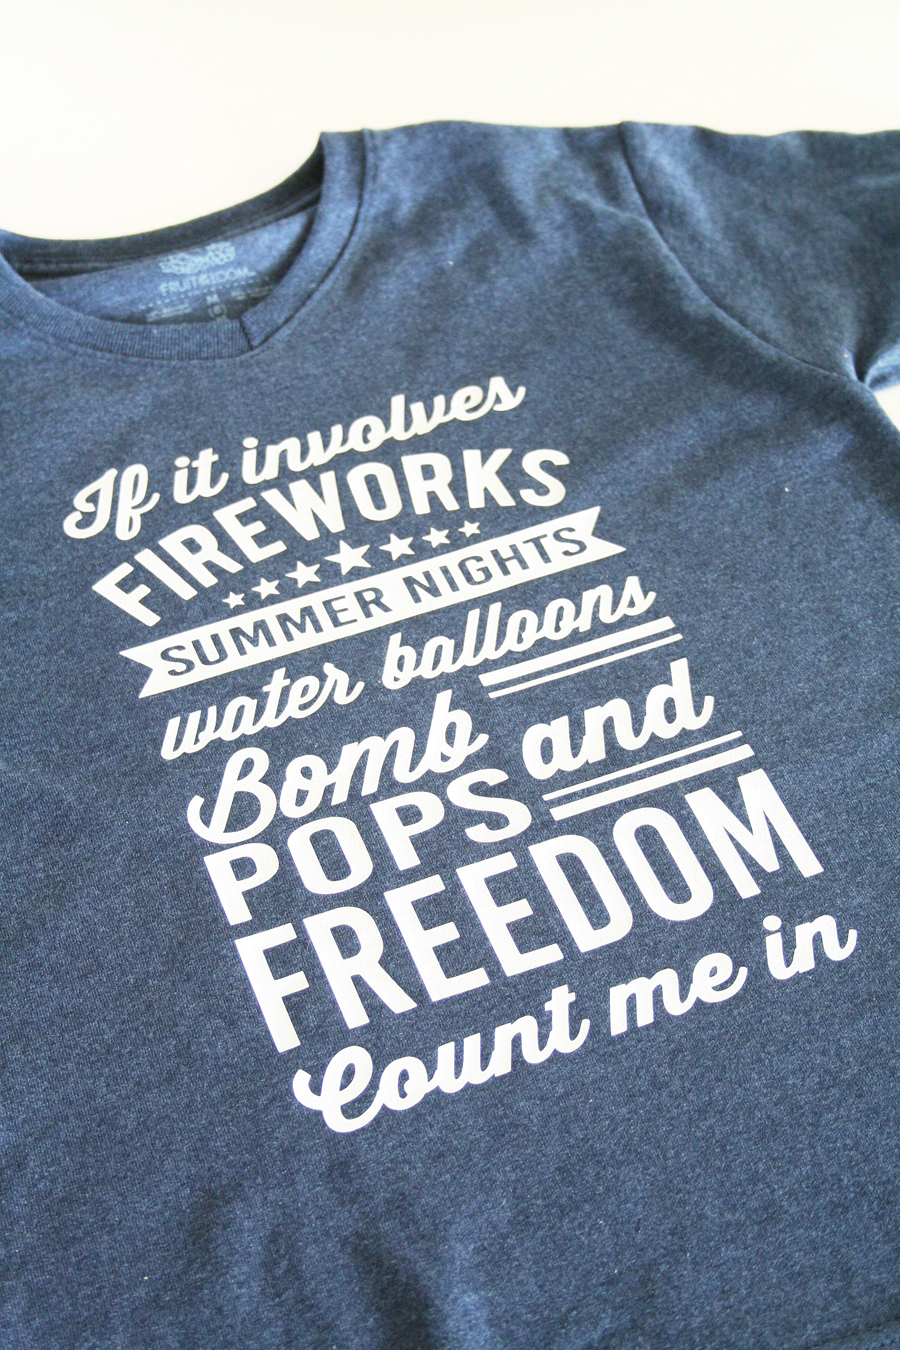 I love how cute this shirt turned out, and my favorite part is how easy it was to make. You could totally knock this project out in under 20 minutes!
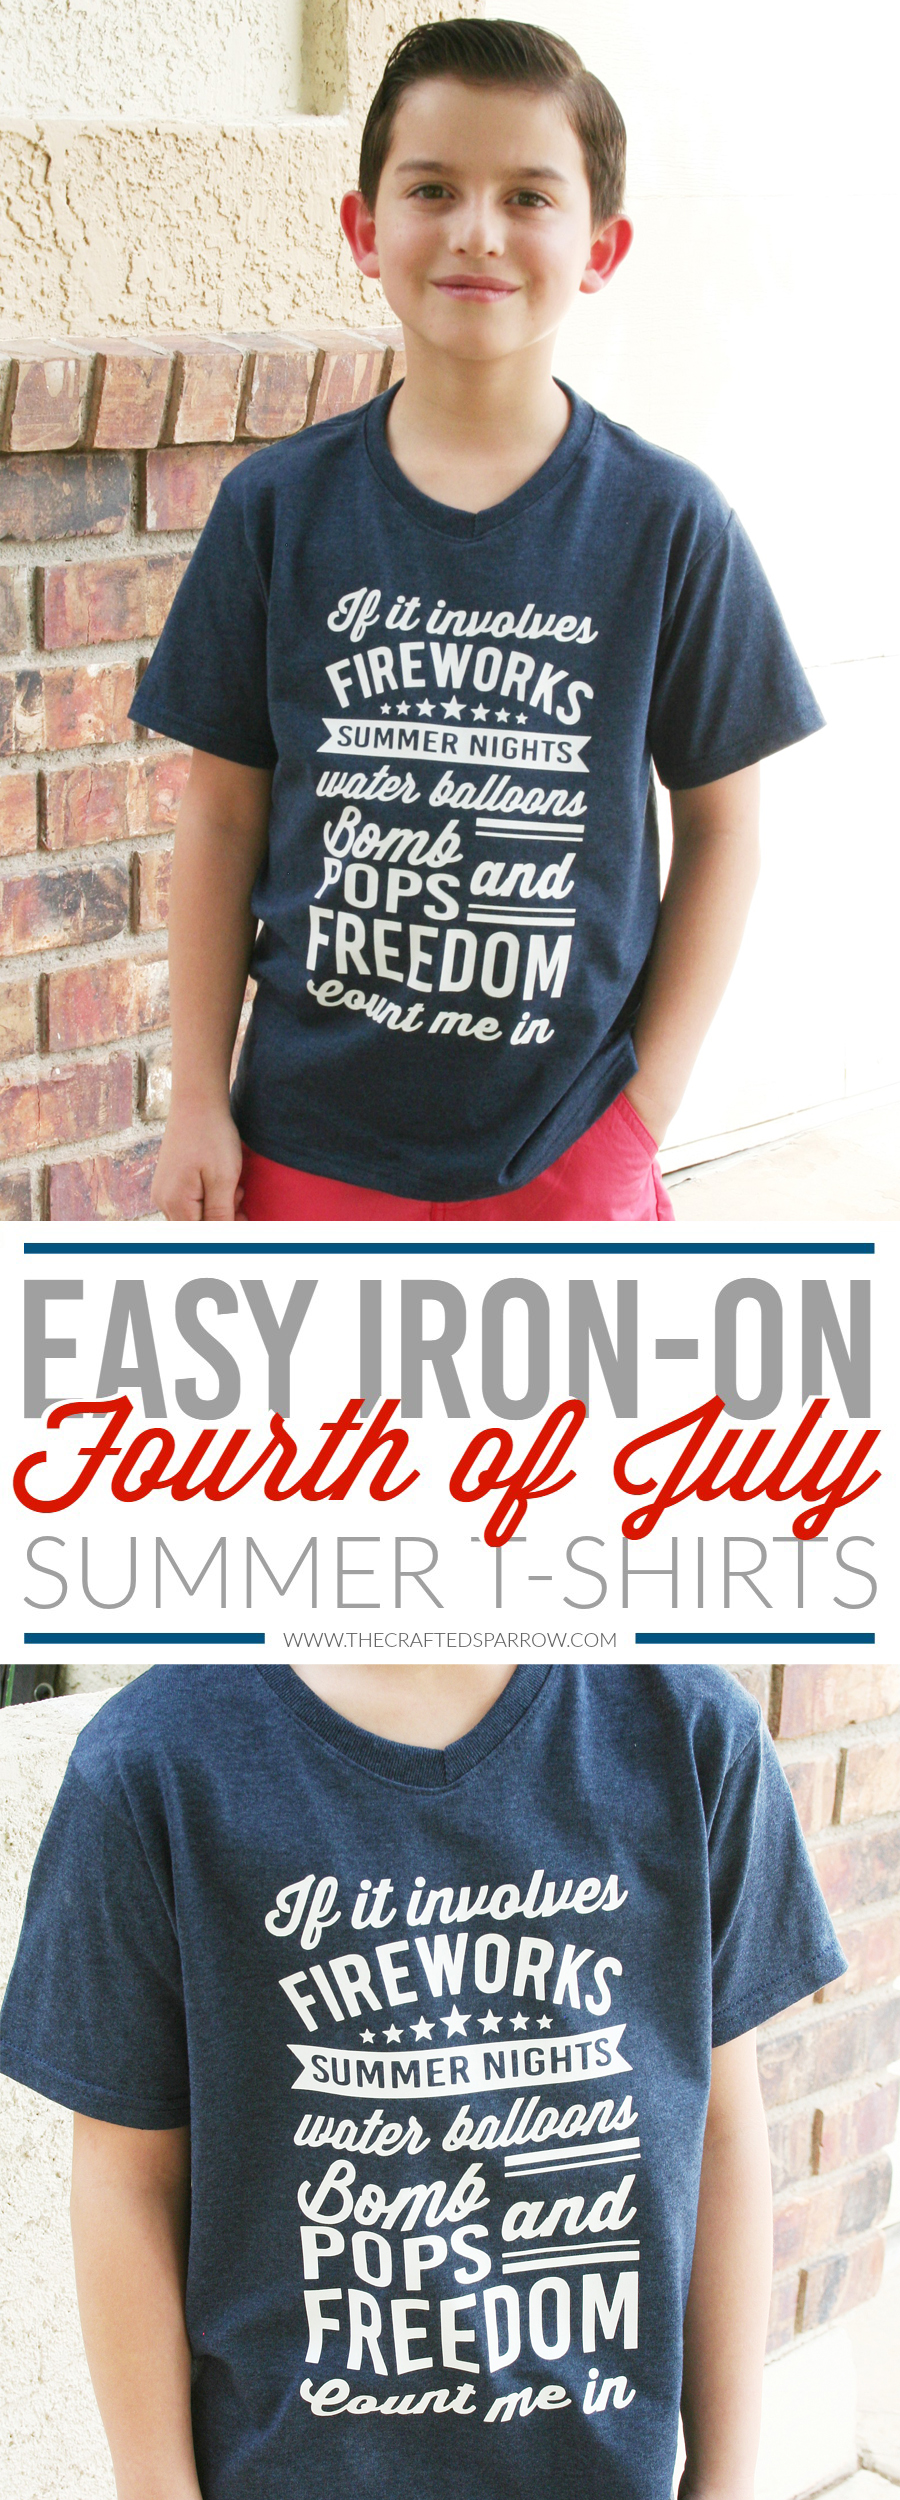 Now, be sure to check out all the other amazing Red, White, and Blue ideas my friends came up with using Expressions Vinyl then enter to win a $100 Gift Card to Expressions Vinyl below.
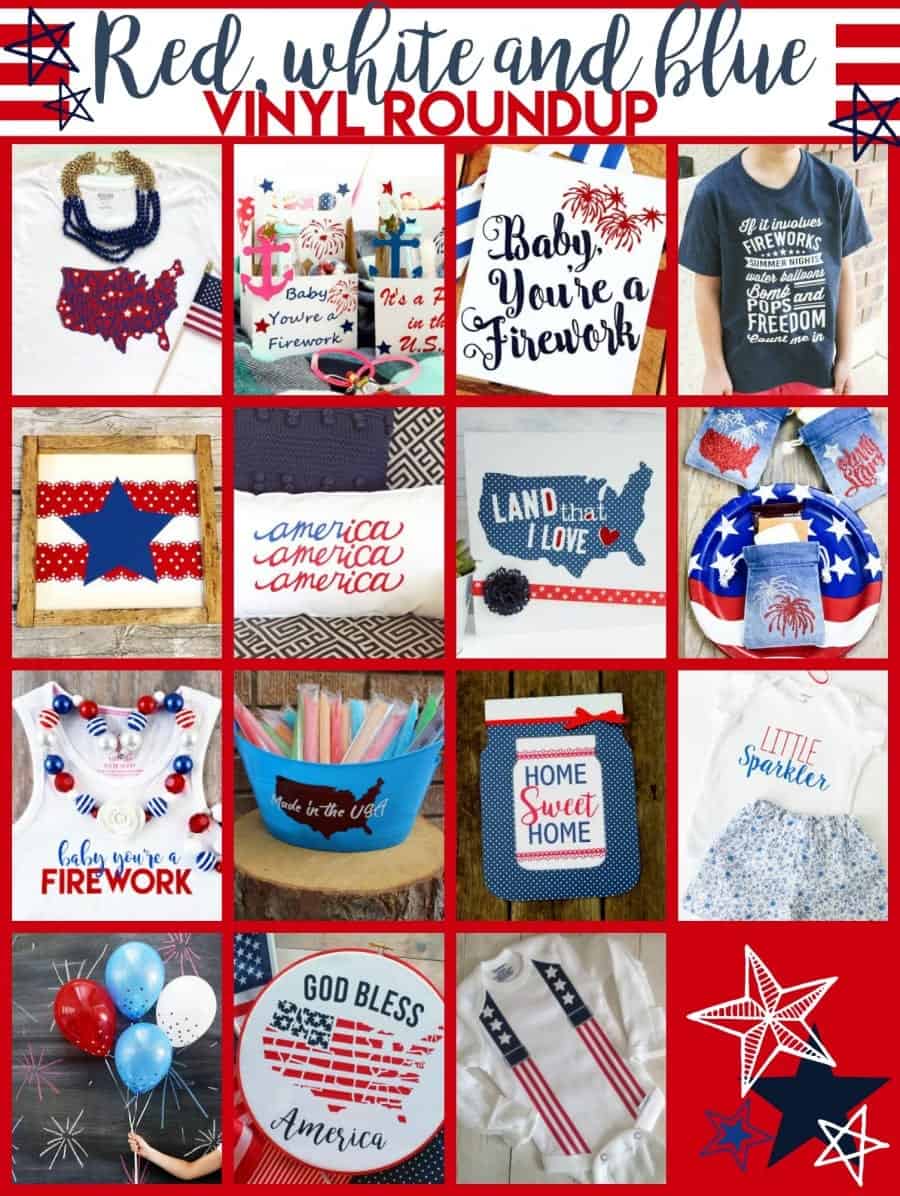
- Patriotic shirt | Pitter and Glink
- Treat boxes | A Kailo Chic Life
- Wall Art | Sweet Rose Studio
- Easy 4th of July Shirt | Crafted Sparrow
- Star Vinyl Sign | Crafting in the Rain
- America Pillow | Kiki & Company
- Land That I love | 733 blog
- 4th of July Smores Kit | A Pumpkin and a Princess
- Firework Tank | Artsy Fartsy Mama
- Festive Popsicle bucket | Doodlecraft
- Polka Dot Mason Jar | MM Scrap Shoppe
- Little Sparkler Shirt | Made to be a Momma
- Star Confetti Balloons | Sugar Bee Crafts
- Embroidery Hoop America from A Girl and a Glue Gun
- Suspender Onesie | Silhouette School
DISCLOSURE | Product for this post was provided by Expression Vinyl, all ideas and opinions are my own. This post may contain affiliate links.






I love this. I have the cricut explore air and I’m trying to put the file in and it’s only giving me the option for a print than cut. I would love to do it as a shirt for my boys like you have. Any help would be greatly appreciate. You can email me at [email protected] if you can just send me the cricut file. THANKS!
Hi Jenn,
So sorry you’re having trouble. Unfortunately, I can’t send a Cricut cut file since it’s not a Cricut exclusive image. If you are choosing the “Upload Image” you can pull the jpg file up, then using the magic wand tool select all the negative space you want removed for cutting (all the white portions). Then hit next and it should ask if you want to save it as a “print file” or a “cut file”, you will want to choose “cut file”. Then hit upload into your canvas. If you are still having issues be sure to check the small circle next to the layer on the layers tab, if it’s showing scissors in the small circle you’re good to cut. If it’s showing a printer just click on that circle and switch it to cut instead of printing. I’ve not had issues with readers not being able to use these files before, so if you continue to have issues you may have to call Cricut support. They are awesome.
Thanks girl. 🙂
Love your t-shirt design! You’ve inspired me to make some shirts for the 4th!
Thank you Heidi! Be sure to tag me on social media if you make some! I’d love to see, @craftedsparrow! 🙂
What a fun idea! We make a family shirt each Fourth of July – I have toddlers and teenagers and am looking for an idea that will please them all – this will definitely be my project this year :). Thanks for the inspiration
Oh fun! So glad you found something that you can use! Be sure to tag me on social media if you post a pic, I’d love to see! xoxoxo