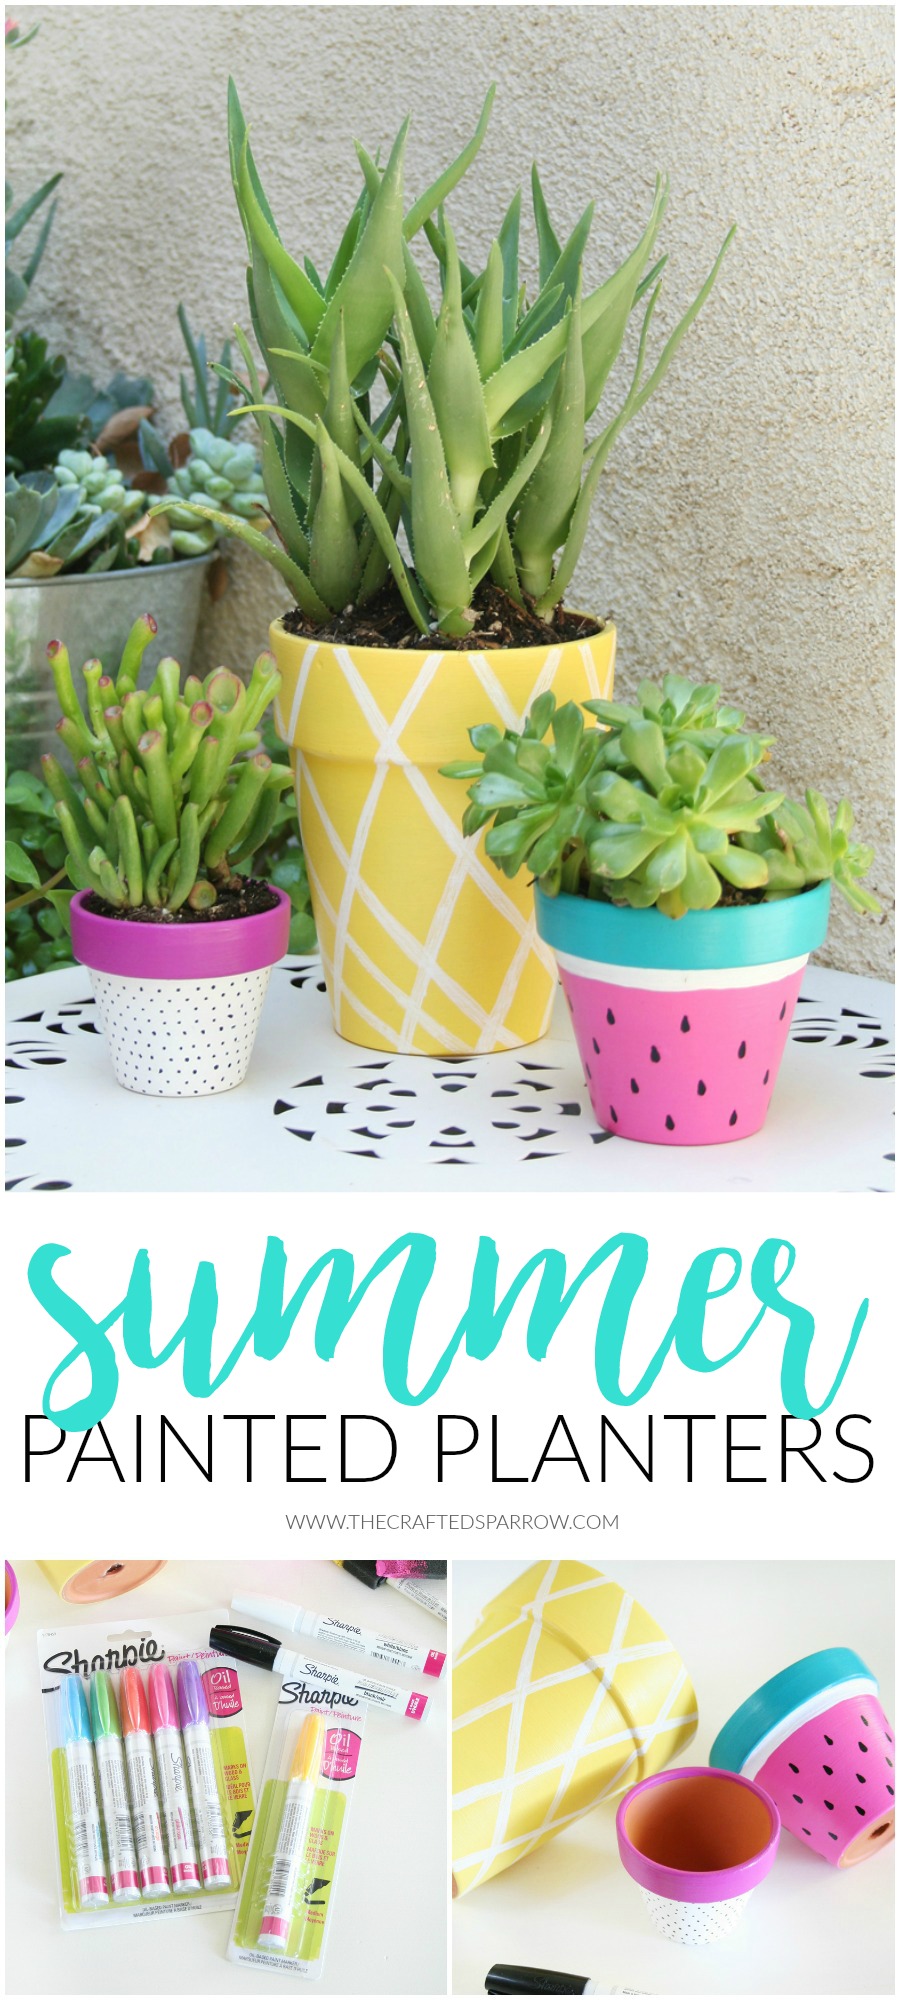
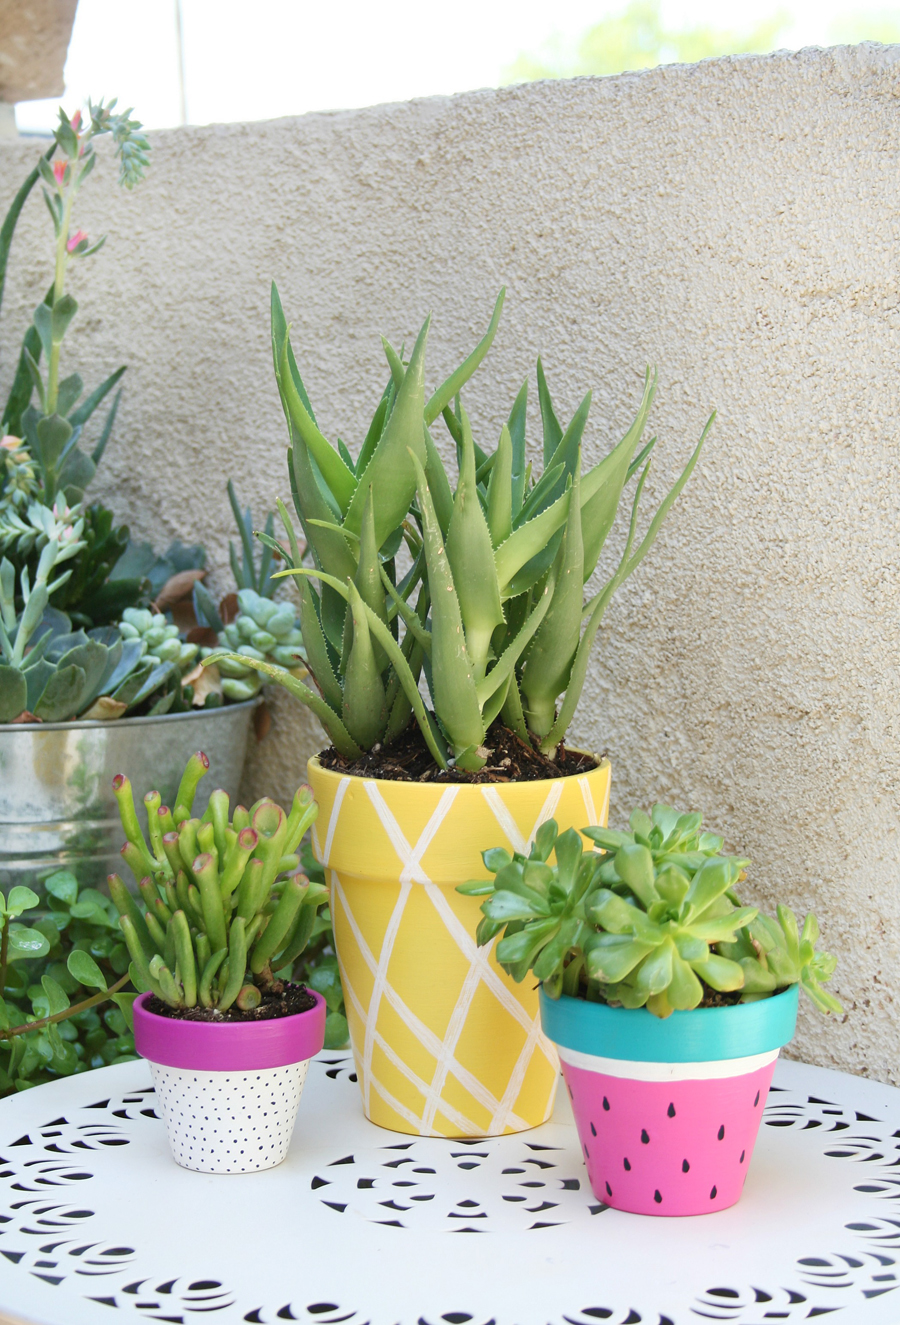
 I’ve got summer on my mind something fierce right now, not only is it summer break around here it also hit 117 degrees here in Arizona this week. So it’s only natural that my summer decor project list is in full force. First up, sprucing up my front porch for summer with something fun and bright. These Summer Painted Planters are totally doing the trick.
Supplies:
Sharpie Oil-Based Paint Markers
Terracotta Planters, various sizes
Acrylic Paint
Foam Brush
Clear Brush-On Sealer
This project was totally inspired by THIS recent photo I snapped on Instagram, the dragonfruit I bought for my kids to try was so gorgeous. The magenta of the flesh and the black and white polka dot seeds, what’s not to love?! I thought it would be super fun to do some planters for my succulent obsession that were fruit inspired, so I grabbed some pots from Michaels. While I was shopping at Michaels I snagged some Sharpie Oil-Based Paint Markers too. I thought they would make drawing the accents on my planters so much easier. There were so many colors to choose from, I couldn’t help myself…so I bought a few different color choices.
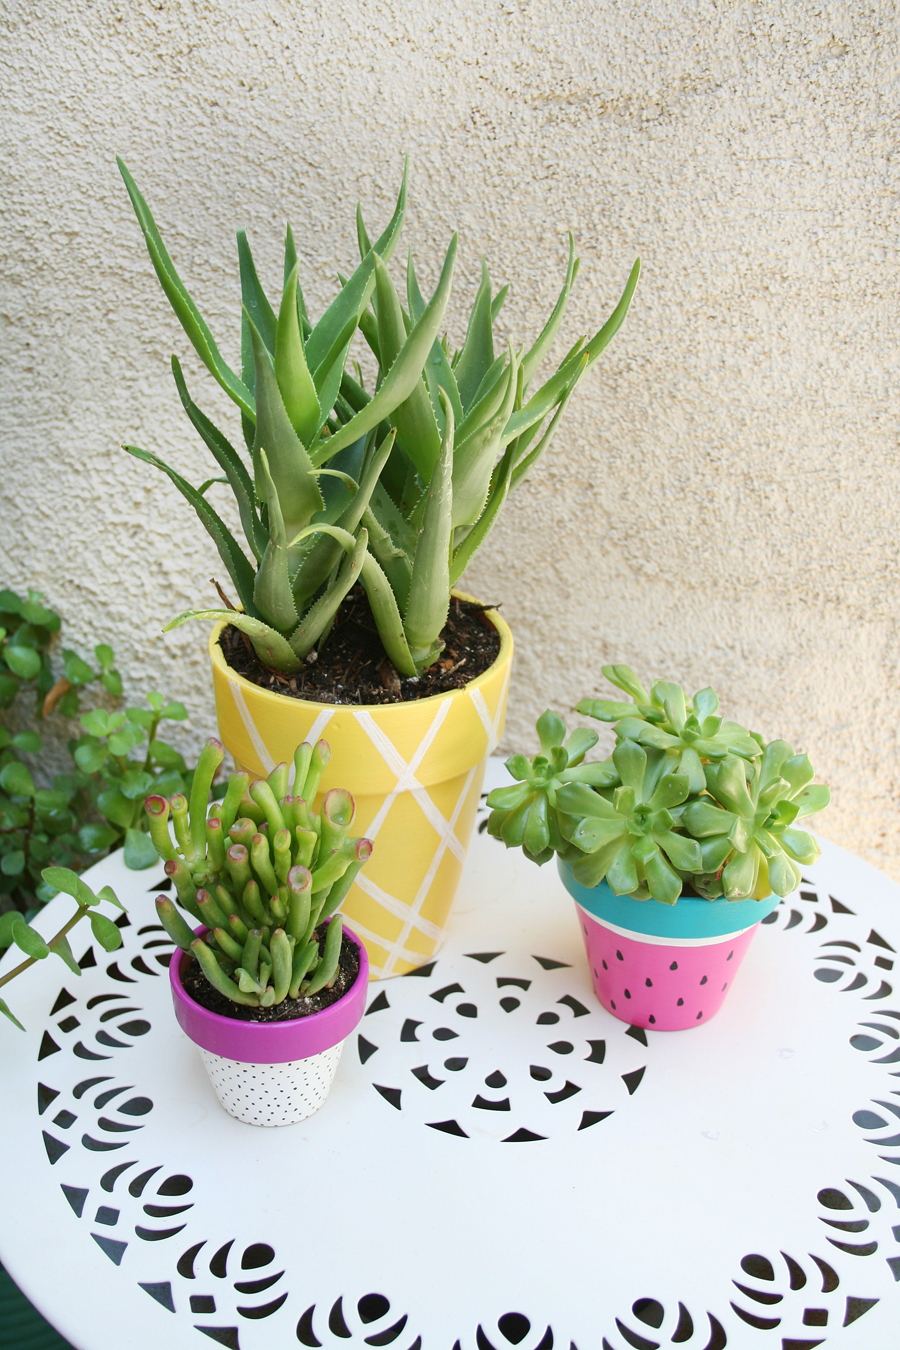
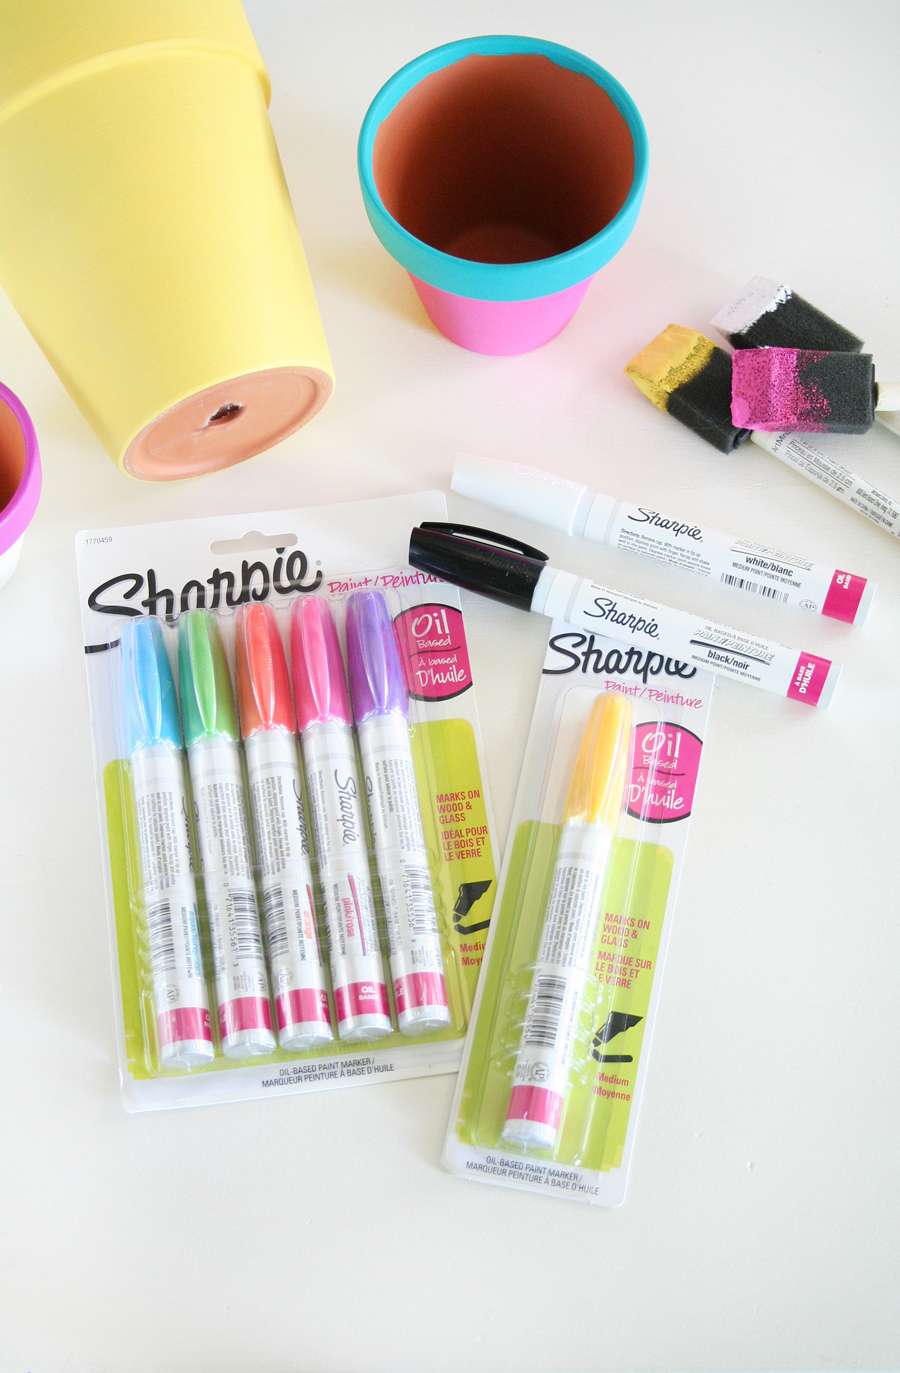 First, I gave each of my terracotta planters a quick coat of acrylic paint for my base coats using a foam brush. I decided on a pineapple planter, dragonfruit planter, and watermelon planter. All fun colors for summer.
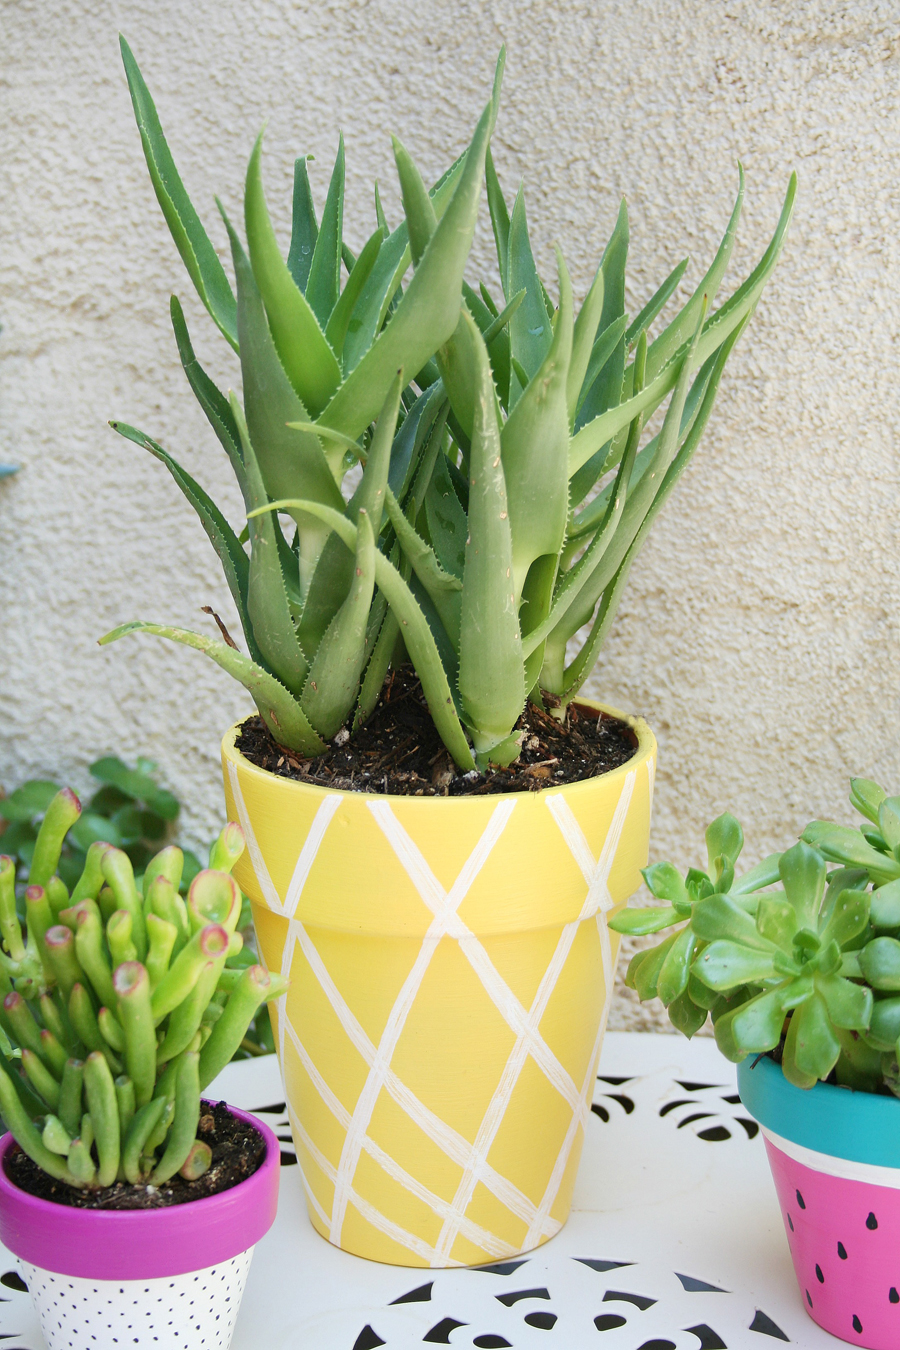
For the pineapple, a solid coat of yellow paint is all you need for this step.
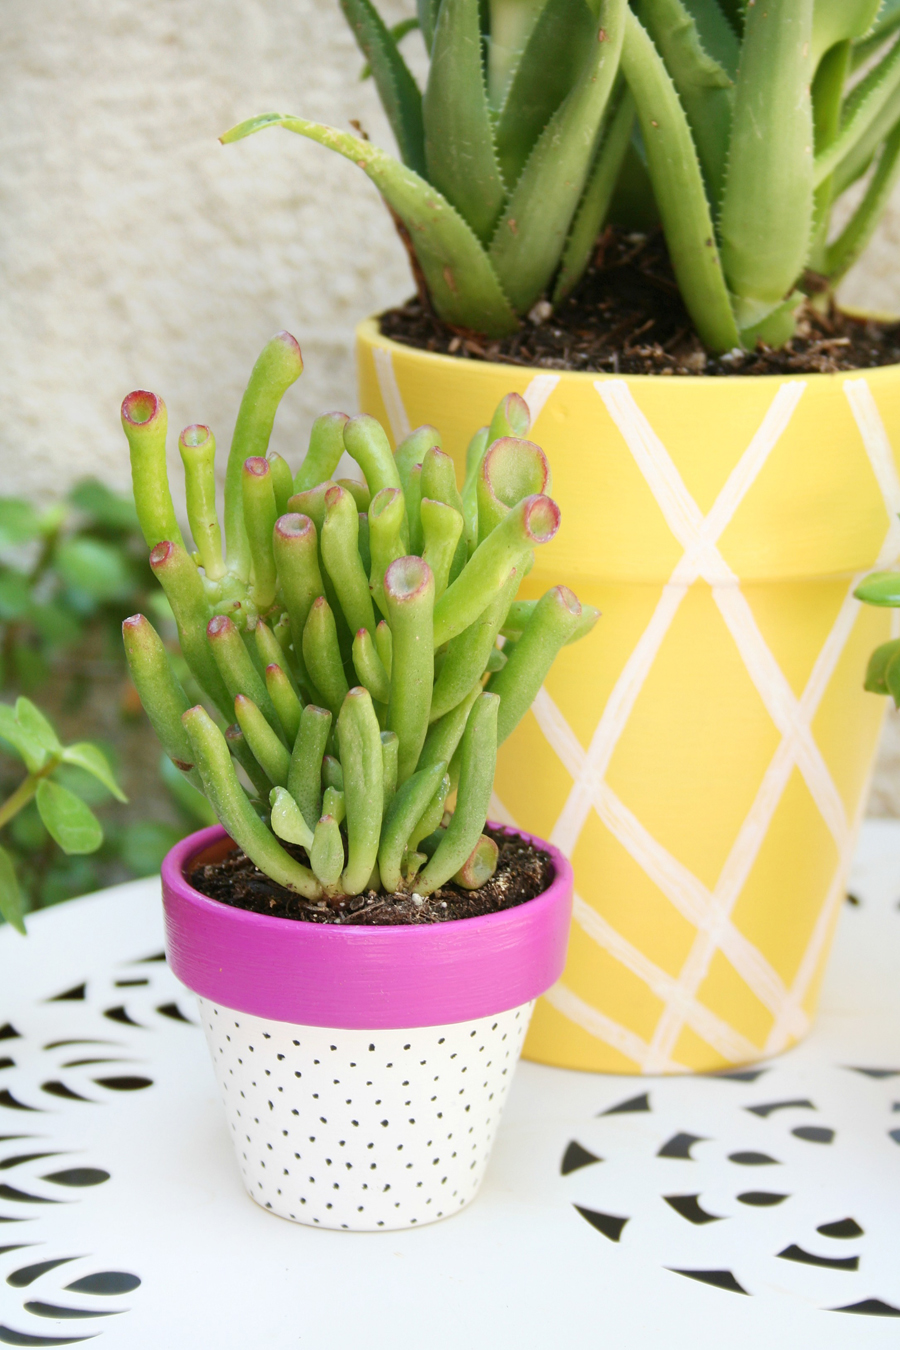
The bottom of the dragonfruit planter should be white, and along the rim of the planter I used a bright magenta / radiant orchid paint.
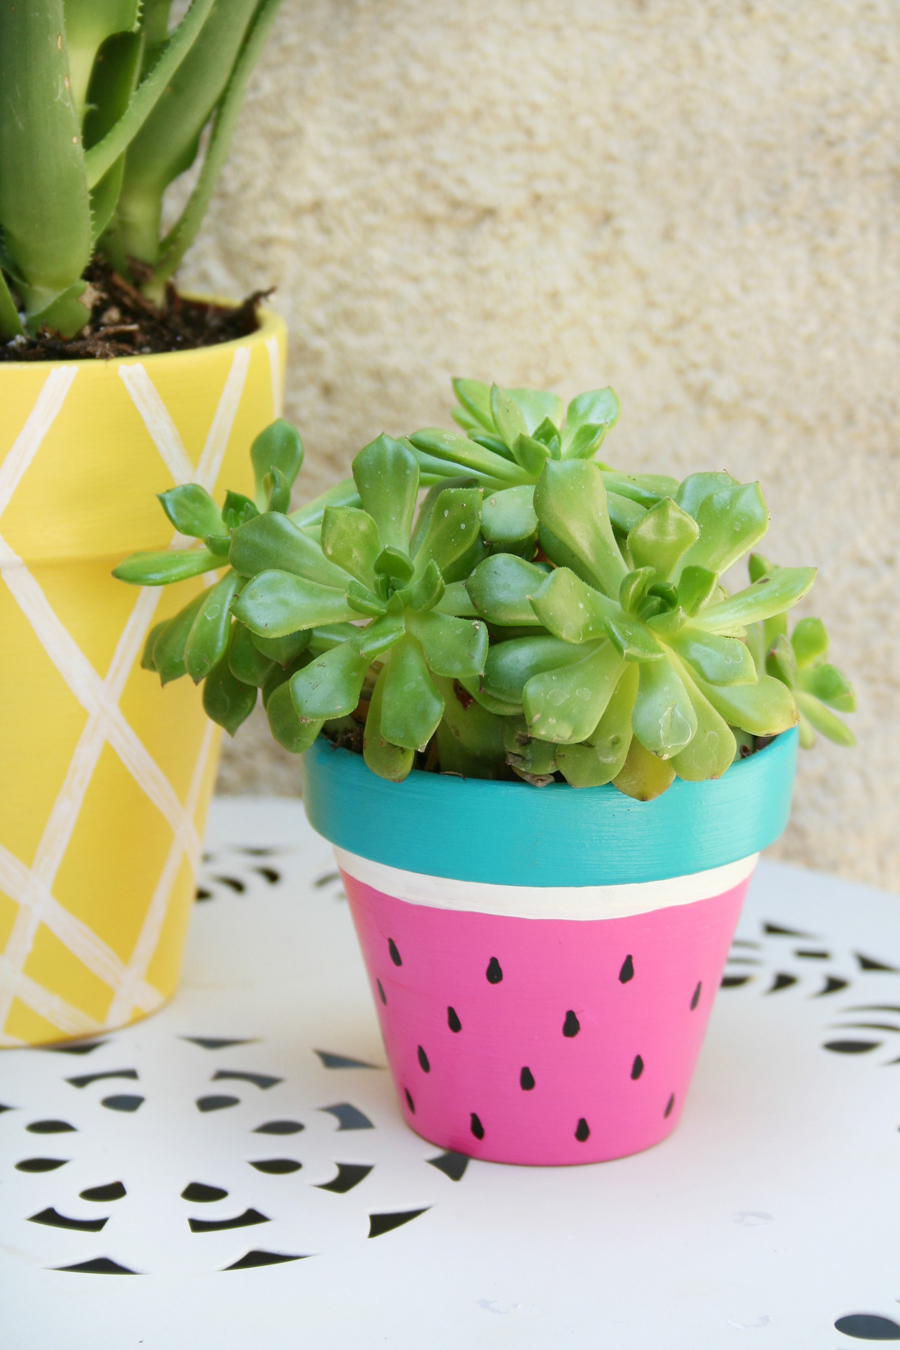
For the watermelon, I gave the bottom of the planter a bright pink coat of paint. The rim was painted with teal paint.
There are so many fruits to choose from when painting your planters. Oranges, lemons, limes, apples, kiwi, etc…
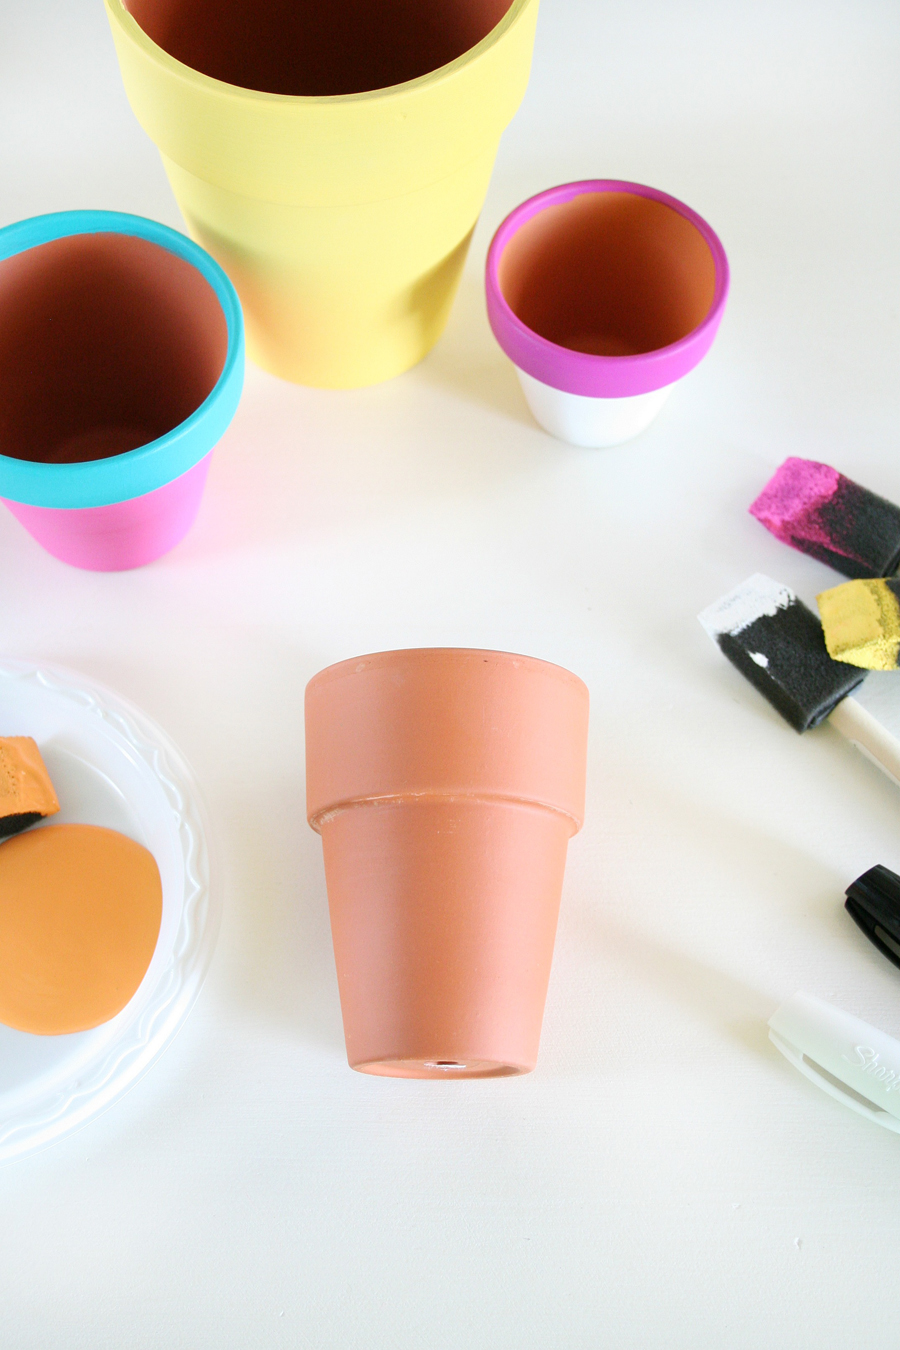 Once you’ve got your planters painted with the base colors it’s time to add the details to transform these cute planters.
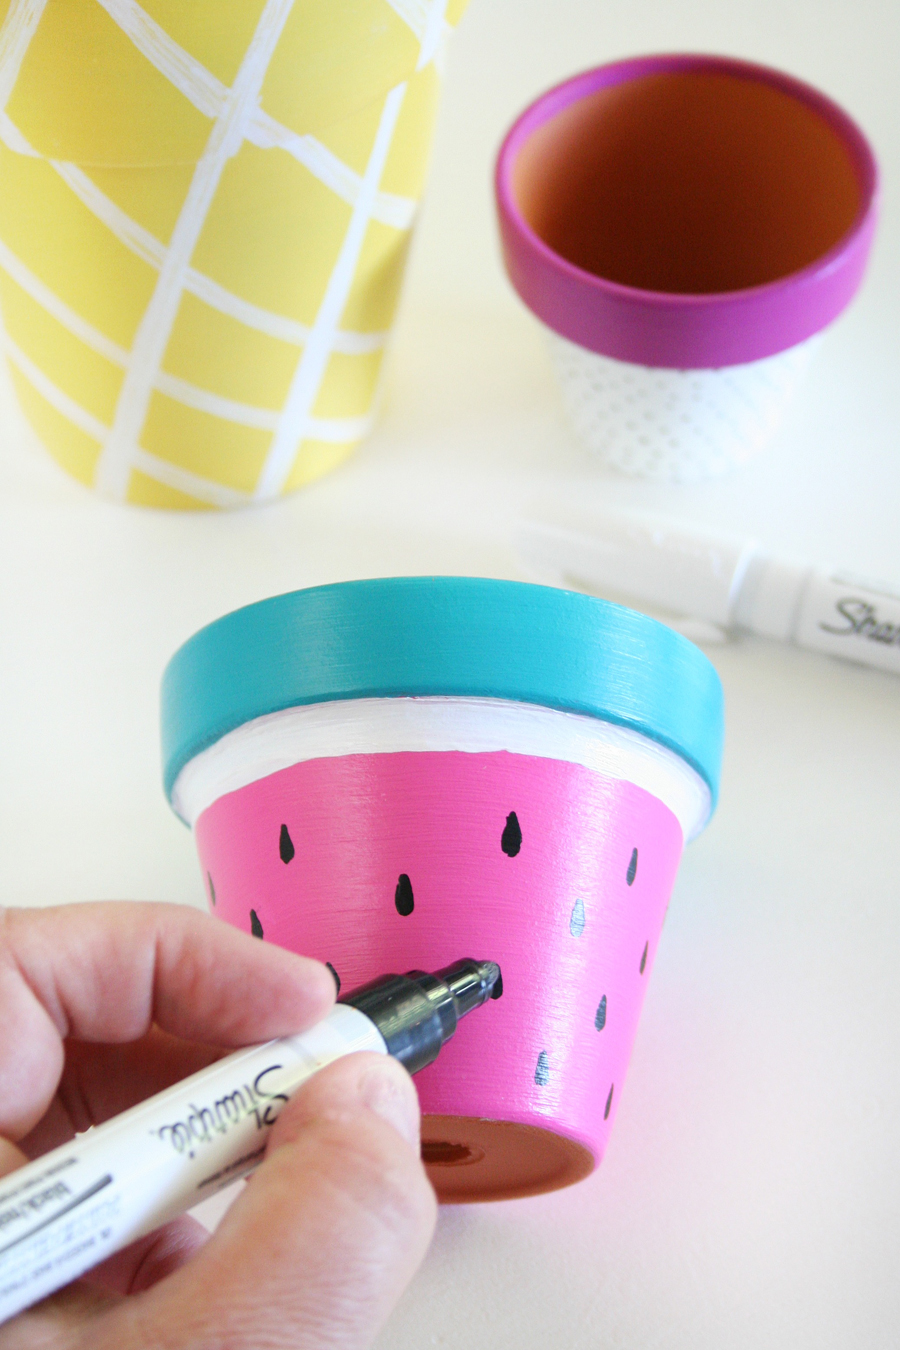
Start by priming your paint markers. Simply shake the marker with the lid on several times with the tip of the marker facing up, then press down on a piece of paper or hard surface several times to allow the paint to flow to the tip of the paint marker.
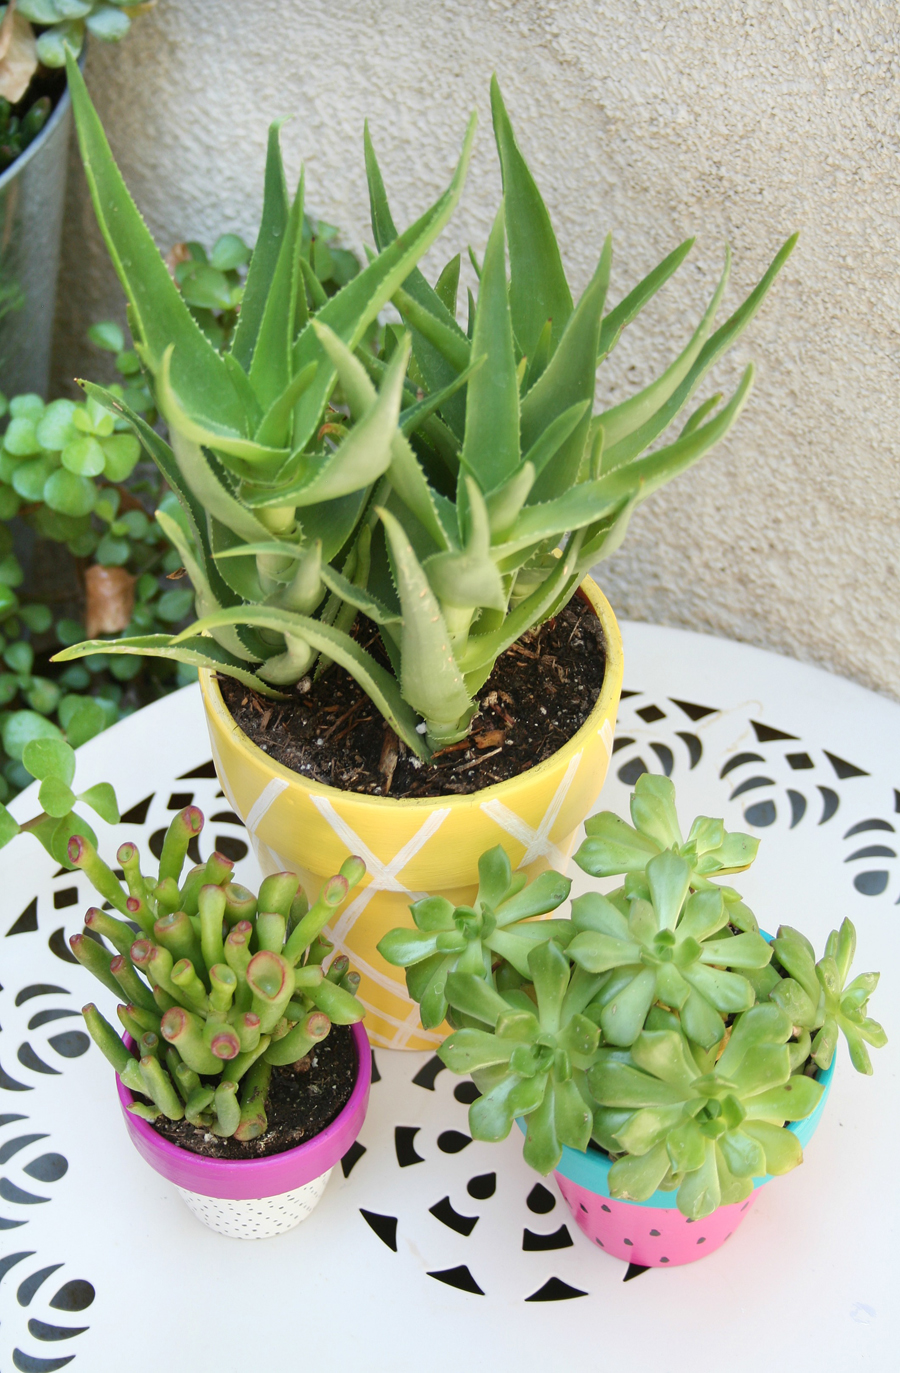
Using the Sharpie Oil-Based Paint Markers I added my details. For the pineapple I sketched white cross hatch lines with my paint marker, you could do the lines more solid for this if you prefer. I love how the sketchy lines look though. For the dragonfruit you will add tiny black polka dots with the marker, again the size of the dots is totally up to you. The watermelon needed a smaller white border around the planter to resemble the rind, and I also used the black paint marker again to draw on seeds.
I love how easy these paint markers are to use. They are glossy and opaque on both dark or light surfaces, and they are permanent with a quick drying time. Plus, they can be used on virtually any surface: wood, metal, pottery, glass, plastic, stone, rubber and more!
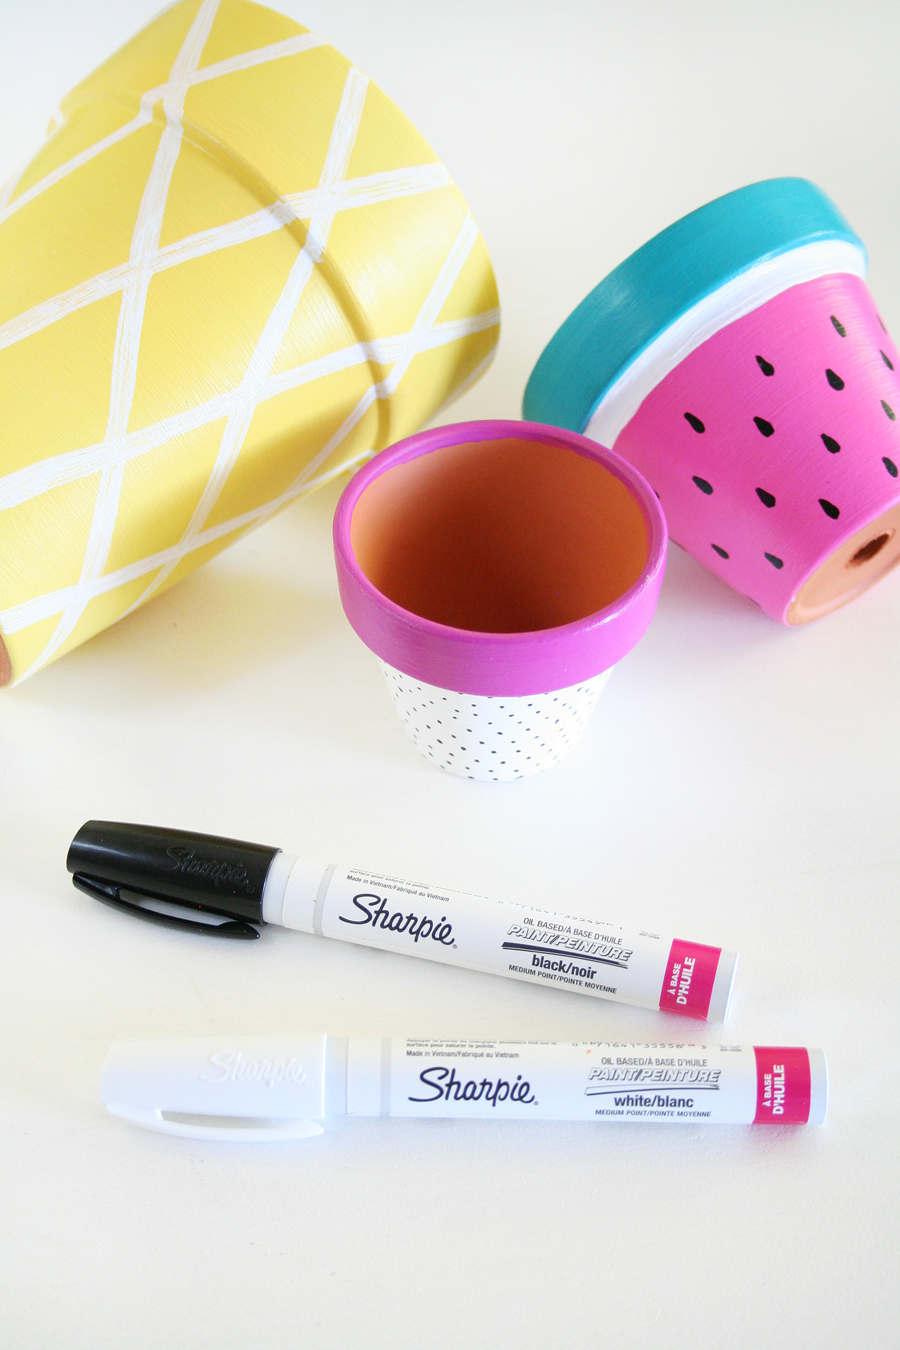 Once my planters were done I gave them a coat of a clear brush on sealer. You could either brush on a sealer or spray one, this step is just to protect the acrylic paint you used if you are using these planters outdoors.
I seriously am in love with how cute these planters are. Especially filled with succulents. That pineapple planter looks perfect with the Climbing Aloe plant I found. The small succulent in the dragonfruit planter is called a Jade Plant and it was the closest thing color wise I could find that resembled the top of a dragonfruit.
 There are so many ways to use the Sharpie Paint Markers, I can’t wait to find another project to use them on soon! Be sure to check your local newspaper and online for Michaels coupons while supplies last if you’re planning on grabbing some for this project or any other project you have in mind.
DISCLOSURE | This post is part of a social shopper marketing insight campaign with Pollinate Media Group® and Sharpie Paint Marker, but all my opinions are my own. #pmedia #SharpiePaintCreate http://my-disclosur.es/OBsstV



Great project! Thanks for sharing.
Thanks Tisa. Have a great week. 🙂
What are the names of the paint colors you used?! Love these!!
Hi Shannon. I used DecoArt Americana acrylic paints, I used Titatium (Snow) White, Vivid Violet, Peacock Teal, Peony Pink, and Sunny Day. 🙂
Hello wow this is so cuteeee!!, I love it, I am Beginning a blog about photography, trends and DIY, would it be possible to post this? I will give you de credit and the #regram. Your photos and the final result is so cuteee
Those are such pretty paint colors, will be looking for them at Michaels or which ever store has those paint colors, maybe on sale.
Don’t have lots of popular stores but we do have Michaels, Hobby Lobby and Joanns in Grand Junction.
Your pots look so pretty and cheery. Will be doing some painting of other pots I have but need to get soil for succulents.
Last year I saw post about a picnic basket painted like a watermelon so luckily found similar shaped picnic basket at a thrift store to paint like watermelon myself. Just need to paint seeds on it. Can hardly wait to get it out when Summer arrives.
Where in AZ do you live? I lived in Tucson for 20 yrs. Don’t miss that terrible heat. We moved to Tucson from Cleveland, OH when I was 10 because my brother had asthma so bad. Moved to San Diego area when our youngest was 17 months old, all 4 kids did lot of their growing up in San Diego areas. Two oldest moved back few years ago. We all spent a lot of time at the beaches as I love the water and the beach.
Have great week and enjoy your wonderful perky pots.
Thanks Jane! A watermelon picnic basket sounds adorable! We live in the Mesa / Gilbert area in AZ. I’ve lived here most of my life and love it, even if it is so stinking hot during the summers. 😉