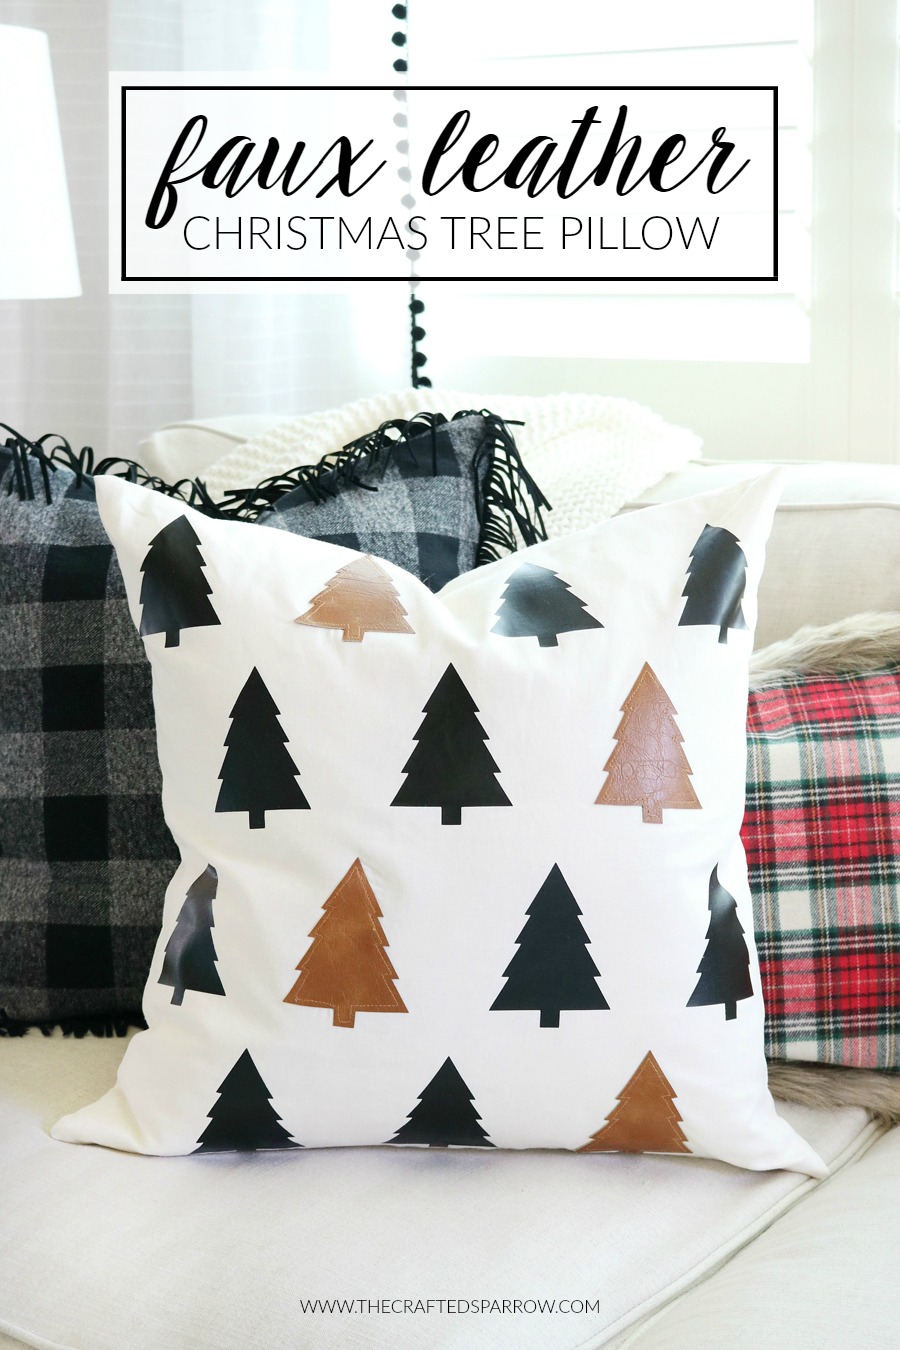
 As you all know by now I love to create custom decor for my holiday decorating, especially when it comes to decorating the tree and holiday throw pillows. This year is no different, I thoroughly look forward to decorating with a new theme and creating custom decor to coordinate. This year I’m keeping with a neutral color palette with this DIY Faux Leather Christmas Tree Pillow that I’ve mixed with small pops of red.
Supplies
- Linen Look Fabric, Beige or White – 3/4 of a yard per pillow cover
- Faux Leather / Vinyl, Caramel – 1/4 of a yard
- Heat Transfer Vinyl, Black
- Pillow Insert
- Sewing Machine
- Leather Sewing Machine Needle and All Purpose Sewing Machine Needle
- Matching Thread
- Fabric Shears
- Heat n’ Bond Ultra
- Iron
- Vinyl Cutting Machine, optional
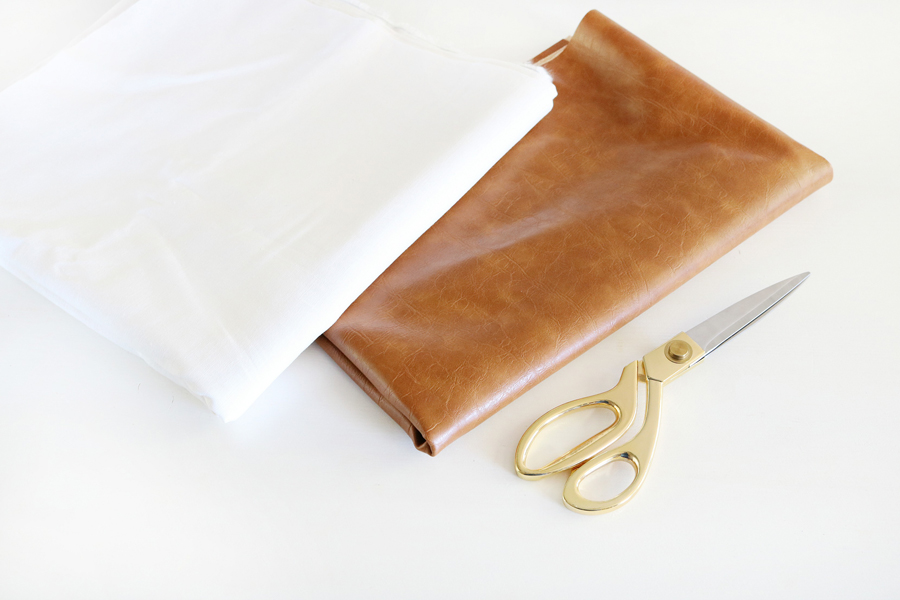 I typically make my pillows to fit a 20 x 20″ pillow insert, but the size you create is totally up to you. If you are creating a 20 x 20″ pillow you will need the following cuts of fabric:
- (1) 21 x 21″ piece of linen-look fabric or any cotton solid of your choice
- (2) 13 x 21″ pieces of linen-look fabric or any cotton solid of your choice
Go HERE to see a more in-depth tutorial photos on how to create a simple pillow cover.
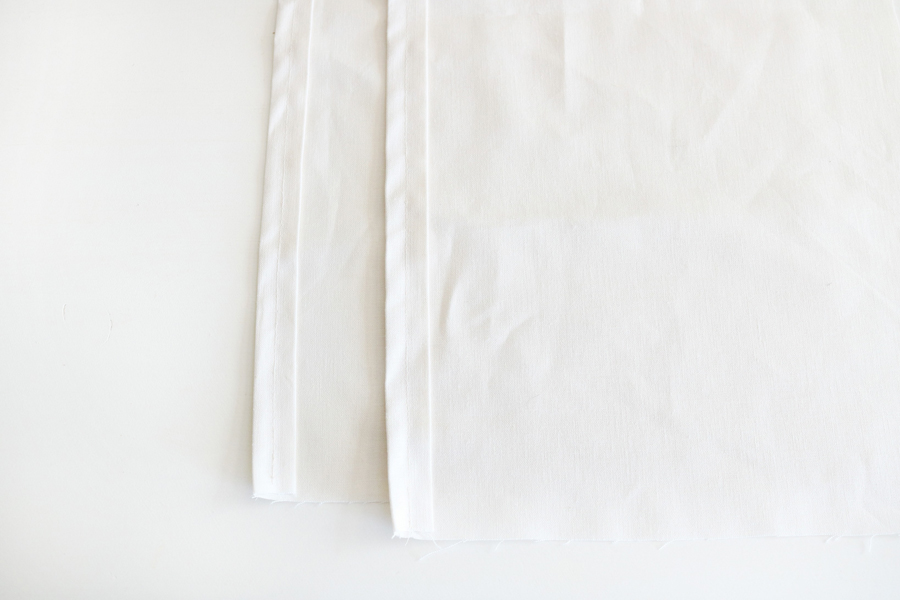 To create your pillow cover follow these easy instructions once you’ve made the fabric cuts listed above:
- Iron your linen-look fabric or any cotton solid to remove any wrinkles
- Fold over the long edge of the two 13 x 21″ pieces of fabric twice, you will create a 1/2″ clean edge
- Use an iron to press the edges for sewing
- Sew a 1/4″ seam allowance along the clean edge on both 13 x 21″ pieces
- Place the 21 x 21″ piece of fabric on a flat work surface
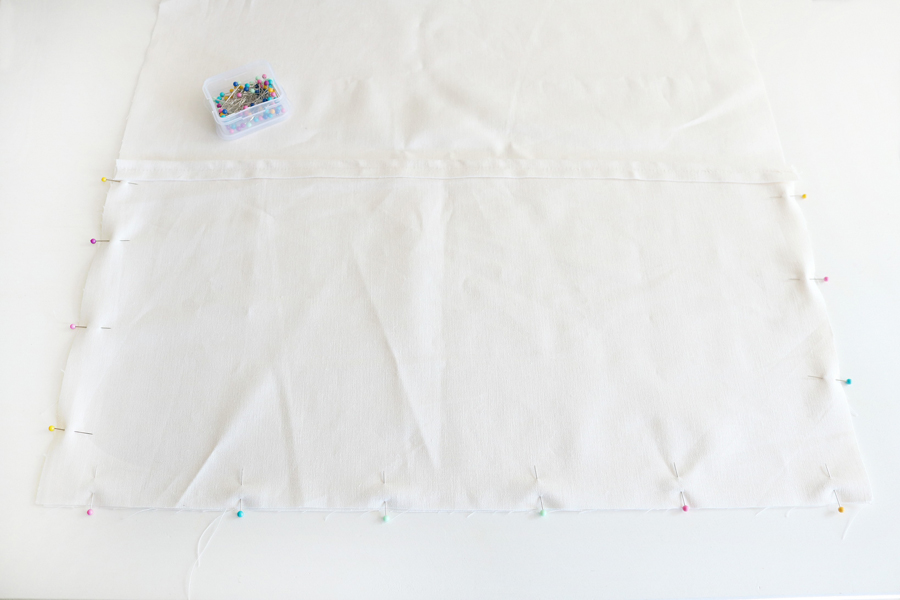
- Place both 13 x 21″ pieces face down on top of the large 21 x 21″ piece of fabric like shown below
- Pin all the sides in place for sewing
- Sew around all the edges with a 3/4″ to 1″ seam allowance
- Trim all the corners and extra threads
- Turn the pillow cover right side out
This tutorial can be adapted for any size pillow.
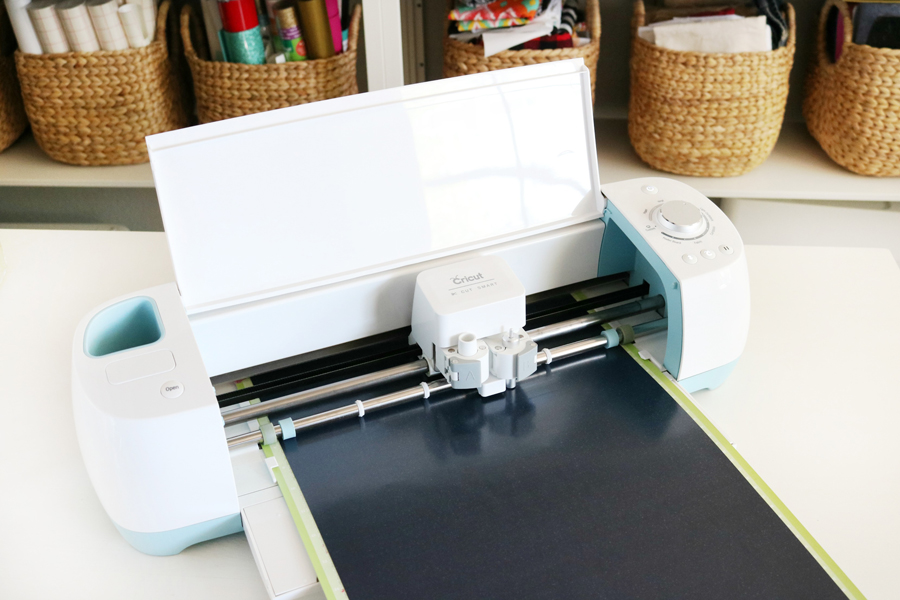
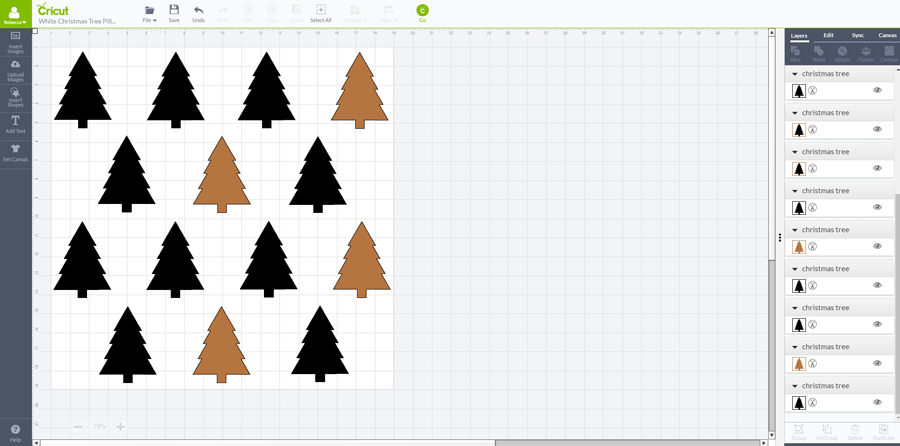
 Using my design software for my Cricut Explore I created a Christmas tree pattern that would fit my pillow cover size. Then decided which of the trees would be cut from the faux leather. Because the pillow is larger than the cutting size of the mat for the machine I needed to cut this in two sections. Before I hit “GO” to cut I deleted the trees from the cuts that were to be made from the faux leather. My trees are about 3.5″ in size for reference.
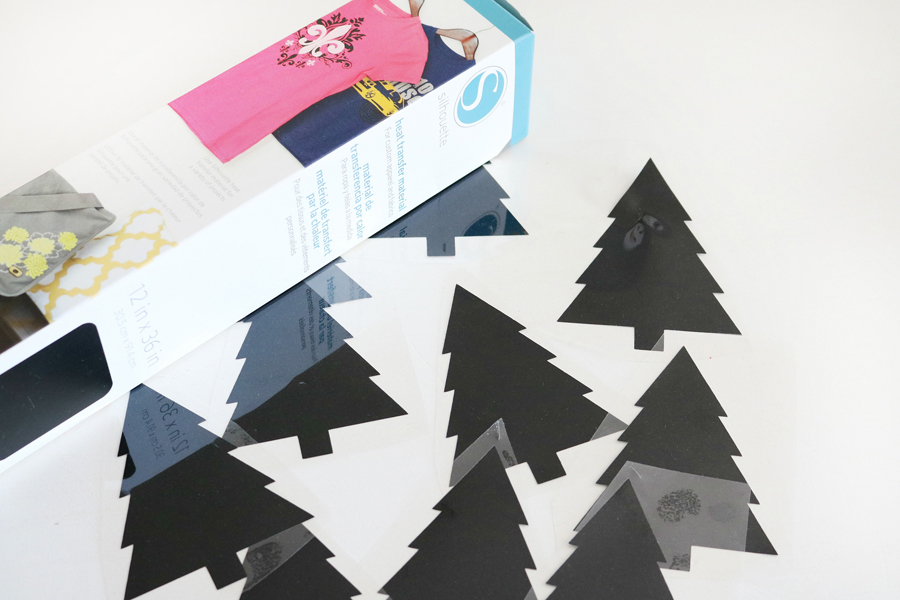
 Once the heat transfer vinyl is cut you will need to weed away any of the negative vinyl you don’t need. Your trees should all be on one or two pieces of the clear carrier sheet that is on the vinyl, I ended up having to cut mine apart because of an oops mistake I made when cutting. This just meant that I had to measure as I placed them on the pillow cover. If yours are in one or two sections and still attached to the clear paper this makes it so much easier and quicker for applying them.
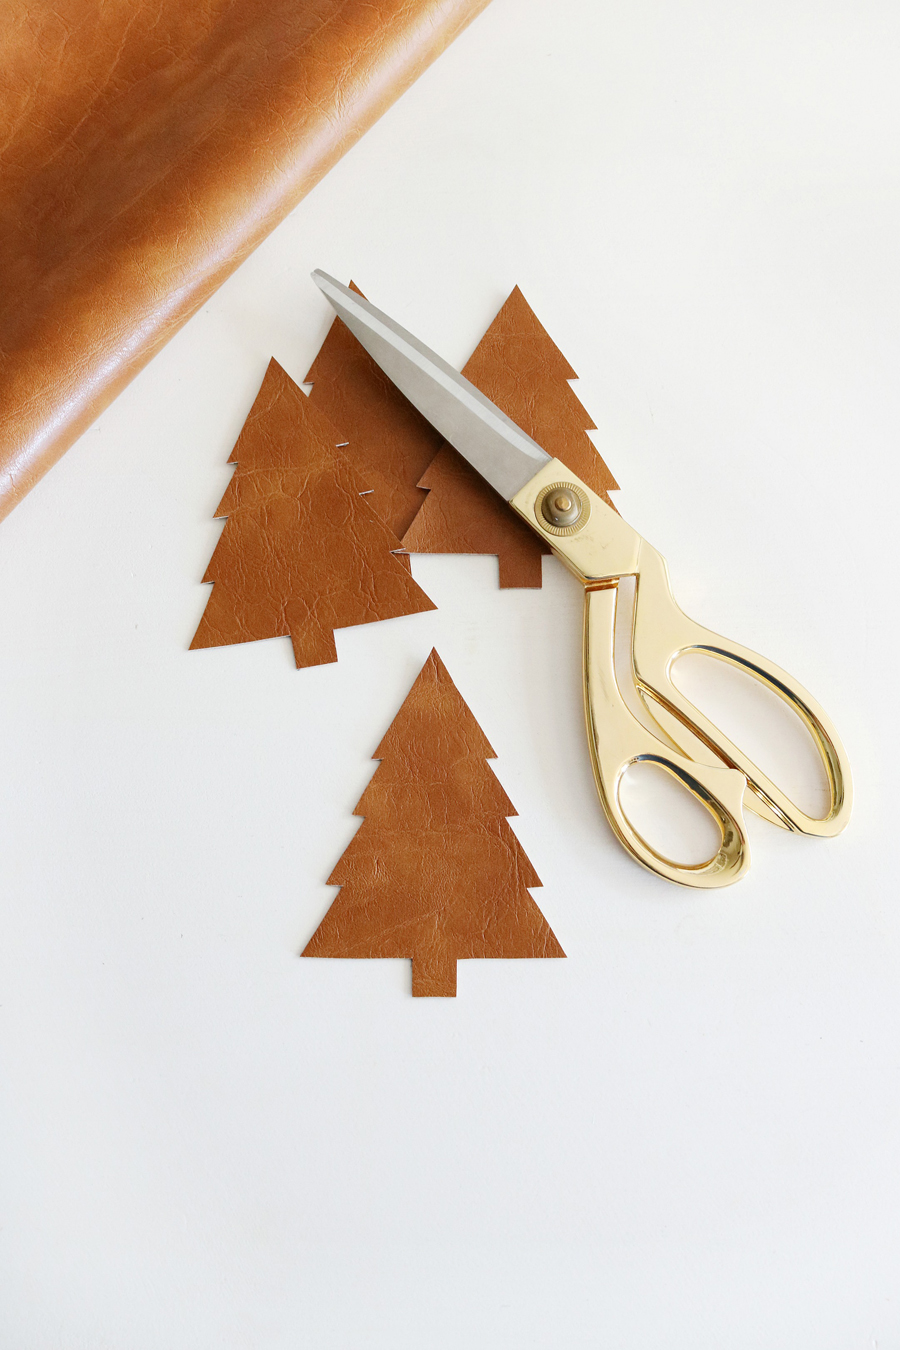
 After I cut the heat transfer vinyl trees out I used my cutting machine to cut a cardstock version of the tree to use as a stencil for cutting my faux leather trees. Just trace onto the back of the faux leather with a pen or marker, then cut it out with super sharp fabric shears.
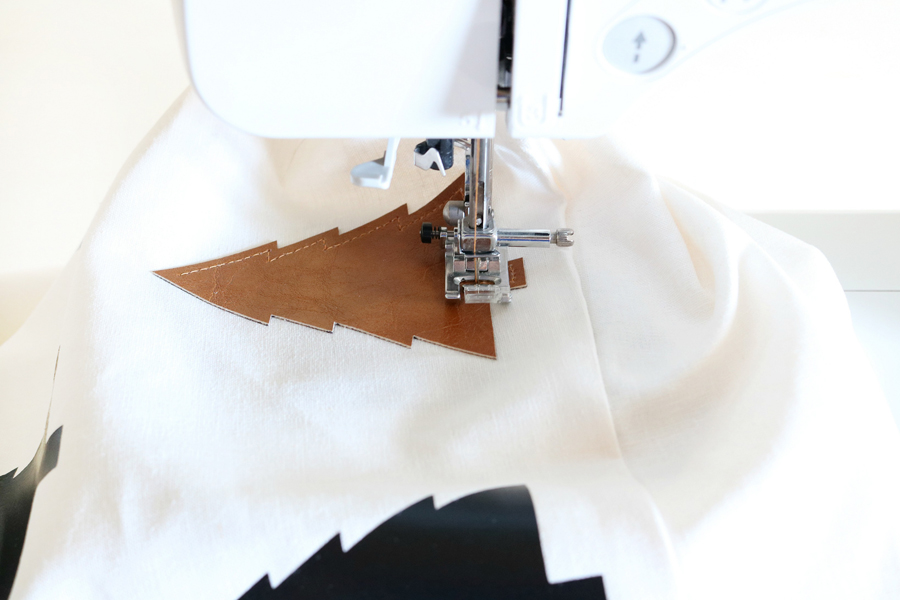
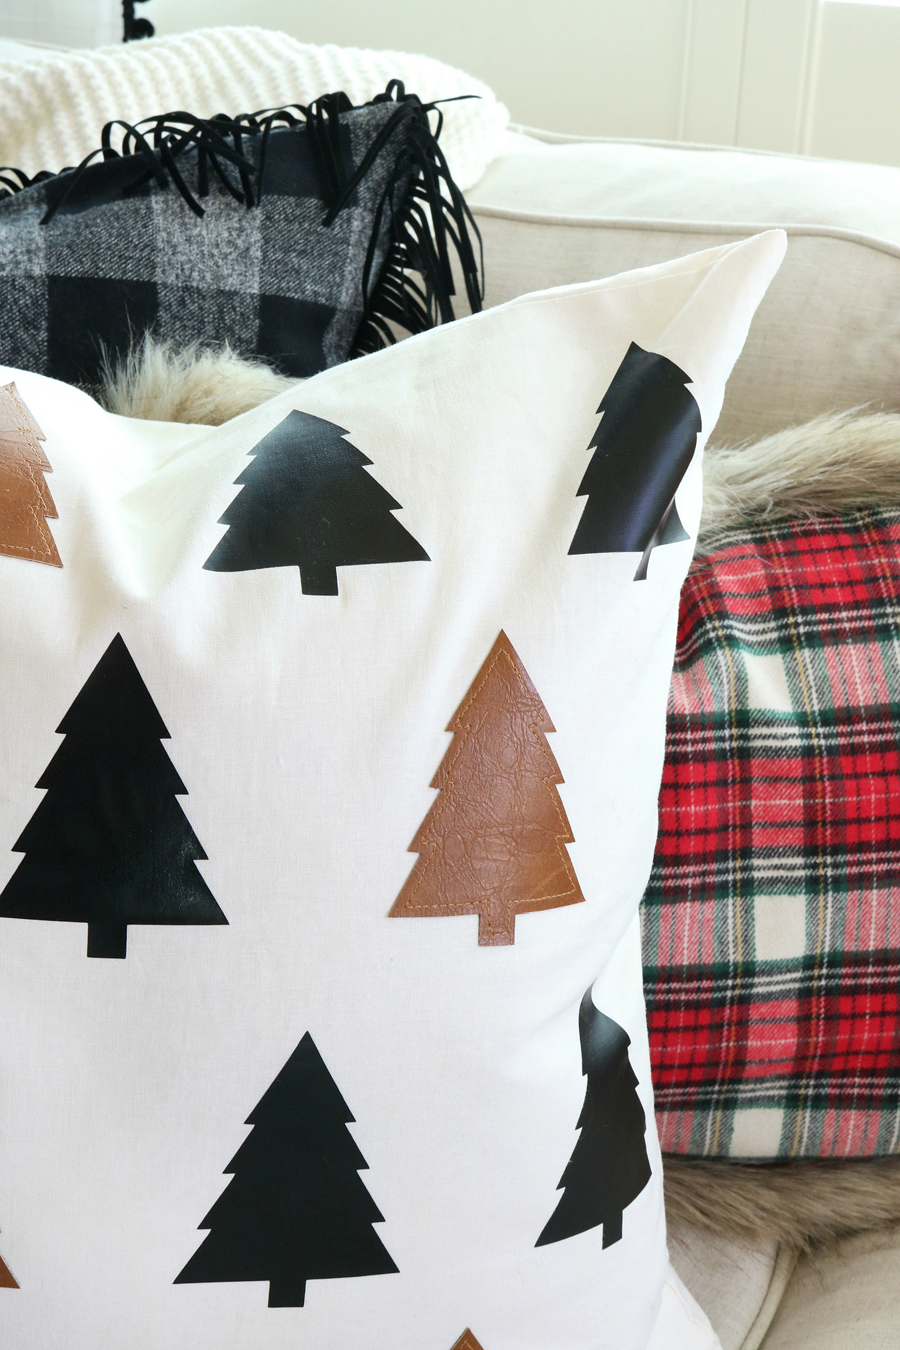
I decided that I wanted to have a sewn stitch on these trees on the pillow cover so I used some Heat n Bond Ultra on the back to keep them in place while I stitched with the sewing machine. Just follow package instructions for the Heat n Bond, I like to cover the faux leather with a thin piece of fabric to keep the material safe from the iron. If you prefer you can skip this method and just use a fast drying fabric safe glue to adhere them to the pillow cover.
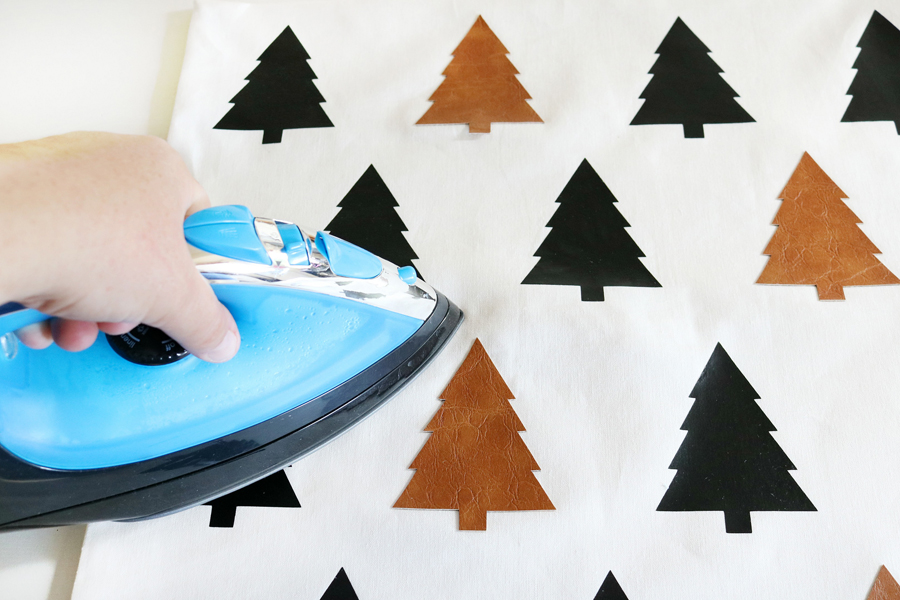
 When you’ve got all the trees prepped lay them out on your pillow cover and follow the package instructions for the heat transfer vinyl to iron them into place. Same for the faux leather pieces. Once the heat transfer vinyl trees have cooled down peel off the plastic lining.
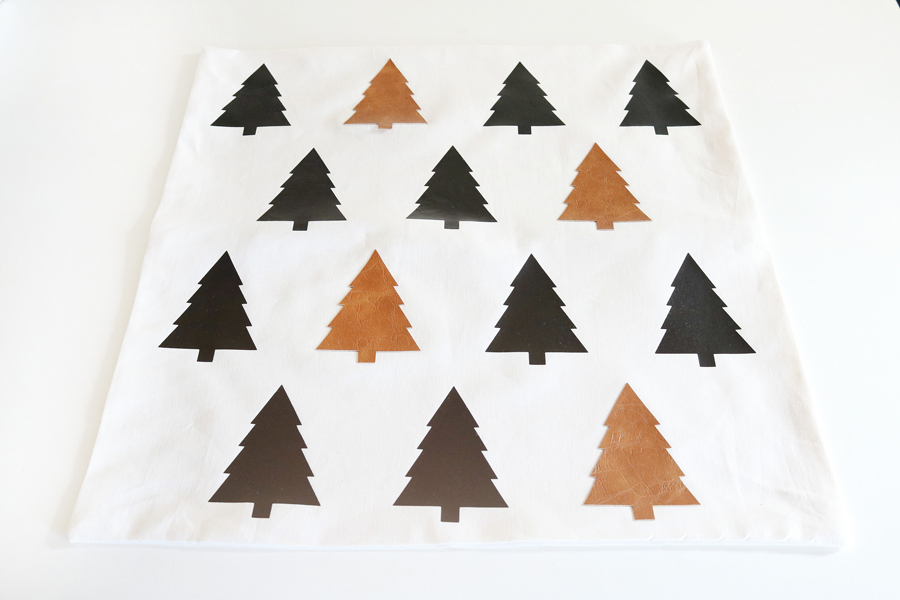 This step is completely optional, but if you are choosing to not glue them on you will need to stitch the faux leather trees with a matching thread color. Be sure you’re using a leather sewing machine needle for this.
 Insert your pillow and you’re done. I love using down pillows, but any insert will work.
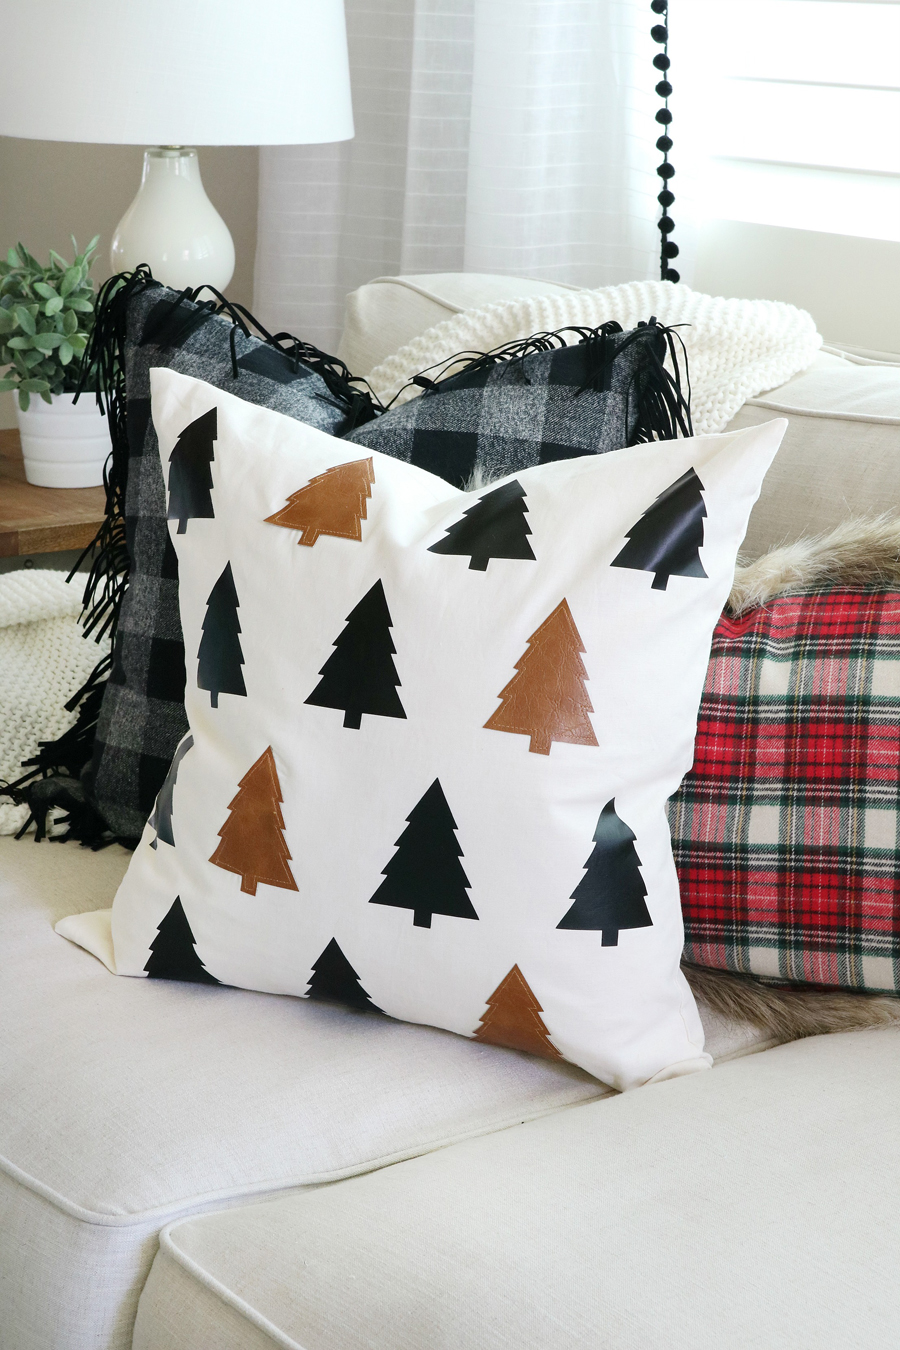
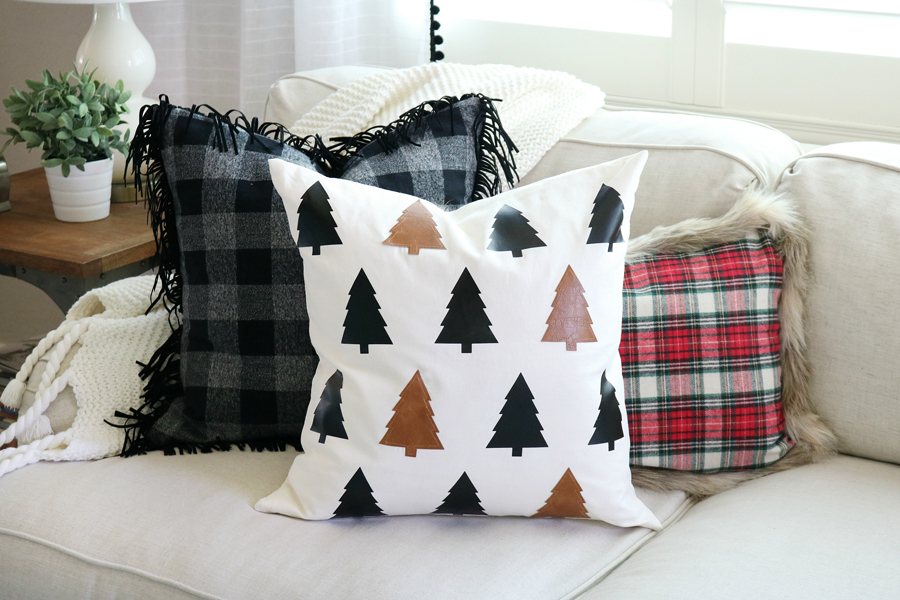
Isn’t this DIY Faux Leather Christmas Tree Pillow so fun?! I love the mix of textures and mediums. I ended up pairing my pillow with some other fun pillows I created to go with my holiday decor. I used two different plaid flannel prints mixed with unexpected trims to add a playful element to them.
 If you loved this DIY Faux Leather Christmas Tree Pillow be sure to check out these fun and easy to make Christmas pillows:
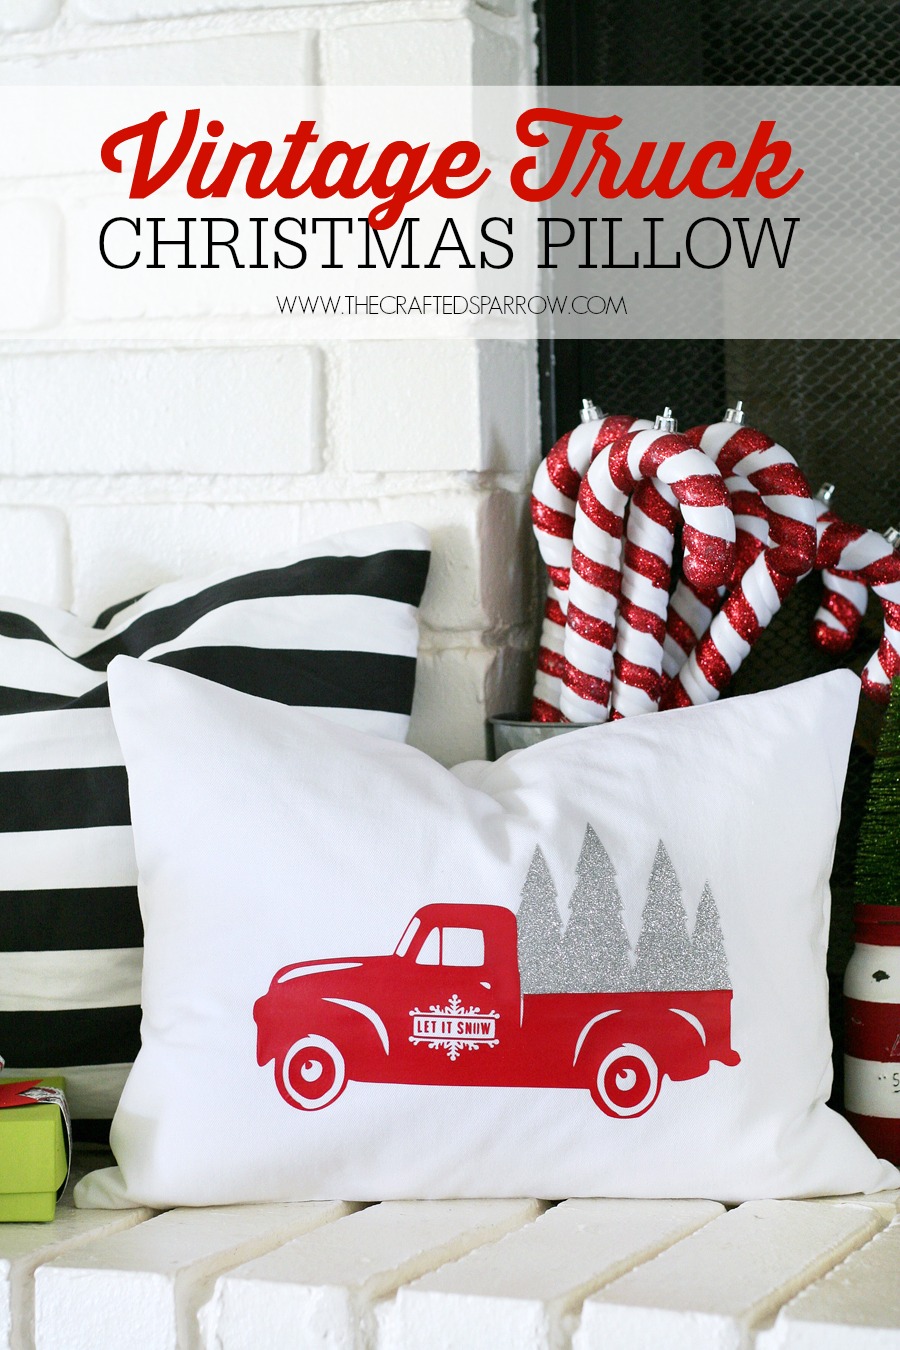
Vintage Truck Christmas Pillow

Vintage Inspired Christmas Pillow
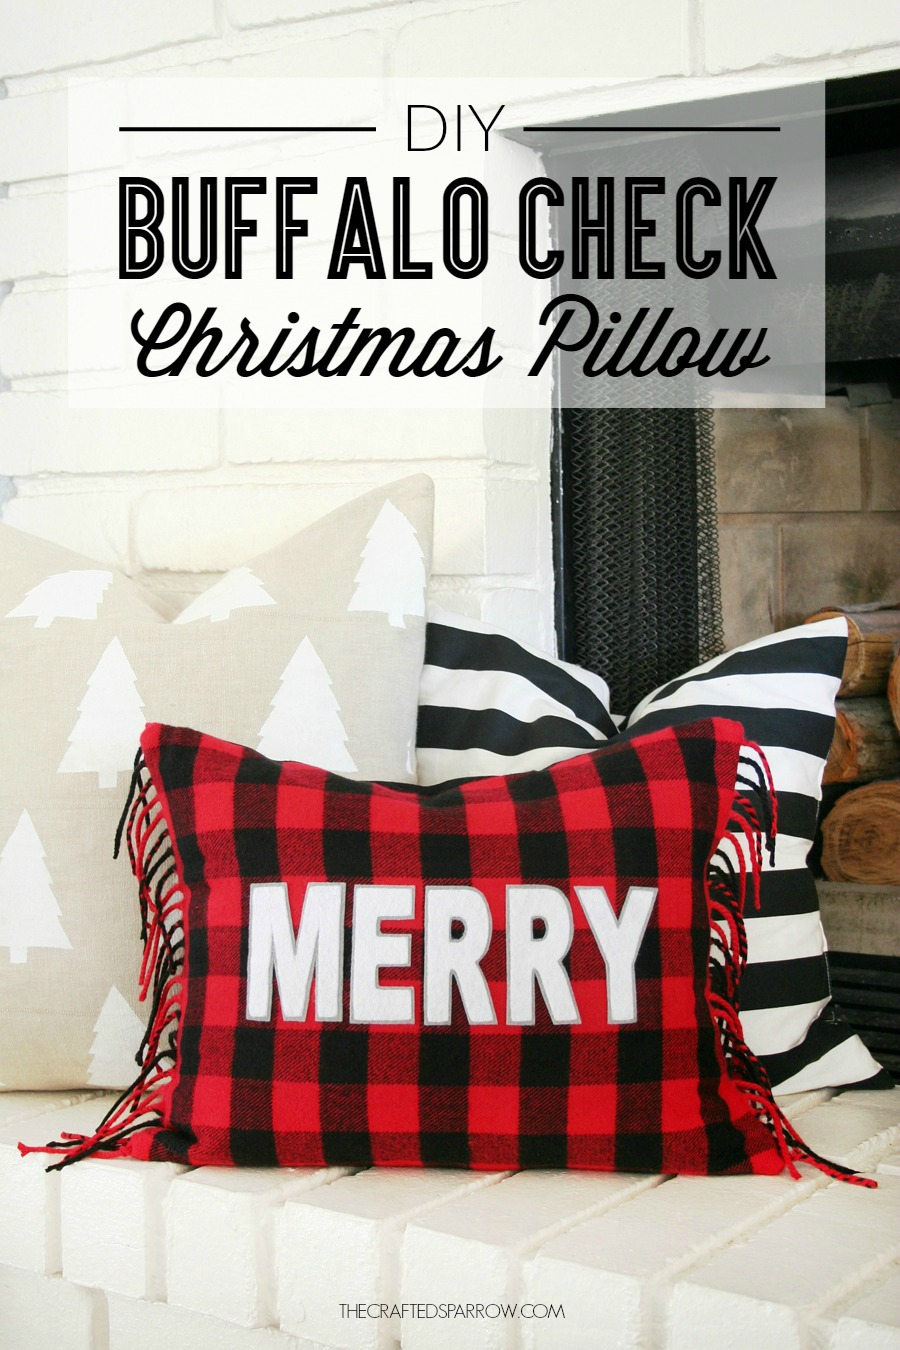
Buffalo Check Christmas Pillow


This is so beautiful. If I wanted to Glue the leather to the fabric and not have any residue or material damage- what would you suggest I use?
Thank you! Hmmm, for this project either a good fabric glue or hot glue should work. I can’t suggest washing instructions for those methods, but most fabric glues are washing safe I believe.