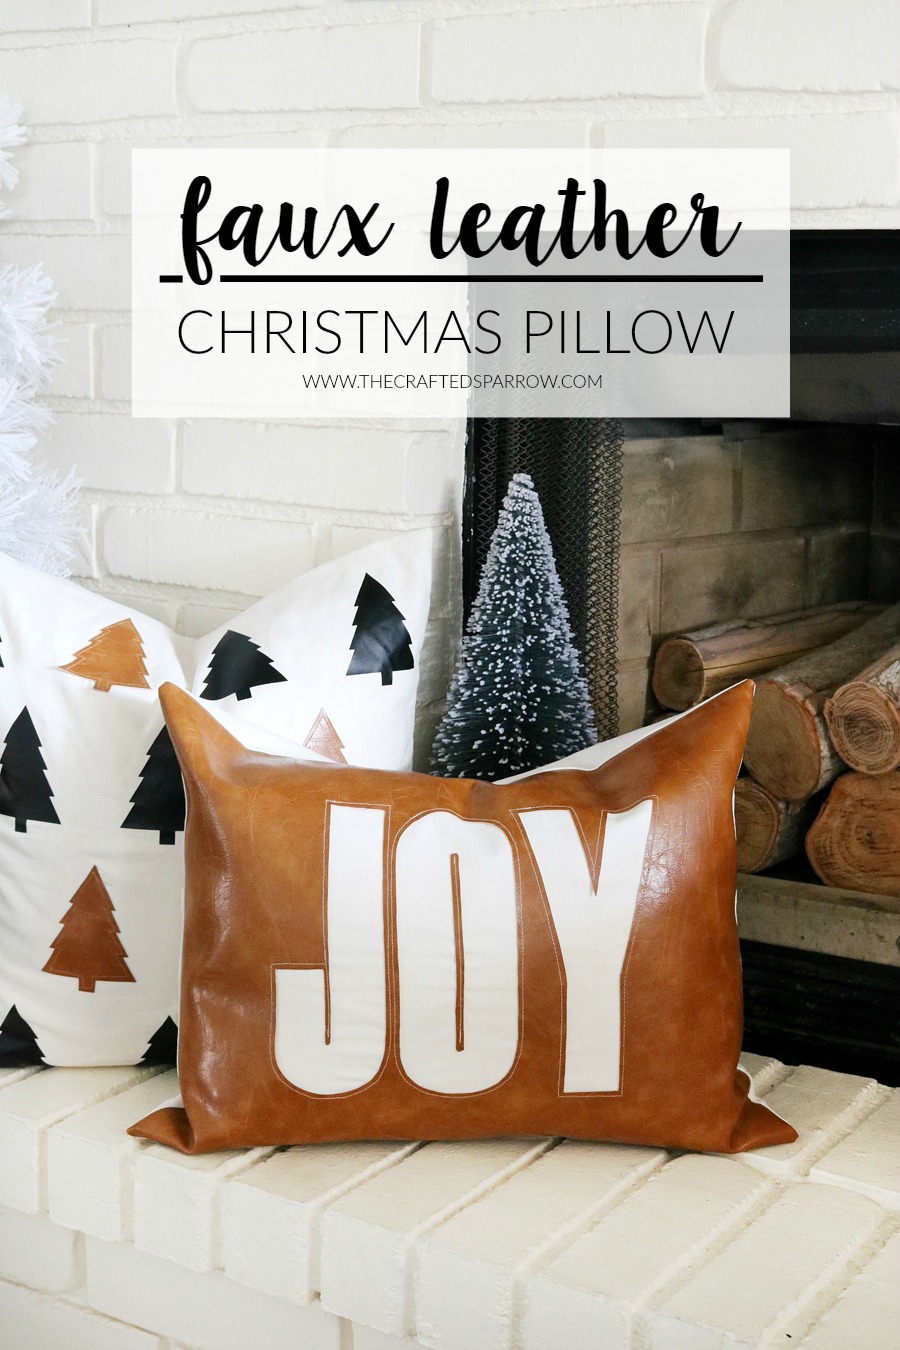
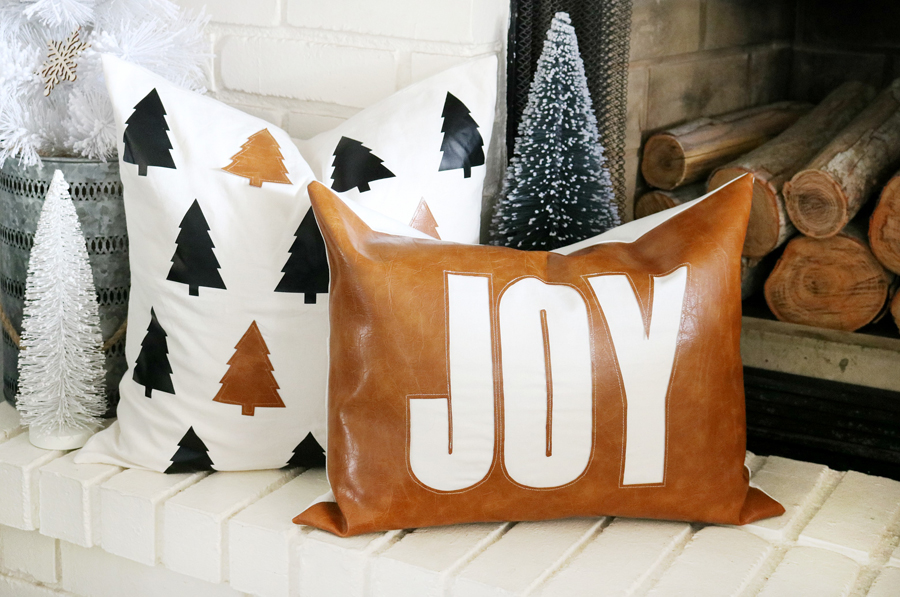
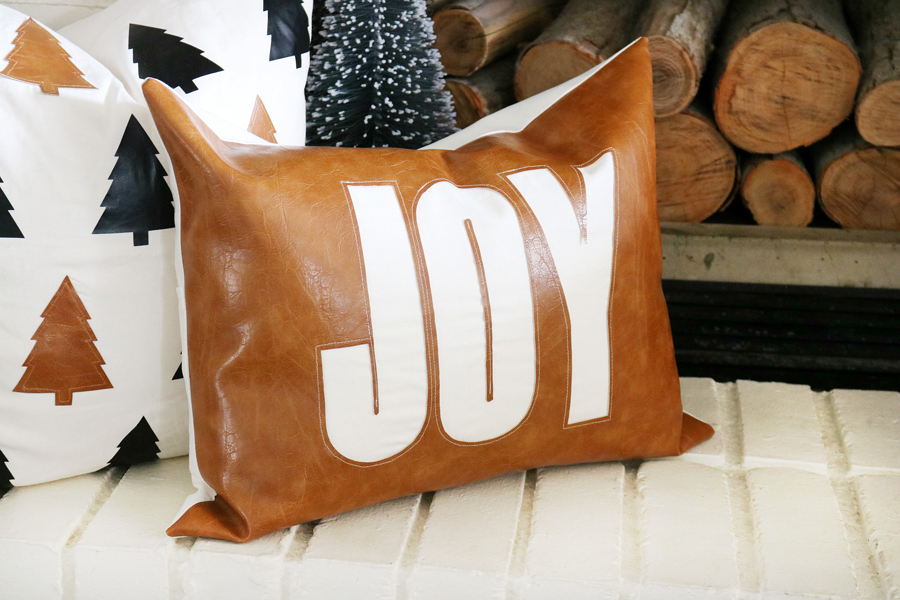
 I’m at it again, I promised you guys more holiday pillows and today I’m so excited to share this Faux Leather Christmas Pillow with you! I’ve now shared my DIY Faux Leather Christmas Tree Pillow and my Leather & Flannel Christmas Mantel with you, and like I mentioned one of my decor goals this year was to add pops of camel colored leather throughout my holiday decor. I’m obsessed, I absolutely love how this new pillow turned out.
* This post may contain affiliate links.
Supplies:
Faux Leather / Vinyl, Caramel
Linen Look Fabric, Beige or White, enough for the back of the pillow and behind the letters
Pillow Insert
Sewing Machine
Leather Sewing Machine Needle and All Purpose Sewing Machine Needle
Thread
Fabric Shears
Heat n’ Bond Ultra
Iron
Vinyl Cutting Machine, optional
When I was planning the designs for my holiday pillows I knew I wanted them to be a little more unique and designs that haven’t really been done for holiday pillows before (at least that I’m aware of). I’m obsessed with the camel colored leathers right now, which you already know. My new couch needed a faux leather pillow, I wanted the pillow to be simple but to still have a fun design so I decided to cut my design out and put a contrasting fabric underneath it.
 I used my new Cricut Air 2 to help create my stencil for the letters to cut. I cut them on regular cardstock. If my leather had of been smaller in size and fit through the machine I probably would have cut it directly on the leather.
Feel free to snag this free template for making this cuttable file on your own HERE. Just download the file, open in your cutting software and resize. Then cut.
Next, cut the faux leather for the front of your pillow. For more on making envelope pillow covers go HERE. You can decide your fabric cuts based on your pillow form size.
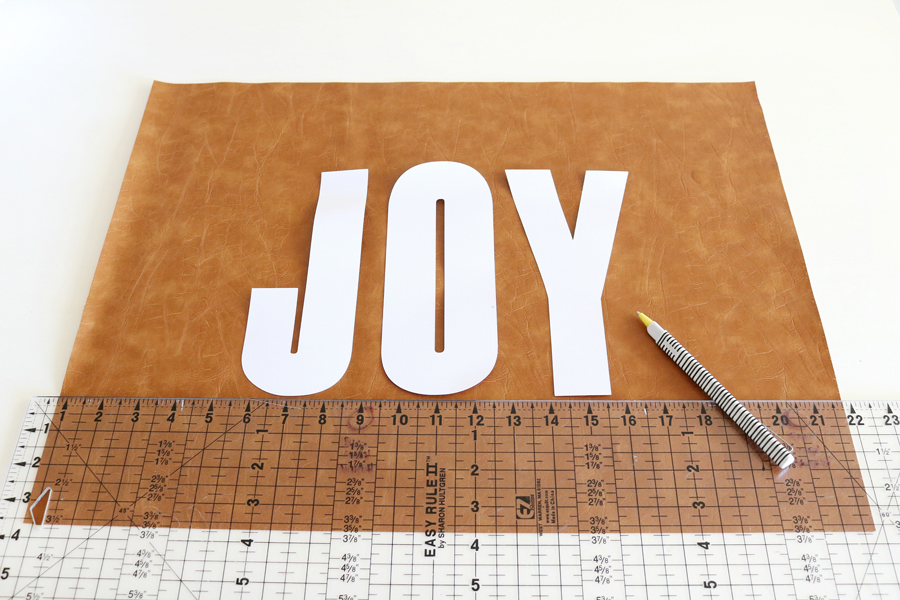
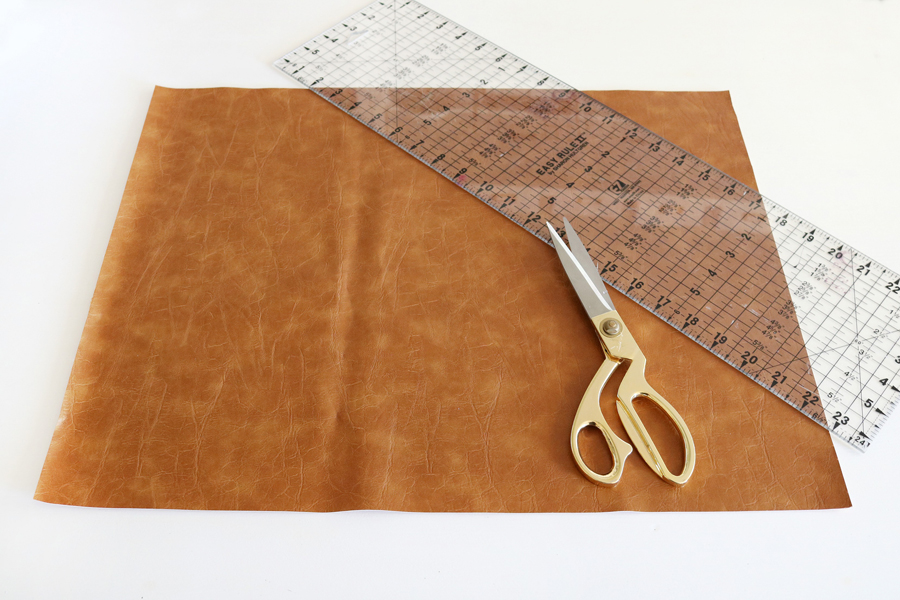 Center your cardstock letters onto the leather piece. Trace with a pen or thin sharpie carefully. This will be your cut lines.
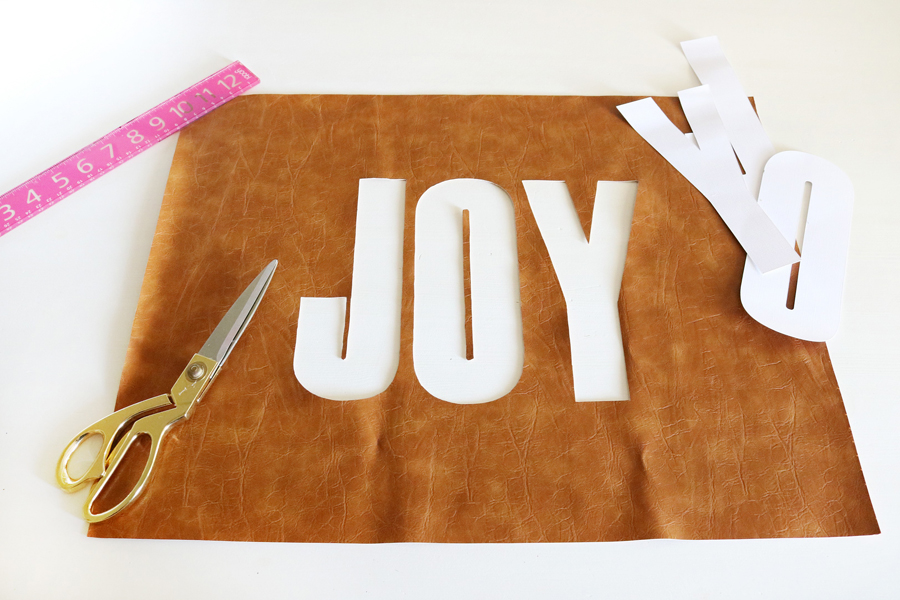
 Using super sharp shears cut out your letters. Be sure to save the center of your letters.
Turn the faux leather over and carefully iron-on some ultra heat n’ bond to the back of the letters, I had to carefully cut pieces to fit around all the curves and such. Follow package instructions for ironing. The heat n’ bond helps to hold everything in place for stitching. Then simply iron a backer fabric (I used the same linen-look fabric as the back of the pillow cover) behind the letter cut-outs so the heat n’ bond can adhere them together so you can stitch. The fabric piece should be rectangle piece about 1″ larger all the way around than the cut-outs.
If you’re not wanting to stitch the letters you can simply hot glue the backer fabric to the back side of the faux leather.
 Following the envelope pillow instructions from the link above you can finish sewing the pillow cover.
I’m so in love with how this Faux Leather Christmas Pillow turned out! I hope you love it too. Don’t worry, I’ve got a couple more pillows still to come!
 If you loved this Faux Leather Christmas Pillow you’re sure to love these ideas…
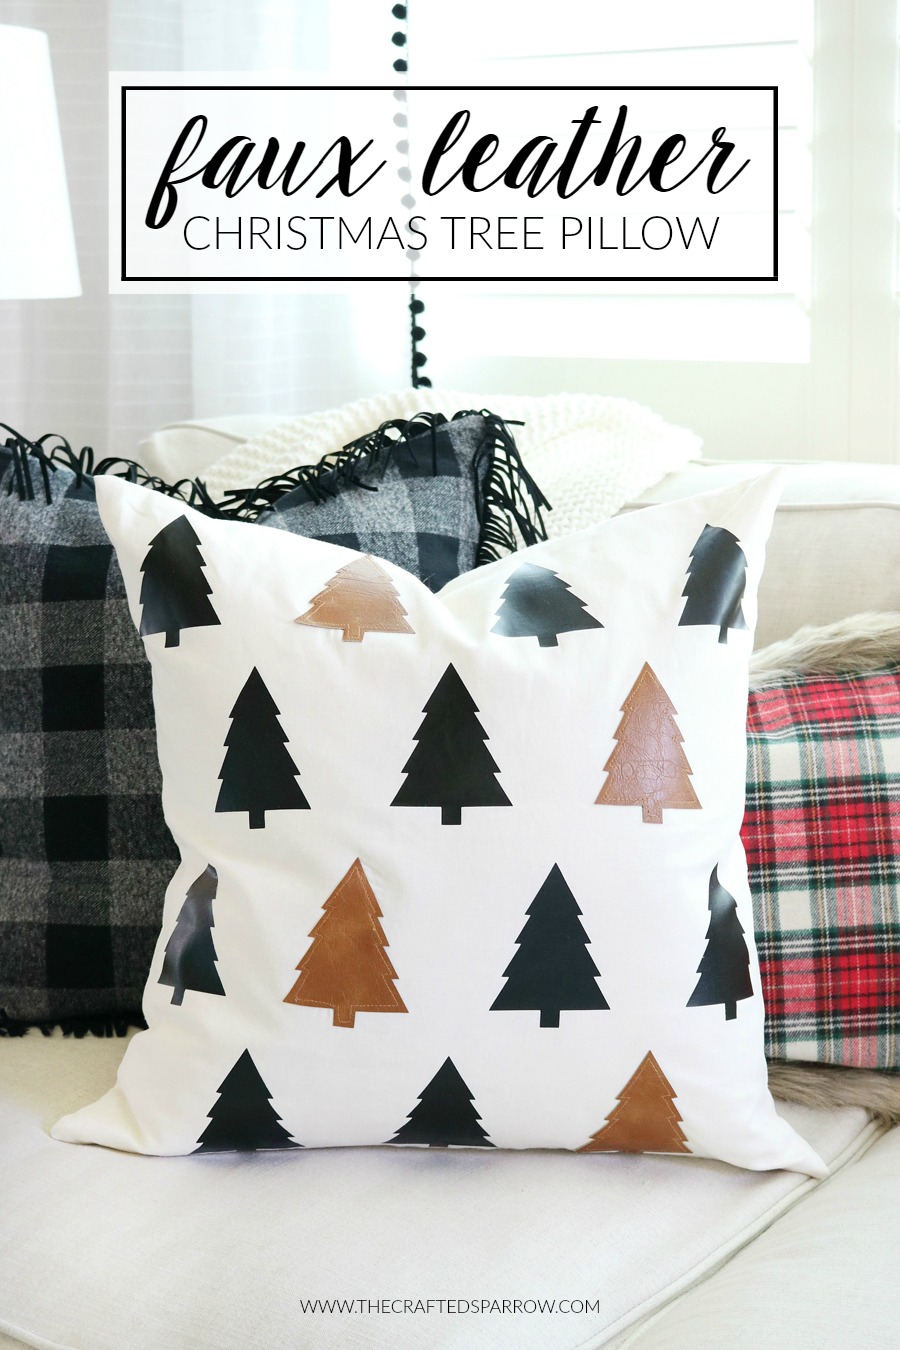
DIY Faux Leather Christmas Tree Pillow

Leather & Flannel Christmas Mantel
* This project was originally shared on Classy Clutter on 11/2106



So did you sew on a piece of white fabric behind the letters? Did you use like a white cotton canvas or something else? Thanks, very cute!
Hi Amy. Yes, I used linen-look fabric that I linked to in the supply list for the backing of the letters. I guess I forgot to mention that I used it behind the cut outs, so sorry about that. 🙂
Girl – these are AMAZING!!!!!!!!!!!! I’m already obsessed with black & tan together AND also obsessed with learning new things I can use my Cricut for. This is AWESOME!!!!!!!!!!!!!!!!!! Can you just come up here for a weekend so we can make stuff with the Cricut together??
That would be so fun! 🙂 Thanks girl. xoxoxo