DISCLOSURE | This post is sponsored on behalf of Floracraft® Make It: Fun Crafts®. All opinions and ideas are 100% my own. This post may also contain affiliate links.
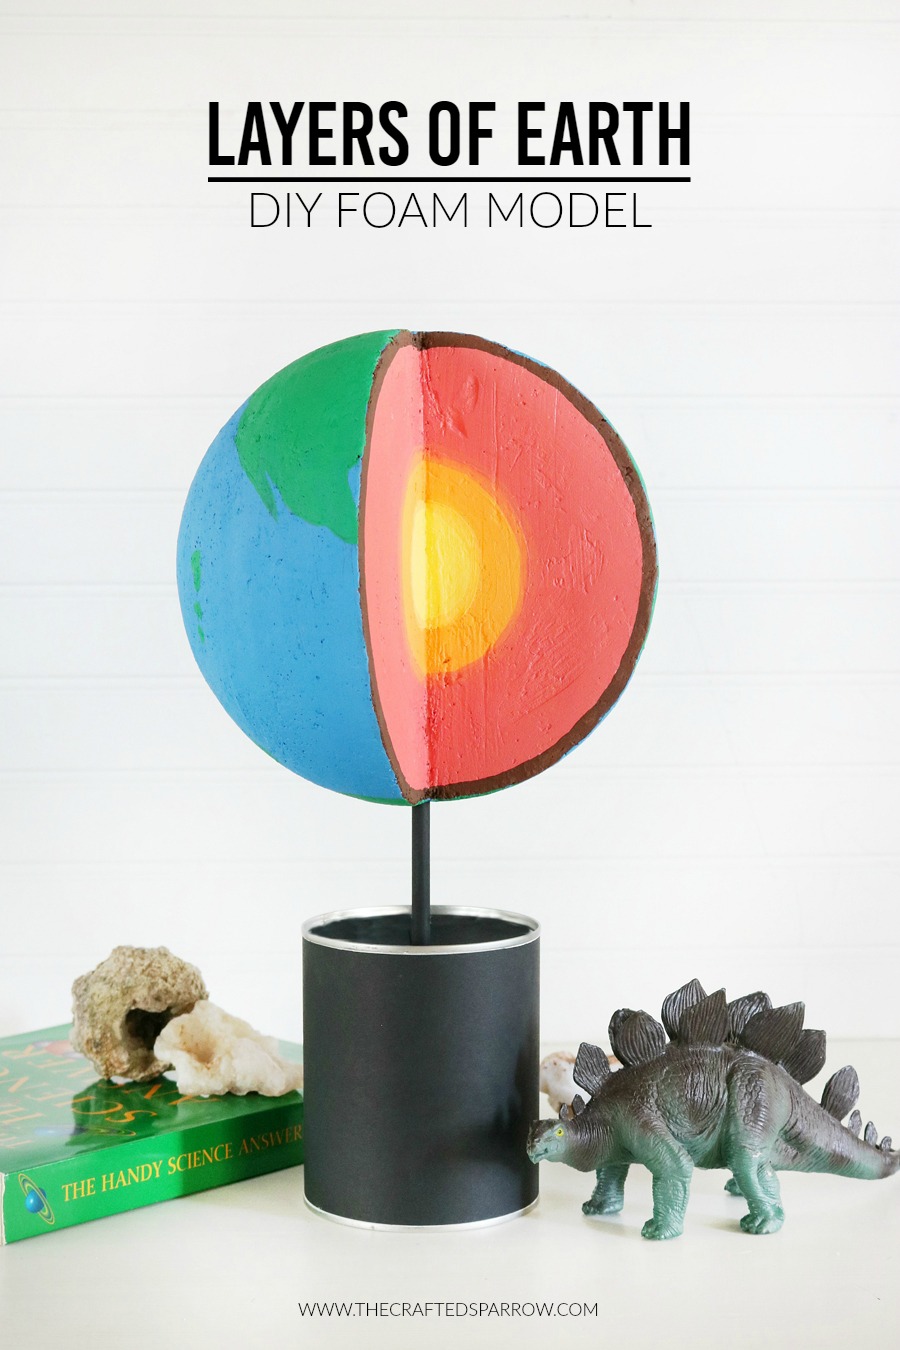 Each month I receive a box full of foam items / shapes from Make It: Fun Crafts® that we are asked to create projects with based on a specific theme. This month we were asked to create a project focused on learning since we are right in the midst of science fair season. While I don’t typically post a lot of these types of projects I thought it would be fun to do a project based on something my kiddo’s have been learning about in school. This Layers of The Earth DIY Foam Model is perfect for students of all ages to create.
Supplies:
Make It: Fun Crafts® 8″ Foam Ball
Make It: Fun Crafts® Smooth Finish
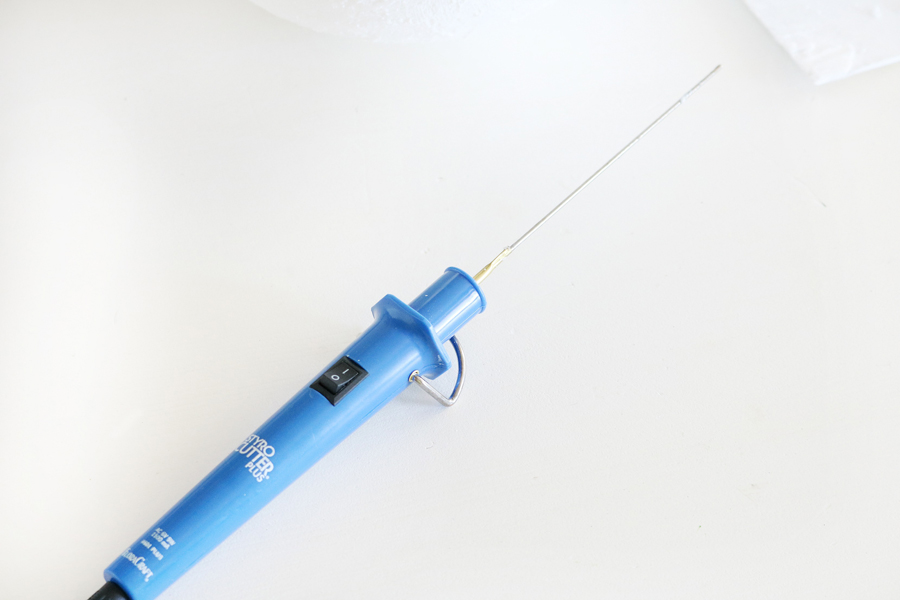
Make It: Fun® Foam Saw or Make It: Fun® Electric Cutter
Acrylic Paint
Paint Brushes
Wood Dowel
Sandpaper
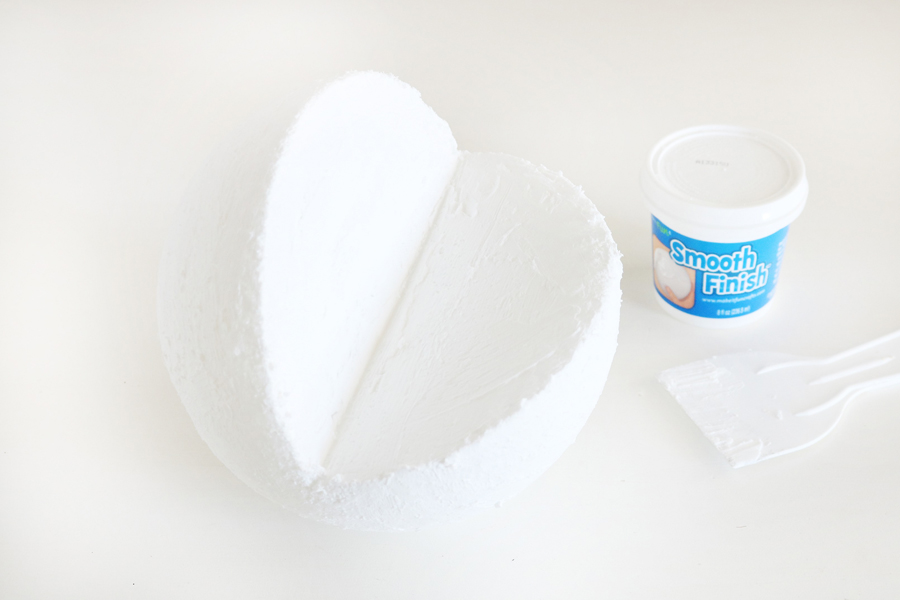
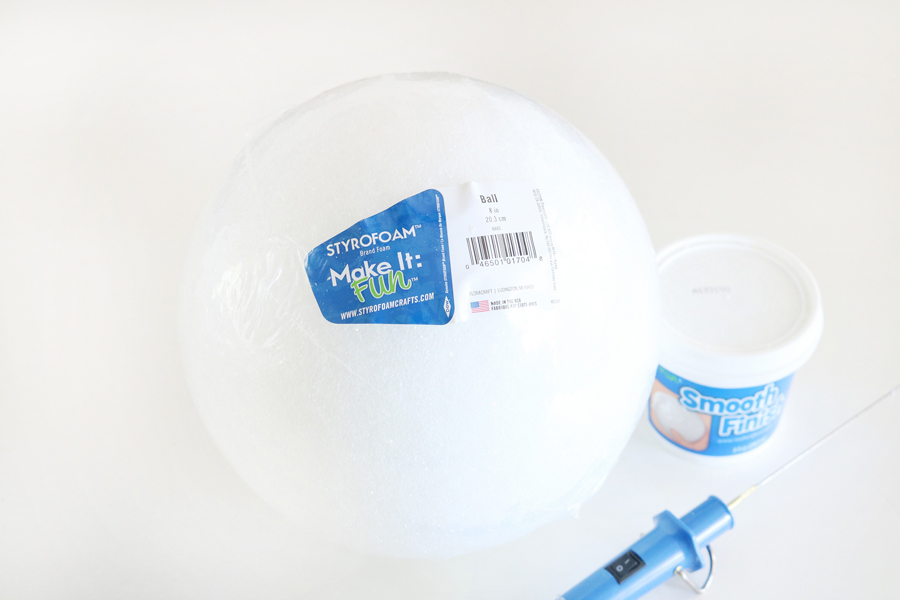 First, cut out a portion of the 8″ foam ball to show the layers of the earth. For this you can either use a foam saw or the foam wire cutter, it heats up and cut clean through the foam. Just cut it out like a piece of pie.
This next step is optional, but I prefer the way it looks with it. I used the Smooth Finish to create a smooth surface on the foam ball. It makes the model easier to paint.
Using a plastic spatula or a popsicle stick apply the Smooth Finish all over the foam ball.
Allow the Smooth Finish to dry completely, then using sandpaper lightly sand the entire surface. It’s totally okay to have a bumpy surface on the outside of the sphere, it will look more like earth.
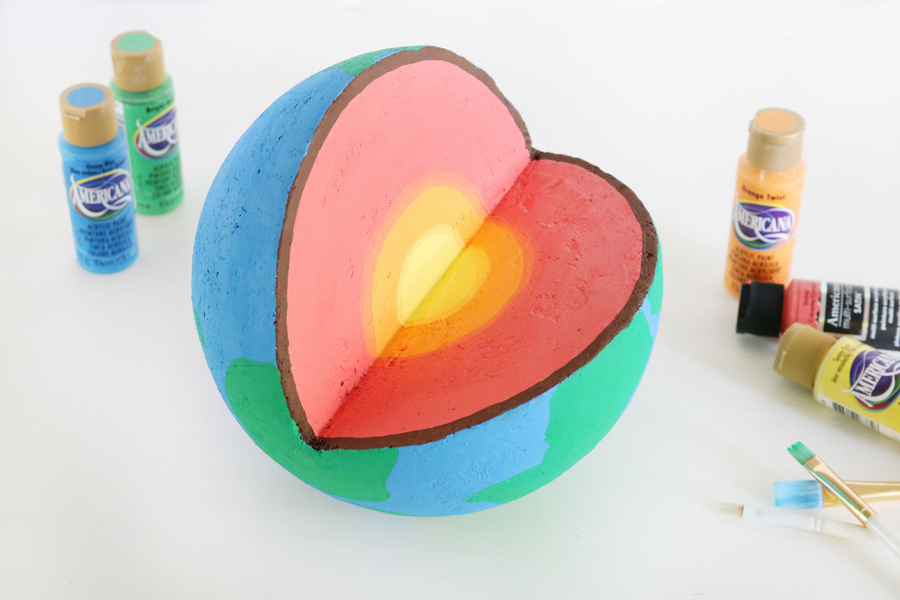
With acrylic paint, paint the layers of earth in the center of the sphere and let dry.
Then paint your oceans and continents. Once that is dry you can either choose to label your layers of the earth with a marker or leave it as is. I left mine without labels so I could make the kids guess.
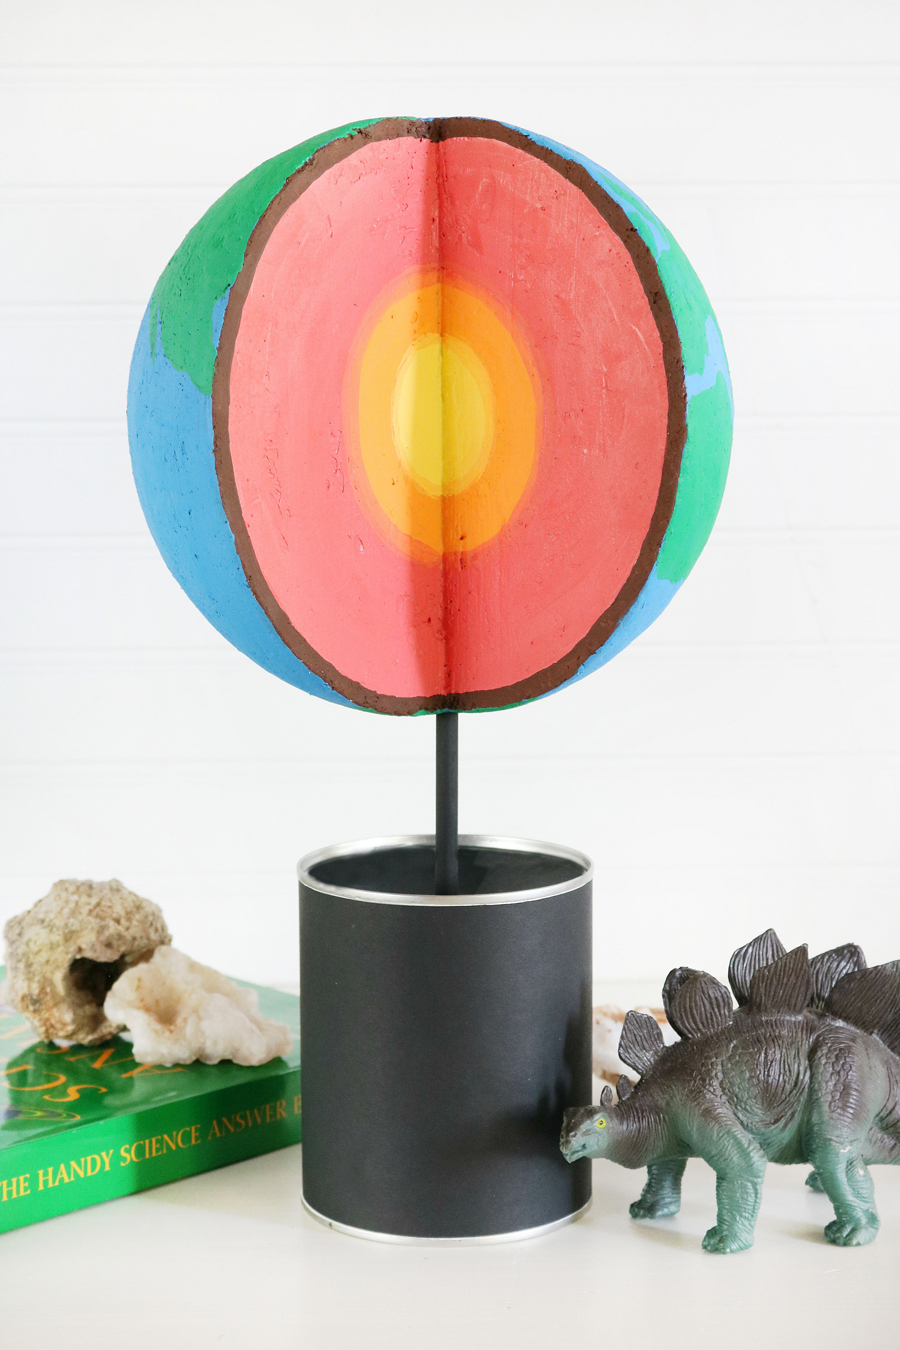
If you do choose to label the layers here is the way it should go:
- Brown Layer = Crust
- Coral = Mantle
- Orange = Outer Core
- Yellow = Inner Core
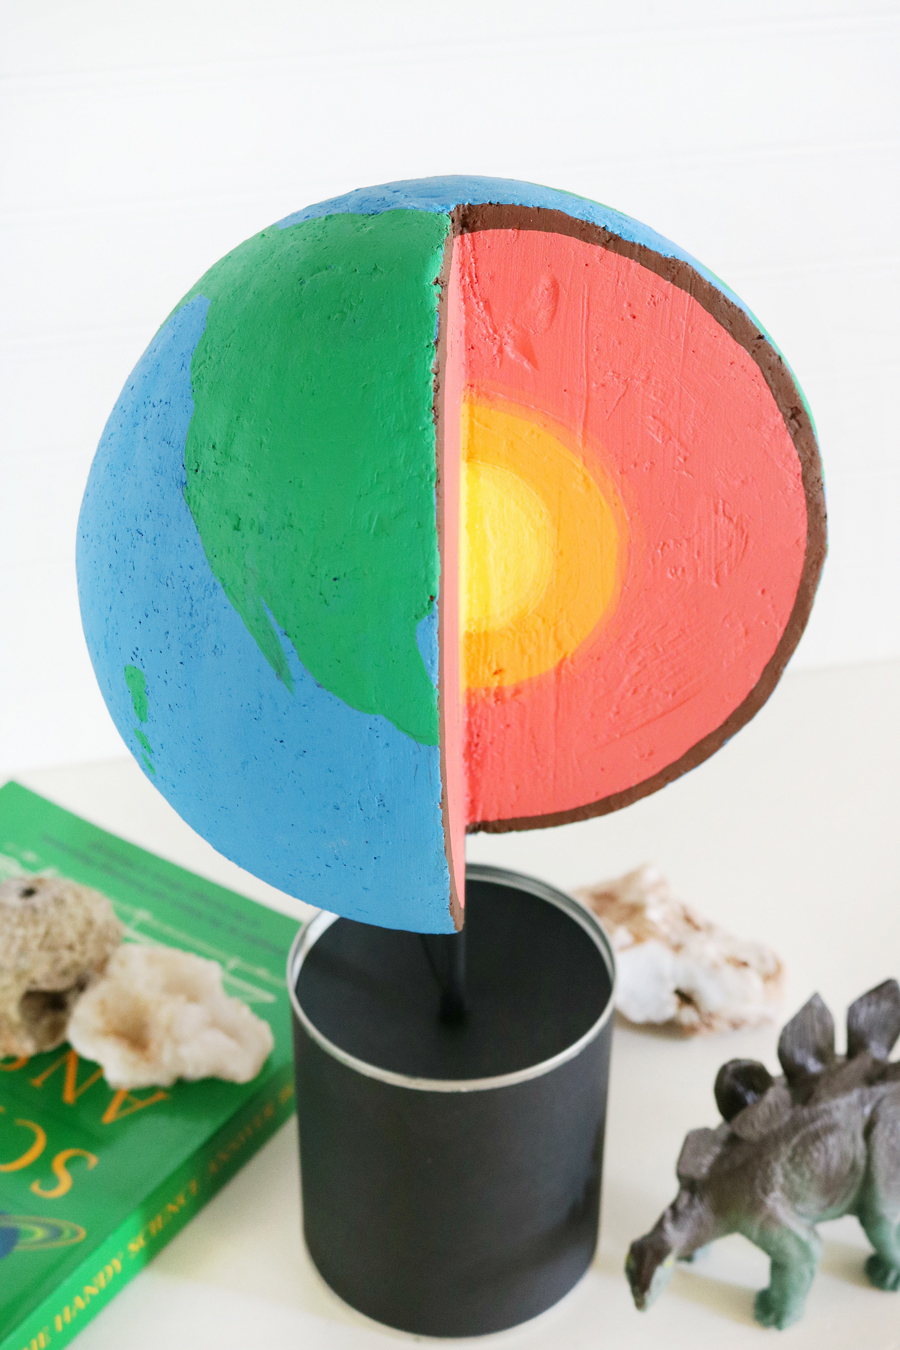
The last step is to paint a wood dowel and insert it into the center of the earth model. I propped my model up in a tin can, you can use whatever container you’d like. If you want to create a wood stand that would work too.
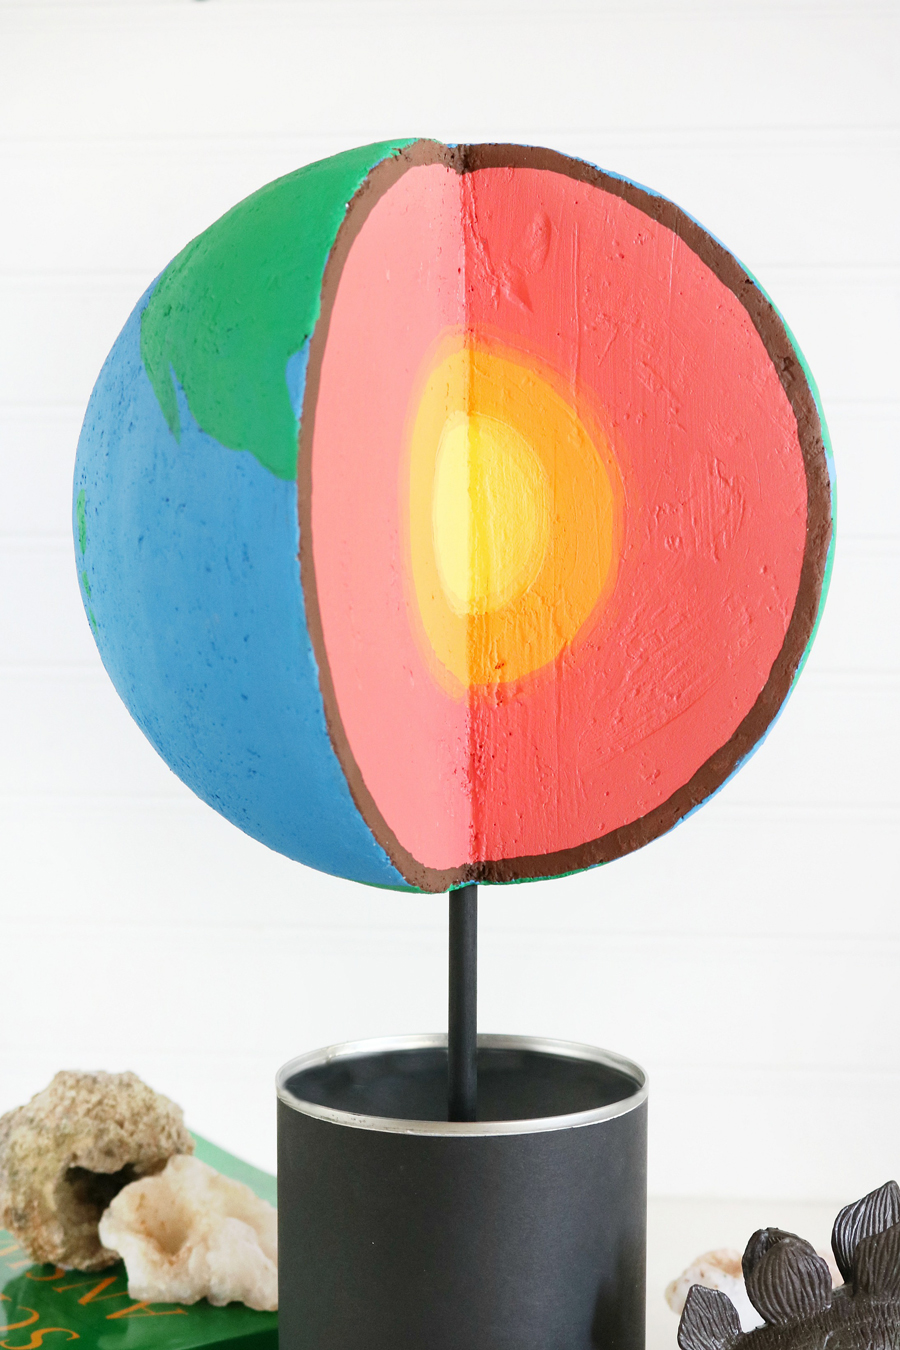 It turned out pretty fun, my boys loved it and knew the layers right away. In fact, my youngest is super excited to take it to class to share as part of their science lessons.



Love this!
Thank you Jamie!
Well done! We are working on ours now and are really enjoying it. Going to do a simple ring of cardboard with lable for the base.
Cammie, that’s awesome! We had so much fun making this Earth DIY Foam Model. My boys still have it and are actually taking it to their school library to donate.