DISCLOSURE | This post is sponsored on behalf of DecoArt. All opinions and ideas are my own!
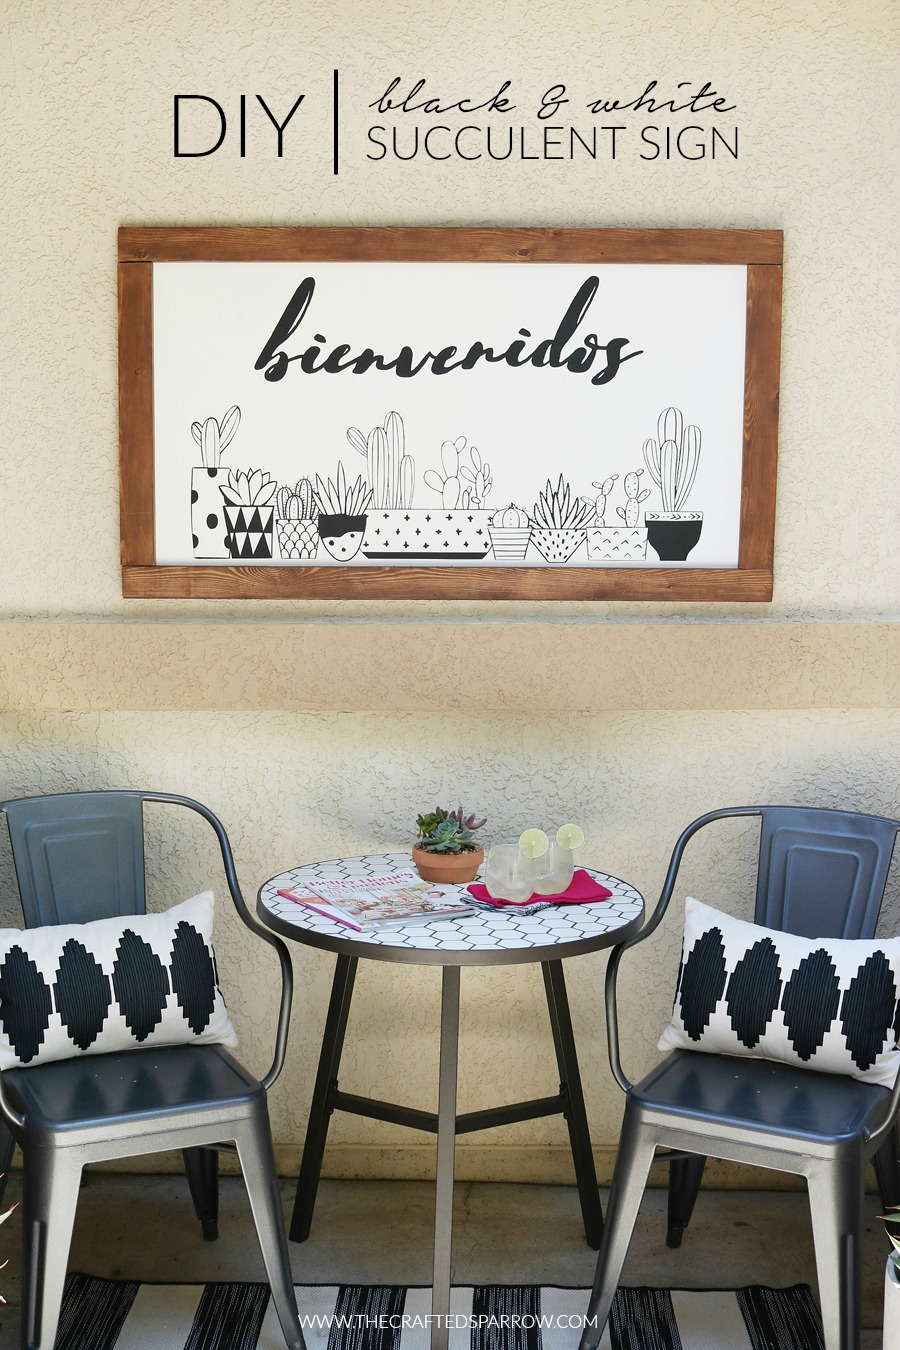 If you follow me on Instagram then you probably saw the teasers I did for this fun project. I recently gave our front porch a mini refresh, you can check it out HERE…I’ve had either my large DIY chalkboard or a large metal wall hanging up in this space for a couple years now. It was time to update it a little bit, it needed something fun. This DIY Black & White Succulent Sign definitely fits the bill.
Supplies:
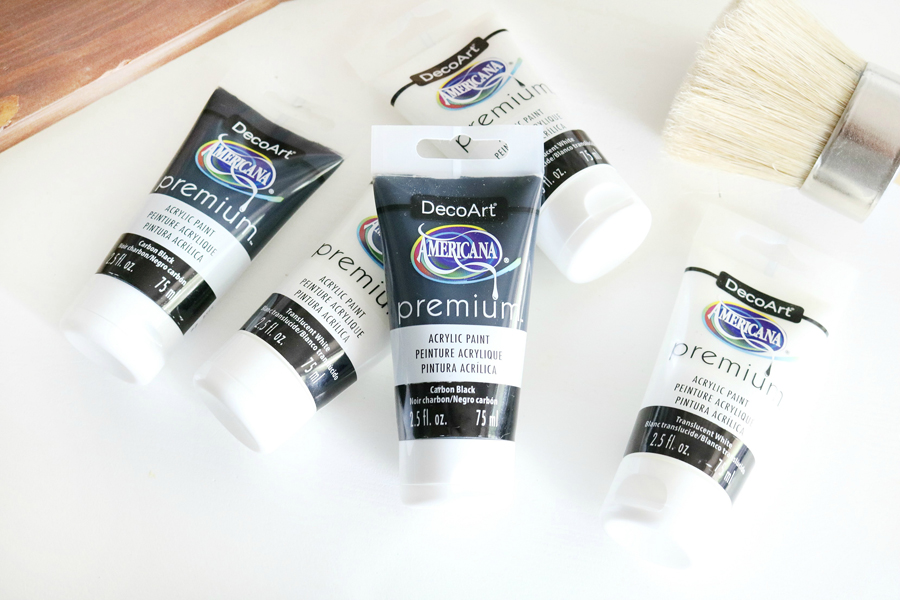
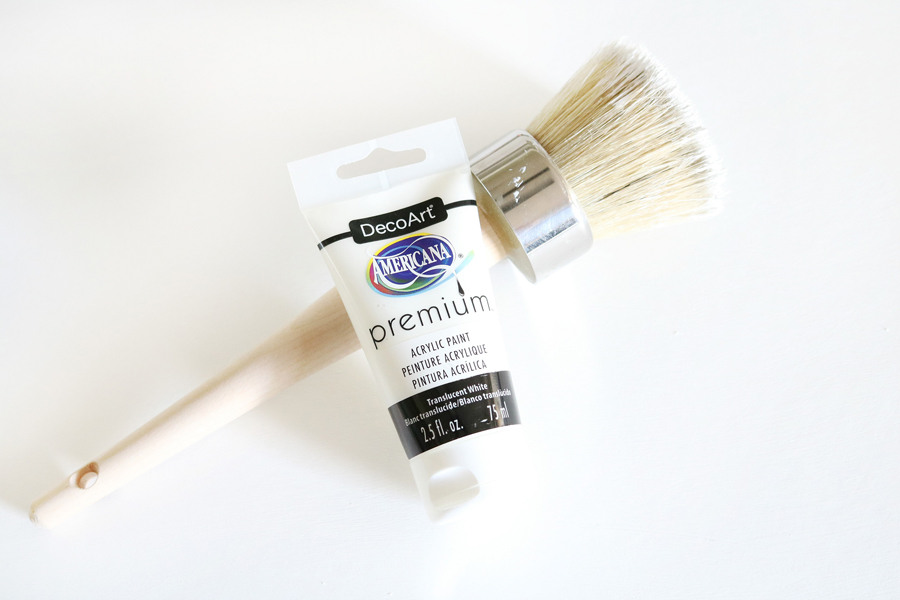
DecoArt Americana Premium Acrylic Paint
Large Paint Brush
Foam Paint Brush, 1″
Vinyl Cutting Machine
Vinyl
Wood Board or MDF
Pine 1″ x 3″ for frame
Screws for Sign Frame
Drill
Matte Sealer, optional
If you’ve been reading this site for any length of time you know I have a favorite paint brand when it comes to crafting signs, DecoArt is what I always buy. So when they asked me to try their new Americana Premium Acrylic Paints I was super excited. Acrylic paint is one of my favorite mediums to use when I’m crafting and DIY’ing small and large projects. This new premium version comes in some pretty great colors, it’s super easy to use and has a nice satin sheen. It’s really perfect for lots of projects: wood signs, canvas paintings, wall art and so much more. It’s a great cross between a regular acrylic paint and the pricier artist acrylics. You can currently purchase it at Michaels.
 Since I had the huge 4′ x 2′ chalkboard that was hanging out on the porch and it needed updating I figured it would be the perfect project to use the new Americana Premium Acrylic Paint on. So I quickly disassembled the chalkboard by removing the wood frame and gave it a quick wipe down to be sure it was clean. I love repurposing items, this project is a great example of how to makeover your home by shopping what you already have.
No worries if you don’t have a giant piece of wood already lying around, just head to your local home improvement store and grab a piece of thin MDF or whatever wood you prefer. Like I mentioned this one I did was 4′ x 2′, pretty large…but you could make this sign any size you want. You will also need the pine 1″ x 3″ for the frame, the thickness of the frame is really up to you so go with what you prefer. I didn’t do any fancy mitered cuts on the corners, all straight cuts so the frame is pretty easy to make. Just attach your wood frame to the front of your sign using a drill and some screws and you’re all set.
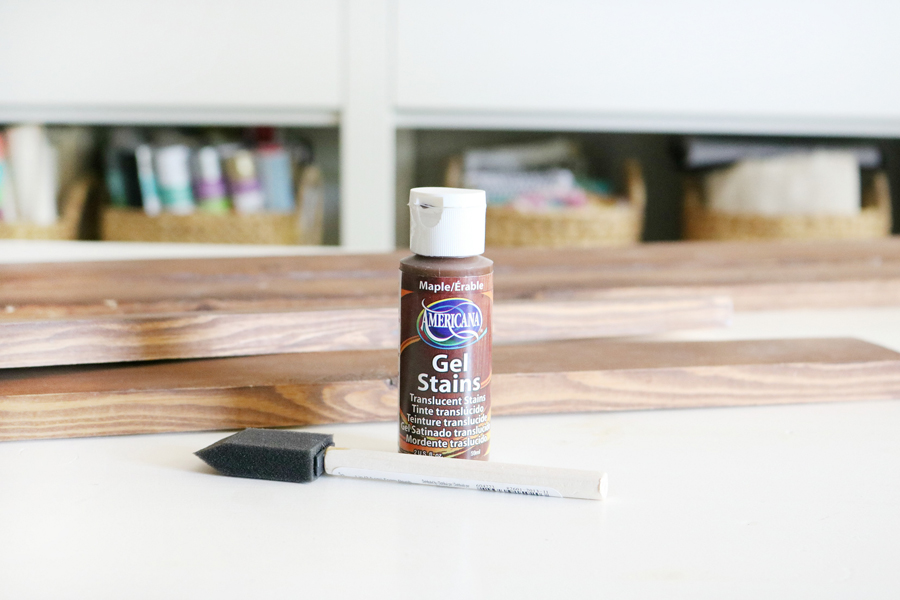
I love the Americana Gel Stains and use them quite a bit on my signs and frames. This frame is the maple color, one of my favorites. Just apply using a foam brush and wipe away any excess with a paper towel or soft cloth. There is no messing this stain up.
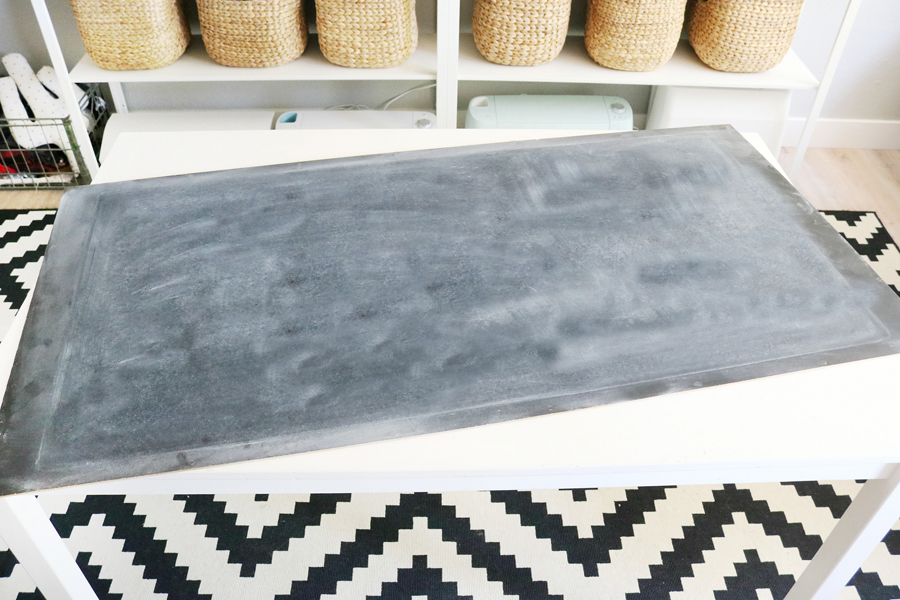 Once I was ready to start covering up the old chalkboard I grabbed my large Americana Waxing Brush, it’s not just for waxing furniture. It’s a great brush for furniture projects and large surfaces. Basically, when you’re using this brush your painting in large hashtag’ing motions. This helps get great coverage.
I ended up adding the matte premium medium (also found next to these paints) to create a matte finish on my sign. Just follow package instructions when mixing.
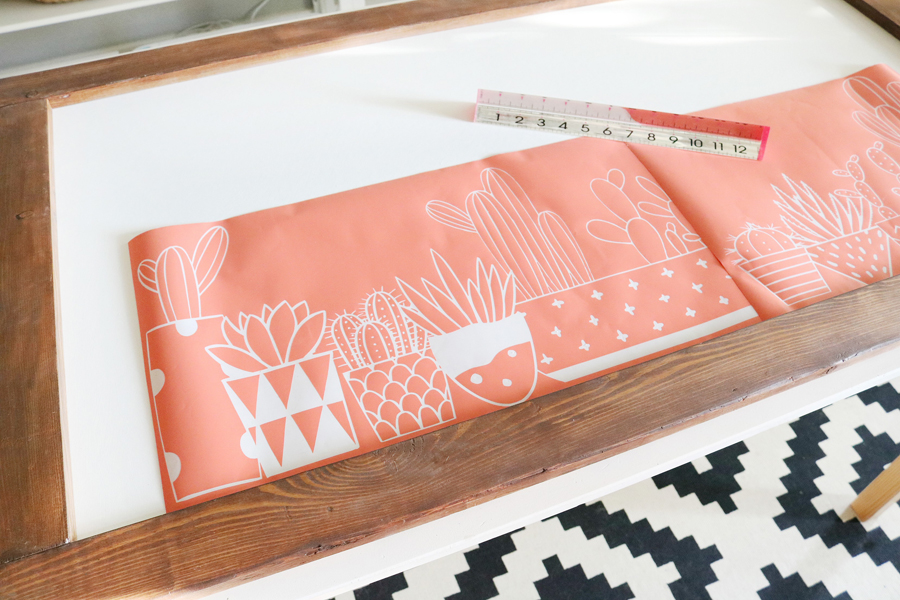
 Once my surface was dry, it was time to cut my stencil for the design. I love using my Cricut Explore Air 2! For this stencil, I needed to cut it into two sections because the sign was so large. If you use a Silhouette Cameo you should be able to cut the whole thing at once.
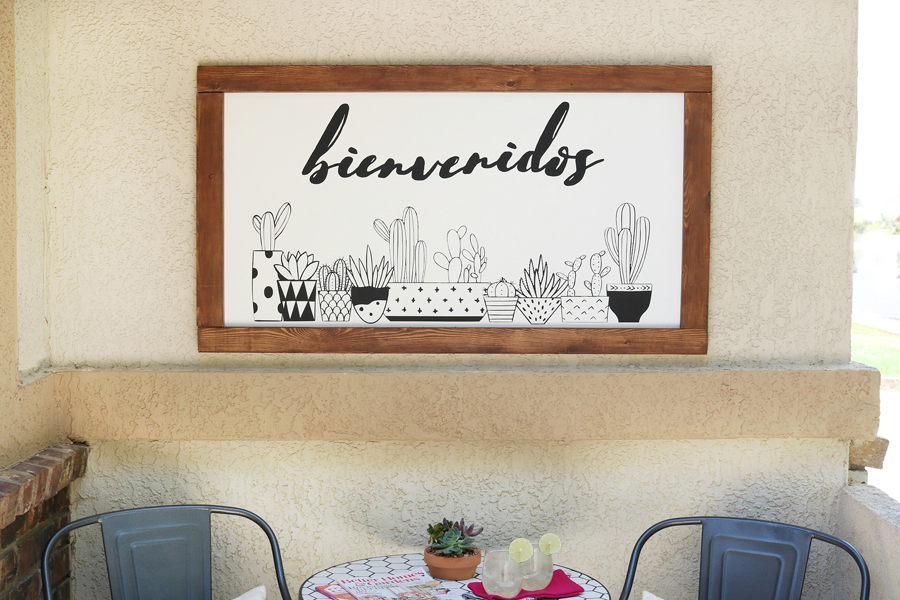
I love succulents and cacti, so I created a succulent garden on the bottom of the sign. I also wanted this sign to be a fun way to greet guests who visit and since my hubby is of the Spanish-speaking origin I thought it would be fun to do something in Spanish. So I went with “Bienvenidos” which means “Welcome”. Sweet and simple.
Soon this cut file will be available in my etsy shop for you to purchase.
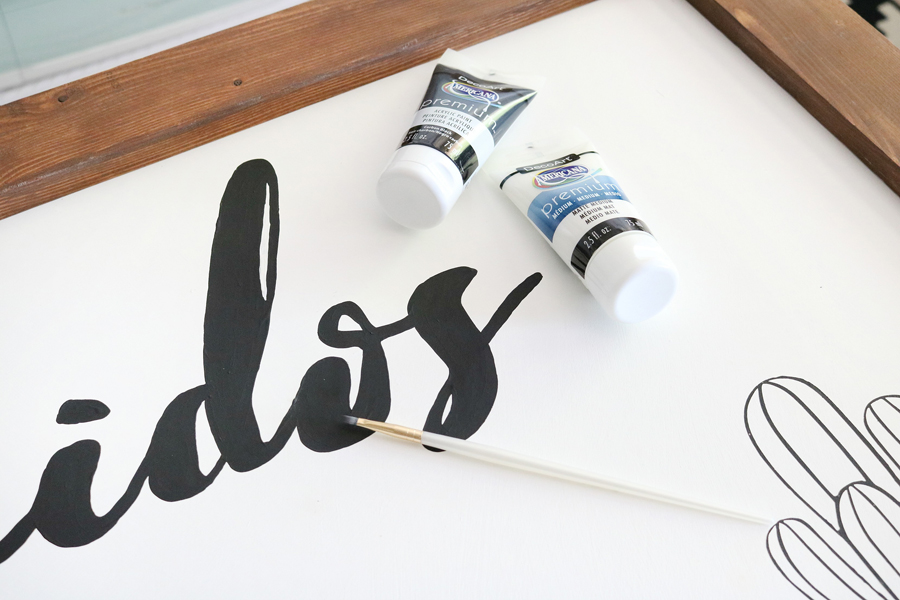
Once you apply your vinyl stencil to your sign use the black premium acrylic and a foam brush to stencil in the design. Once dry, carefully remove your stencils.
Note: This paint is not intended for outdoor use, so in order to protect my sign I used a matte sealer with a large brush per package instructions and gave my sign a couple coats. I made sure I grabbed a matte finish for this as well. I was sure to use something that won’t yellow since it’s outside under a porch.
When everything is dry you can add a hanger to the back of the frame using a saw tooth hanger or even adding some picture wire.
Then you’re all set and ready to hang. This sign doesn’t just have to be outdoors, it can definitely be put indoors too.
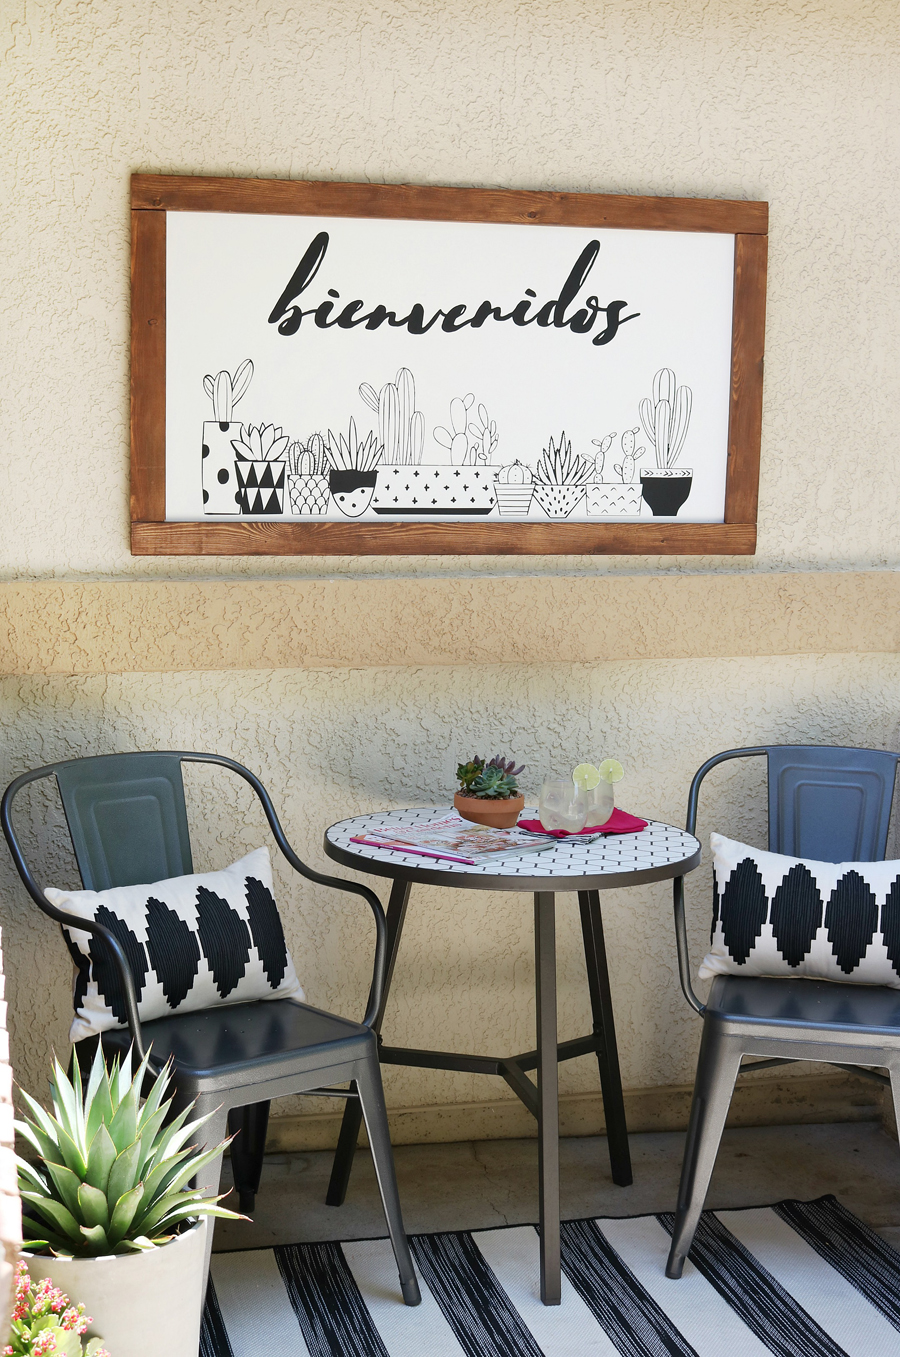
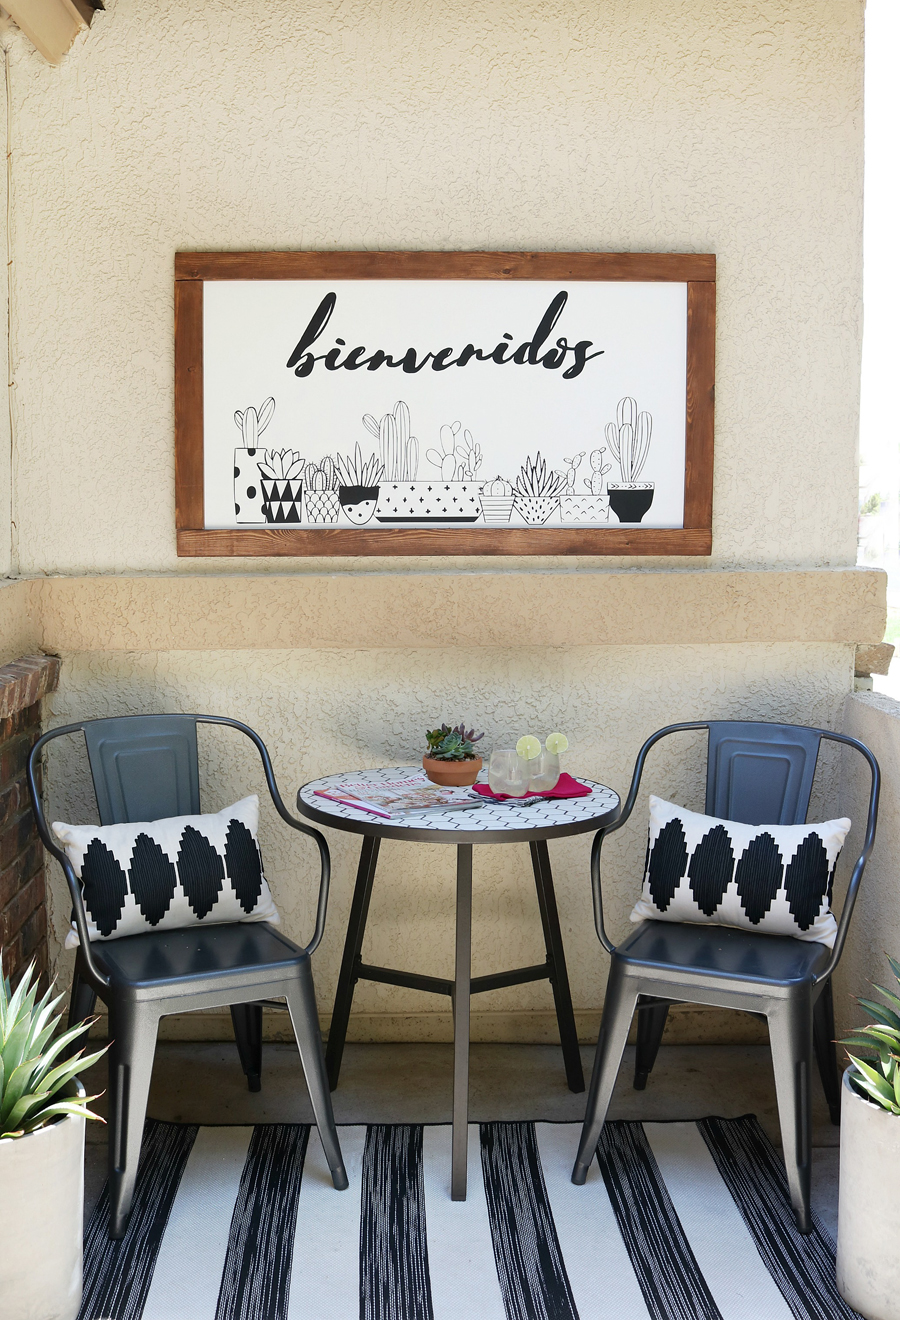
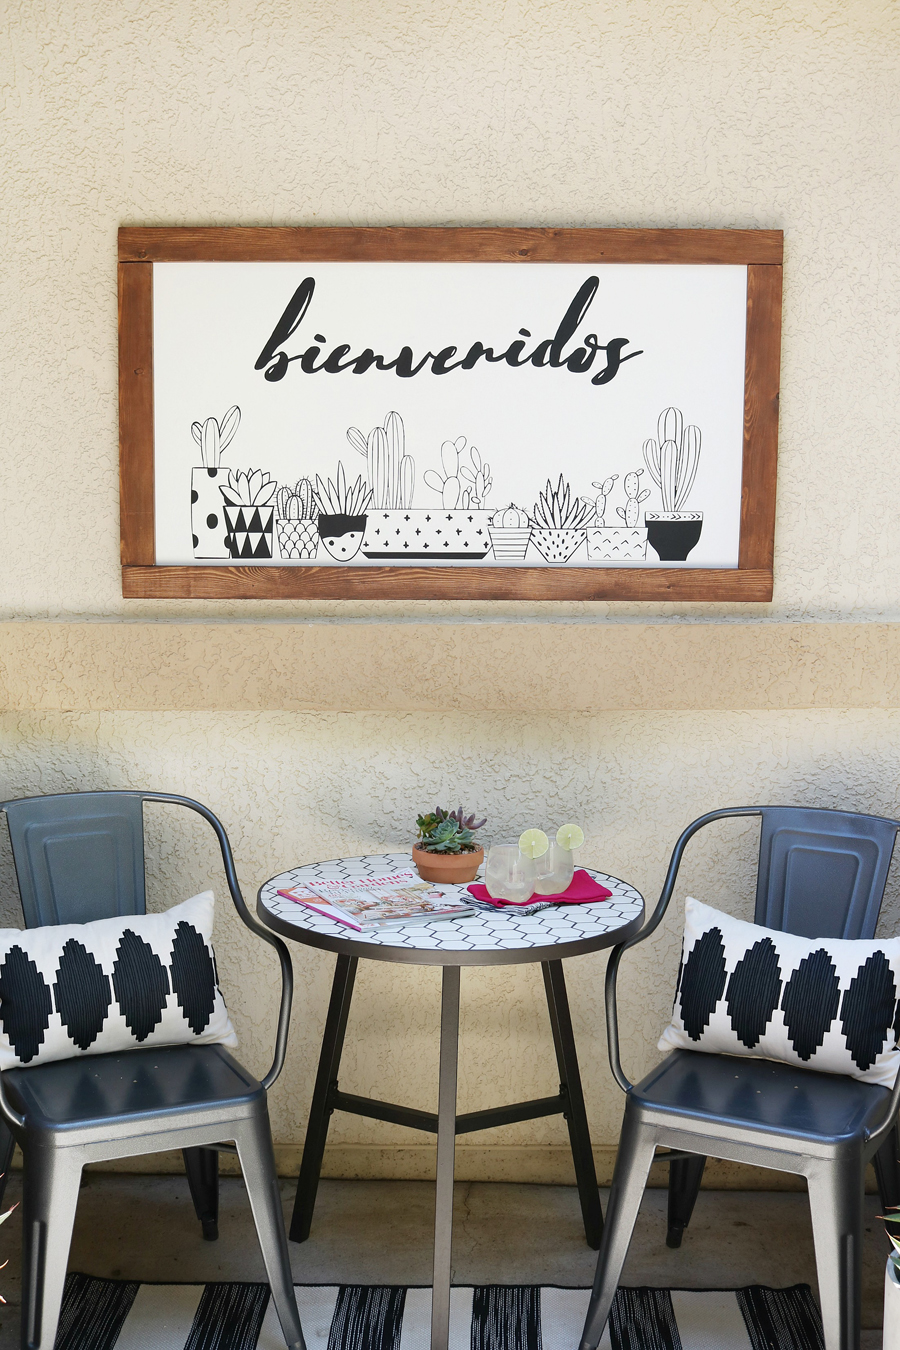 I love how my DIY Black & White Succulent Sign turned out and it’s the perfect addition to my black and white front porch. Someday I will live in a house that doesn’t have tan stucco, I am determined. Unfortunately, in Arizona, most of the houses are tan stucco…sigh.
 If you loved this project be sure you check out these other great ideas:


Leave a Reply