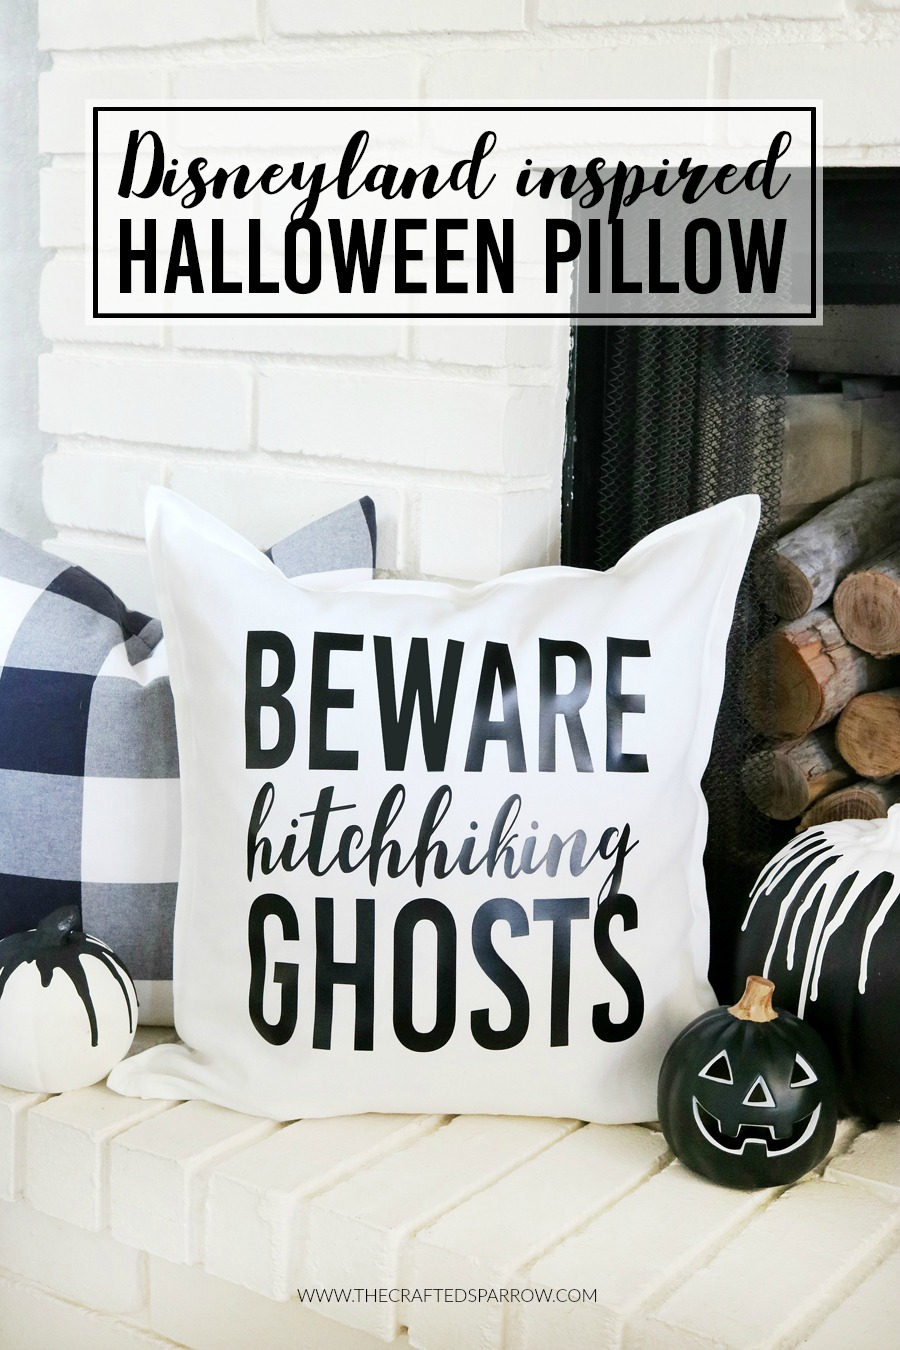
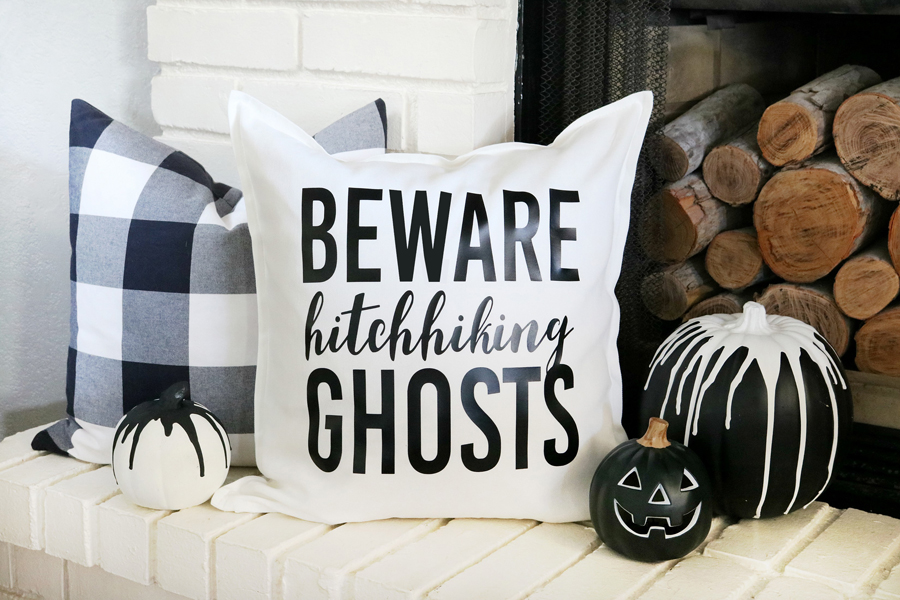
 Who’s pulling out their Halloween holiday decor already?! I got mine out a couple weeks ago, but haven’t fully decorated yet…maybe this weekend I’ll get it all put out. As you know I love me some DIY holiday pillows, today I’m sharing my latest one…this Disney Inspired Haunted Mansion Halloween Pillow is perfect for everyone whether you are a diehard Disney fan or just a Halloween obsessed person.
Supplies:
Pillow Cover, I found mine at Ikea
Pillow Insert, I found mine at Ikea
Cricut Iron-On Vinyl
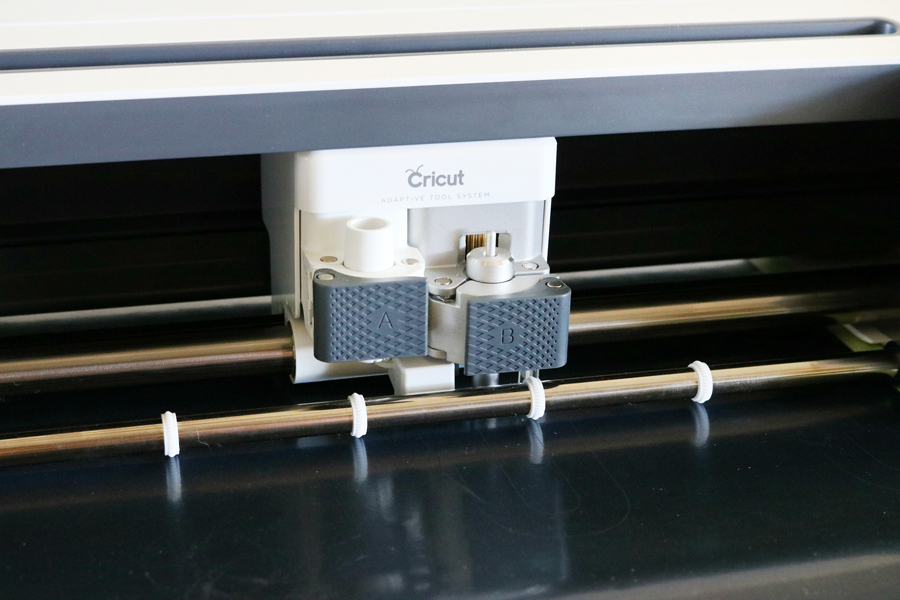
Cricut Maker Cutting Machine
Cricut Easy Press or Iron
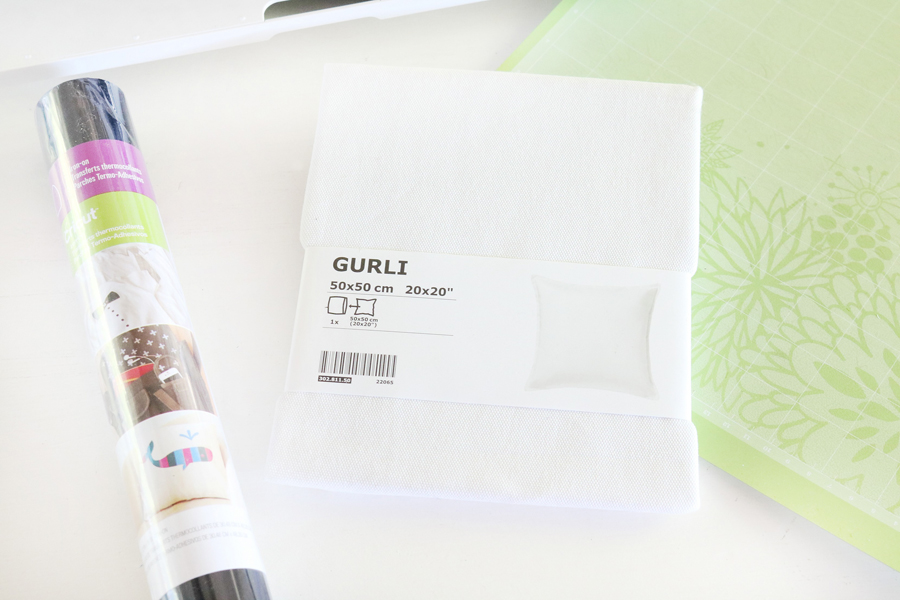 I love stocking up on these plain pillow covers from Ikea, they make the perfect blank canvas for quick and easy DIY holiday pillows. They come in a ton of colors and are like $5. That’s way better than having to sew one if I can avoid it.
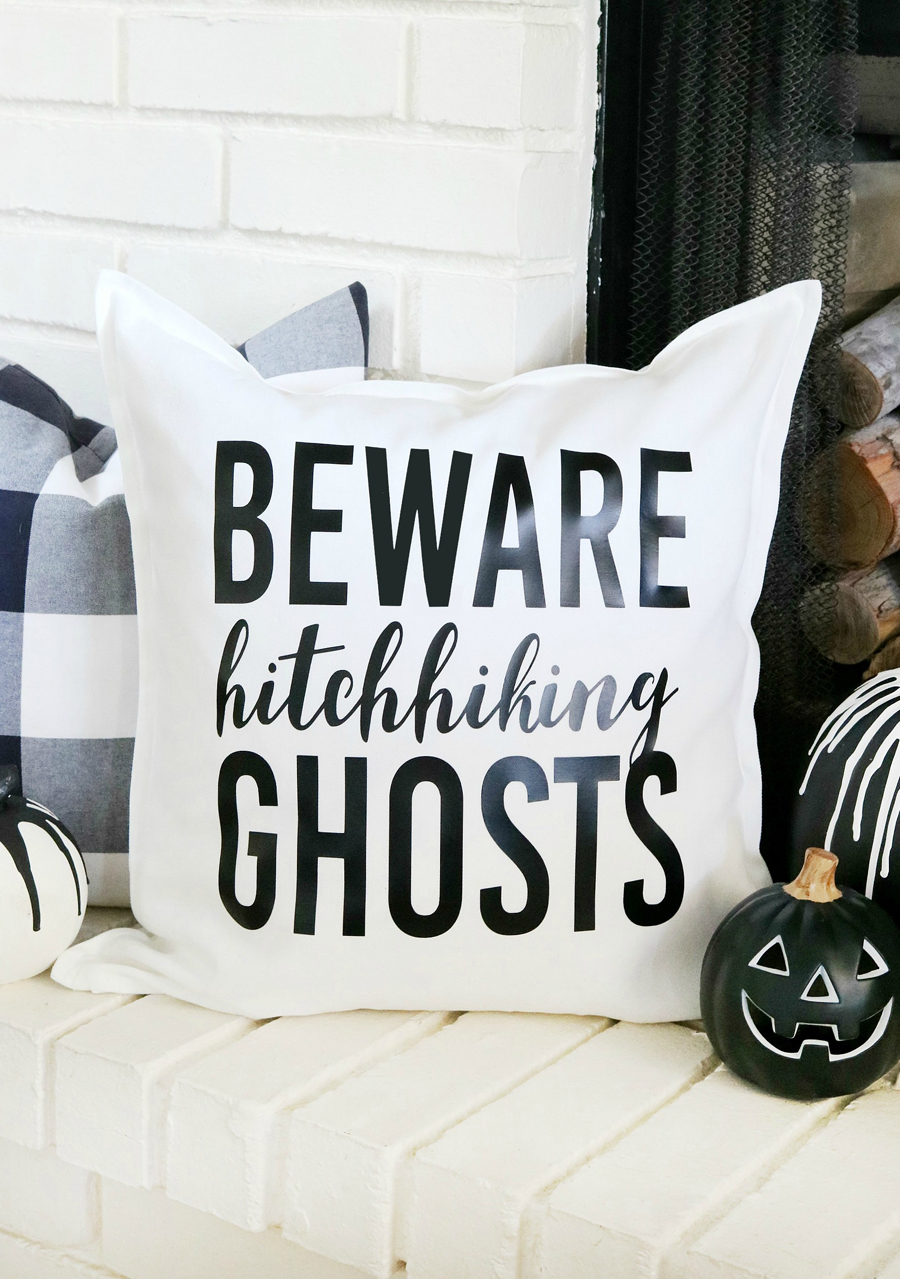
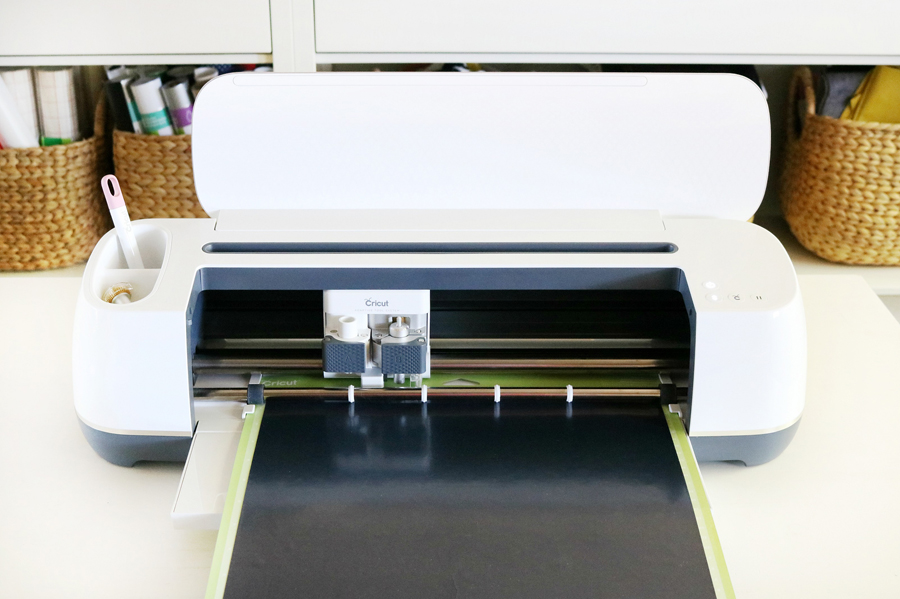
This Disney Inspired Haunted Mansion Halloween Pillow is totally inspired by the Haunted Mansion at Disneyland in case you didn’t already guess that from the name, lol. Everyone seems to be obsessed with the Haunted Mansion so I thought it would be fun to have a holiday pillow with a hint of Disney fun. This super easy and simple design was so quick to make with the help of my Cricut Maker cutting machine. I designed my graphics and then uploaded my image to my Design Space software and created a cuttable file. You can see how to do that HERE and HERE.
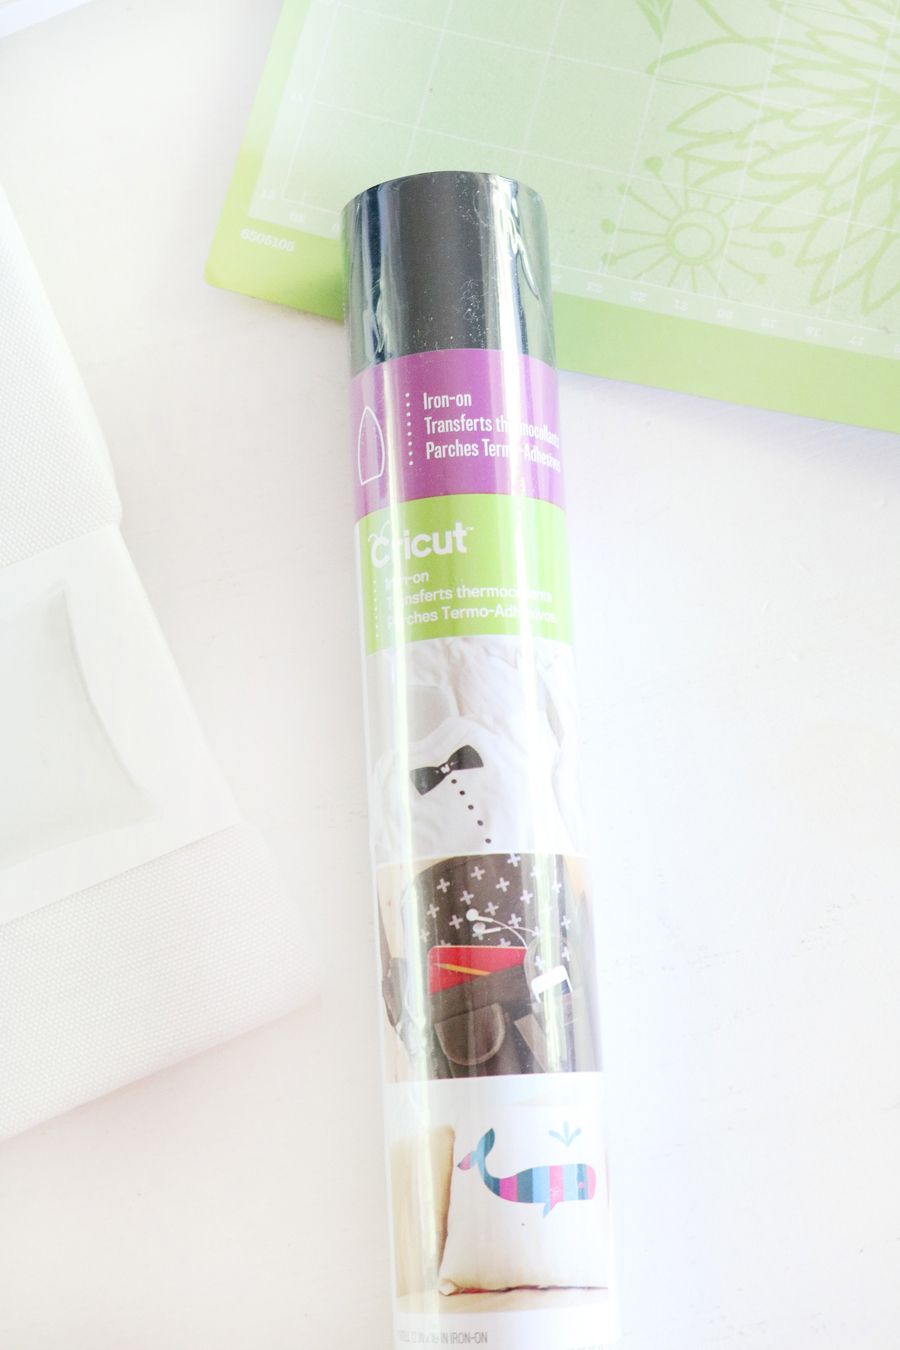 After I upload my image to the Design Space software and create a cuttable file I then just simply mirrored my image and hit Make It. Make sure your iron-on is always shiny side down when cutting and that you always select “mirror image”. I cut my image as large as I could which was 11.5″ x 11.5″ which is the perfect size for the 20″ x 20″ pillow covers.
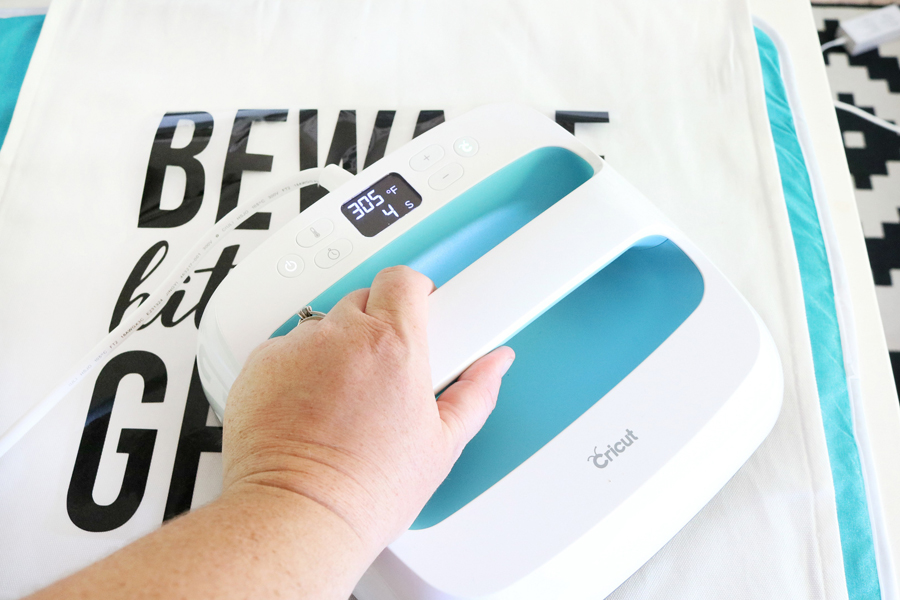
 For this project, I was super stoked to use my new Cricut Easy Press! It’s so good guys! If you have been thinking of getting a heat press at all you should really consider the Easy Press. So easy to use, less chance of burning yourself, and it’s pretty sleek looking. You basically follow a cheat sheet of temps and times depending on materials and press start when you’re ready to iron something on and it does the work for you.
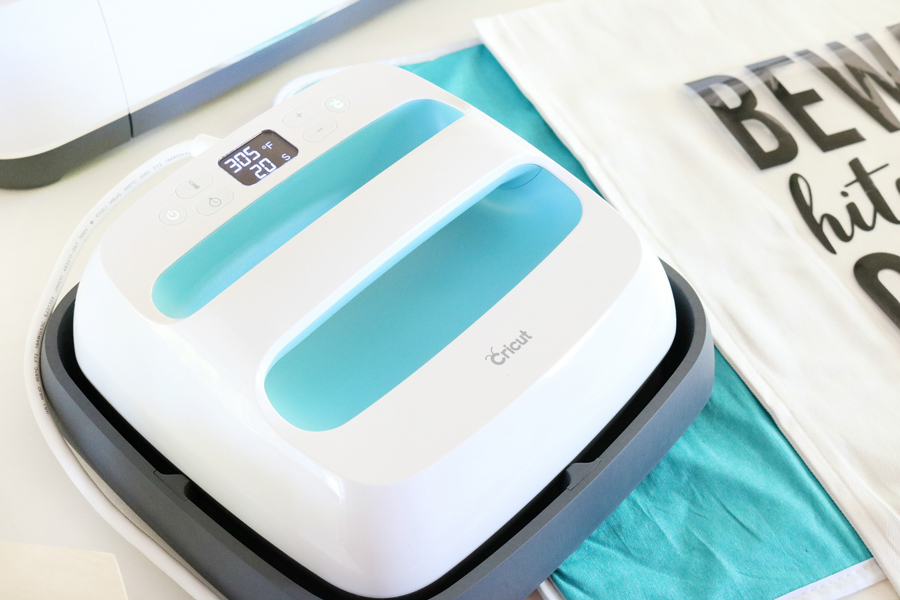 For iron-on I needed a temp set to 305 degrees and a timer of 20 seconds. I held the heat press over the entire design in 4 sections to adhere all the iron-on. Be sure to let the iron-on vinyl cool completely before removing the plastic protective sheet. Once cool you can slowly remove it, if for some reason any of the vinyl is still not adhered just replace the plastic sheet and go back over it again and repeat the process. You can even place a lightweight cloth or piece of fabric over the design once the plastic sheet is off and hit it again with the heat to really seal the deal if you want.
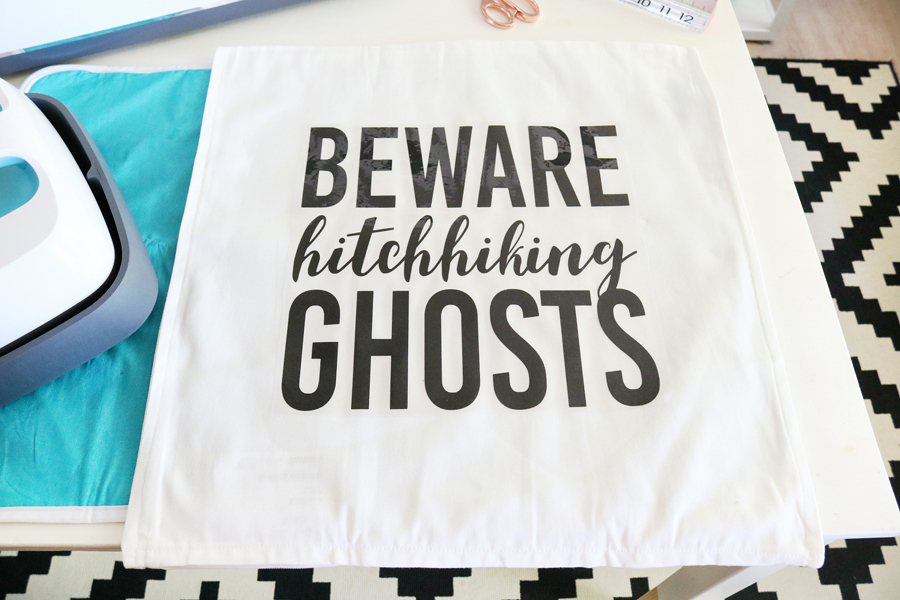 That’s it! So easy right?! This pillow would also be super fun with some white yarn tassels that look like ghosts added to each corner of the pillow, don’t you think? I decided not to do it when I made the pillow, but I think I might go back and add them after all.
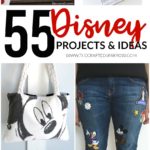
 If you love this Disney idea, be sure you check out this fun post…it has over 55 Disney Projects & Ideas that are all amazing and all Disney!
Now it’s time for you to check out these other amazing ideas from my friends, these super fun Disney Inspired Not So Scary Treats and Crafts are sure to get you excited about Halloween. 
DIY Mickey Pumpkin Shirt | Liz on Call
Mickey Halloween Cinnamon Roll | Pink Cake Plate
Disneyland Batwing Sundae | A Night Owl
Disneyland Monstermallow Donuts | The Disney Belles
Take a Bite Halloween Tote | Sweet Rose Studio
Poison Apple Mickey Ears Shirt | Eclectic Momsense
Haunted Mansion Pillow | The Crafted Sparrow
Disney Halloween Cupcake Toppers | Clever Pink Pirate
Homemade Disney Halloween Mickey Crispy Treats | Around MyFamily Table
DISCLOSURE | This post has been sponsored by Cricut. All opinions and ideas are my own. Post may contain affiliate links.
Leave a Reply