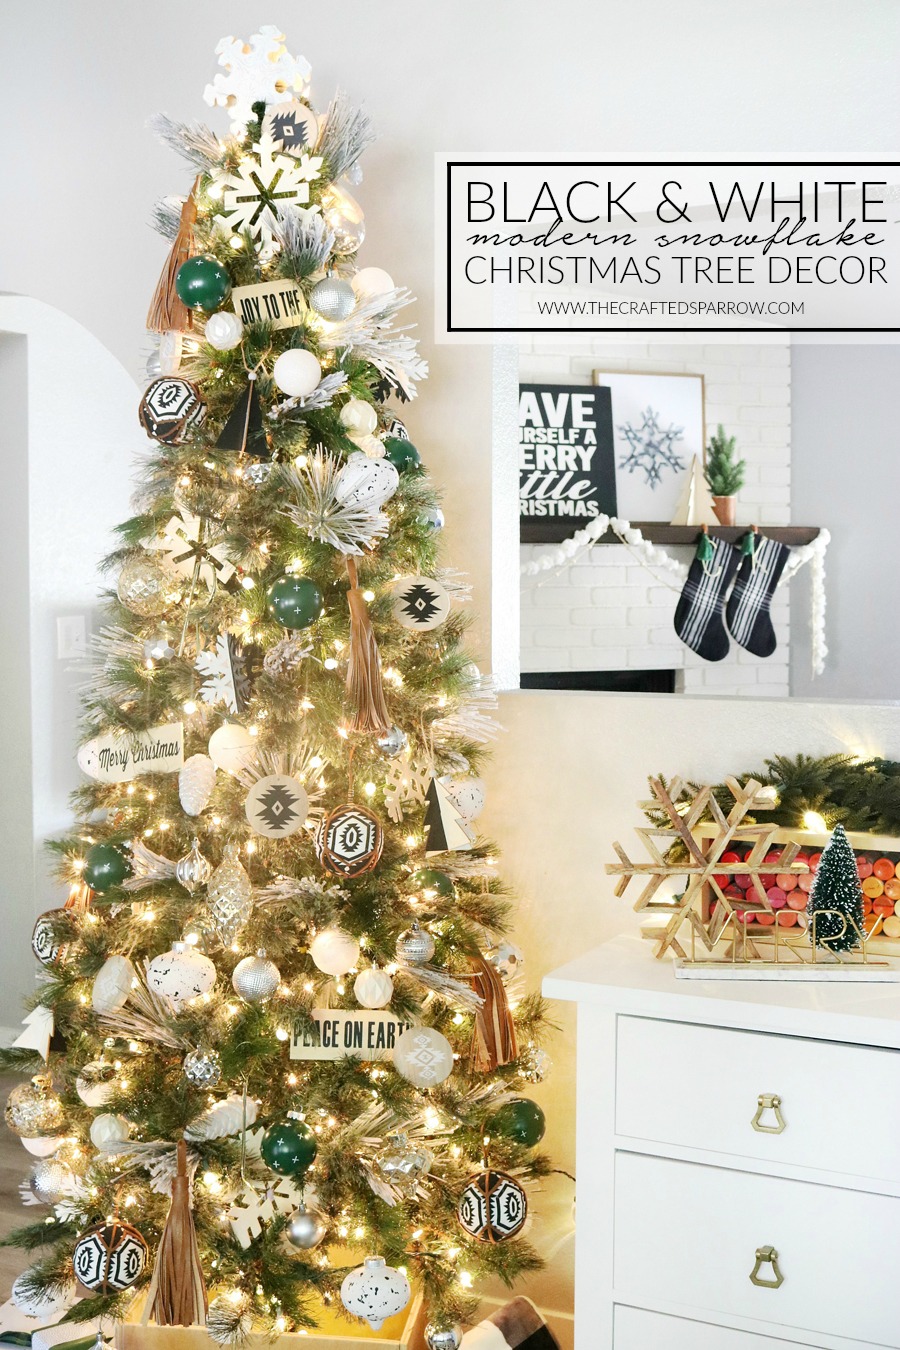
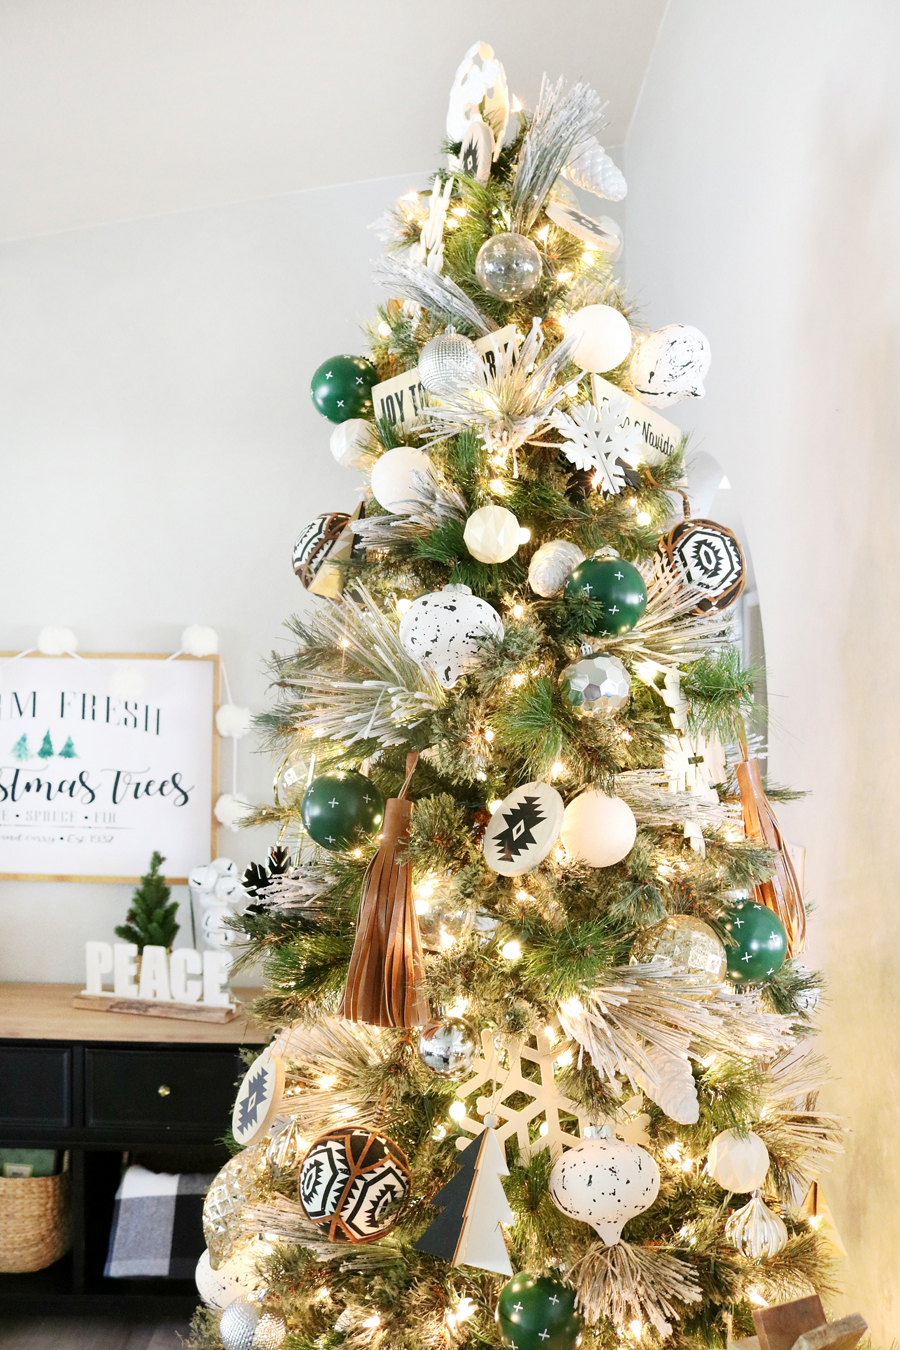
 It’s been a couple years since I shared my Christmas tree decor, I figured it was time to document it again. I used to switch my decor each year to a totally different theme. The last few years though I’ve really fallen in love with black and white decor and I’ve really loved using that same color palette on my tree for the past few years. This year’s tree isn’t that different from the Black & White Christmas Tree Decor I shared in 2015, but I have added a few new touches and a couple new DIY ornaments and I love it how this Black & White Modern Snowflake Christmas Tree Decor turned out.
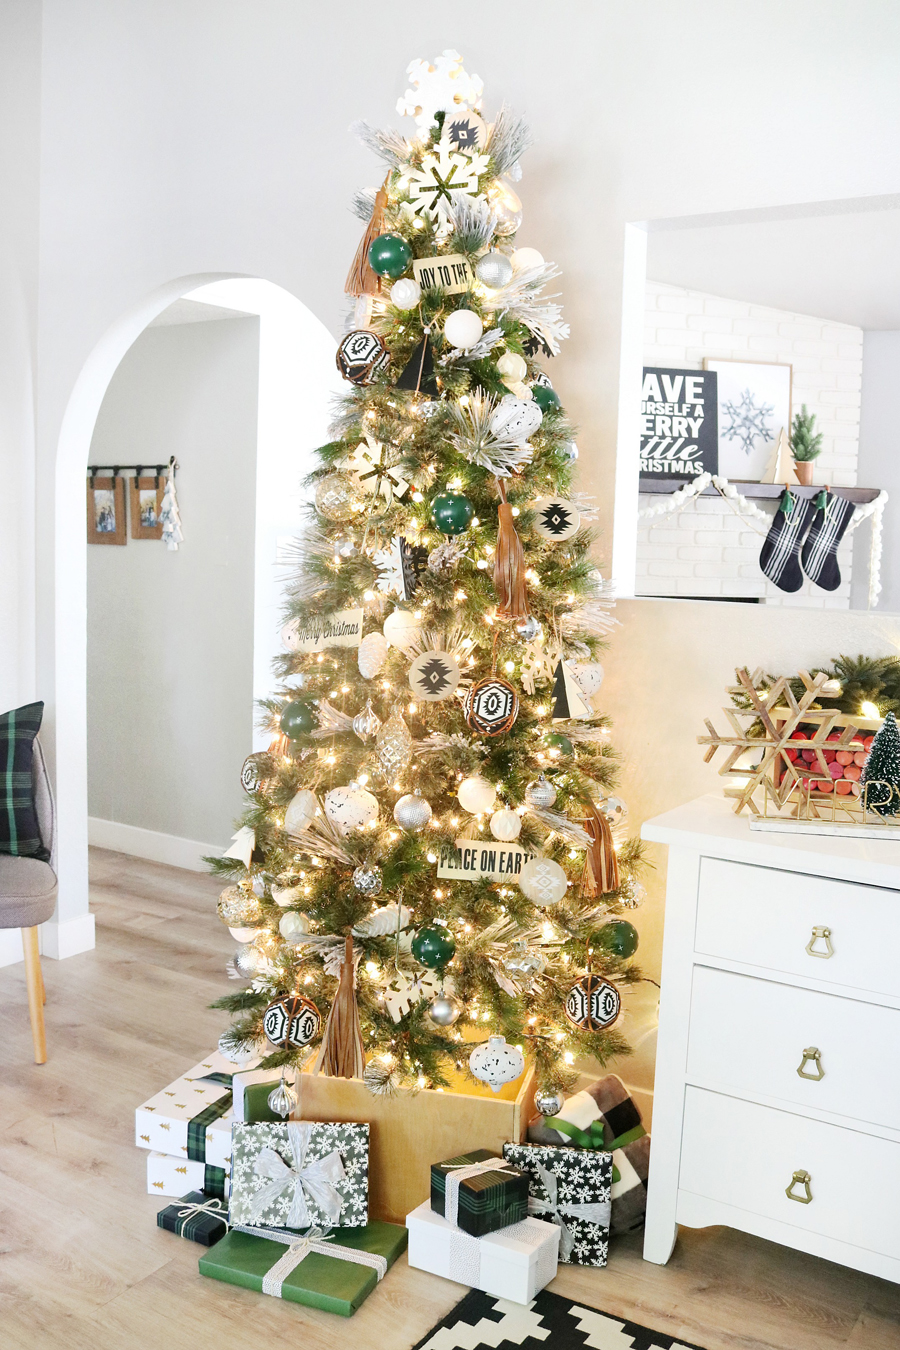 If you’ve watched my Instagram stories lately you might have seen the stories I did about how I build the decor on my trees, I don’t typically do giant trees with super glittery decor or even what I like to call “fancy trees”. I love to create a full looking tree with tons of simple and cute ornaments, some of which I’ve DIY’d myself.
I also happen to be very limited on space when it comes to having a tree in our current house. Since my front formal living room is technically my studio/office we are not left with a lot of extra space. Our family room is way to small and literally has no space for a tree. So my studio is where it goes. This means I usually have to move the huge dresser that resides under the dividing wall between our family room and front room over enough to squeeze in the tree. I’ve always had a 7.5′ slim tree for this reason, we have only about 3′ in diameter to work with. Someday I hope we can have our tree in a cozy space where we can sit and enjoy it from the comfort of our couch but for now, this is how I make it work.
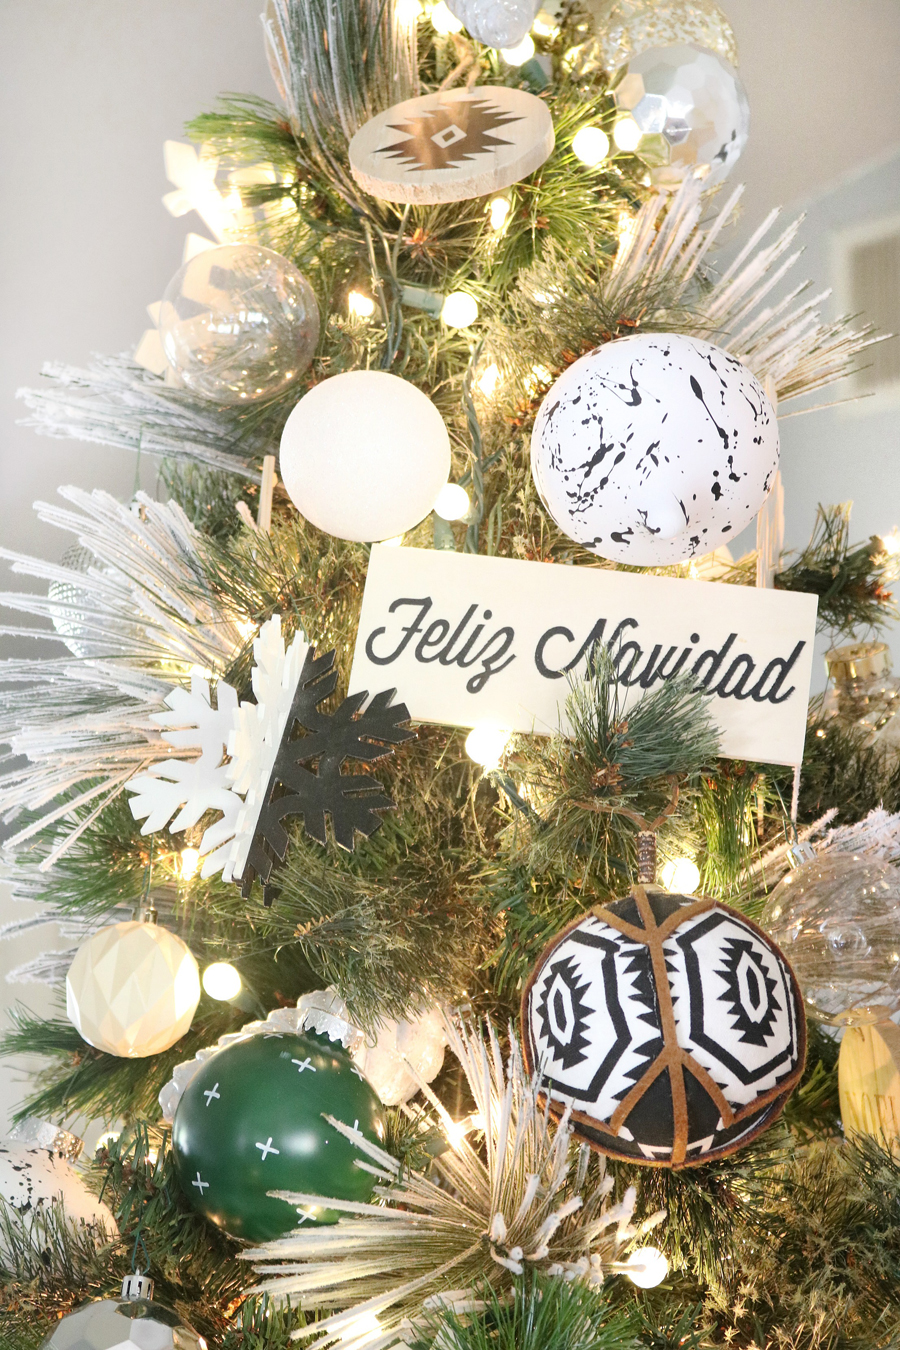 This year I started with my normal 8″ wood snowflakes and wedged them in the tree. Having large decor like this that you add in first will help to fill in the tree and make it look fuller when all is said and done. I found mine at Hobby Lobby.
Flocked trees are really popular right now, while I think they are gorgeous I’m just not ready for a flocked tree. I do however like to add a small touch of that flocked look, I did this using flocked pine floral branches from Michaels. I cut them apart and placed them throughout the tree. This not only adds interest with the flocking, it also adds extra texture with the different pine needle sizes.
Next, I fill in my tree with different sized bulbs in neutral colors. I usually have clear, white or frosted, and silver. Yes, all my ornaments are usually plastic, wood, or metal thanks to having cats.
The DIY Wood Christmas Ornaments I made a couple years ago go on next. I have six plaques and they say Merry Christmas, Feliz Navidad, and Joy to The World. I love that they bring in more of the wood tone like the snowflakes and have bold graphic fonts.
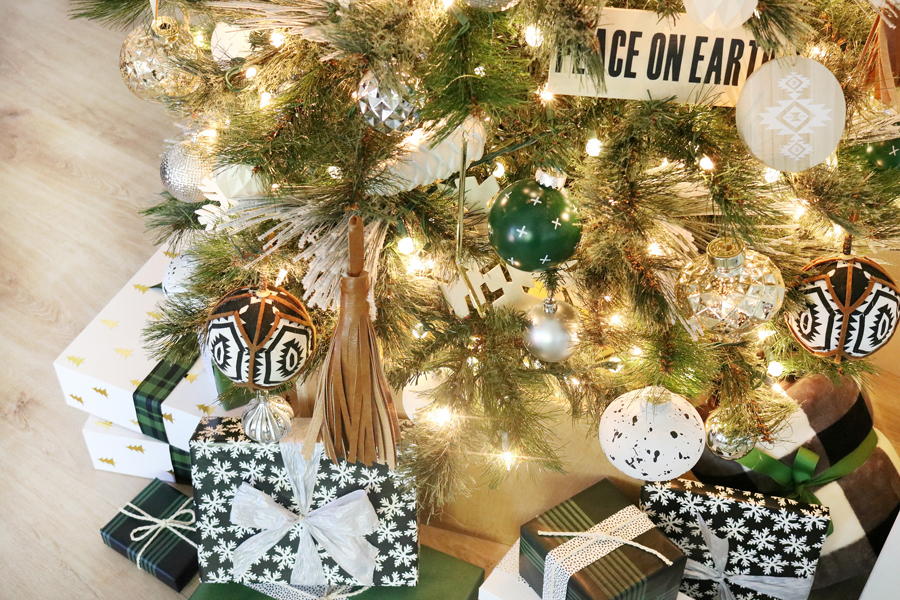
 I created these fun large faux leather tassels last year, I promise that someday I will actually create a tutorial for them. They are so easy to make and they are about 8″ long. It pulls the camel colored leather that I had on the fireplace mantel into the tree decor. I love that I can use them all year long too, hanging them on door handles or with wood beaded garlands.
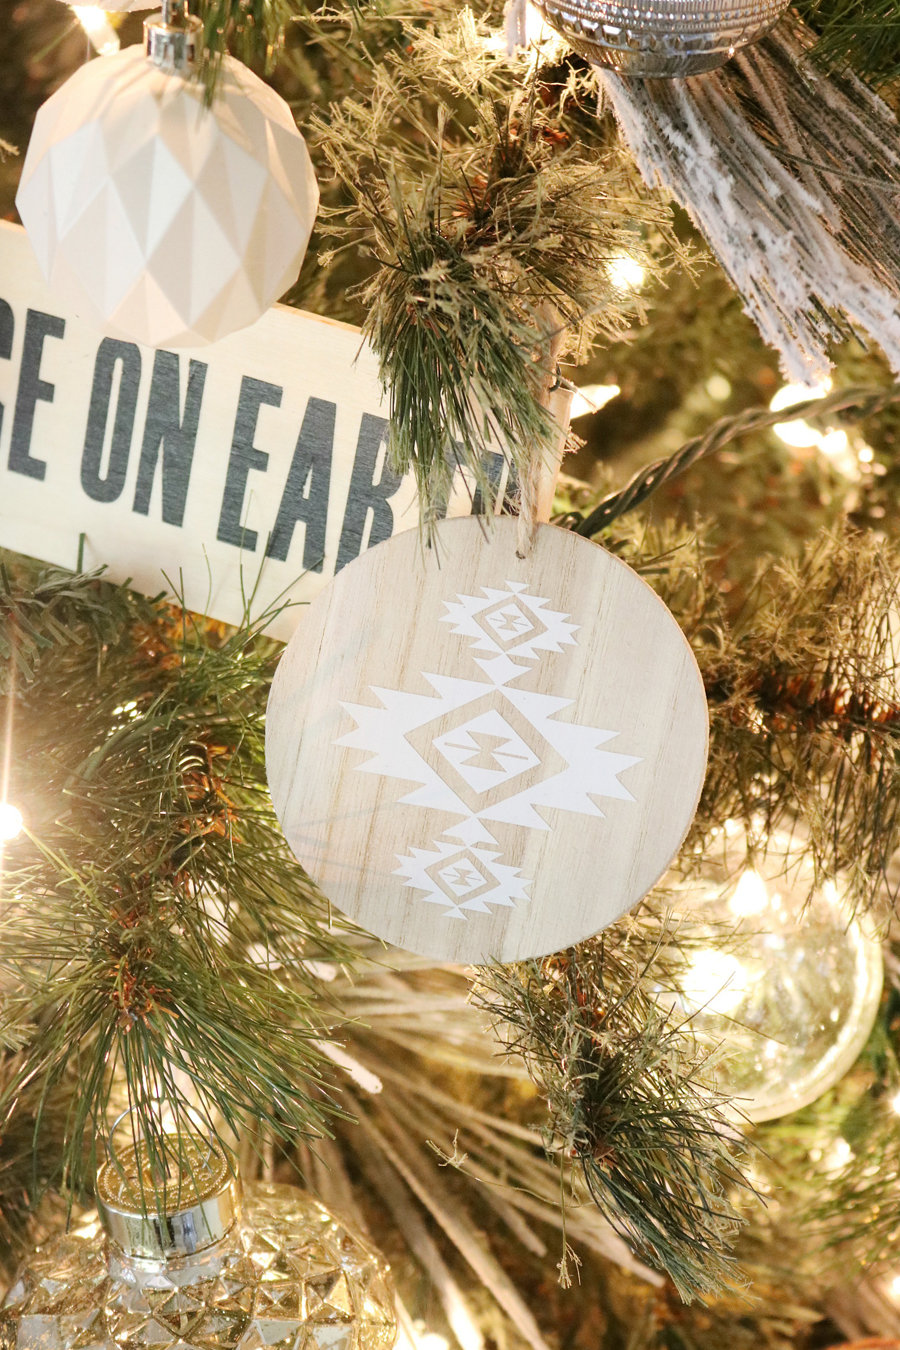
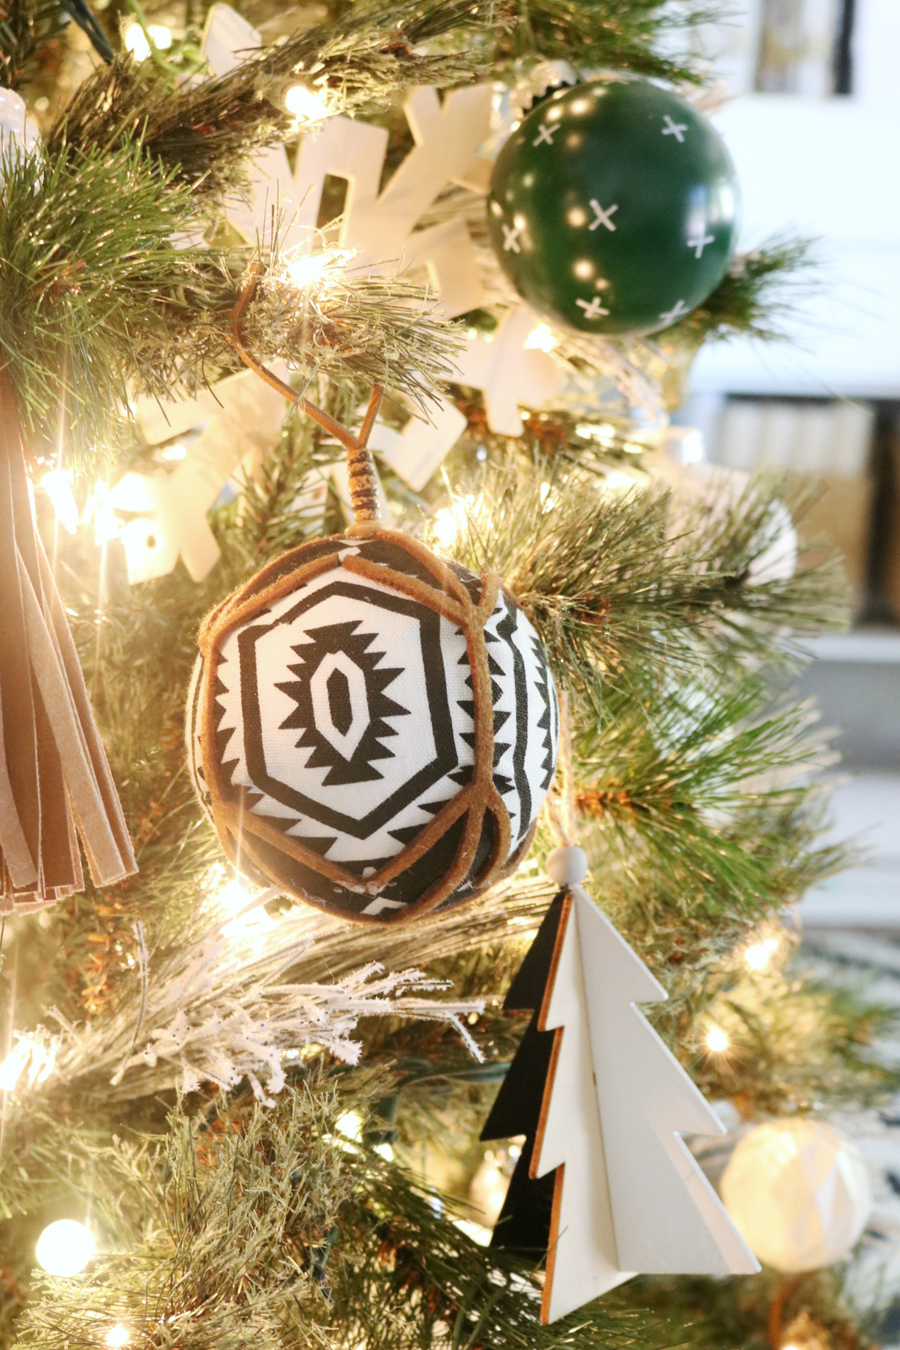
 These wood slice ornaments are a few years old. I made them using my Cricut Explore , they couldn’t have been easier. The round wood slices were actually ornaments from Michaels that have a saying on the other side but the back was blank, perfect for making my own. They went perfectly with the new Aztec print ornaments I found at Target this year.
 The teardrop-shaped black and white splatter ornaments were so easy to make, I had this idea in my head before I even started getting things together for the tree. I have a small splattered vase that is similar I made for my family room decor and I absolutely love it. I think the pattern is fun and unexpected for Christmas decor.
I grabbed some large plastic clear ornaments from Michaels, spray painted them matte white and used black acrylic paint that I watered down a little bit with a firm bristled brush to splatter them.
 These hunter green swiss cross large bulbs were also on my to-do list after I saw my friend Heather from Whipperberry post her black and white version. I knew I wanted them to have something dark green on the tree this year since that was my main accent color this year. I used Rustoleum’s hunter green spray paint to paint them first, then I used a white Sharpie paint pen to draw on the swiss cross pattern. The color was perfect, in my head I was envisioning vintage green chalkboards for the color and that’s what I got.
 I threw a few other random ornaments I found while shopping at Walmart like the pine cones and gold faux mercury ornaments, all plastic by the way. You totally can’t tell.
One tip incase you haven’t heard me say it before or didn’t already know yourself. If you’re looking to have your tree sparkle a little more try using two different sizes of Christmas lights on the tree. Since my tree is pre-lit I use those as the base lights and then I add a strand of round smaller bulbs to the tree. This creates dimension with your lights and really does make it glow so pretty.
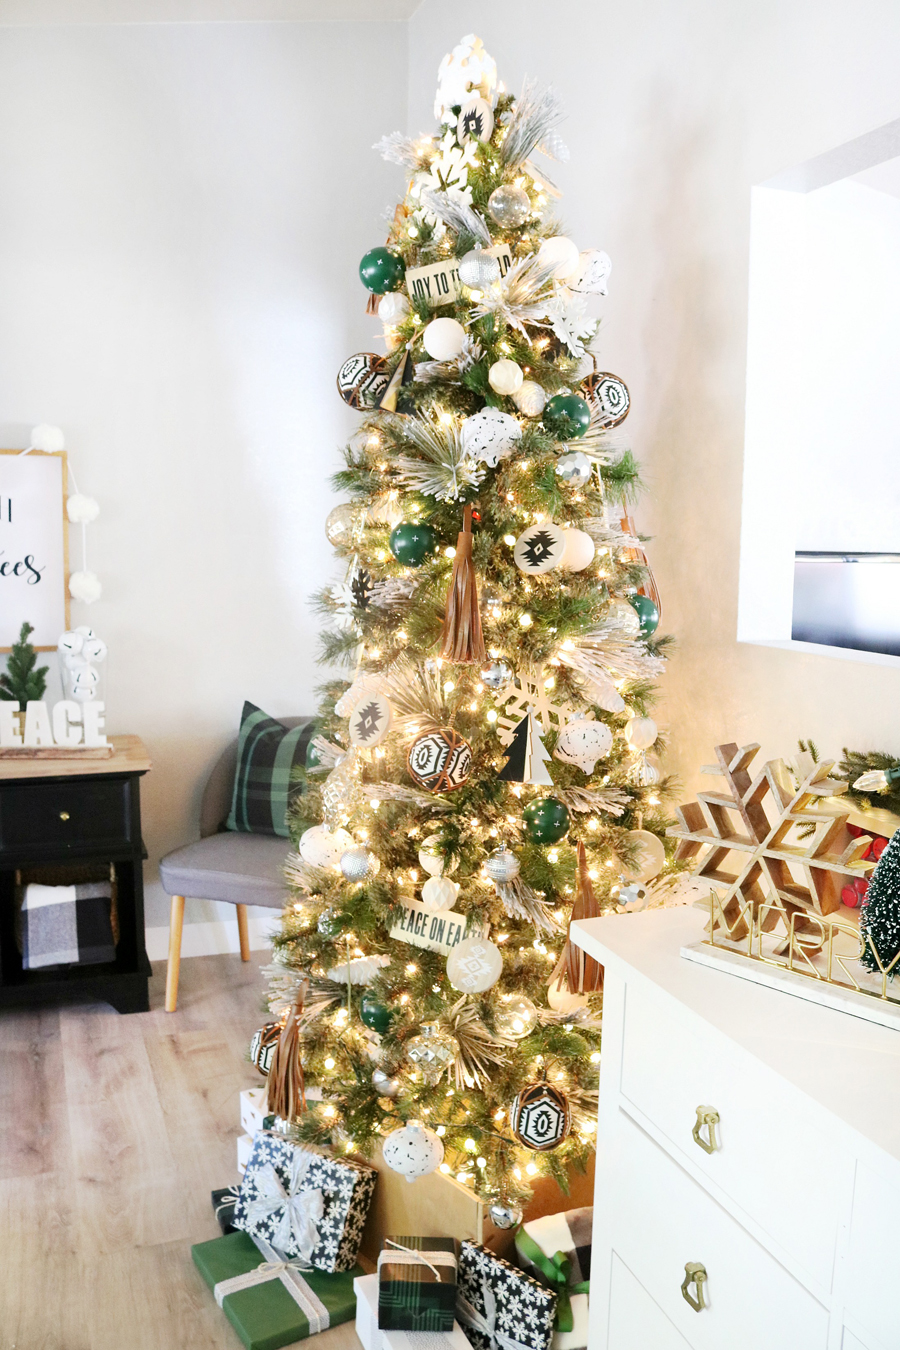 I love the pops of green and all the white elements that remind me of snowballs mixed with the snowflakes. The leather tassels just make it even better. To finish it off the raw wood box around the base of the tree was something the hubby threw together last minute with scrap wood a couple years ago, I love how it looks and that he made it for me.
Oh and can we talk about how much more amazing my new floors look when photographing anything?! They are a dream, you can read all about them here.
If you haven’t already seen my Black & White Modern Snowflake Mantel Decor be sure you go check it out.
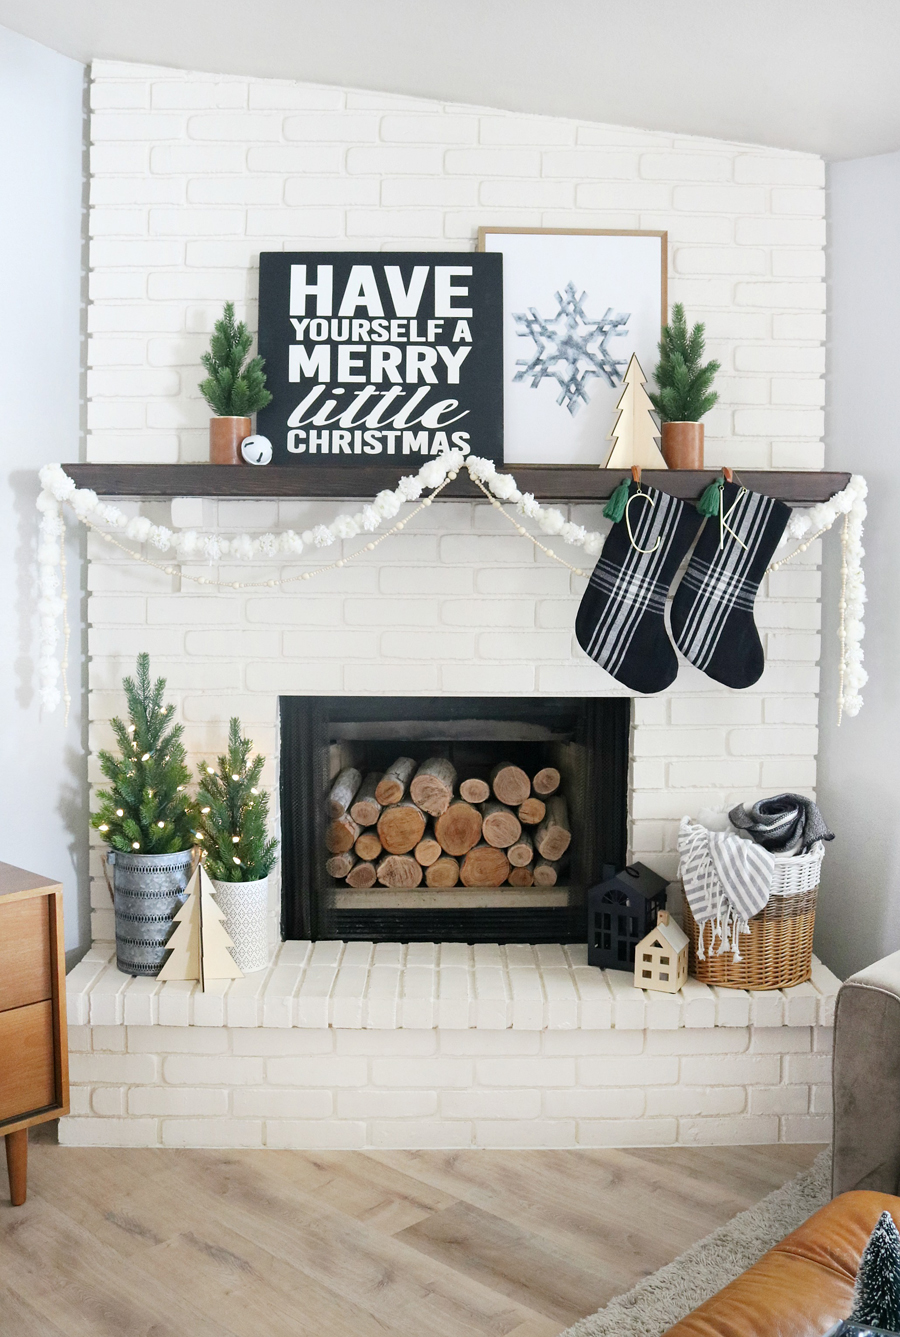
Black & White Modern Snowflake Mantel Decor
Don’t forget to check out these other black and white Christmas ideas…
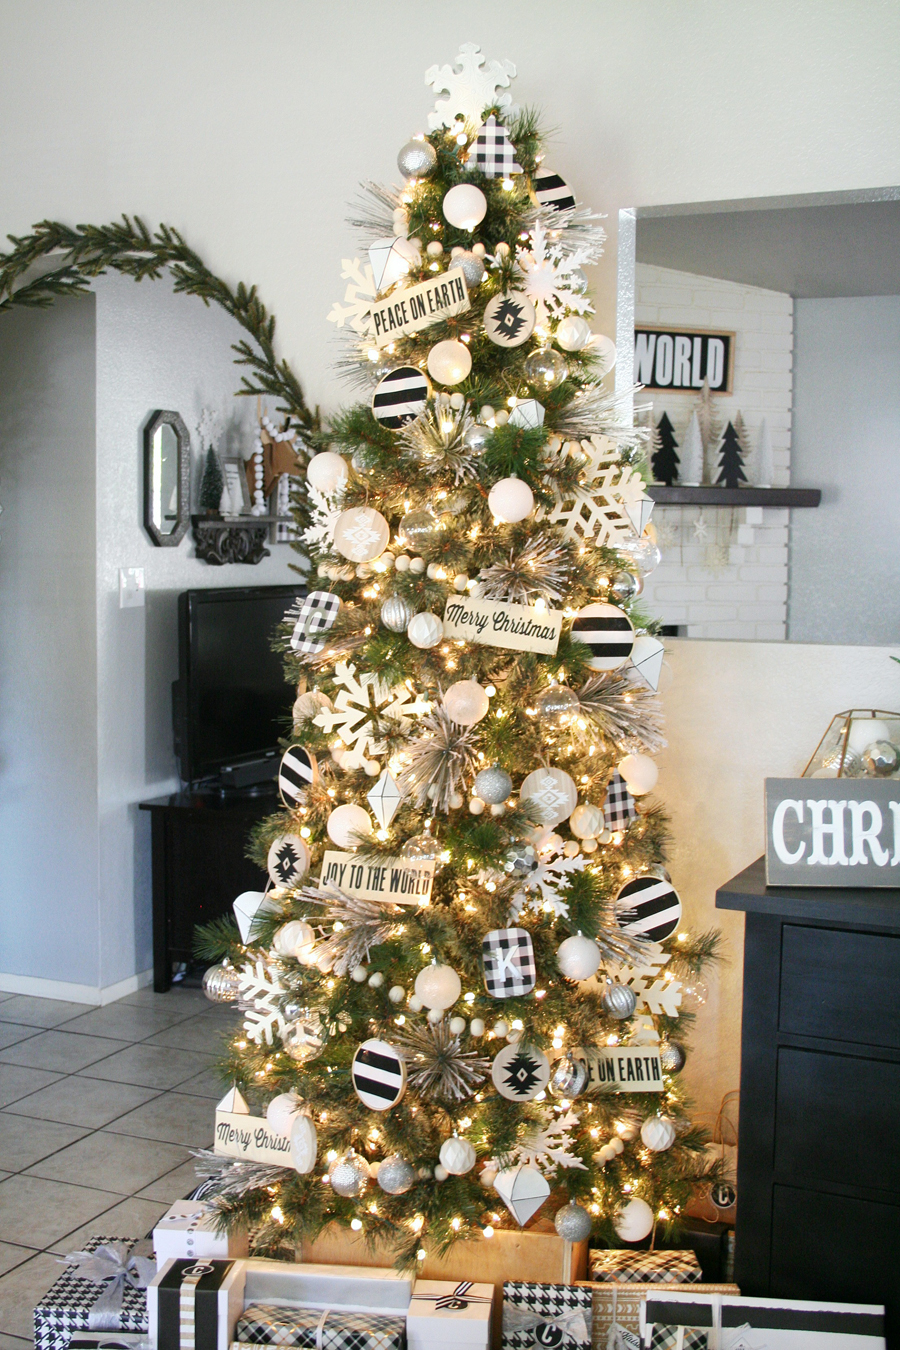
Black & White Christmas Tree Decor
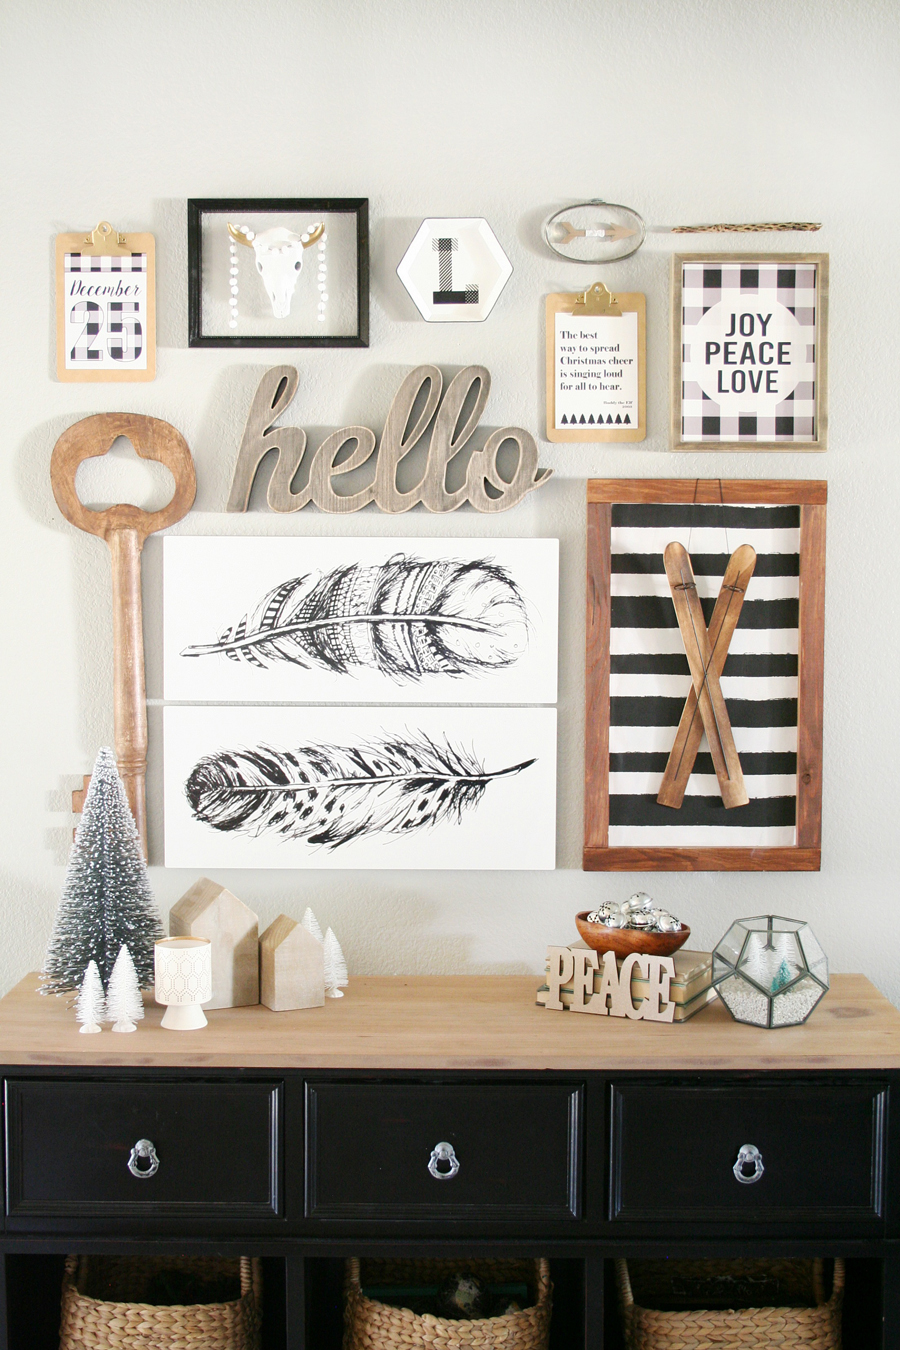
Black & White Christmas Entryway Decor






Leave a Reply