July is my birthday month and since my birthday is next week I thought what better way to celebrate the release of the newest Cricut Maker adaptive tool – the Scoring Wheel than with a celebration! See how I created easy decor for a sips and sweets fiesta with my favorite people using the single and double scoring wheels.
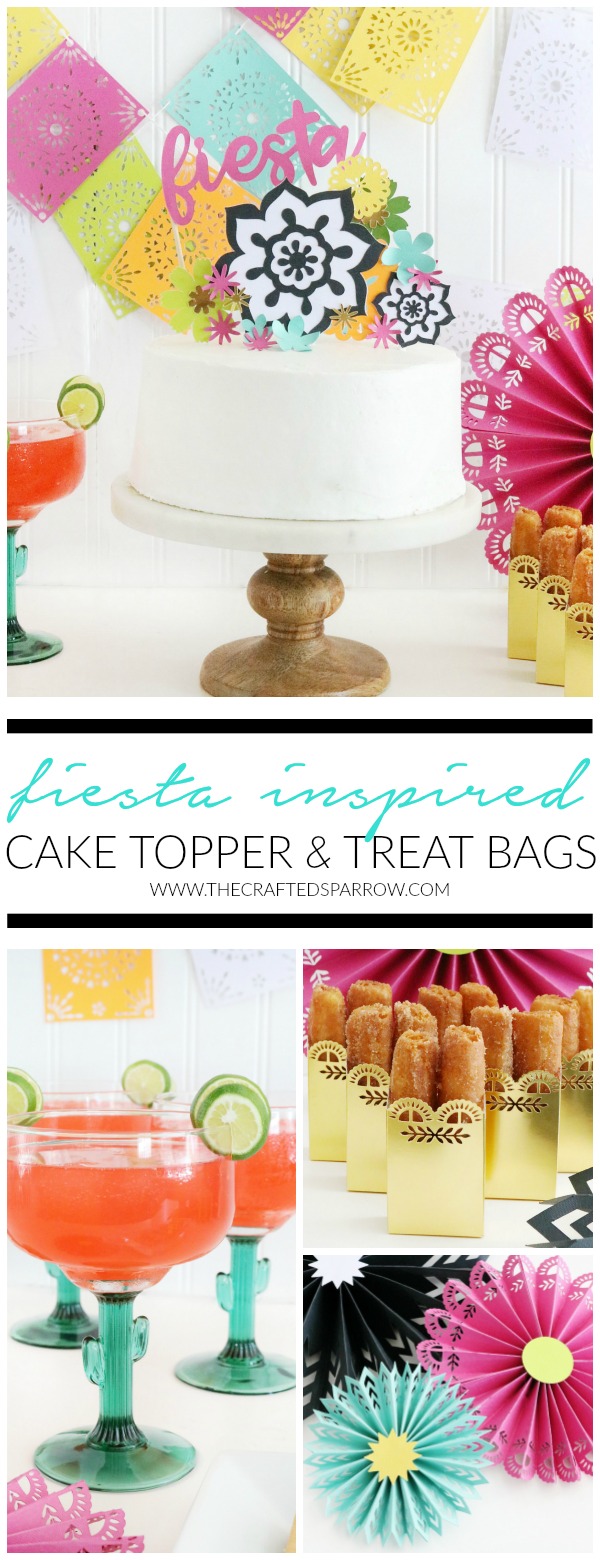
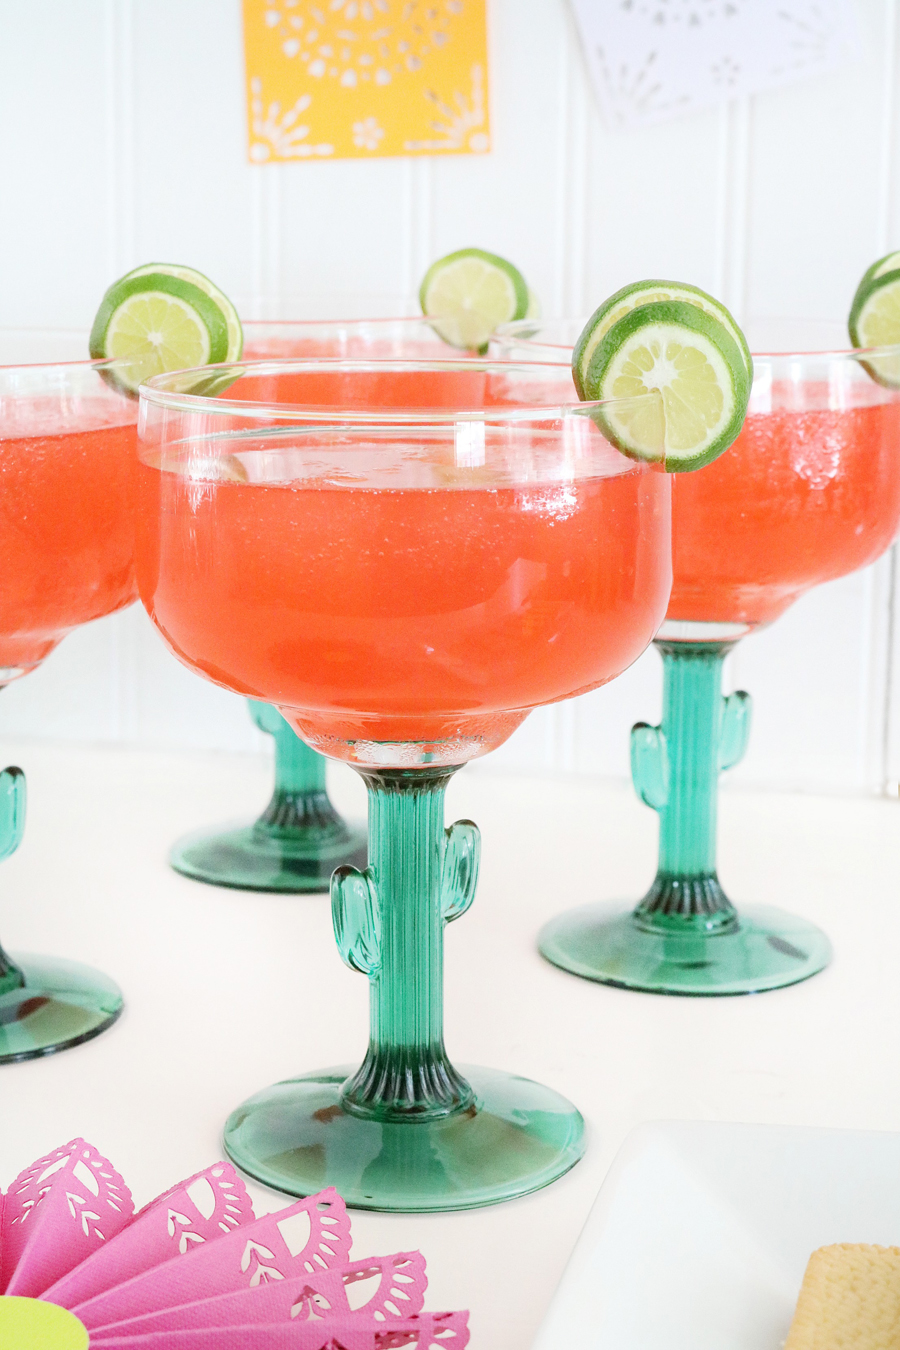
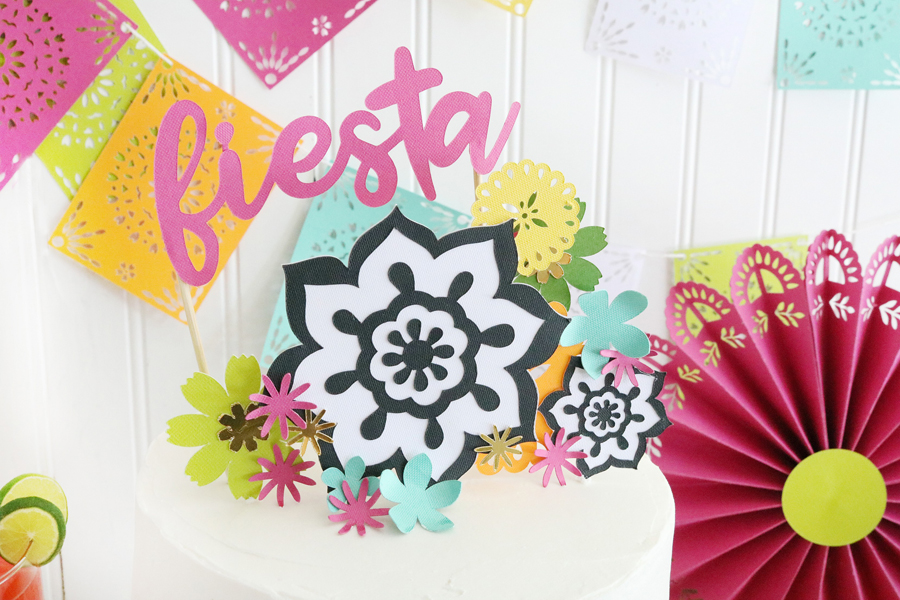 This is my last year in my 30’s and what’s better than celebrating with desserts and delicious drinks?! I wanted everything to have a touch of Mexican flair for our mini fiesta so these Easy DIY Fiesta Inspired Cake Toppers & Treat Bags I made with the help of my Cricut Maker made our celebration super fun and festive.
 One of my favorite things about the Cricut Maker is the ability to switch out tools and blades so easily with their adaptive tools. This feature is exclusive to the Maker and is really a huge bonus when it comes to picking which machine is best for you. Cricut’s newest tool is the Scoring Wheel, it comes in both a single and double version and is just as easy to use as the other tools.
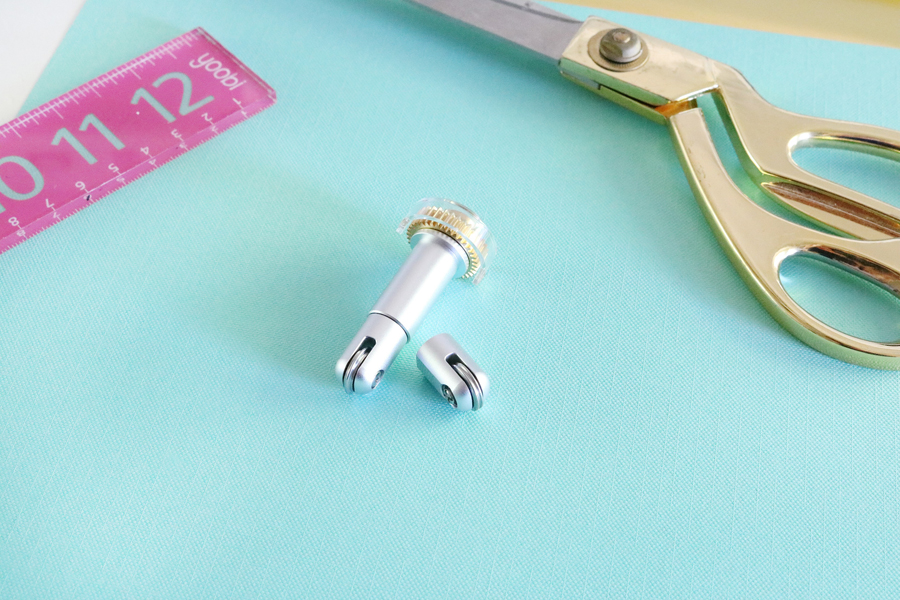 Cricut Scoring Wheels use the Cricut Maker’s Adaptive Tool System to create crisp creases in your materials, using up to 10X the pressure of the scoring stylus so you can make perfect, effortless folds with your projects. It allows you to make more crease-and-fold projects than ever before in a cinch, including breathtaking wearable art, 3D home decor, sculptures, party decor, and more.
Use a single wheel tip for scoring thin materials, and a double-wheel tip for scoring thicker and coated materials. Cricut Scoring Wheels are compatible with the Cricut Maker only since they require the drive mechanism contained in the Maker’s Adaptive Tool System.
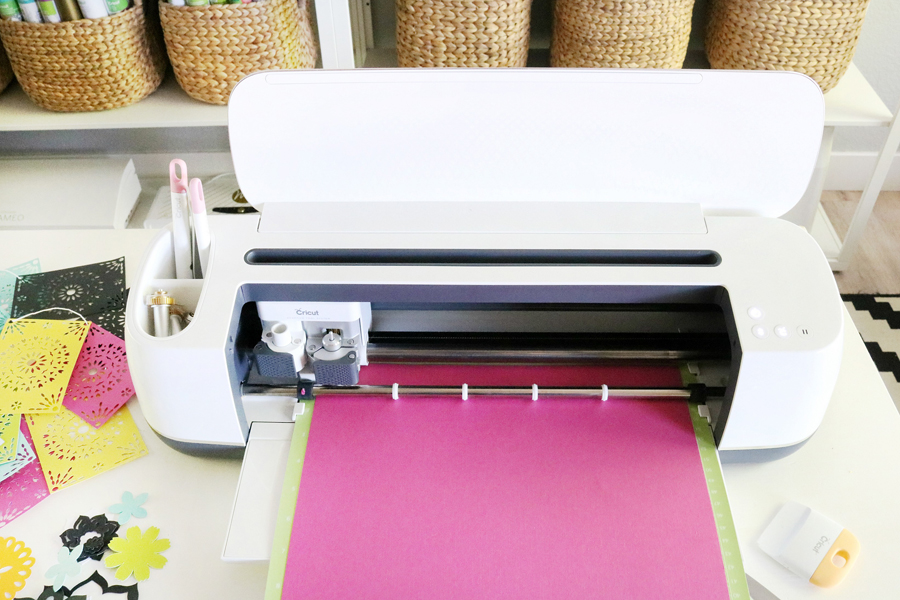 Let me show you what the new Cricut Maker Scoring Wheels can do!
I wanted to create some easy fiesta decor and with the new Cricut Scoring Wheels making a party decor staple – paper rosettes has never been easier. Let’s get started. For the rosettes, I will be using the single scoring wheel since I’m using cardstock for my rosettes. You can find this project to make HERE.
Supplies:
- Cricut Maker
- Cricut Single Scoring Wheel (coming soon)
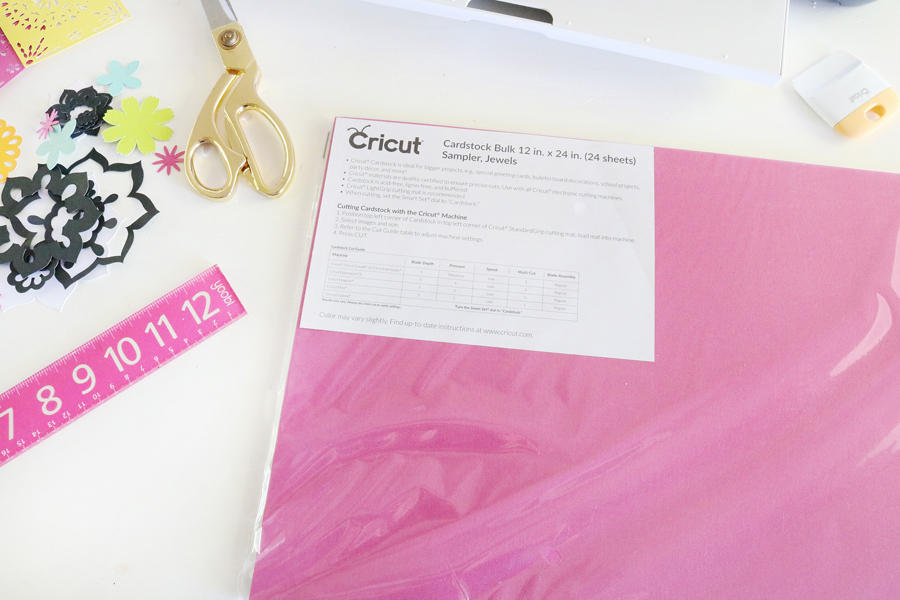
- Cricut 12 x 14″ Cardstock
- Cricut Cutting Mat
- Cricut Fine Point Blade
- Glue gun or tape runner
I simply found some paper rosette designs that went with my theme in Design Space, there’s a ton to choose from. Once I sized the rosettes to what I wanted I hit “Make It” and followed the onscreen prompts. Design Space will tell you whether you need the single wheel or the double wheel depending on the material setting you’ve selected for your project. Scoring Wheels create extra-deep score lines on your materials, so you can get those perfect folds. The scoring tip you need for your projects depends on what material you want to score. The single wheel makes a single crease on the material, and it is perfect for everyday materials from thin papers on up to cardstock. The double wheel makes two parallel creases on the material and is recommended for thicker or specialty materials. The double crease makes it easier to fold those thicker or specialty materials without cracking.
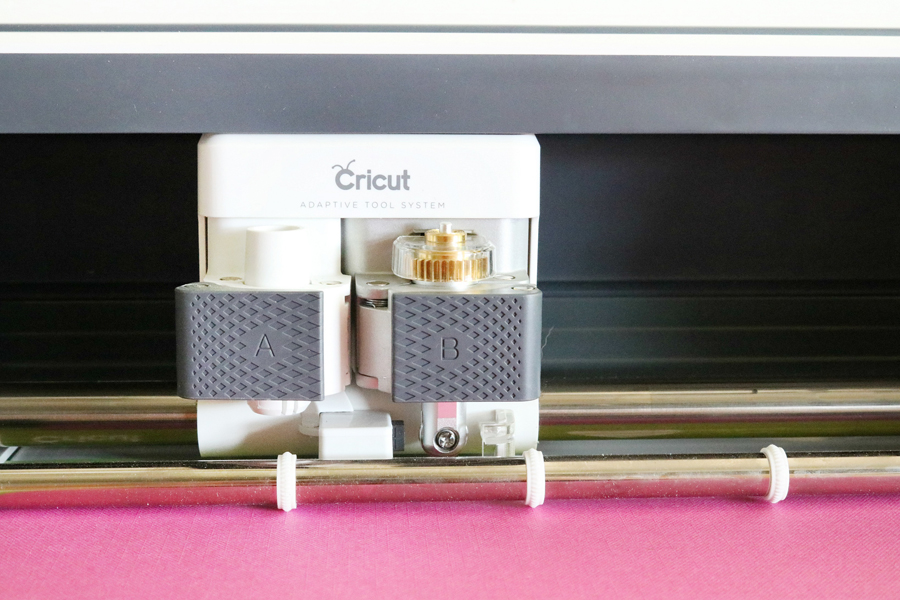
 Once your scoring wheel has scored the cardstock Design Space will tell you when to remove the scoring wheel and replace it with the fine point blade. It will then cut your rosette out.
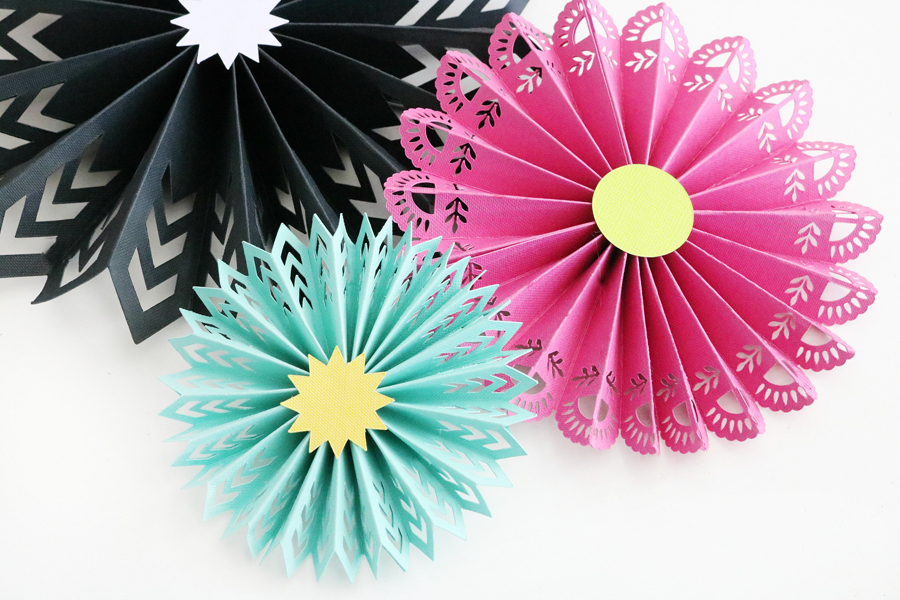
 When everything is cut all that’s left is just the folding, which is super easy because the scoring wheel did all the work for you creating those awesome creases. Depending on the size of your rosettes you will need at least 4 pieces to create one rosette. I cut contrasting centers for each rosette, this just gives them a finished look once they are attached since I used hot glue.
I love that if I wanted to create a whole bunch of rosettes for a backdrop or party it would be so much easier now.
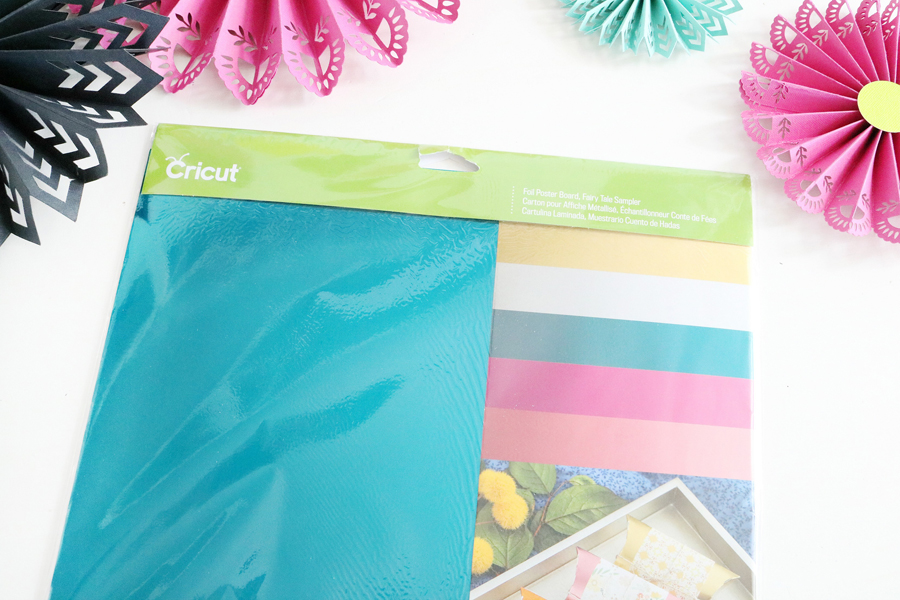
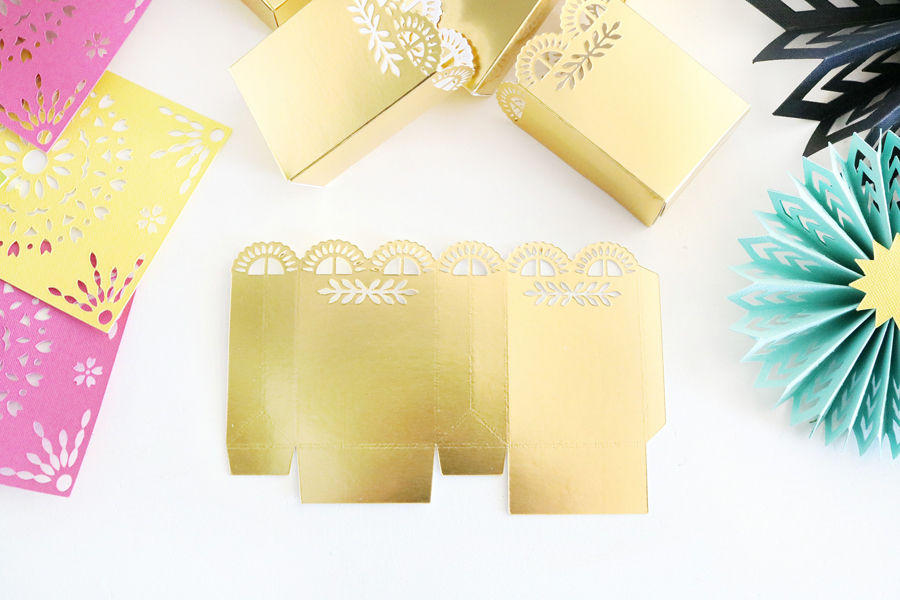
 Next up, the cute little fiesta inspired gift bag/boxes I used for treats. I decided to use Cricut’s Foil Poster Board, it’s so good! Here’s what you’ll need to make these cute things.
Supplies:
- Cricut Maker
- Cricut Double Scoring Wheel (coming soon)
- Cricut Foil Poster Board
- Cricut Cutting Mat
- Cricut Fine Point Blade
- Glue gun or tape runner
Again, you can find all the things in this post to cut and make HERE.
When you go to make these cute boxes remember to place your foil poster board face down on your cutting mat. This will help to keep the foil from cracking and showing through to the white backing when you fold them after the scoring wheel and fine point blade have done their job. I used a tiny bit of hot glue to assemble mine, they were the easiest things to put together.
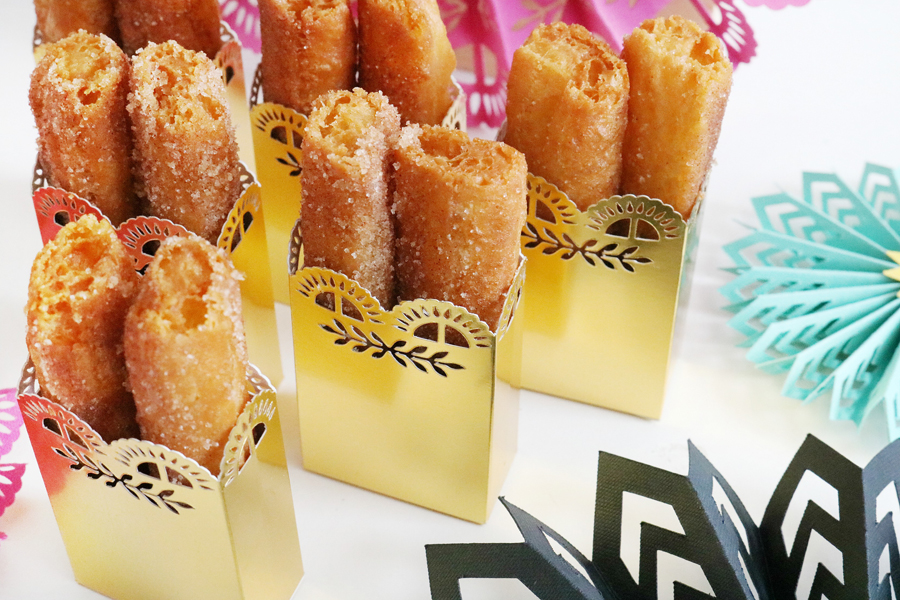
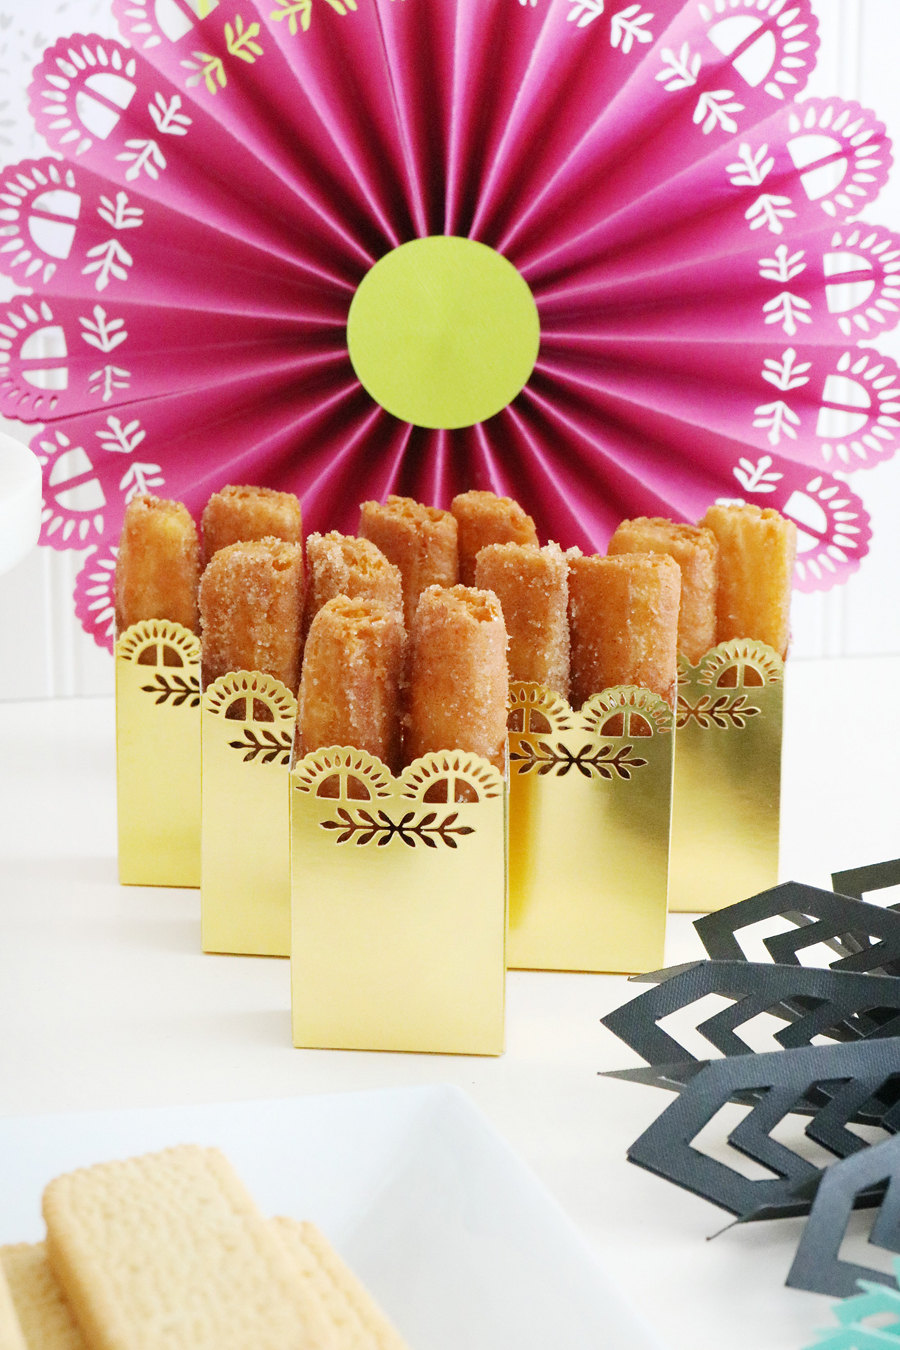
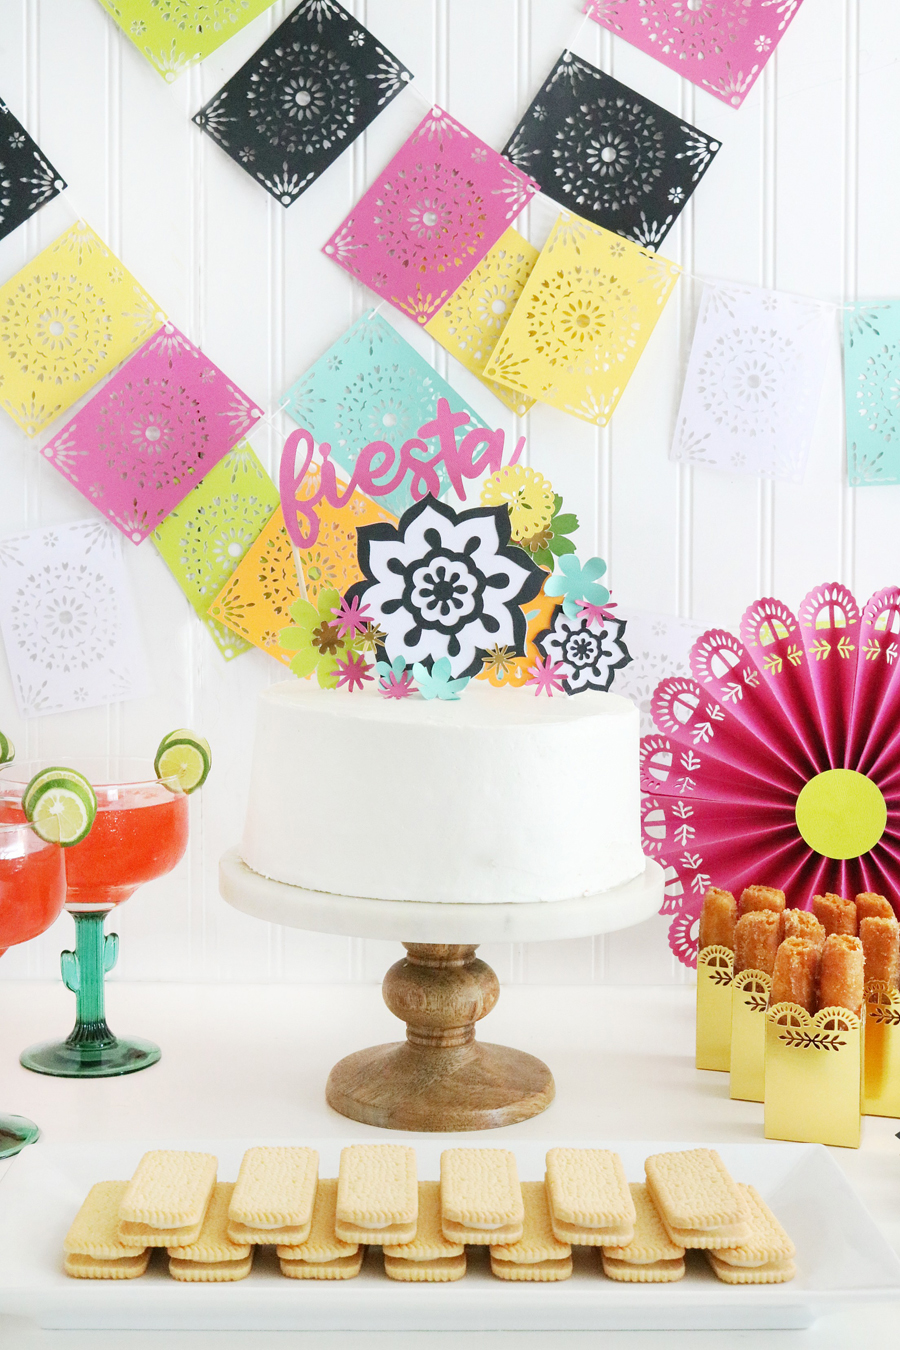
 I decided they would make perfect little holders for mini churros. Aren’t they the cutest?! You can customize what size you want yours to be, and you can fill them with anything. The detailing on the rosettes and these boxes is so cute, right?
 Want to see what else the Cricut Maker can do? Be sure to check out these other great posts:
- Cricut Maker VS Cricut Explore Air 2 Cutting Machines
- 10 Cricut Explore Air Tips & Tricks
- DIY The Desert is Calling T-Shirt with Cricut Patterned Iron-On
- Diamond Hanging Planters
- Leather Geometric Buffalo Pillow
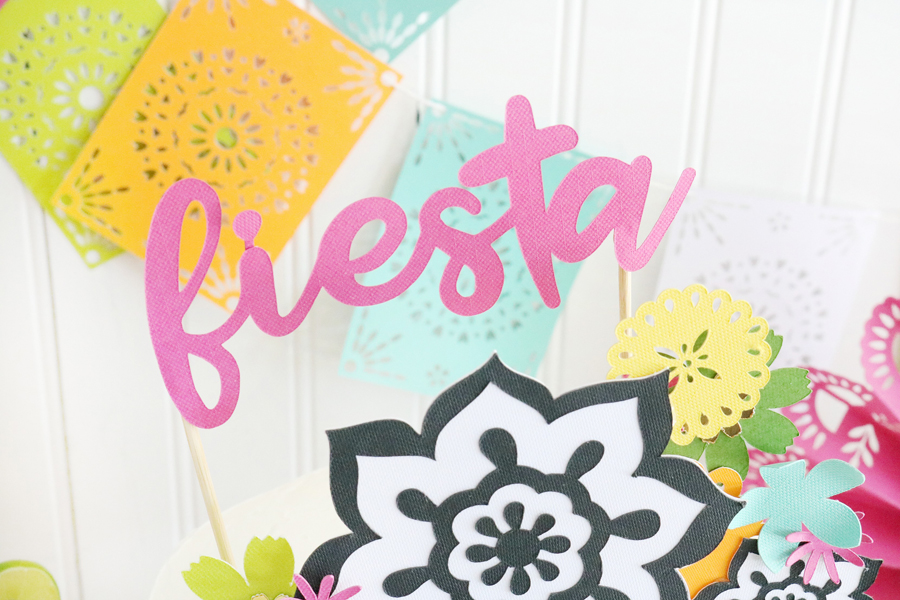
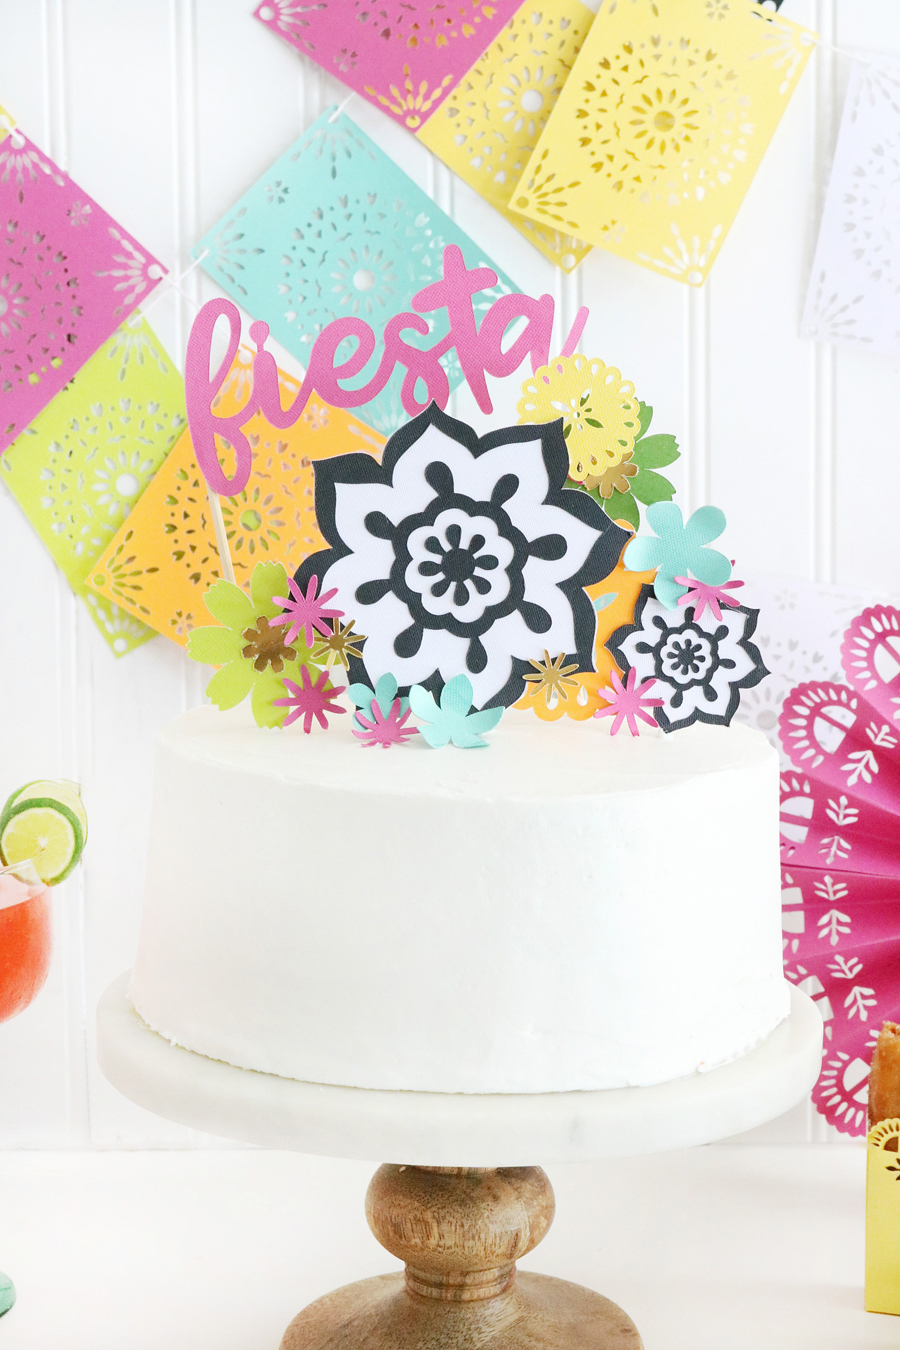
The final touch was to decorate the cake. I decided to take a basic white two layer cake that I picked up from my local Target bakery and add my own decor. To go along with the fiesta theme I created some paper floral pics to place on top of the cake. I also added a fun “fiesta” word topper I created. Here’s how to do it.
Supplies:
- Cricut Maker
- Cricut 12 x 14″ Cardstock
- Cricut Cutting Mat
- Cricut Fine Point Blade
- Glue gun or tape runner
Using the link to the project I’ve posted above just resize the flowers to the size you need then hit “Make It”. Once they are cut you can glue any pieces you want together. I hot glued mine to toothpicks and placed them on the top of my cake. For the word topper, I used larger wood skewers so it would stand above the flowers. This would also be super cute with mini paper rosettes instead of the flowers.
 The Cricut Maker has already made creating so much easier and with each new addition to the adaptive tools the maker uses really makes the possibilities endless.
This is a sponsored conversation written by me on behalf of Cricut. The opinions and text are all mine.

Leave a Reply