I really love when I get to create a project that will be used and cherished, whether it’s for myself or something I can gift to someone else. Today’s project is just that, a cute travel journal that can be saved for years to come.
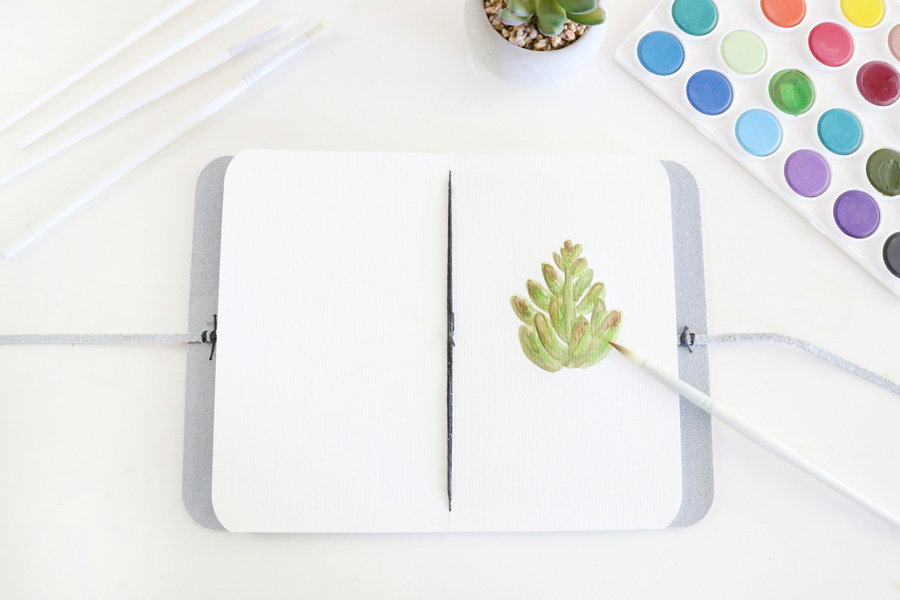
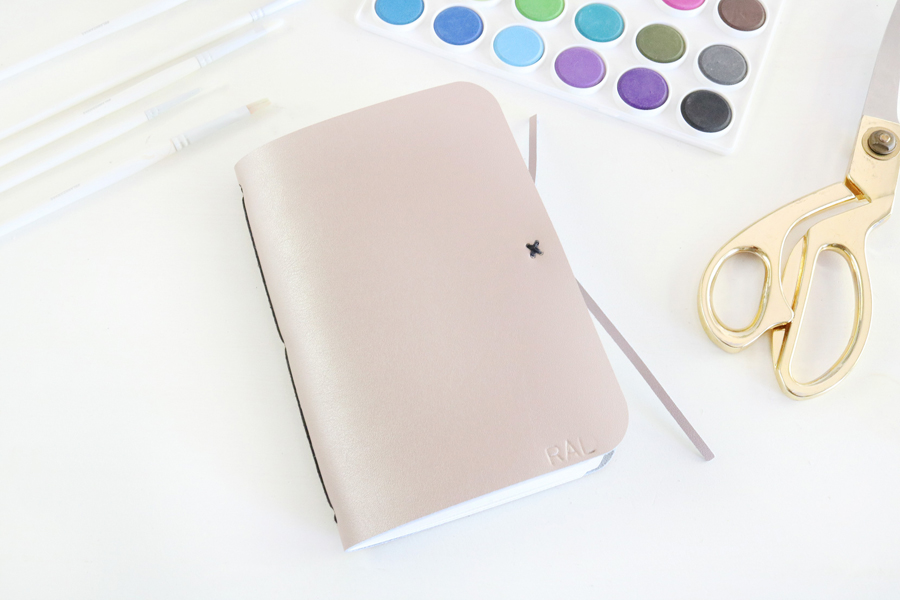 Years ago in high school, all I thought about was art…what I could draw – paint – or create. I was constantly sketching, watercolor painting, you name it I was all about it. Now that I’m an adult I’ve had less and less time to do some of those things. Sure, I create all the time for this site and for our home but I rarely get time to just sit and let my creative juices flow through painting or sketching anymore. Over the past several months I’ve really wanted to get back into it, especially watercolor. Something about just sitting quietly and painting seems like a great way to relax and create pretty things just for me. Not that my watercolor skills are stellar but I do enjoy it.
Using my Cricut Maker and the new double scoring wheel I created a personalized DIY Leather Watercolor Travel Journal. I wanted a portable journal that I could take on the go with me that would house my sketches and watercolor artwork. Plus, it needed to be cute.
Here’s what you will need to make this DIY Leather Journal…
Supplies:
- Cricut Maker
- Cricut Scoring Wheel
- Cricut Rose Gold Leather, or any color you like
- Cricut Deep Cut Blade or Cricut Knife Blade
- Cricut Fine Point Blade
- Cricut Light Grip Mat and Cricut Strong Grip Mat
- Thin Cording or Embroidery Floss
- Embroidery Needle with large opening for floss or cording
- Watercolor Paper and/or White Cardstock or Kraft Board
- E6000 or similar type adhesive
- Cut File for this project found HERE
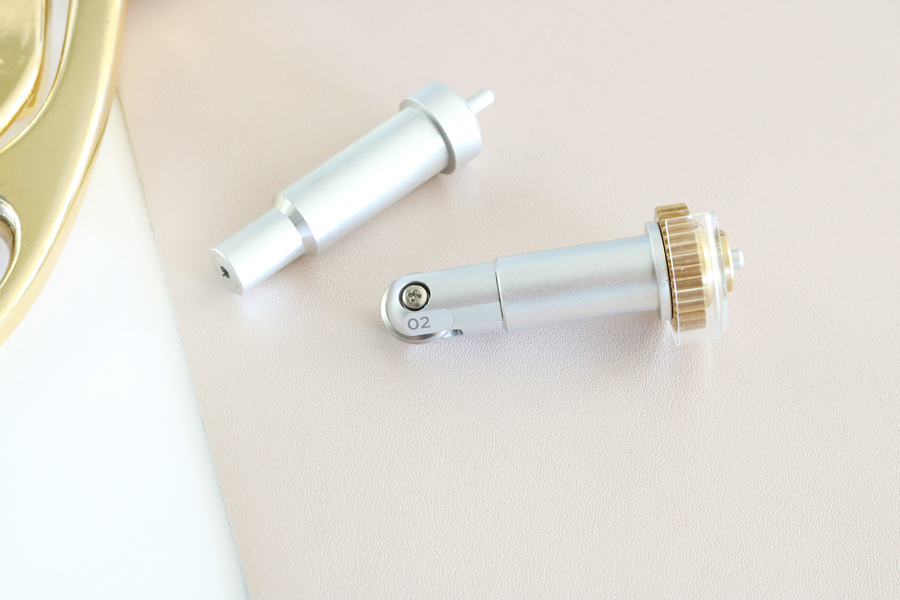 I’ve already shown you a couple of posts featuring the new scoring wheel from Cricut, the Easy DIY Fiesta Inspired Cake Toppers & Treat Bags and the Pineapple Vase Back to School Teacher Gift Idea were made using the single scoring wheel. This project is going to focus on the double scoring wheel. You might be asking yourself what materials require what scoring wheel, so here’s a quick rundown. Thinner materials such as paper up to light cardstock will use the single scoring wheel, while thicker materials such as poster board and chipboard would use the double scoring wheel.
 This project was inspired by this Traveler’s Notebook in Cricut Design Space. I wanted my DIY journal to have a simpler design for the cover so I modified the project just a little. I made the cover of my journal a solid piece of leather instead of having the embroidered design like the inspiration project.
Note: Click the link to the inspiration project – Traveler’s Notebook – for detailed assembly instructions for binding your journal.
I decided to use this really pretty soft blush metallic rose gold leather from Cricut. They have a few different colors of 12 x 12″ leather to chose from for your journal or any leather project you want to create.
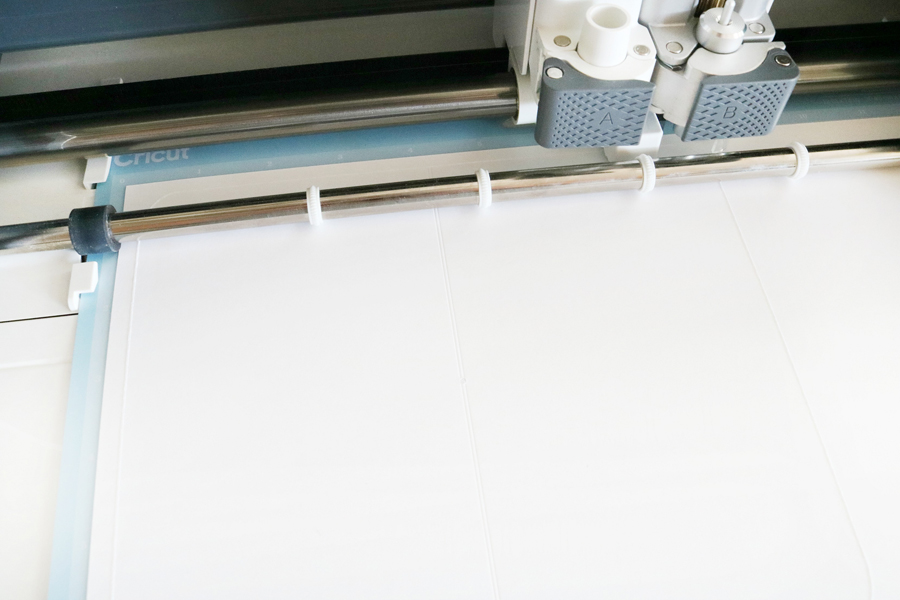
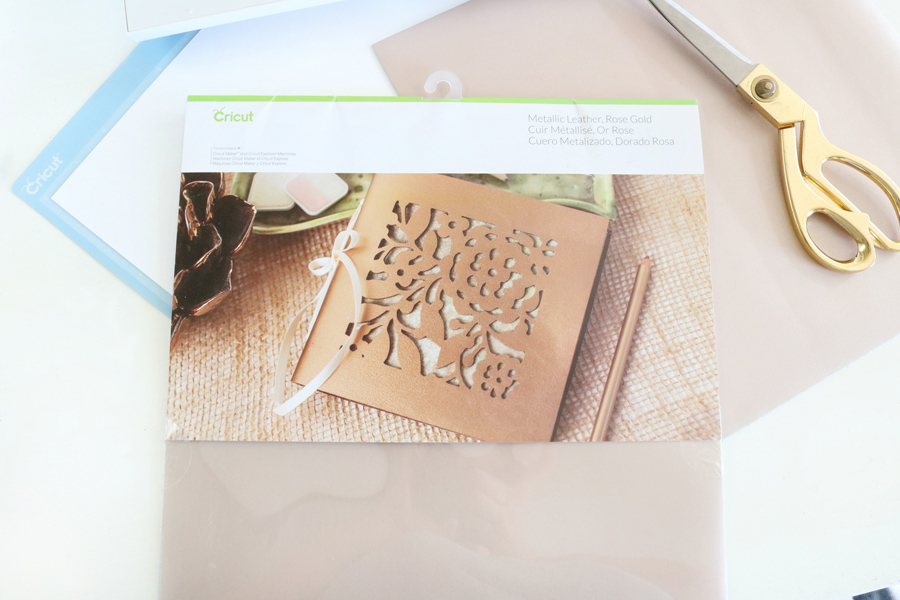 Once you’re in Design Space you will hit Make It from the link provided above. It will cut the paper first, Design Space will always tell you which tool you will need first. Spoiler, you will need the double scoring wheel first. For the papers, I cut them on the light grip mat (blue),
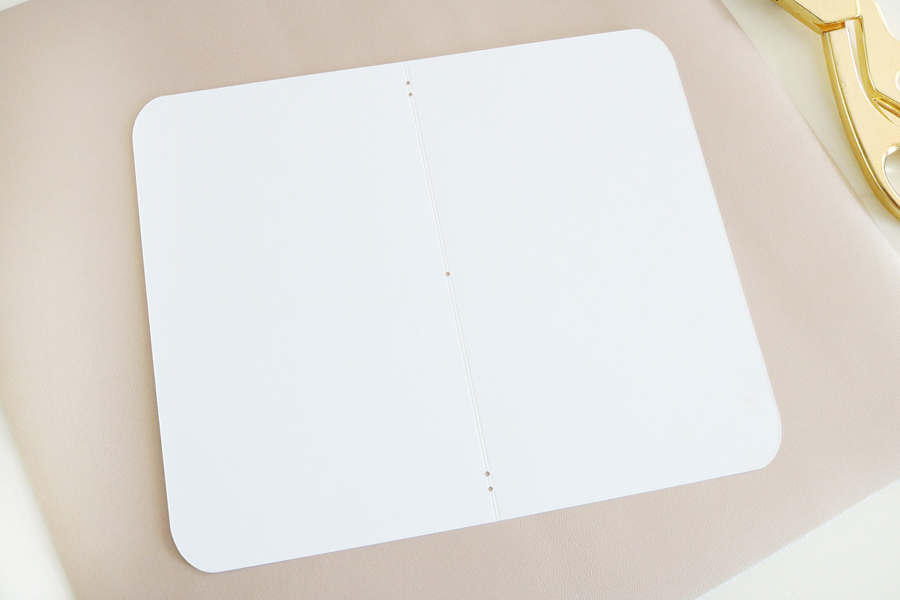
The maker will score the paper first then cut. Again, Design Space will tell you when to swap out the scoring wheel and put in the fine point blade. For this project I cut several pages of watercolor and several pages of white kraft board, the white kraft board will be for sketching on.
The double scoring wheel makes two parallel creases on the material. The double crease makes it easier to fold those thicker or specialty materials without them cracking. This watercolor paper and kraft board folded beautifully after it was cut. This is because the Cricut Scoring Wheel uses up to 10X the pressure of the scoring stylus so you can make perfect, effortless folds on your projects. It allows you to make more crease-and-fold projects than ever before.
Note: This project can be made with regular paper or thinner cardstock materials if you prefer it.
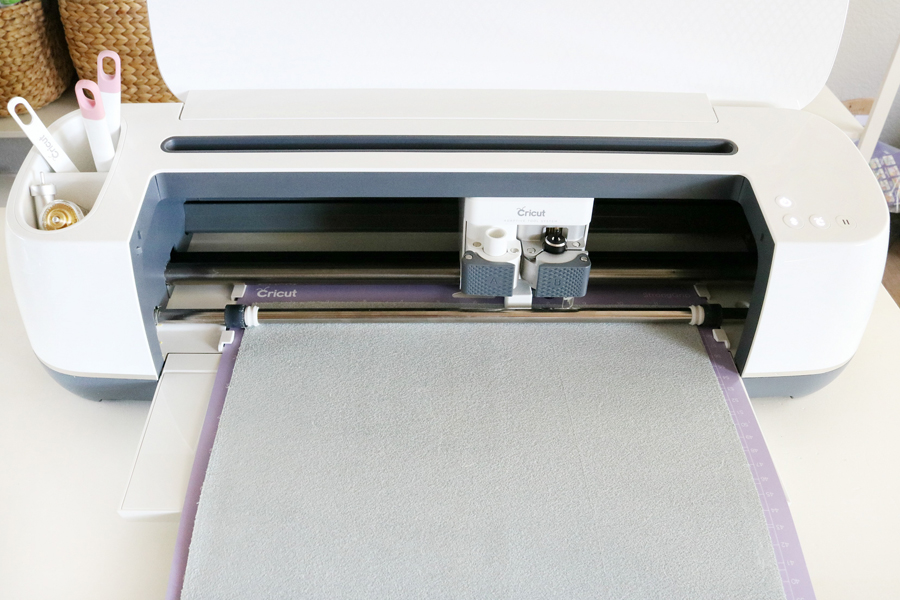
 When you have all your page inserts cut and scored it’s time to cut the leather. I used a strong grip mat (purple mat) and placed my leather smooth side down. I placed my deep cut housing and blade in the B slot and cut out the cover for the journal. The only reason I used the deep cut blade is that I’ve yet to grab a knife blade for my Cricut Maker. Otherwise, I would definitely use that to cut leather. This blade cut it great and was super smooth.
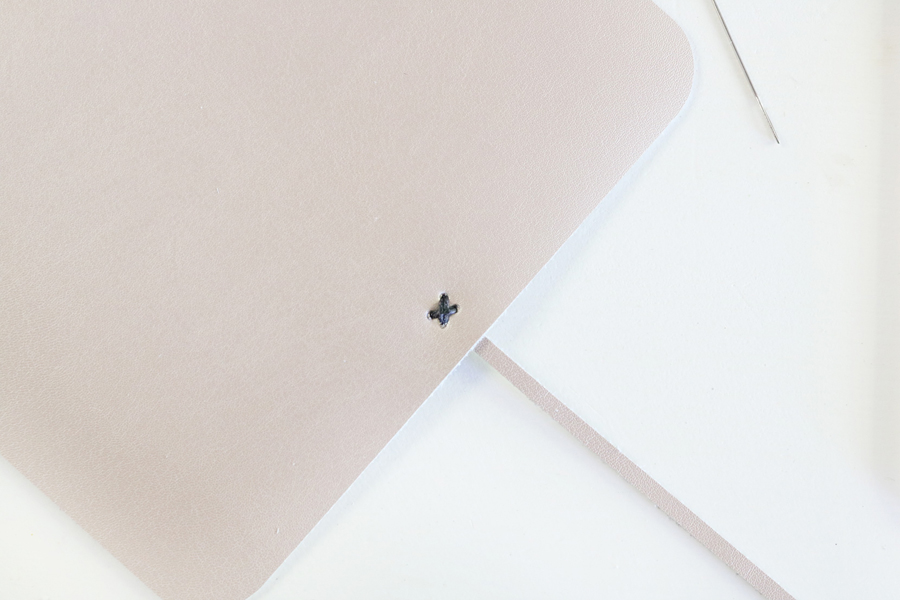
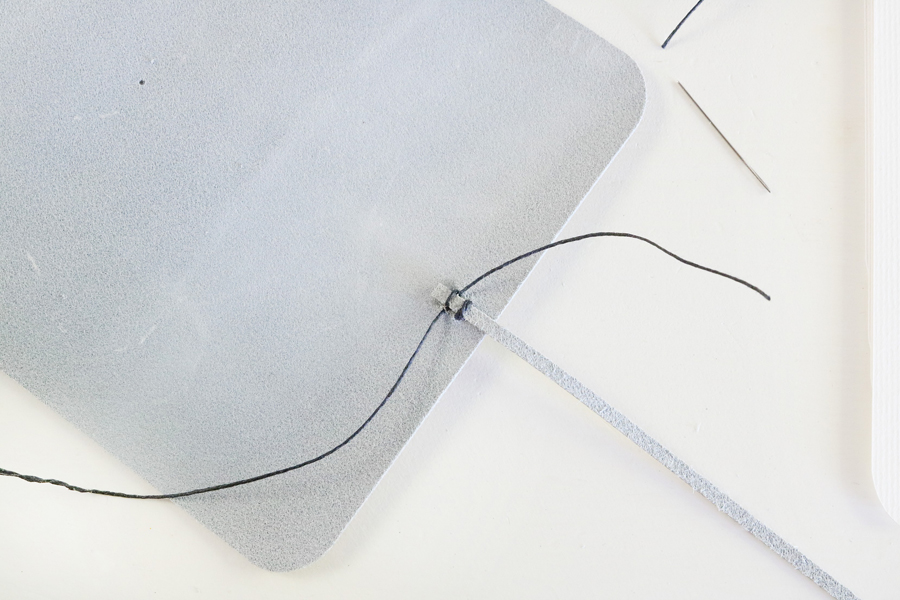
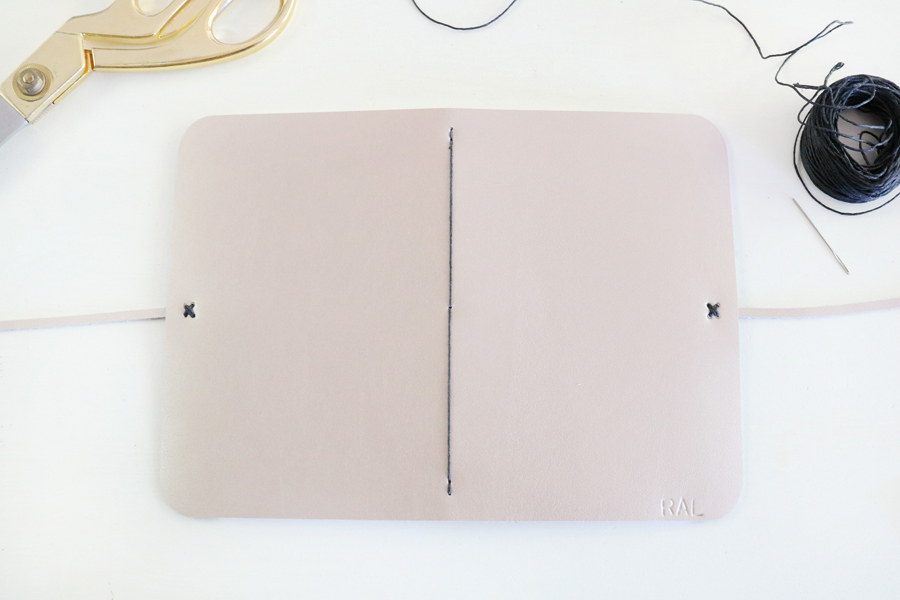
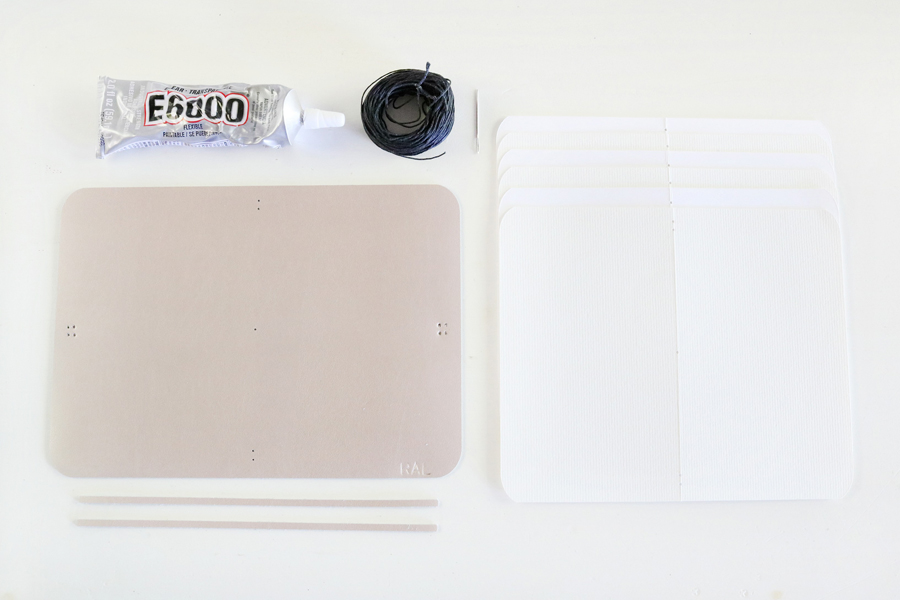 With your embroidery needle and cording, you will attach the two small thin pieces of leather straps the maker cut. I applied a small amount of E6000 adhesive to them before attaching them to the cover. You can sew whatever design you want with the embroidery floss or cording, I chose a X pattern for mine. Just simply knot the two ends together when done.
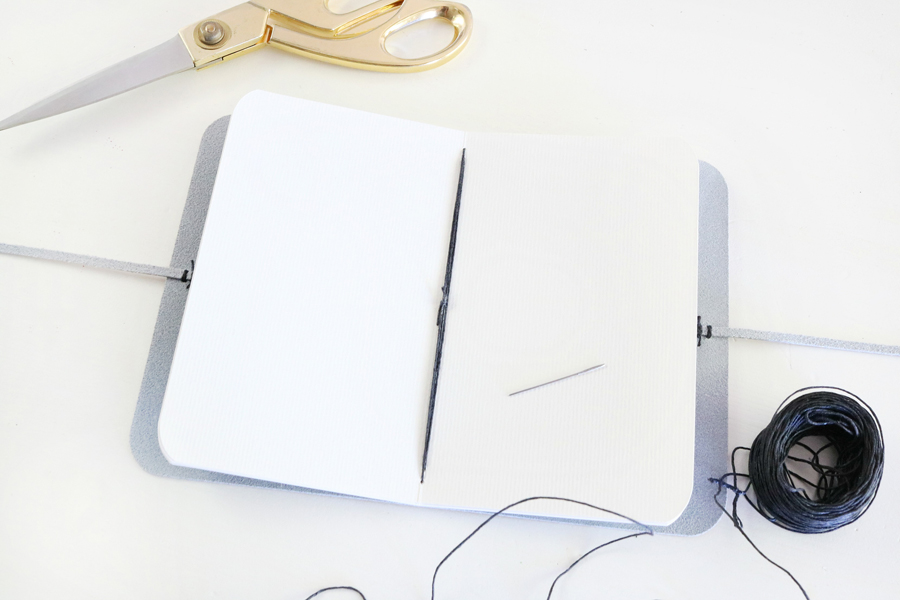
 You will also use your cording or embroidery floss to sew through your page inserts and the center of the cover. Basically, start at the top hole from the inside of the journal cover and pages and go to the second hole. Repeat that all the way down. Your ends should all meet on the inside and just simply tie them tightly into a knot. Trim excess cording or floss with a pair of scissors.
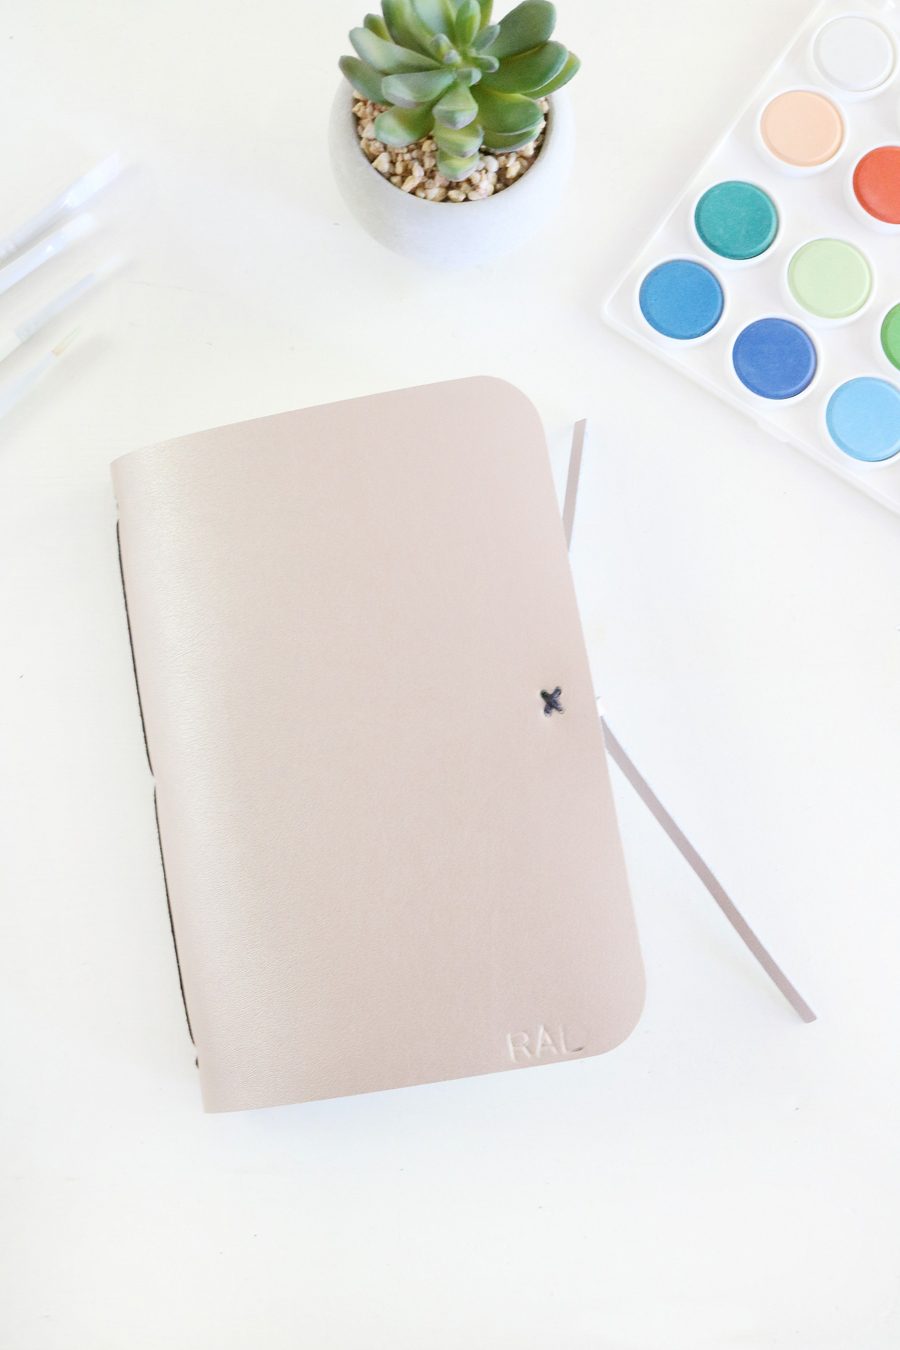
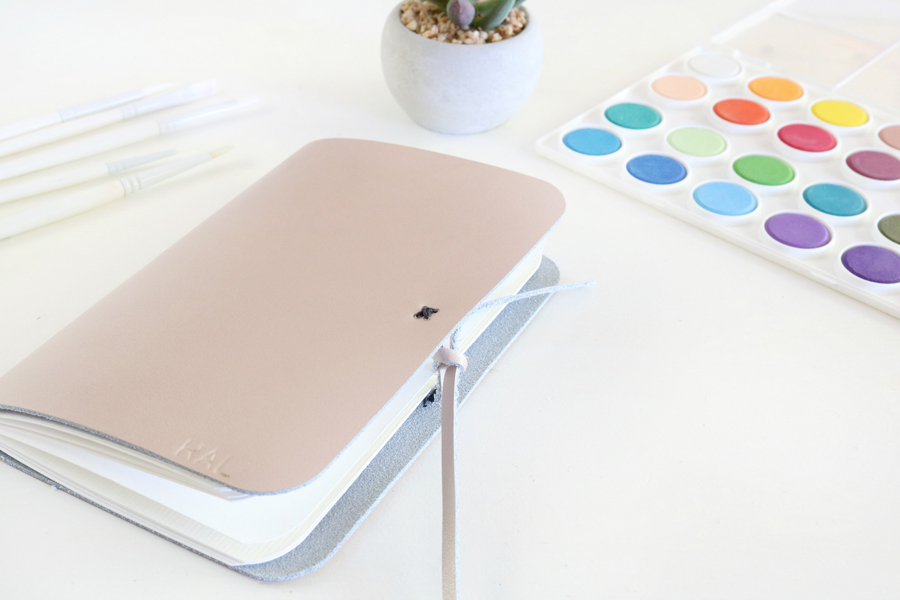
 How sweet is this little DIY Leather Watercolor Travel Journal?! I love that it’s small enough to throw in my purse or travel bag. This would be such a cute gift idea for someone who loves to watercolor, don’t you think?
I even added a personal touch and stamped my initials on to the front of the cover with some metal letter stamps.
 Looking for even more DIY Leather Projects be sure to check out these great posts:
- Leather Geometric Buffalo Pillow
- Diamond Hanging Planters
- DIY Geek Chick Leather Tablet Sleeve
- DIY Faux Leather Mason Jar Sleeve
This is a sponsored conversation written by me on behalf of Cricut. The opinions and text are all mine.


Leave a Reply