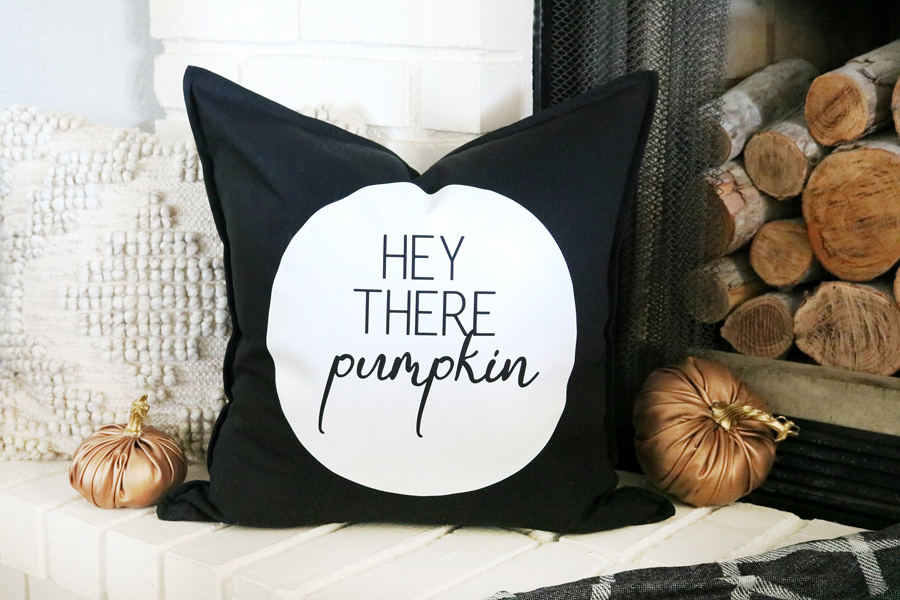
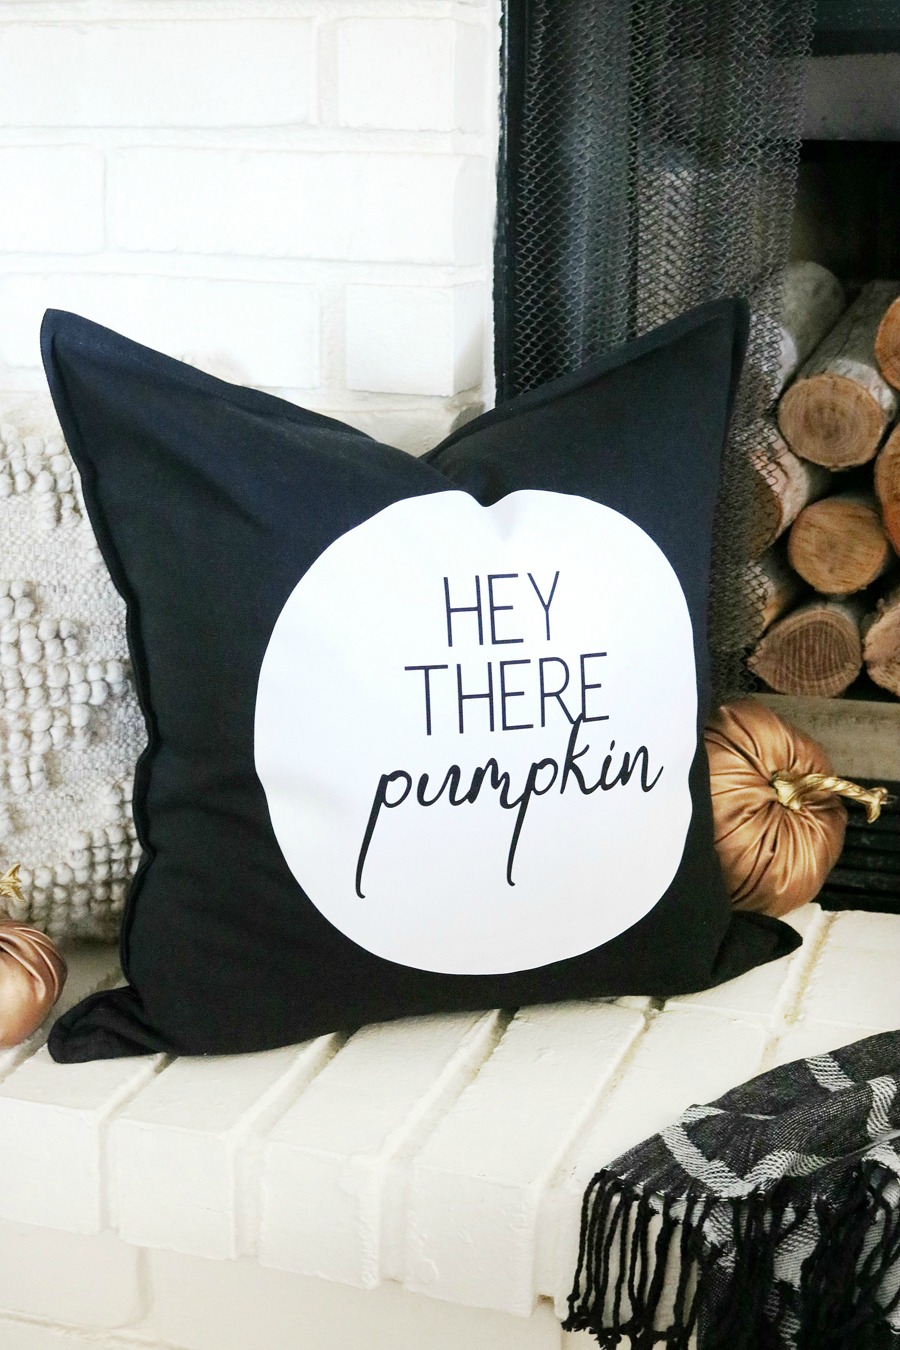
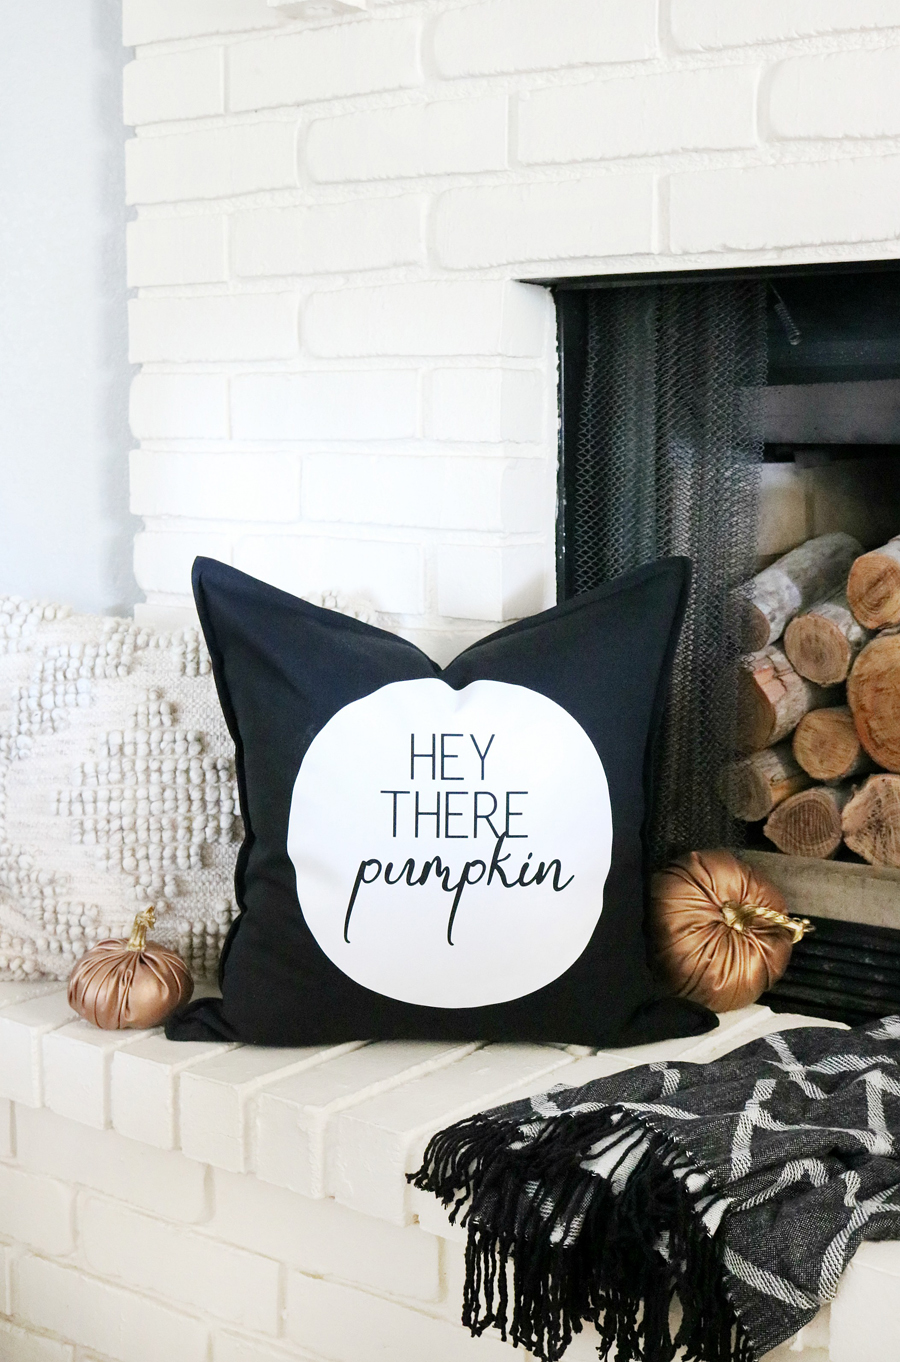
Fall is in the air, let all the holiday decorating commence! You all know how much I love making new holiday pillows, today I’m sharing a quick and super easy DIY Black & White Fall Inspired Pillow that’s perfect for all you fall weather loving friends.
Every year I create at least one or two new DIY holiday pillows, this year instead of a Halloween pillow I decided to switch it up and create a fall pillow. Can you believe I’ve never made a fall pillow?! Well this DIY Black & White Fall Inspired Pillow is so cute, it’s super easy to make and with the help of my new Cricut EasyPress 2 it only took me about 10 minutes to make!
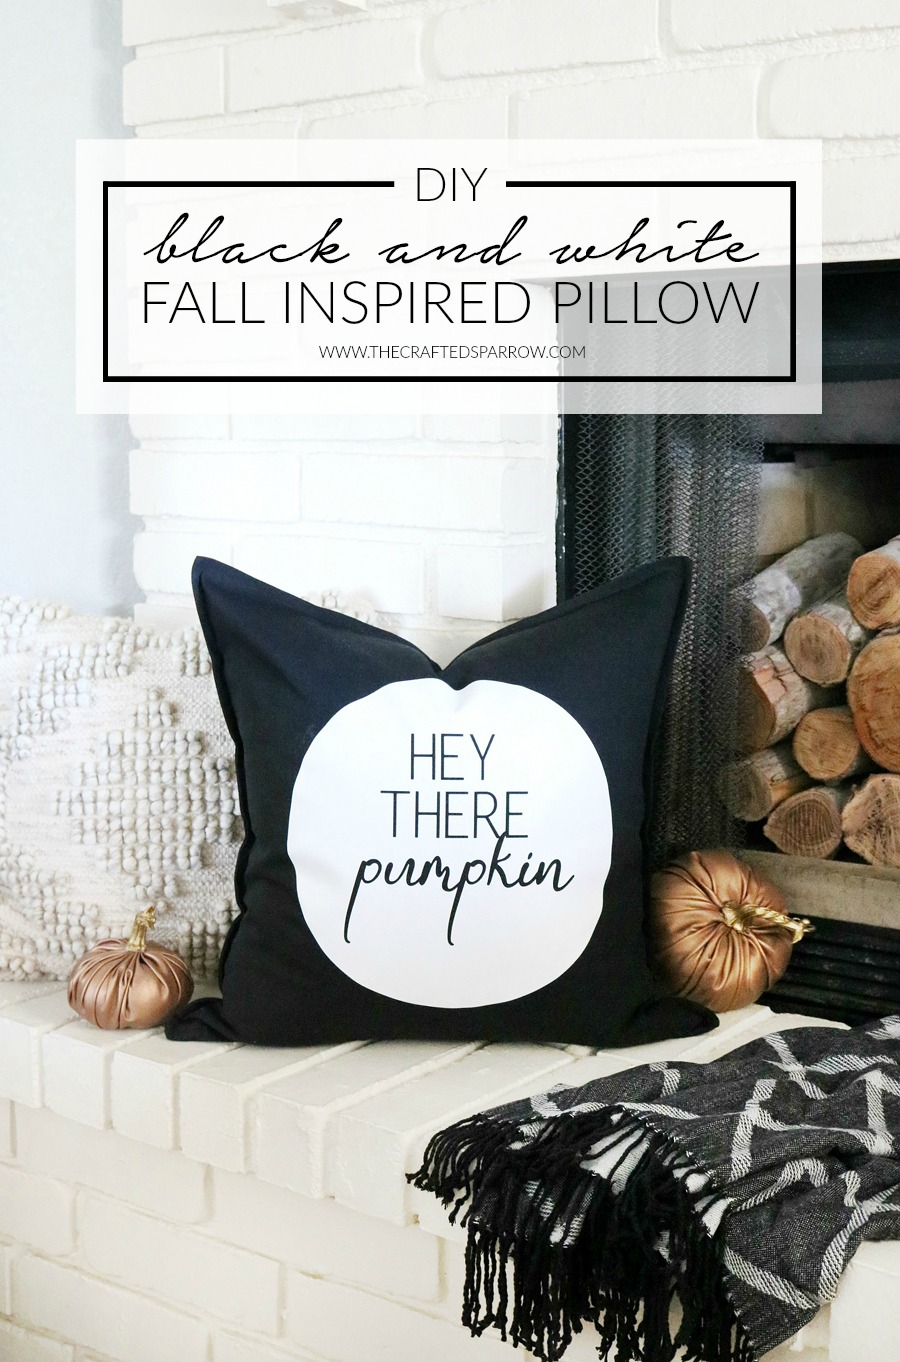 Let me show you just how easy this DIY Fall Pillow is to make…
Supplies:
- Cricut Maker or Cricut Explore Air 2
- Cricut EasyPress 2
- Cricut EasyPress Mat – 20×16″
- Standard Cutting Mat
- Cricut Everyday Iron-On
- Weeding Tool
- Pillow Cover of your choice
- “Hey There Pumpkin” Cut File found HERE
I love using premade pillow covers when I make holiday pillows, I usually get mine at Ikea. They have a great selection of colors and they are a great price point. For this project, I used a plain black pillow cover with white vinyl to really make my design pop.
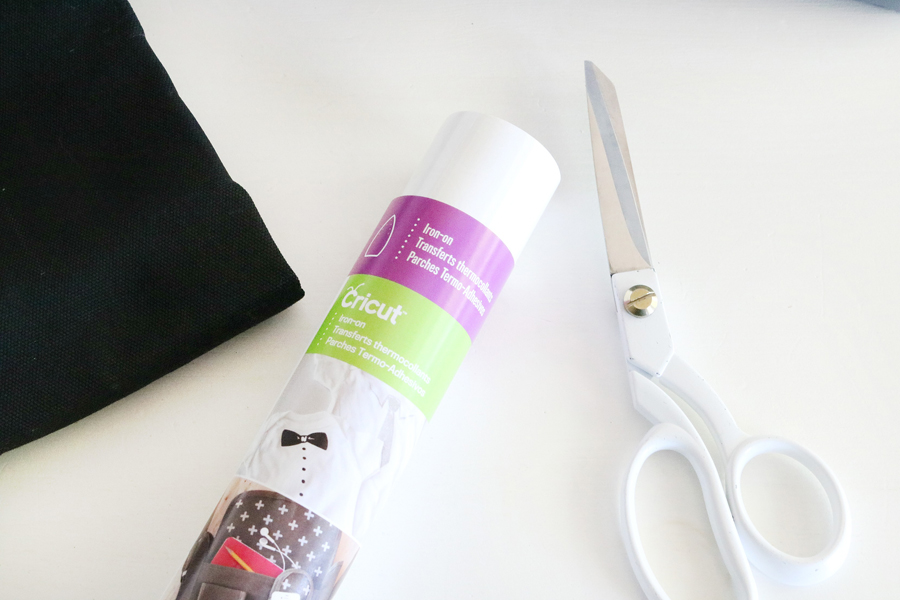
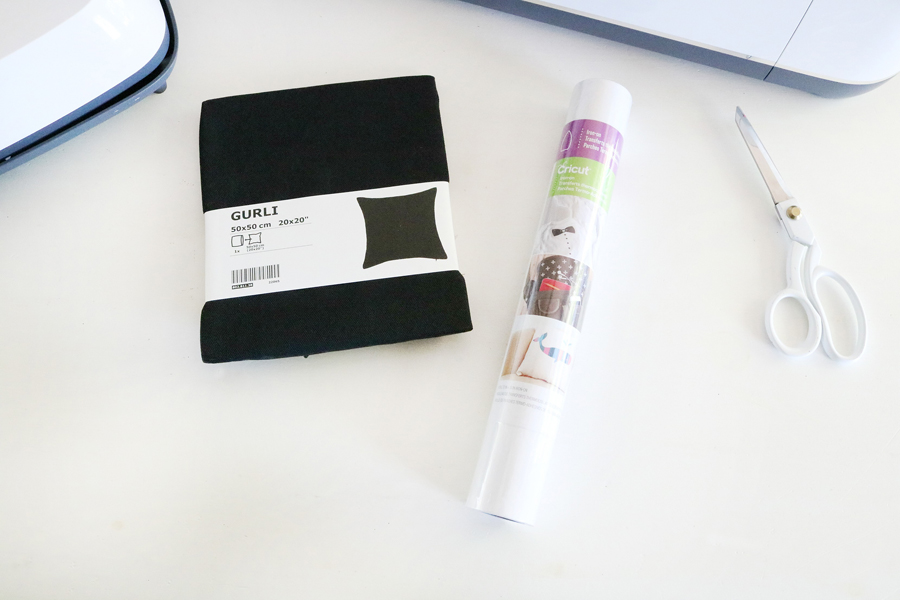 For pillows and t-shirts, I love using Cricut Everyday Iron-On. Cricut has a StrongBond™ Guarantee which means the quality of their iron-on materials combined with the Cricut EasyPress make for a dynamic duo. When the iron-on is used as directed, you will be completely satisfied with the finished results. Your iron-on materials will stick and continue to stick after many, many washes. If for some reason it doesn’t, Cricut will replace it for free! Be sure to check for the StrongBond™ Guarantee on select Cricut iron-on materials like Everyday, SportFlex, and Glitter.
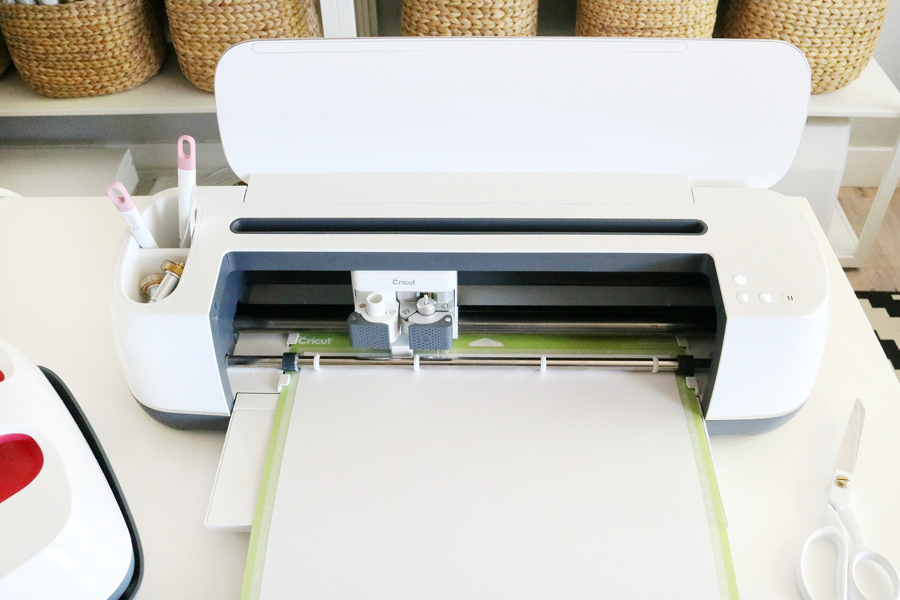
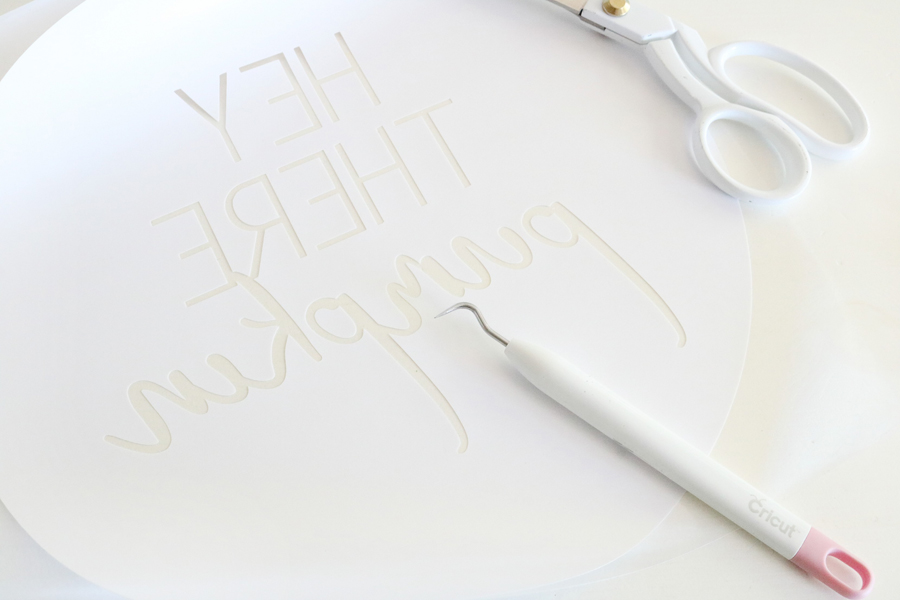
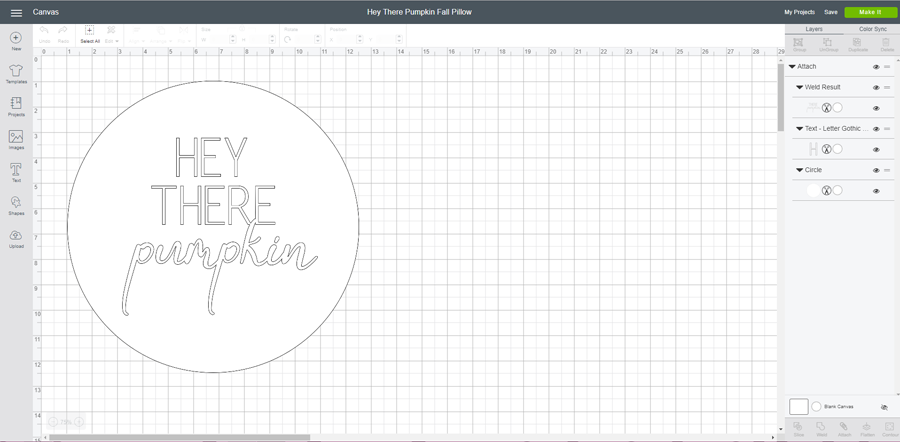
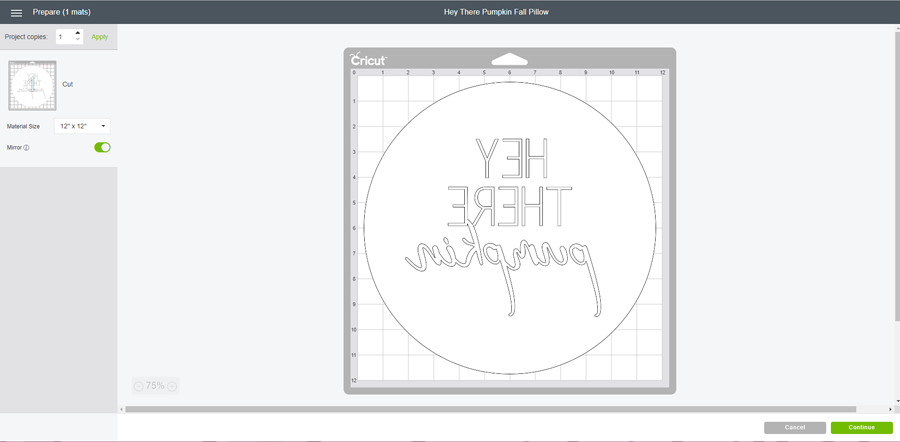
 I designed this simple and fun graphic in Design Space using Cricut images and Cricut fonts. I’ve made the cut file available for you to make HERE. All you have to do is hit “Make It” and you’re ready to go with your Cricut Maker or Cricut Explore Air 2. Be sure to mirror your image as shown in the picture below before cutting. Hit continue and choose iron-on in the list of cutting materials. Load your mat, be sure the iron-on is shiny side down and hit go.
 Once the image is cut just weed away the iron-on you don’t need. I love my Cricut weeder, it’s seriously the best weeder I’ve ever used. If you don’t have one, get one!
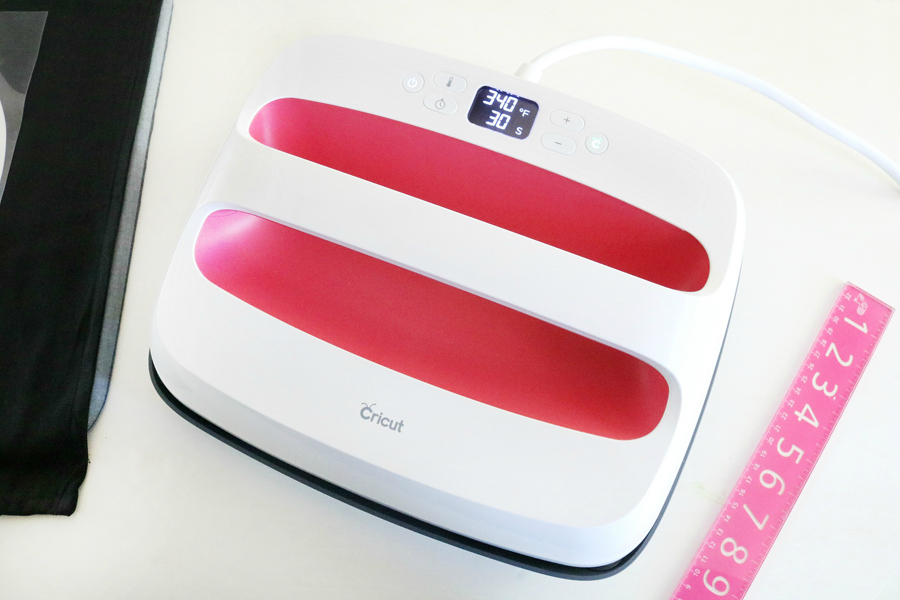
 Time to get my pillow cover ready for the iron-on. This is where things get awesome. I’m super impressed with the new Cricut EasyPress 2, I had the pleasure of trying it ahead of time and I am even more in love than I already was with the first EasyPress version. Why you ask? The new Cricut EasyPress 2 comes in three unique sizes – 6×7″, 9×9″, and 12×10″. There is a size perfect for every project. I love that the EasyPress 2 gives professional iron-on success in 60 seconds or less, it’s super easy to use, has a fast heat up time, precise temperature control up to 400F, ceramic- coated heat plate for dry even heat transfers, and the list goes on. Oh yeah, it has a USB port for firmware updates and comes in a really pretty raspberry color.
The EasyPress pairs perfectly with the Cricut EasyPress Mat. Since I’m using the 12×10′ EasyPress 2 for my pillows I am using the 20×16″ mat. These mats help to eliminate moisture and helps to direct heat to the iron-on design. It also helps protect your surfaces when using the EasyPress.
I usually use my EasyPress to iron my pillow covers before applying the iron-on. This also helps to warm up the pillow cover and helps it to adhere better. For my pillow cover, I set my EasyPress 2 to 340F for 30 seconds.
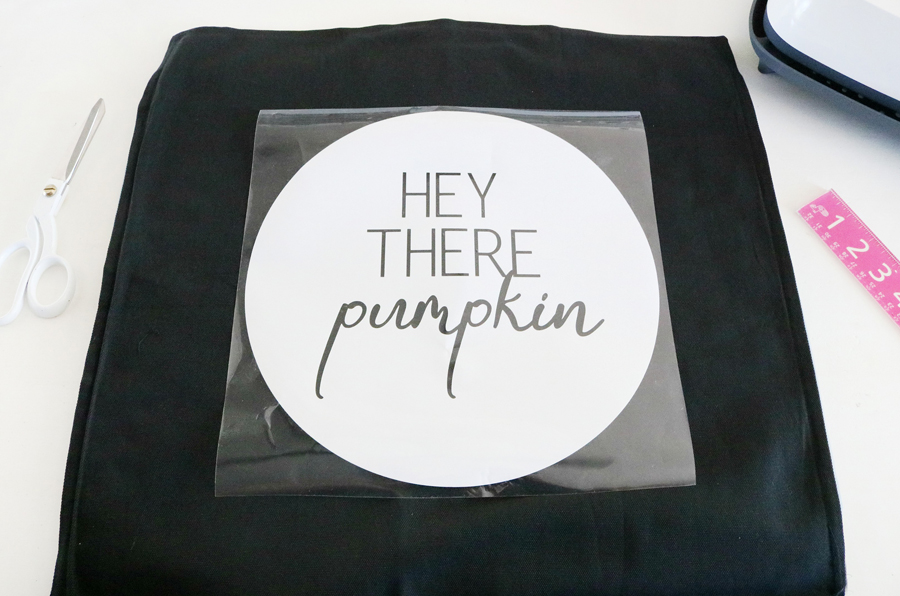
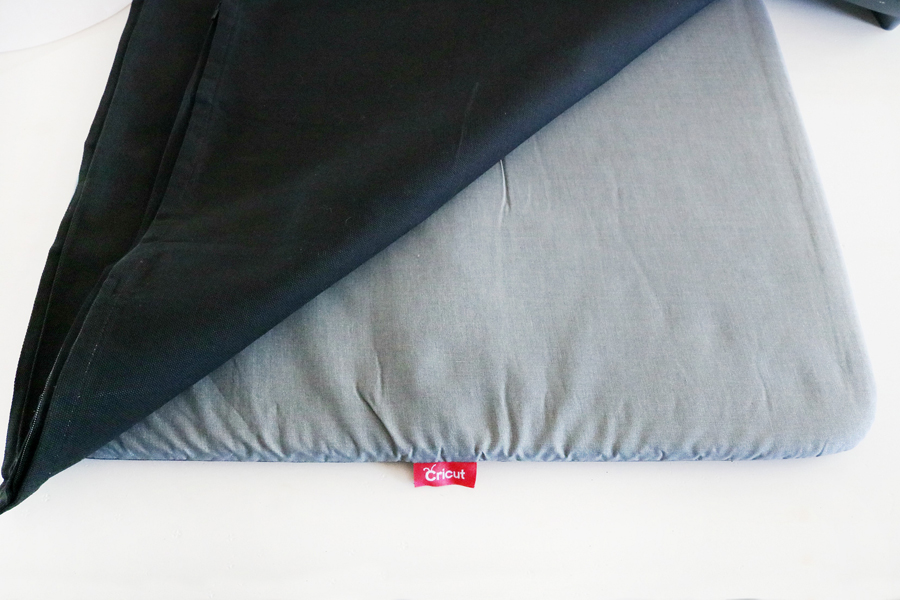 Center your iron-on image on the pillow cover. I always use a ruler to be sure my image is centered.
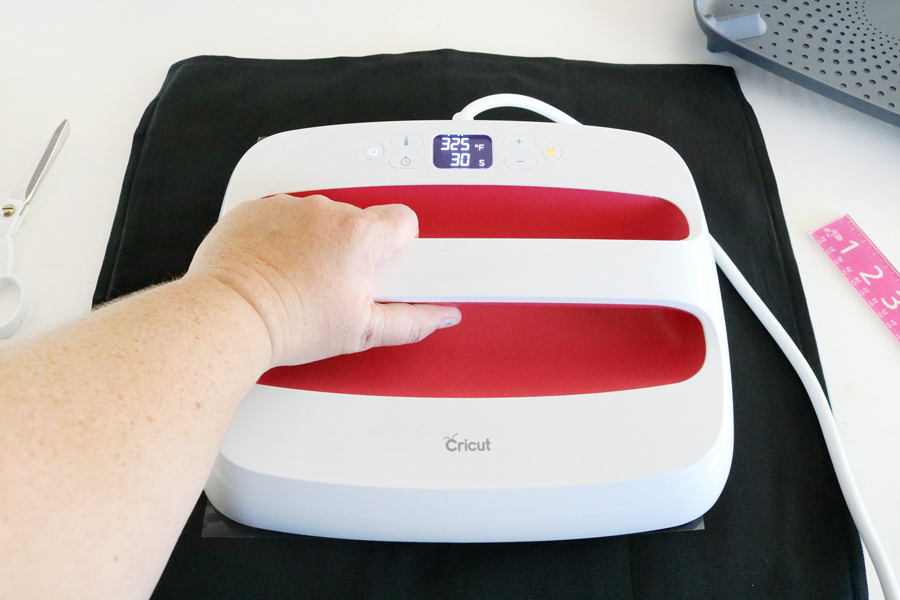
 Iron on your design, holding the EasyPress 2 in place for the 30-second timer firmly. This new EasyPress 2 size is perfect for the large designs I create for pillows and t-shirts. I only had to move the EasyPress once over my design to adhere the whole 12″ design. Be sure to do a cold peel with your plastic carrier sheet after. That means not to peel it up until after it’s completely cooled. If you have any spots that didn’t completely adhere replace the plastic carrier sheet back over the design and hit it again with the EasyPress.
 This project really should take you less than 10 minutes to cut the iron-on, weed it, center it on the pillow cover, and then adhere it with the heat from the EasyPress 2. I’d say that’s the best kind of decor project – quick, easy, and super cute!
Don’t worry, I have even more Holiday DIY Pillow Ideas made with Cricut for you…be sure to check them out!
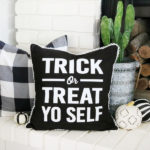
- Trick or Treat Halloween Pillow
- Disney Inspired Haunted Mansion Halloween Pillow
- DIY Halloween Pillow
- DIY Faux Leather Christmas Tree Pillow
- DIY Fa La La Christmas Pillow
- Vintage Truck Christmas Pillow
- Buffalo Check Christmas Pillow
- Vintage Inspired Christmas Pillow
I love how this DIY Black & White Fall Inspired Pillow turned out. The simple design is modern and everyone loves fall and pumpkins!
This is a sponsored conversation written by me on behalf of Cricut. The opinions and text are all mine.



Leave a Reply