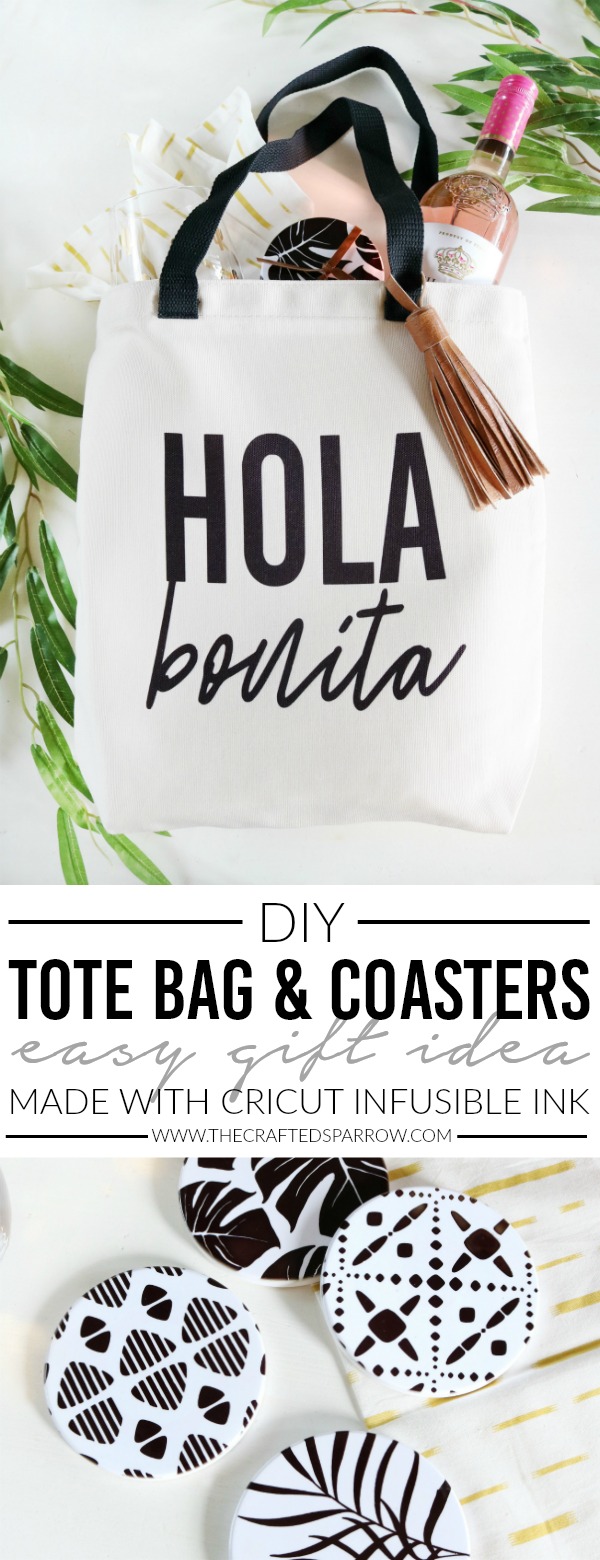
Have you heard the news yet?! Cricut [My Favorite Crafting Brand EVER!] released an amazing new product! Have you seen it? Have you used it yet? I am so excited for Cricut Infusible Ink. If you’ve yet to hear about it or use it don’t worry, I’m here to show you how to get started! Let me show you how to make this easy DIY Tote Bag & Coasters Gift Idea Made with Cricut Infusible Ink.
 If you know me or have been around this site for any length of time you know that I love my Cricut machines and making fun home decor and projects with them. As soon as I got my hands on the new Cricut Infusible Ink I knew I had to make a fun project to test it out, this product is a game-changer.
This fun DIY Tote Bag & Coasters Easy Made with Cricut Infusible Ink can be made in under an hour and makes such a great gift idea. It would be great for a girlfriend to say thank you, a mom who’s ready to be done with summer break and needs a little something fun to brighten her day…you get the idea. Let’s get started!
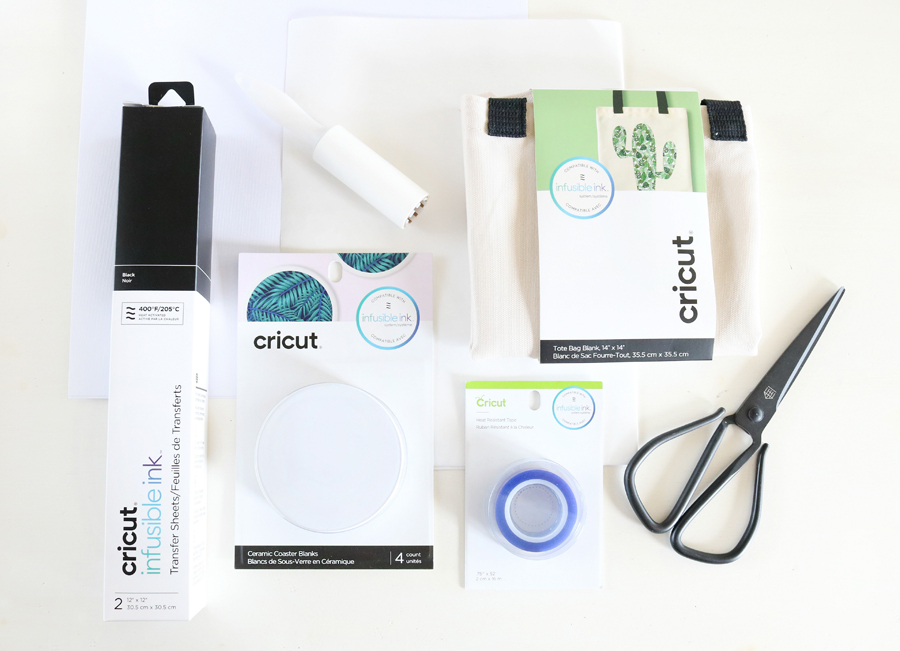
 HERE’S WHAT YOU WILL NEED TO MAKE THIS DIY TOTE BAG & COASTER SET WITH CRICUT INFUSIBLE INK!
SUPPLIES:
- Cricut Maker
- Cricut EasyPress 2
- Cricut EasyPress Mat
- Cricut Standard Grip Mat
- Cricut Infusible Ink Transfer Sheet, Available at Michaels!
- Cricut Tote Bag, 14×14″, Available at Michaels!
- Cricut Round Coaster Blanks, Available at Michaels!
- Cricut Heat Resistant Tape, Available at Michaels!
- Weeding Tool, Optional (It’s recomended to use tweezers or your fingers to weed the project)
- Butcher Paper, This Comes with The Infusible Ink
- Lint Roller and Lint Free Cloth
- White Cardstock, No Colored Cardstock!
Remember to always have dry hands when working with this product, any moisture can ruin your products.
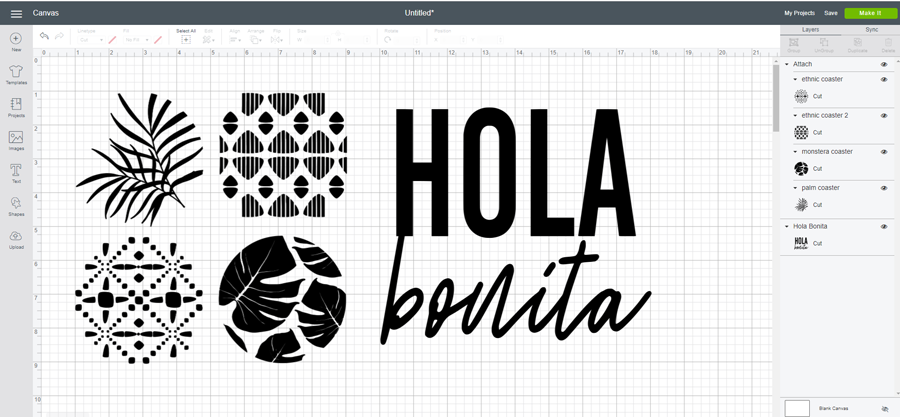
First things first, let’s make this cute tote bag! You’ll need to decide what saying you want your bag to say, you can either design your image in photoshop or right in Design Space using their fonts. I designed my images in photoshop and then uploaded them directly into Design Space. Since I was using the black Cricut Infusible Ink for both projects I went ahead and uploaded all the images at the same time.
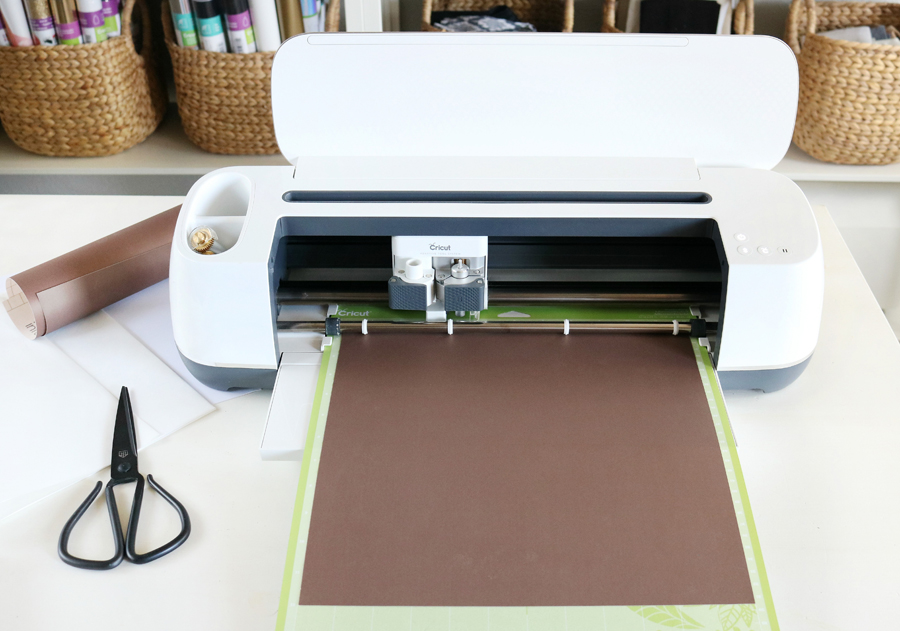
Once your images are uploaded into Design Space you can resize them to be sure they fit your blanks. For the coaster, I sized them slightly larger than the coaster size itself. Now it’s time to cut your images. Using a standard grip mat you will lay your Cricut Infusible Ink on the mat shiny side down (the shiny part is the transfer sheet).
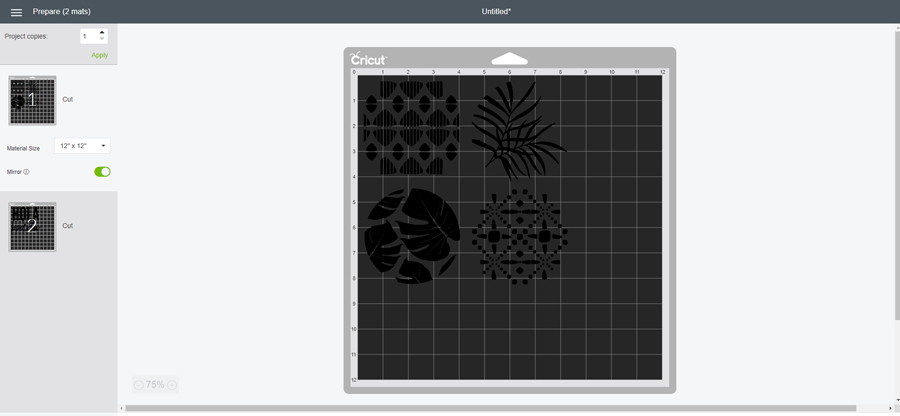
When your Infusible Ink is ready to cut you will hit “Make It”, be sure when you’re on the “Prepare” page that looks like the photo below you click on the “Mirror” button to mirror your images. This is a must!
You will select “Infusible Ink Transfer Sheet” from the list of materials to cut.
Note: If you’re using a Cricut Explore cutting machine you will need to turn your dial to “Custom” to select the correct materials.
 TIME TO CUT YOUR CRICUT INFUSIBLE INK!
Load your cutting mat into the machine and hit GO (the flashing C button).
You’ll notice that your Infusible Ink looks much duller and maybe not the color you were thinking it was, but I promise it’s right and the finished product will be so vivid and exactly the color you want. It also weeds differently than vinyl since it’s more paper-like, so just remember that when you’re weeding.
When everything is done being cut you’ll weed away any unwanted materials from your design. I love using my Cricut Weeder for this, but it is recomended to use your fingers or tweezers to weed your project.
 DIY HOLA BONITA TOTE BAG
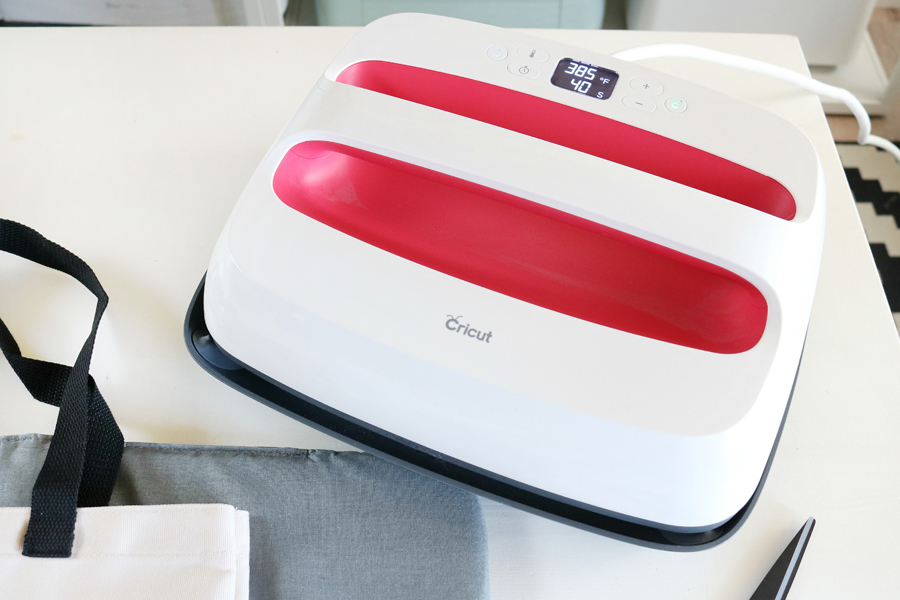
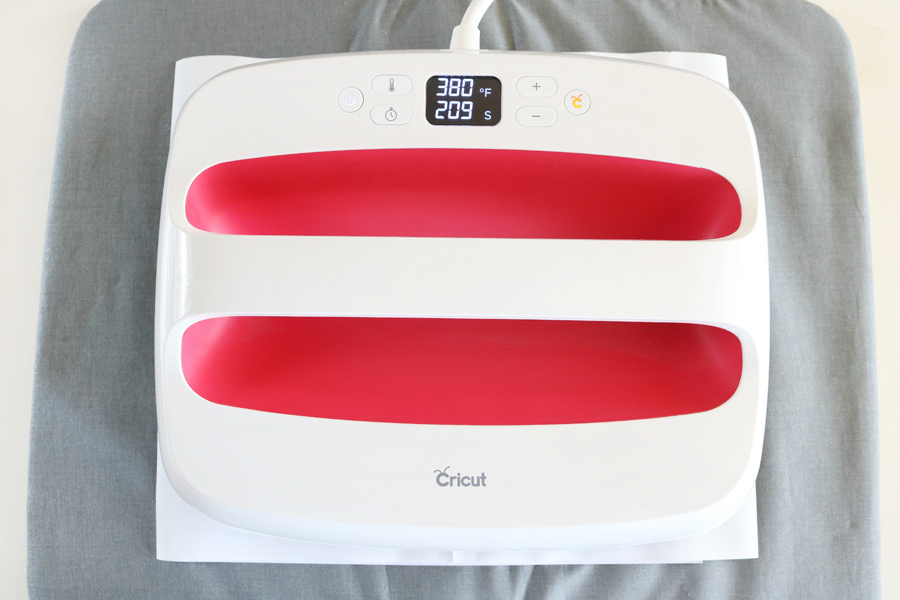
Preheat your Cricut EasyPress 2, for this tote bag you’ll heat it to 385 degrees fahrenheit for 40 seconds.
Prep your tote bag by laying it flat on your Cricut EasyPress Mat, be sure to lay a piece of white 12×12″ cardstock underneath your tote to protect your mat. I like to lint roll my tote a couple of times to be sure I’ve removed any debris or lint.
You will also place another sheet of 12×12″ white cardstock inside your tote to protect the bottom side from the Infusible Ink transfer.
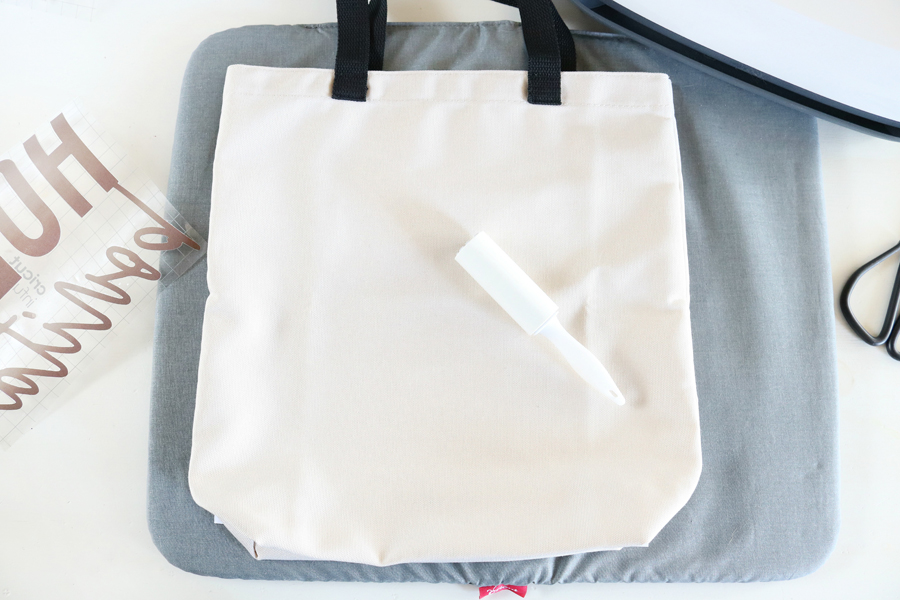 Take a piece of your butcher paper (be sure it’s larger than your EasyPress 2) and lay it over the front of the tote bag, we are going to preheat our tote bag and remove any wrinkles by pressing it for 15 seconds with the EasyPress 2. Let your tote cool completely.
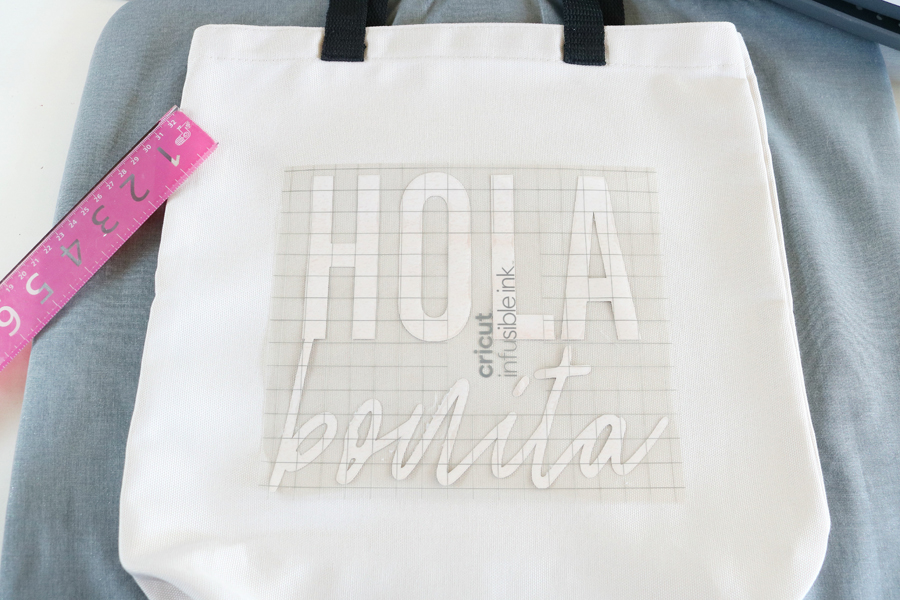
Almost done. Lay your graphics on your tote, using a ruler to make sure it’s center. See how your design looks right side up now? It’s ready to iron!
Using your Cricut EasyPress 2 place it over your design and butcher paper and use light pressure, be sure you don’t move it around…hold it nice and steady. This is different than with iron-on vinyl, it will bleed if you move it around.
When your 40-second timer is up carefully remove the EasyPress by simply lifting it straight up. Leave the butcher paper in place until the whole thing is completely cool.
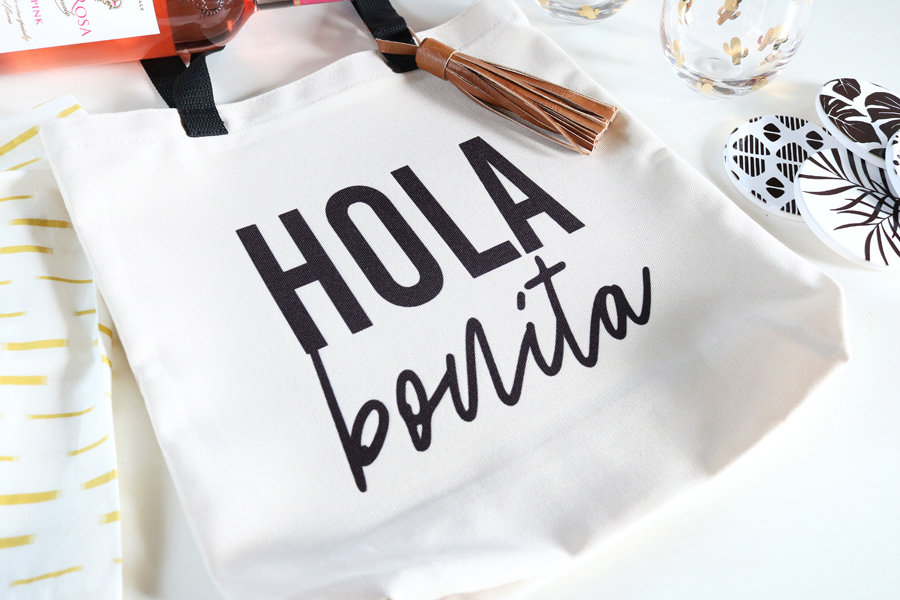
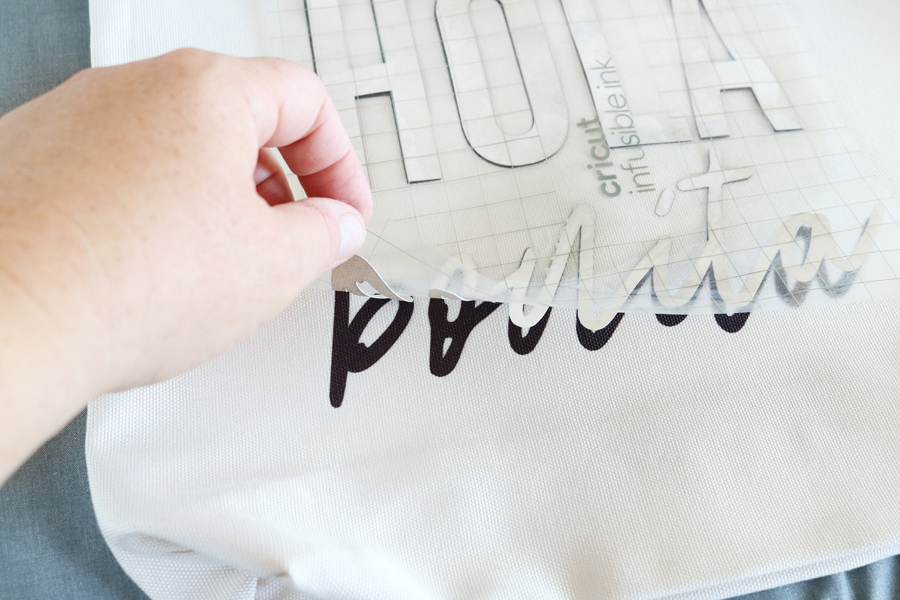
 Once the tote is cooled you can carefully and slowly remove the butcher paper. Then do the same thing to the clear transfer sheet on the Infusible Ink image you pressed. Ahhh, the moment of truth…lift up that transfer sheet and see how awesome it looks. This product is so cool, it’s not like vinyl…it’s completely permanent. You can wash in cold water, it won’t crack or peel like vinyl sometimes can…think of all the things you can create with a product like this.
 DIY TROPICAL INSPIRED COASTERS
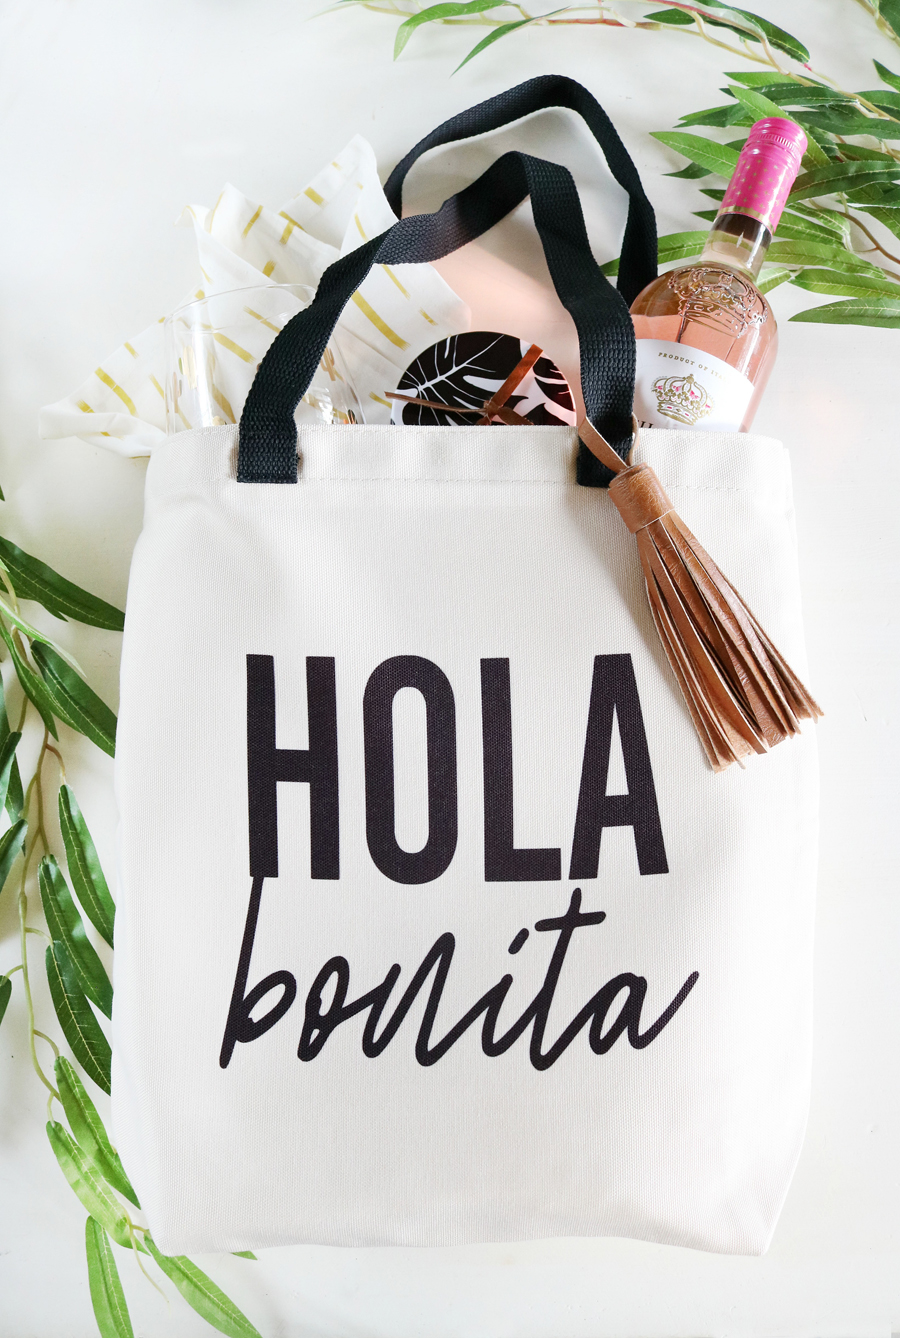
These cute coasters are getting added to my fun Hola Bonita tote as part of a fun gift idea, add a bottle of wine and a couple of cute wine glasses, some fun treats and it’s all set to gift to someone.
So when I first heard about Cricut Infusible Ink all I thought about was the numerous t-shirts and possibly pillows I wanted to create. Then I saw the ceramic coasters and was super curious how this product was going to work on ceramic. Well it did, and it’s so good you guys!
Let’s preheat the Cricut EasyPress 2 to 400 degrees F for 240 seconds. You must have an EasyPress 2 to do these projects.
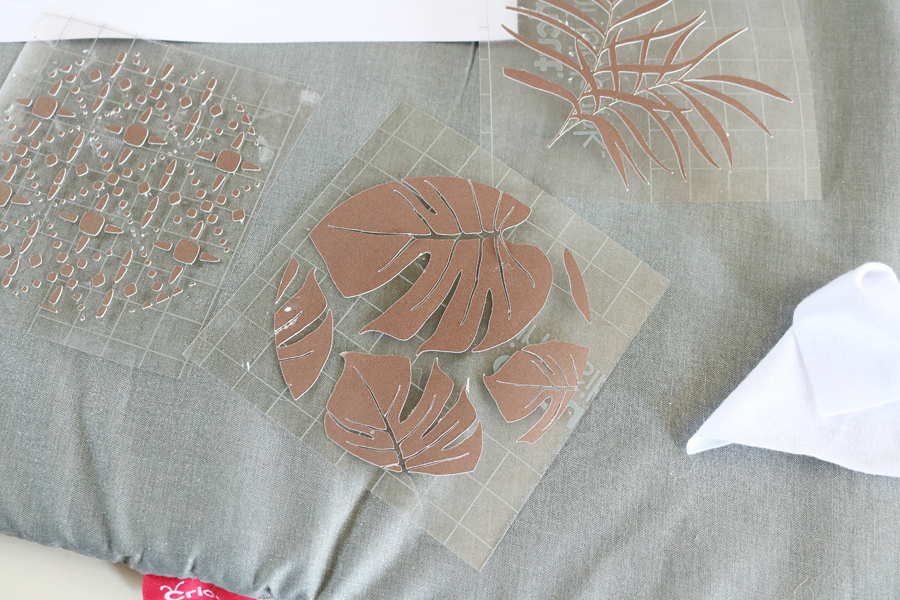 Start by using a lint-free cloth to clean your coasters. You don’t want any debris or hairs to get transferred into your design.
When you have your designs weeded and ready to go you will place them transfer sheet side up on the coaster. Use the Cricut Heat Resistant Tape, trust me on this…just do it! I messed up two of my coasters initially because I thought I’d be fine without the tape and I should have known better. When I lifted my EasyPress it shifted my images and transferred ink twice.
Set a piece of white 12×12″ cardstock on top of your EasyPress Mat, place your coasters face down (your image should be on the bottom) on top of the white cardstock. You should be looking at the bottom, non-shiny side of the ceramic coasters now. Now put a piece of butcher paper over the top of all the coasters.
Gently set you EasyPress 2 on top of the coasters and hit your timer for 240 seconds at the 400 degrees F temperature. Do not move the EasyPress 2, don’t even hold it. Once your timer is done very carefully lift the EasyPress 2 up slowly and place it back in the base. Try to not move the butcher paper or transfer sheet.
Do NOT, I repeat DO NOT touch the coasters yet. They are extremely hot and need to cool completely. Once they are cooled you can remove the transfer sheet and tape.
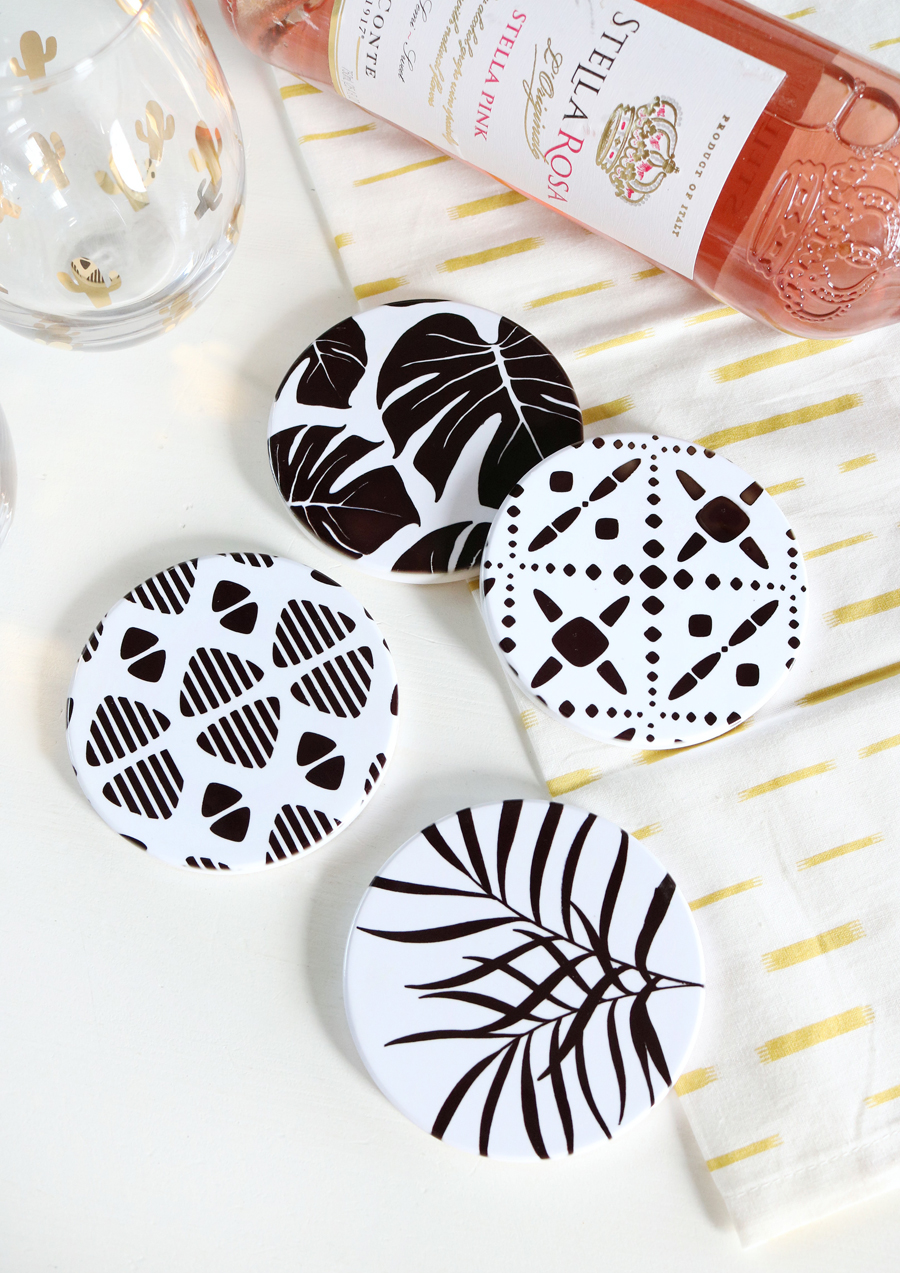
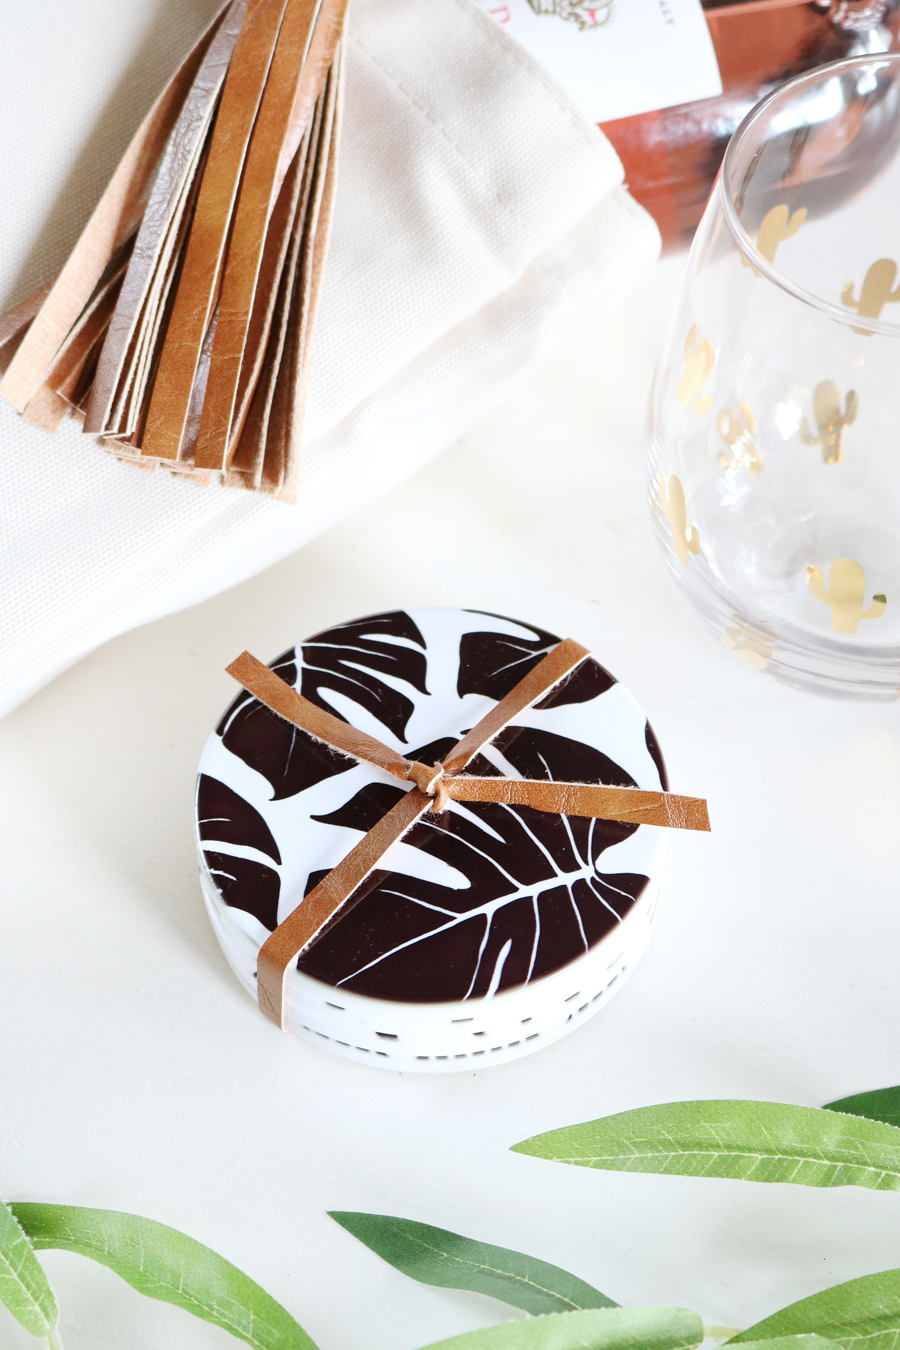
 See how good they are?! They turned out so vivid and I honestly can’t believe how easy they were to make. There’s nothing raised on the coaster, the Infusible Ink is embedded into it. They look store-bought! My hubby couldn’t believe I made them when I showed him, he just kept staring at them and feeling them.
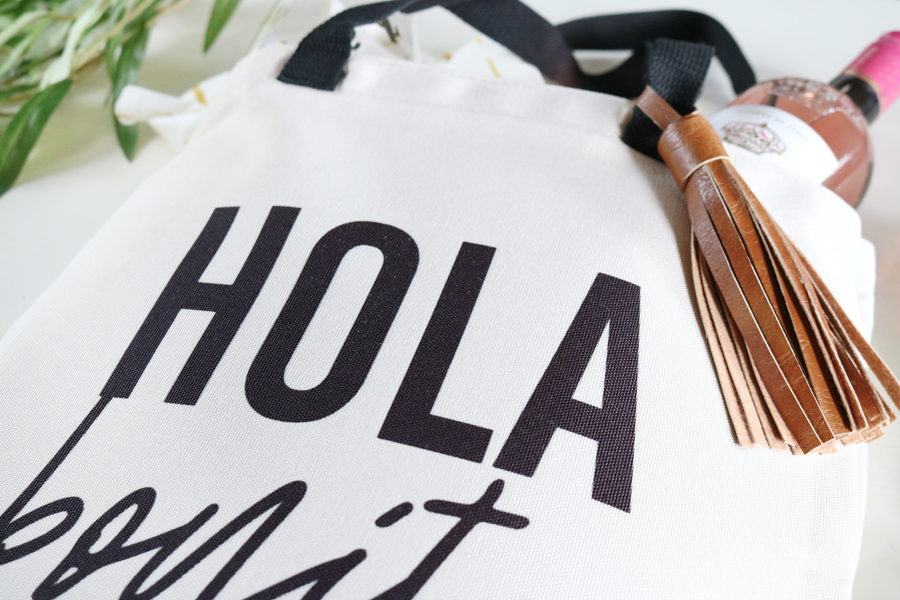
 I made a quick faux leather tassel to hang on the strap and wrapped a piece of faux leather around my stack of coasters. Then I just added all the goodies inside the cute DIY Hola Bonita Tote and it was ready to gift.
IF YOU LOVED THIS DIY TOTE BAG & COASTERS EASY GIFT IDEA MADE WITH CRICUT INFUSIBLE INK BE SURE TO CHECK OUT THESE OTHER AMAZING CRICUT IDEAS!
- DIY The Desert Is Calling T-Shirt
- DIY Black & White Succulent Sign
- Easy DIY Fiesta Inspired Cake Topper & Treat Bags
- Diamond Hanging Planters
DISCLOSURE | This is a sponsored conversation written by me on behalf of Cricut. The opinions and text are all mine. This post may contain affiliate links at no cost to you.



Leave a Reply