This Simple Snowflake Wall Hanging Winter Decor is both delicate and pretty, which makes it the perfect piece of decor to hang during the holidays. It can even stay up past the new year during those chilly winter months.
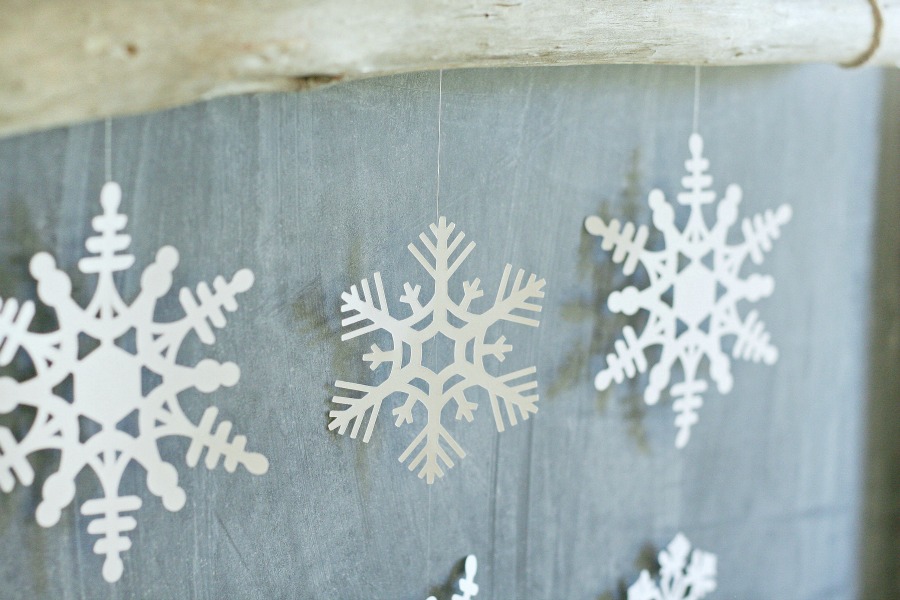 In Arizona, we definitely enjoy the cooler temperatures during the holiday season, but one thing we don’t see a lot of is snow. I love the snow, I was born in Alaska and I think my love of cold weather is in my blood. One of my favorite things about snow is the snowflakes! There’s something so magical about snowflakes, am I right?! I love to decorate with white snowflake decor during the holidays, this Simple Snowflake Wall Hanging can easily go with any holiday or winter decor.
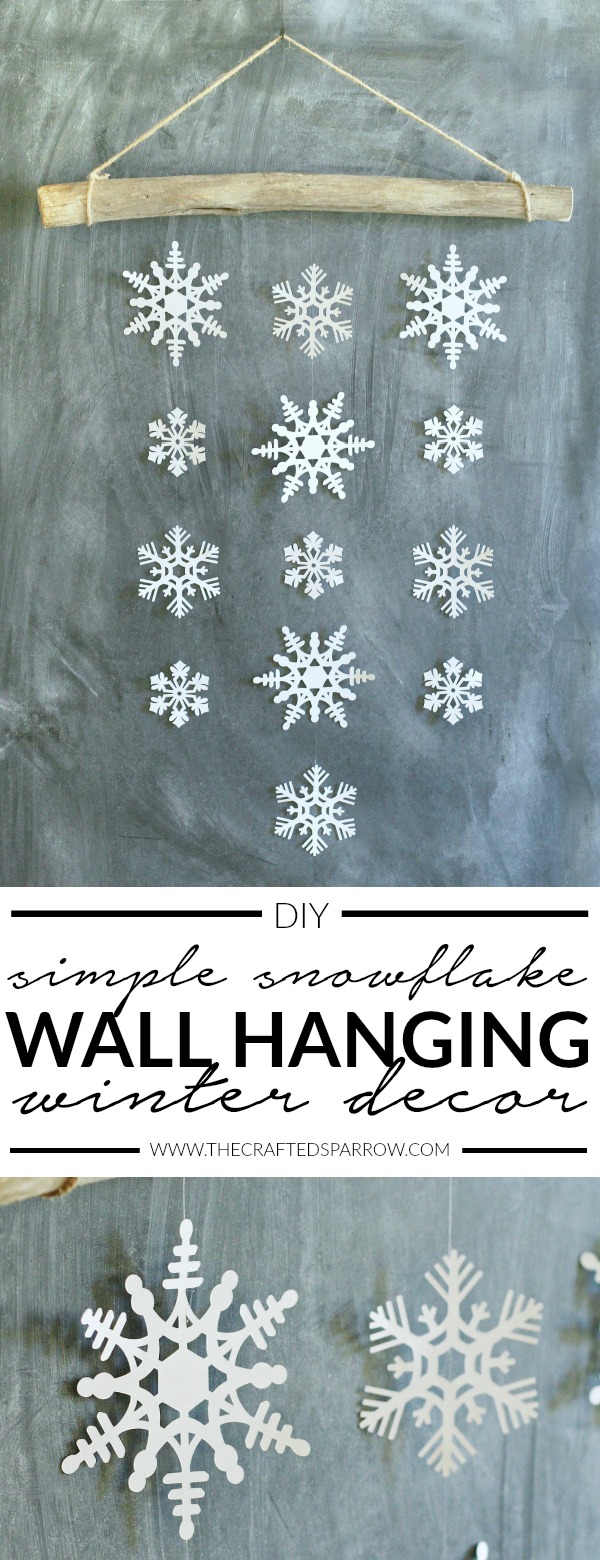 I promise this project is easy, like you can have this project finished in under 30 minutes easy! The hardest part is probably going to be finding a branch or large stick to make your snowflake wall hanging with. Other than that, this requires minimal supplies and super basic sewing skills…although I’m going to tell you how to make it a no-sew project if sewing isn’t your thing.
LET’S MAKE A SIMPLE SNOWFLAKE WALL HANGING
SUPPLIES:
- Cricut Maker or Cricut Explore Air 2 Cutting Machine, If you don’t have a cutting machine simply cut snowflakes by hand on white cardstock.
- Cricut Standard Grip Mat
- Weeding Tool
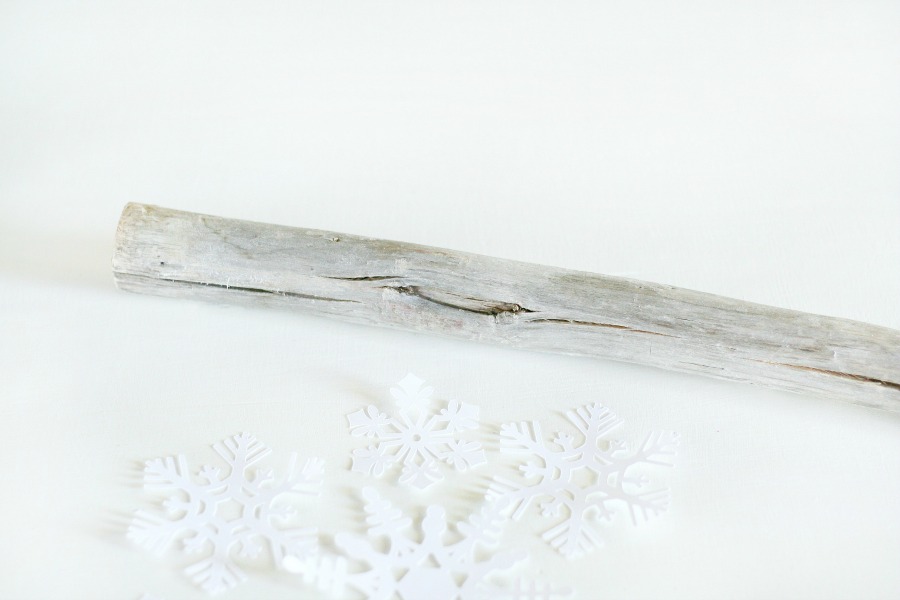
- Large Branch or Wooden Dowel
- White Cardstock
- Fishing Line or White Thread
- Sewing Machine or Glue Gun
- Twine, Jute Cord, or Any Kind of Cording to Hang Your Wall Hanging With
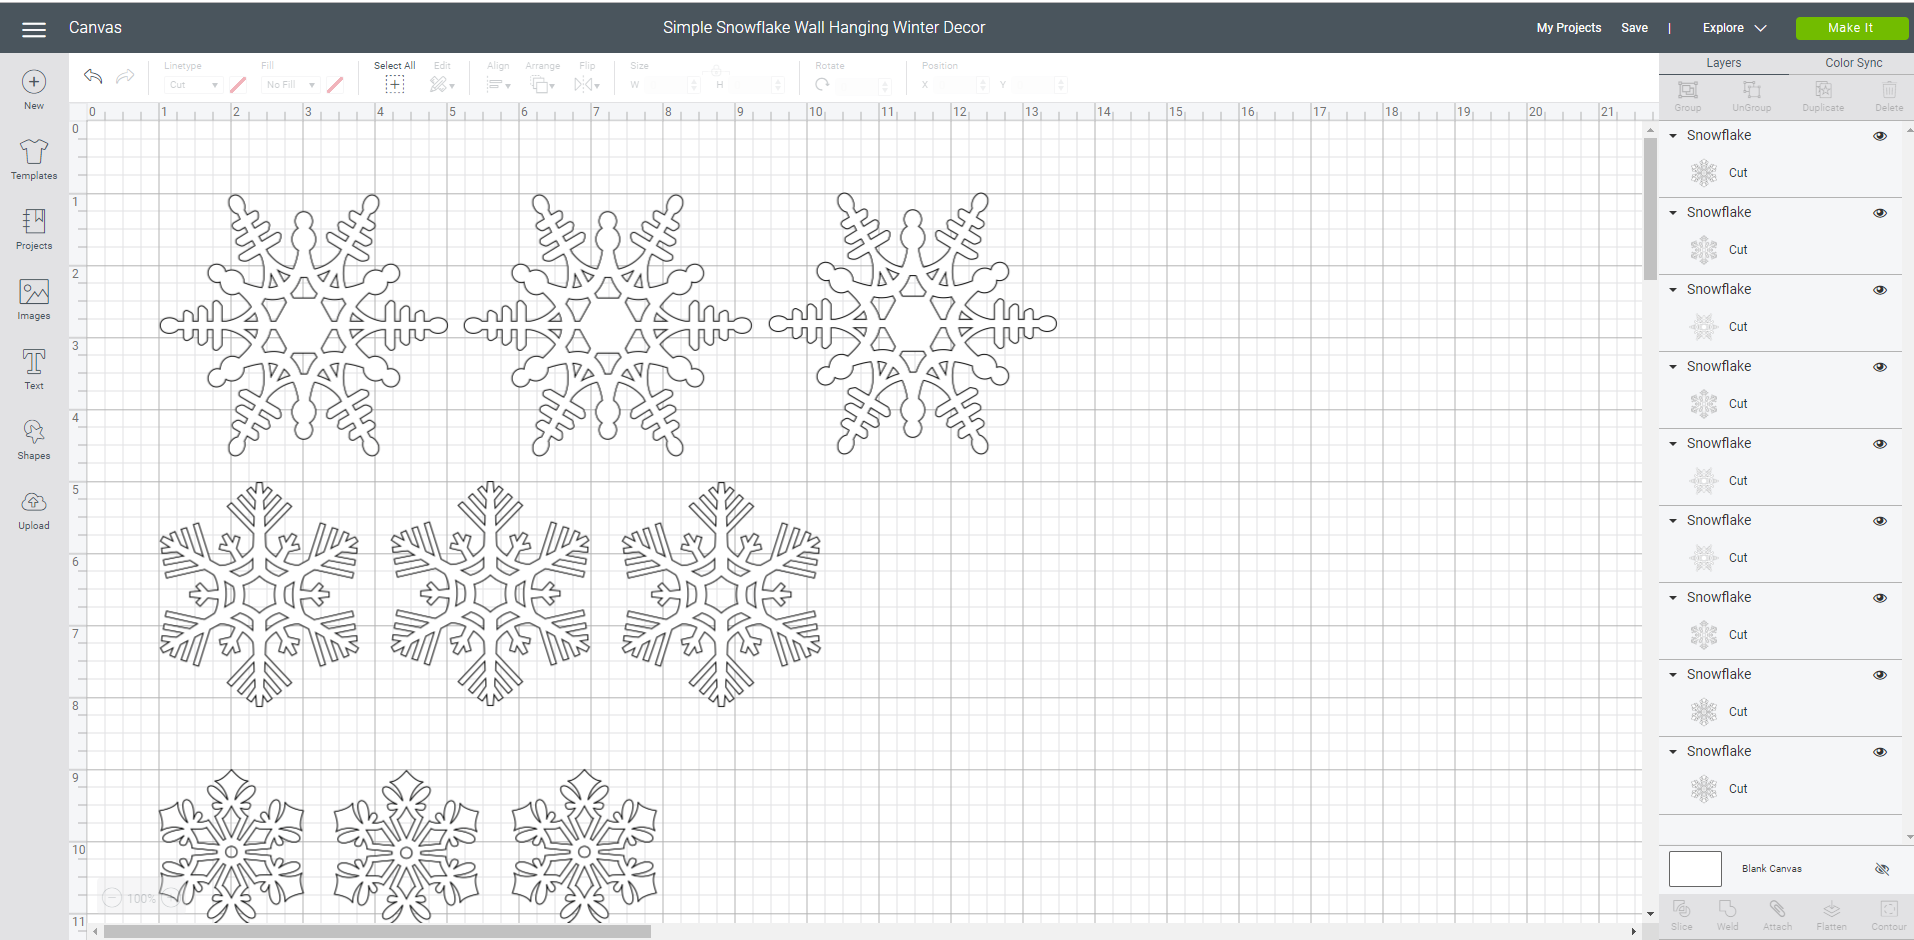
Head to Cricut Design Space, you can click HERE to go directly to this project. Just be sure to hit “customize” so you can create as many snowflakes for your wall hanging as you want and size them to your liking. Feel free to use any snowflake template you like, don’t feel like you have to be limited to the three designs I chose for mine…Design Space has a ton to choose from.
If you’ll be using a glue gun for a no-sew version of this project you will need to double the amount of snowflakes you’re cutting, you will need two of each snowflake to sandwich on the thread later.
Once you’re in Design Space and you’ve created and sized all your images to cut you will need to hit “Make It”. Place your white cardstock on to your cutting mat, I typically use a green standar cutting mat for most cardstock or vinyl projects but you can also use the blue light grip mat for cardstock and paper projects. Be sure if you’re using any textured cardstock to have your smooth side facing up so the blade cuts your design clean.
Note: When you remove cardstock, vinyl, or any materials that can bend from your cutting mats – be sure to roll the mat away from the cutting material, not the cutting material away from the mat. This will help to keep your materials flat and perfect.
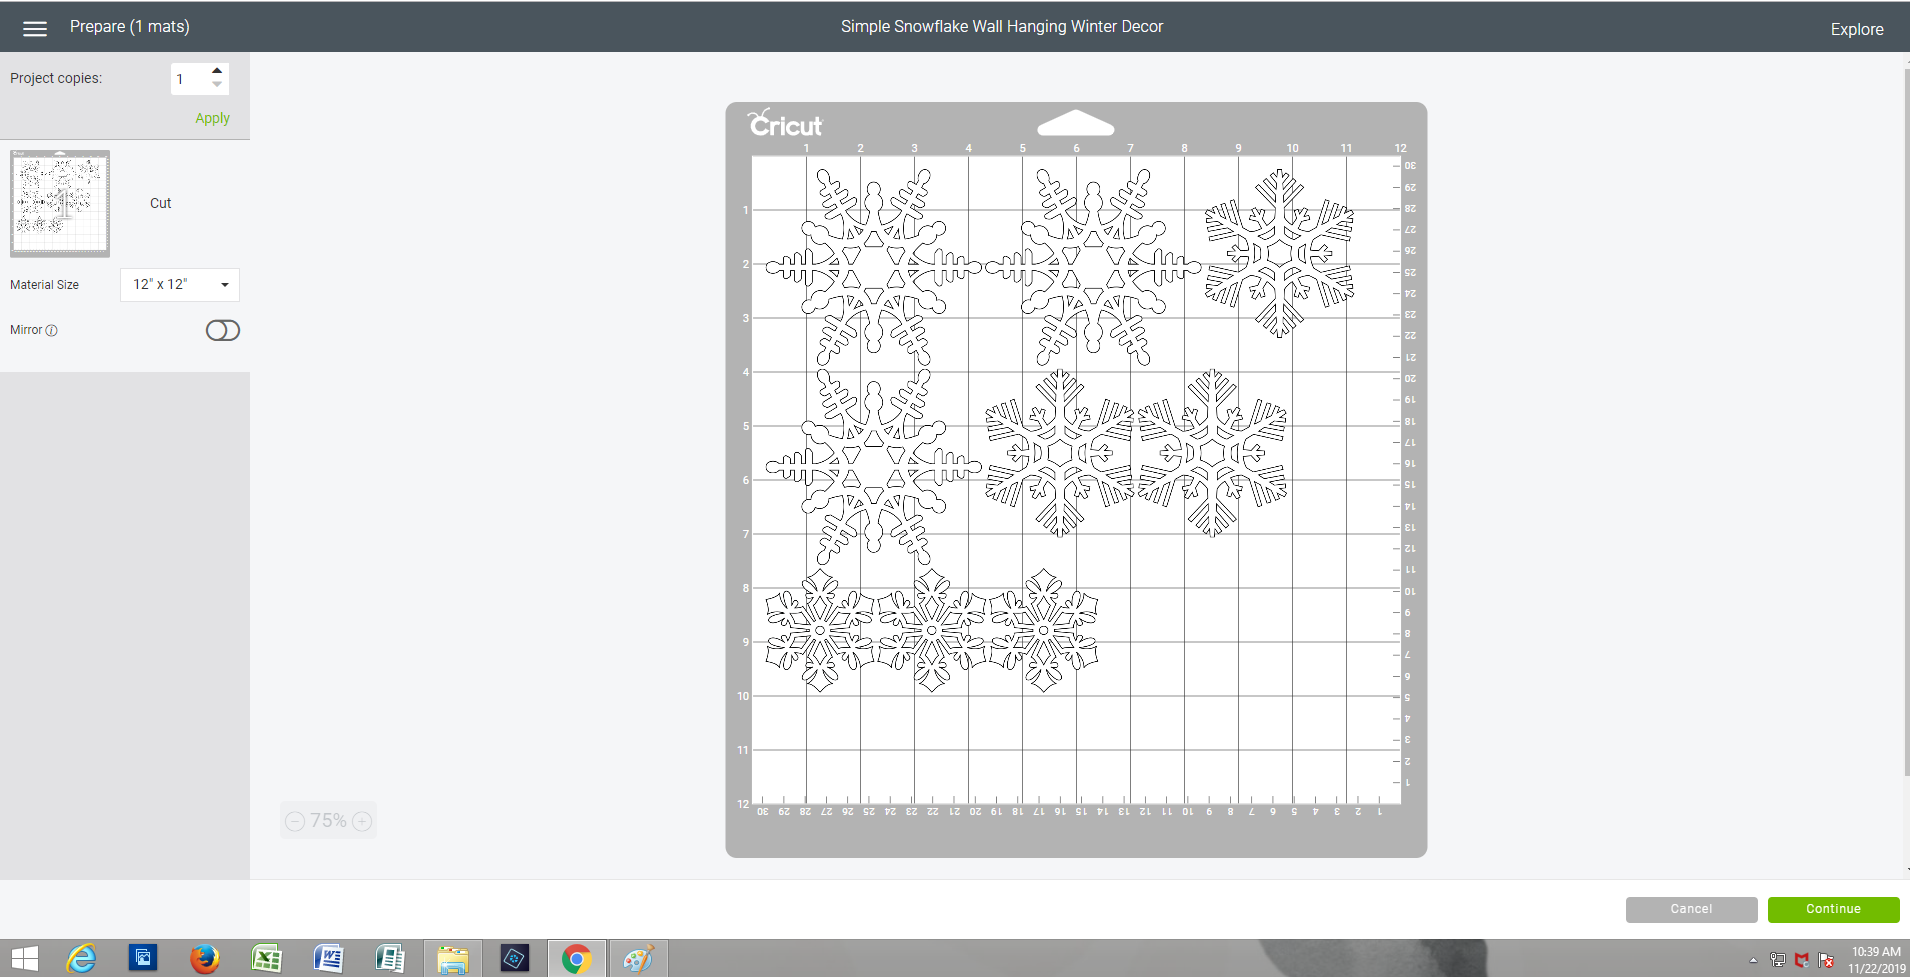 When your cardstock is on the mat and ready to go press the flashing arrow button on the Cricut cutting machine and load your mat. Next hit the flashing “C” button to cut your snowflakes. Once they are finished cutting remove from the machine.
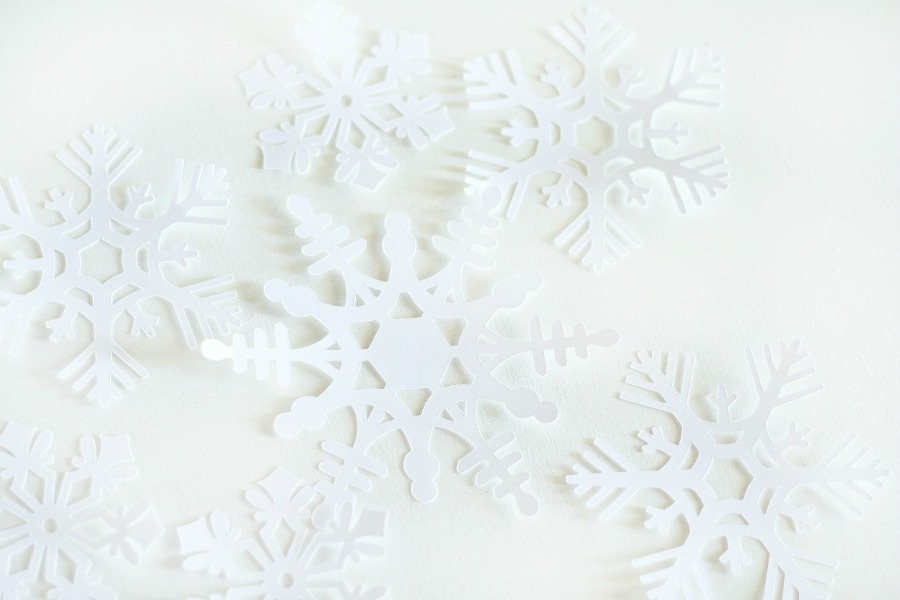 ASSEMBLING YOUR SNOWFLAKE WALL HANGING
- Using a sewing machine with either clear or white thread simply sew a straight stitch through each of your paper snowflakes, leave 1-2″ between each one.
- If you’re looking for a no-sew option you can use a glue gun like mentioned earlier, simply sandwich two of the same exact paper snowflakes together with a small bead of hot glue over the clear or white thread. It should run right down the middle of the snowflake.
- When all the snowflakes are attached hot glue your thread strands to the back of your wood stick or dowel rod with a dot of glue.
- Attach cording, twine, or ribbon to create the hanger for your wall hanging.
 IF YOU LOVED THIS EASY SNOWFLAKE WALL HANGING YOU WILL FOR SURE LOVE THESE EASY HOLIDAY DECOR IDEAS!
- Faux Leather Christmas Tree Pillow
- DIY Snowflake Winter Decor
- Black & White Modern Snowflake Christmas Mantel Decor
- Black & White Modern Snowflake Christmas Tree Decor
- Felt Pine Trees
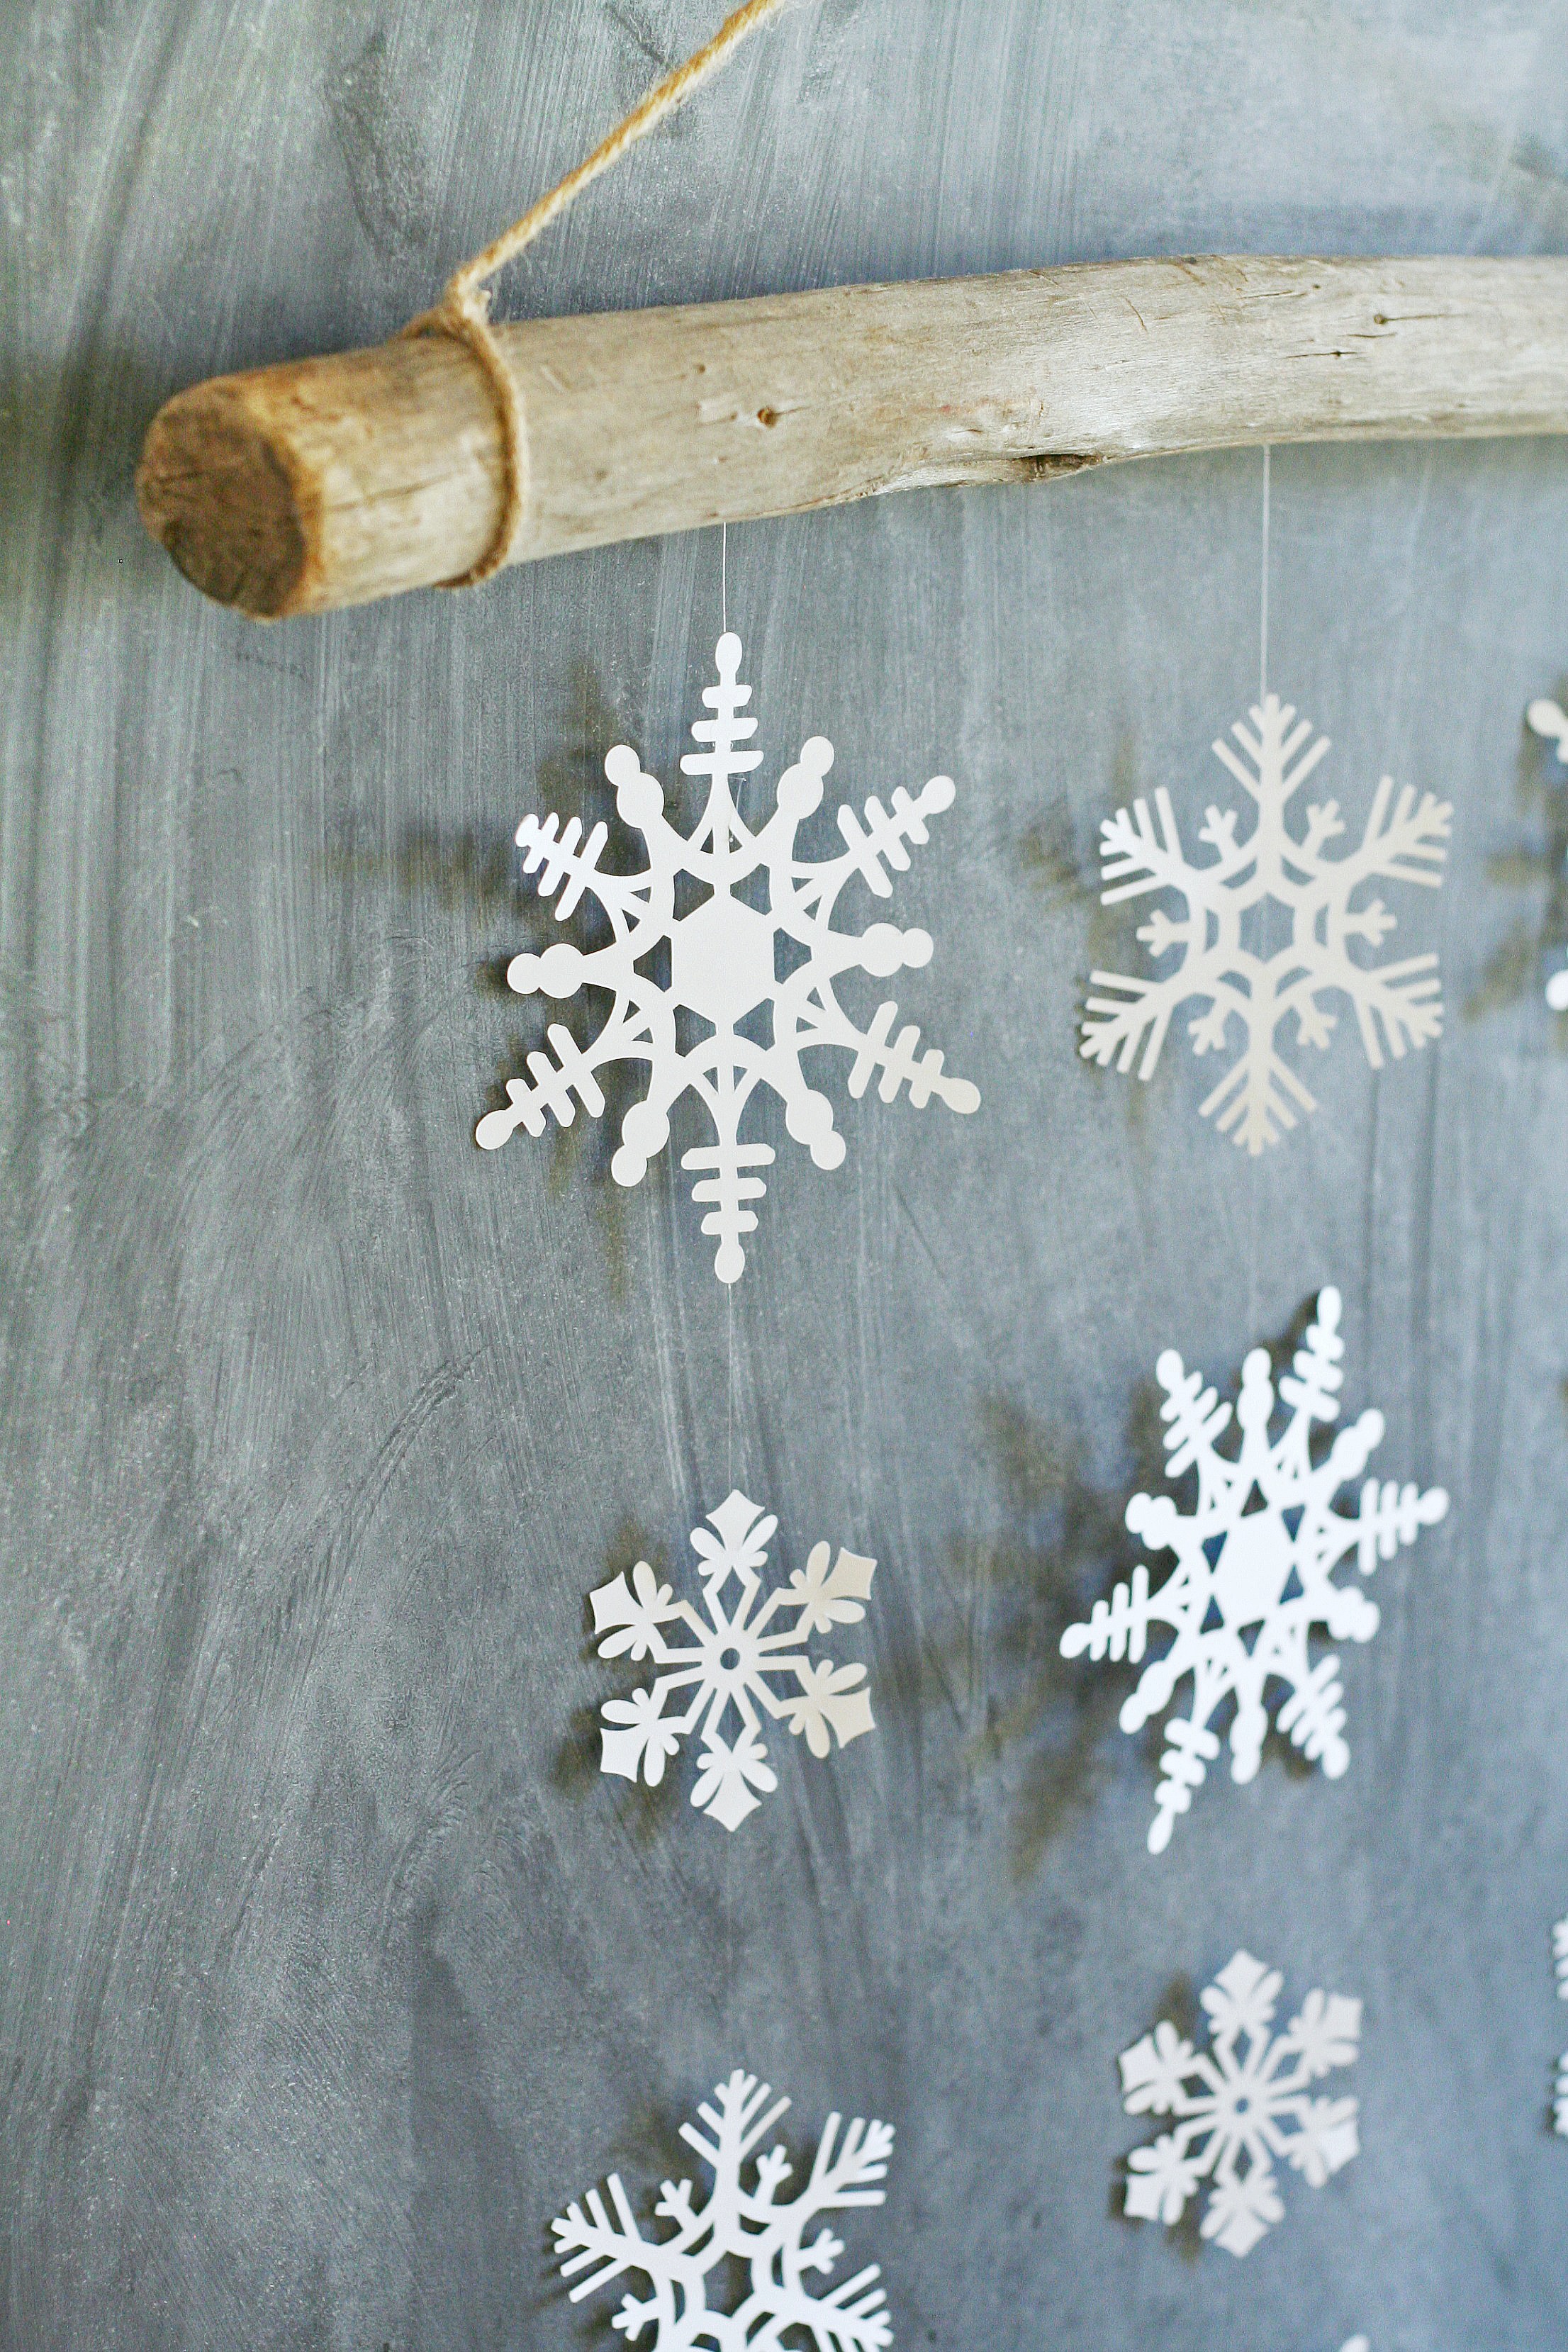
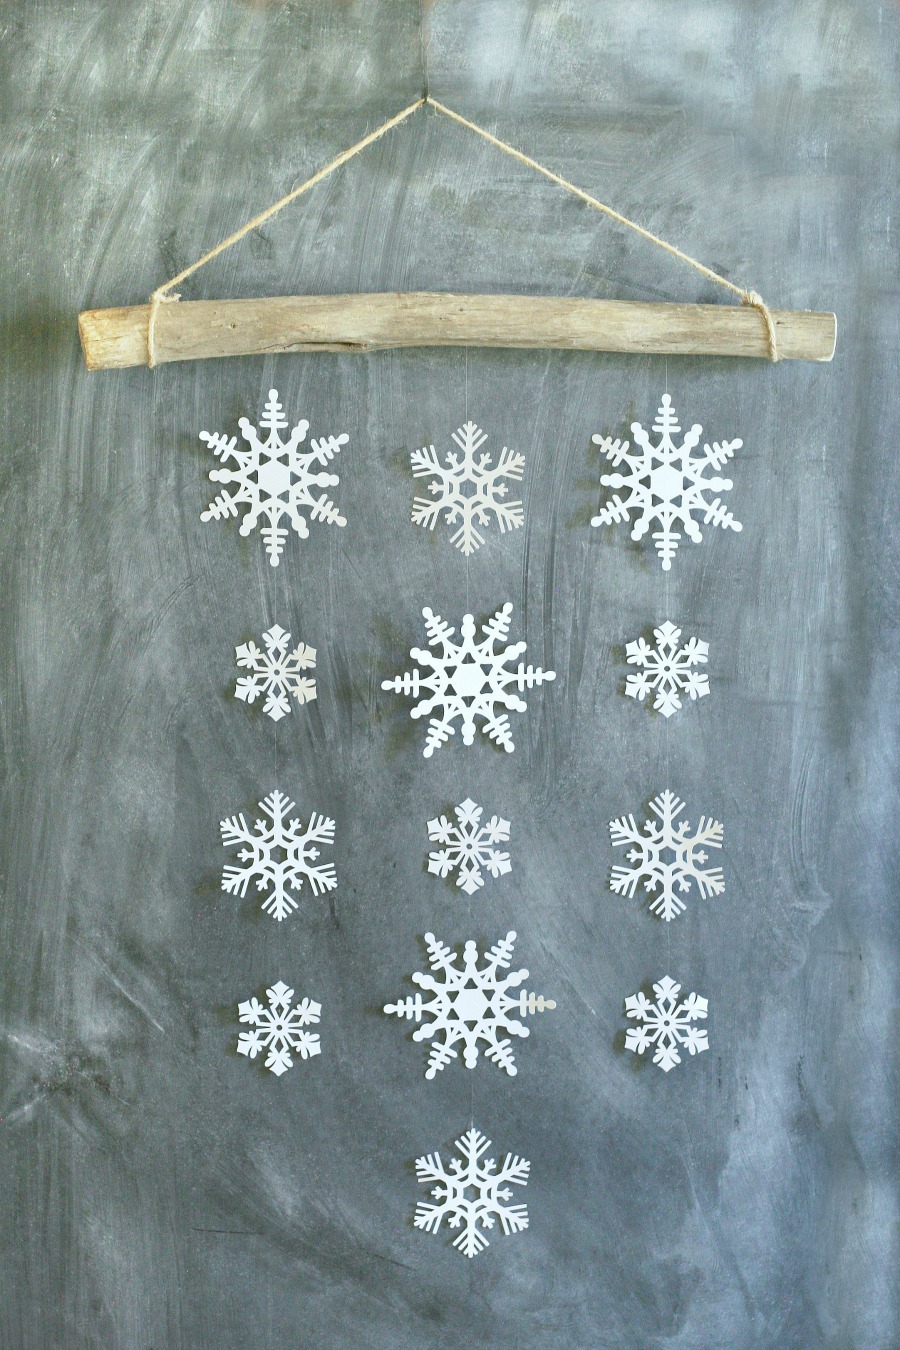 Don’t you love how easy this project is to make?! It’s honestly so pretty when it’s hung up. I love that the snowflakes look like they are floating, it makes it look delicate and it’s really beautiful. Whether you’re holiday decorating style is traditional or simple with more of a modern touch like mine this Snowflake Wall Hanging will be the perfect addition to your decor.






REALLY cute, Bec! Wow, LOVE it so much!!
Thanks girls. I LOVE you both so much!!!
So pretty – love this idea! I’ve got some old driftwood that work perfect for this.
Thanks Leigh Anne, and yes driftwood would be amazing! xoxoxo
Love the simple look.
Thanks Amy. xoxo
What a great and gorgeous idea! And I love that it could be hung up now and kept up even until February when we still have snow around here! LOVE it!
Thanks Jo-Anna. I know a lot of people do a winter mantle after Christmas so it would be perfect.
Hi – first time I’ve seen your site and I love the simplicity of the snowflake hanging. Our house is full of shabby-chic projects and we always use a load of branches at Christmas, Easter, Halloween… (whenever we have an excuse really!) so this will definitely be one to try.
Thanks for stopping by Dawn, hope you have a super awesome week.
What a fantastic tutorial! Thanks for sharing! I also wanted to give you a heads up that tonight, Saturday night, at 8PM, there’s an all new linky party in town called Found & Foraged. We debuted last week and would love for you to join in the fun! You can find us at http://houseofhipsters.com/
Thanks Kyla. I will be sure to stop by, have a super week.
Very cute idea! I love the way it looks. I found this on Martha Stewart’s Pinterest board!
Thanks so much Liz! And what? Martha Stewarts board? That’s awesome, I will have to go take a peek! Thanks for the heads up, hope you have a very blessed and Merry Christmas!